Love this? Save it for later!
Share the inspiration with your friends
Becky wasn’t trying to impress anyone. I’d stopped by her house on a Tuesday afternoon to pick up a book I’d lent her, and the smell hit me before I even got through the screen door. That warm, yeasty, honey-butter scent that makes you stop mid-sentence and just breathe in. She was standing at her kitchen counter in sweatpants, flour on her elbow, pulling a baking sheet out of the oven like it was nothing special. “Oh, those are just rolls,” she said when I asked. “I make them for the kids’ lunches.” Just rolls. Let me tell you, there was nothing “just” about them. I stood there watching her brush the tops with melted honey butter, and honestly, I think I made some excuse to stay an extra ten minutes just to snag one while they were still warm.
The thing is, Becky isn’t a food blogger or a trained chef. She’s a mom of three who works part-time and somehow still manages to pull things like this off without breaking a sweat. Or so it seems. When I asked for the recipe, she shrugged and said, “Oh, it’s just basic dinner rolls with honey and butter. Nothing fancy.” But that’s exactly what makes them special—they’re not fancy. They’re real, everyday food that makes your kitchen smell like a bakery and your kids ask for seconds. Maybe you’ve been there, standing in someone else’s kitchen, watching them do something that seems simple but tastes absolutely magical.
I’ve made these homemade honey butter dinner rolls at least twenty times since that afternoon. They’ve become my go-to for everything from weeknight dinners to holiday gatherings. And the best part? They cost pennies to make compared to store-bought rolls, and they freeze beautifully. Honestly, I don’t think I’ll ever buy dinner rolls again. That Tuesday afternoon changed my baking life, and I’m pretty sure it’ll change yours too.
Why You’ll Love This Recipe
Let me tell you why these honey butter dinner rolls have earned a permanent spot in my recipe rotation. They’re not just good—they’re the kind of rolls that make people close their eyes when they take that first bite.
- Budget-Friendly: You probably have most of these ingredients in your pantry right now. Flour, yeast, butter, milk, honey, eggs—these are staples, not specialty items. A whole batch costs less than a pack of store-bought rolls.
- Kid-Approved: My kids devour these. And I mean devour. They’re soft, slightly sweet, and perfect for little hands. Even picky eaters who usually push bread aside ask for more.
- Simple Ingredients: No weird additives, no preservatives, nothing you can’t pronounce. Just real food that comes together beautifully.
- Freezer-Friendly: Make a double batch and freeze half. They reheat like magic, which is a lifesaver on busy weeknights.
- Crowd-Pleaser: I’ve brought these to potlucks, family dinners, and holiday gatherings. They disappear faster than anything else on the table.
- Foolproof Recipe: Even if you’re new to working with yeast, this recipe is forgiving and straightforward. I’ve messed it up a few times and it still turned out delicious.
What makes these different from other dinner roll recipes? It’s the honey butter glaze. Most recipes brush the rolls with plain melted butter after baking, but brushing them with a honey-butter mixture while they’re still warm creates this slightly sticky, caramelized top that’s absolutely irresistible. The honey also adds a subtle sweetness that complements the savory yeast flavor perfectly. It’s comfort food at its finest—simple, satisfying, and made with love.
What Ingredients You Will Need
This recipe uses simple, wholesome ingredients to deliver soft, fluffy rolls with that signature honey butter sweetness. Most of these are pantry staples, which makes this recipe perfect for last-minute baking.
For the Dough
- 1 cup (240ml) whole milk, warm (about 110°F) — Whole milk gives the richest flavor, but 2% works fine too. The warmth activates the yeast without killing it.
- 2 ¼ teaspoons (7g) active dry yeast — One standard packet. I prefer Red Star or Fleischmann’s for consistent results.
- ¼ cup (60ml) honey — Use a mild honey like clover or orange blossom. Strong honey like buckwheat can overpower the rolls.
- 4 tablespoons (56g) unsalted butter, melted and slightly cooled — Salted butter works if that’s what you have, just reduce the added salt slightly.
- 1 large egg, room temperature — Cold eggs can shock the yeast. Let it sit out for 30 minutes or place in warm water for 5 minutes.
- 1 teaspoon salt — Fine sea salt or table salt both work. Salt controls yeast activity and enhances flavor.
- 3 ½ cups (440g) all-purpose flour, plus more for dusting — Bread flour makes slightly chewier rolls, but all-purpose gives that soft, tender texture that kids love.
For the Honey Butter Glaze
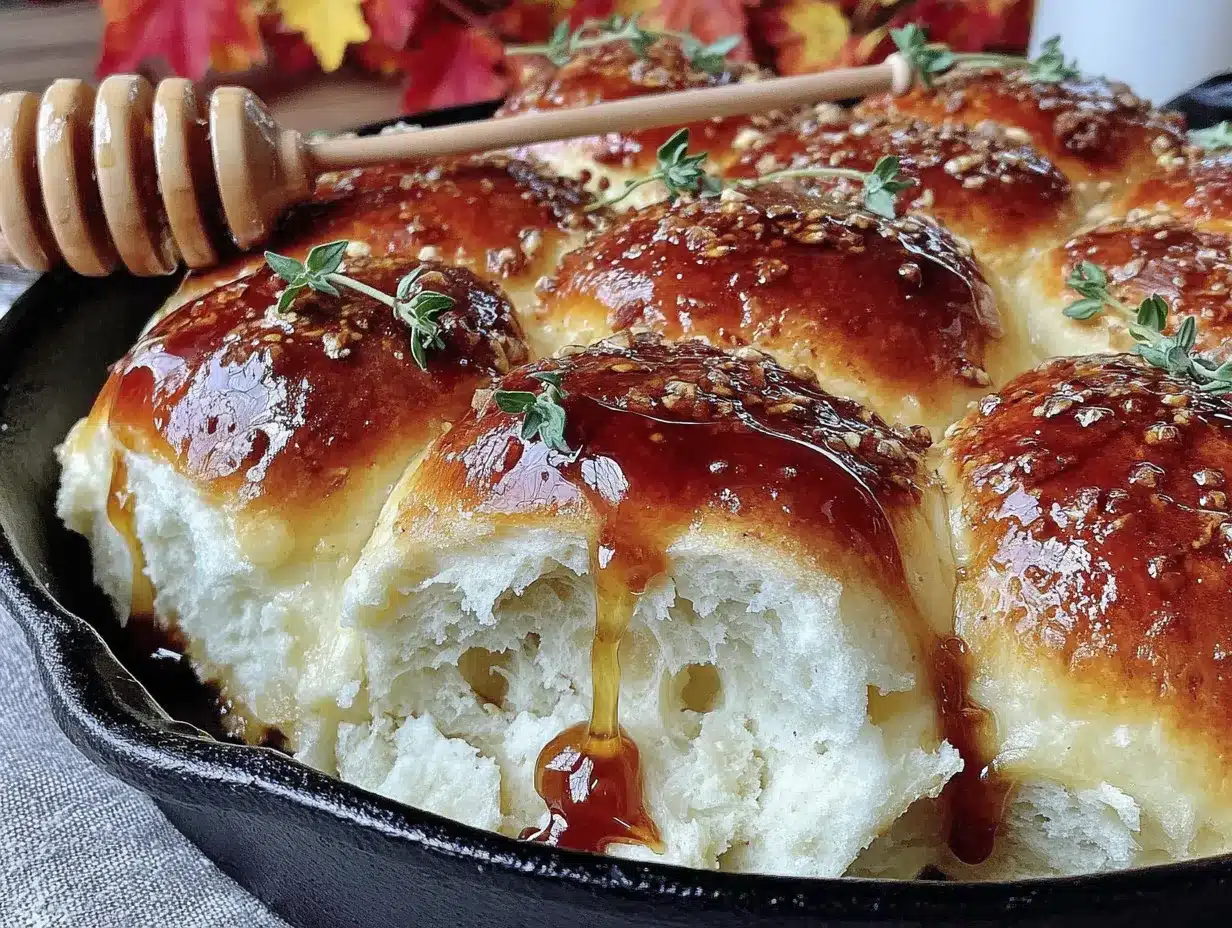
- 3 tablespoons (42g) unsalted butter, melted — Use good quality butter here since the flavor really shines through.
- 2 tablespoons (30ml) honey — Same honey as above works perfectly.
- Pinch of flaky sea salt (optional but recommended) — This balances the sweetness and makes the rolls taste even more professional.
Ingredient Selection Tips: Look for yeast that’s within its expiration date. Old yeast is the number one reason bread recipes fail. If you’re unsure, proof the yeast first by mixing it with warm milk and a pinch of sugar—if it gets foamy after 5-10 minutes, it’s good to go. For the honey, avoid anything labeled “honey flavored syrup”—real honey makes a real difference.
Substitution Guidance: Need a dairy-free option? Use oat milk or almond milk (not vanilla flavored) and substitute vegan butter. The texture will be slightly different but still delicious. For an egg-free version, replace the egg with ¼ cup unsweetened applesauce. The rolls will be a bit denser but still soft and tasty.
Equipment Needed
You don’t need fancy equipment to make these rolls. Here’s what you’ll actually use:
- Large mixing bowl — Glass or stainless steel works best. Plastic can retain odors.
- Measuring cups and spoons — For accuracy, especially with yeast and salt.
- Whisk and wooden spoon — A stand mixer with dough hook works too, but hand mixing is totally doable.
- 9×13-inch baking dish or round cake pan — Glass or metal both work. Glass may need slightly longer baking time.
- Clean kitchen towel or plastic wrap — For covering the dough while it rises.
- Pastry brush — For applying the honey butter glaze. A silicone brush is easier to clean.
- Cooling rack — Helps the rolls cool evenly without getting soggy bottoms.
Budget-Friendly Tip: Don’t have a pastry brush? Use a clean, unused paintbrush from the hardware store. I’ve done this in a pinch and it works perfectly. Just make sure it’s never been used for paint!
Preparation Method
Let’s get to the fun part—making these gorgeous honey butter dinner rolls. Take your time with each step, and don’t rush the rising process. Good things come to those who wait.
- Proof the yeast: In your large mixing bowl, combine the warm milk (about 110°F—warm but not hot to the touch) and honey. Sprinkle the yeast over the top and let it sit for 5-10 minutes until frothy. If it doesn’t get foamy, your yeast might be dead. Start over with fresh yeast.
- Mix the wet ingredients: Add the melted butter, egg, and salt to the yeast mixture. Whisk until everything is well combined. The mixture should look smooth and slightly golden.
- Add the flour: Gradually add 3 cups of flour, one cup at a time, stirring with a wooden spoon or dough hook. The dough will be sticky at first—that’s normal. Add the remaining ½ cup of flour gradually until the dough comes together and pulls away from the sides of the bowl. You might not need all the flour, depending on humidity.
- Knead the dough: Turn the dough onto a lightly floured surface. Knead for 8-10 minutes by hand, or 5-6 minutes with a stand mixer on medium speed. The dough should be smooth, elastic, and slightly tacky but not sticky. If it’s sticking to your hands like crazy, add a little more flour, a tablespoon at a time. You should be able to stretch a small piece without it tearing easily—that’s the gluten developing.
- First rise: Place the dough in a lightly greased bowl (I use a drizzle of olive oil). Cover with a clean kitchen towel or plastic wrap. Let it rise in a warm, draft-free place for 1-1.5 hours, or until doubled in size. An oven with the light on works great, or just a warm corner of your kitchen. The dough should feel puffy and airy when you poke it gently.
- Shape the rolls: Punch down the dough gently to release the air. Turn it onto a lightly floured surface. Divide the dough into 12 equal pieces—I use a bench scraper or knife. Shape each piece into a smooth ball by tucking the edges underneath and rolling it against the counter with your cupped hand. Place the rolls in a greased 9×13-inch baking dish, spacing them evenly. They should be touching slightly but not crowded.
- Second rise: Cover the rolls again with the towel or plastic wrap. Let them rise for 30-45 minutes until they’ve puffed up and are touching each other. They should look pillowy and soft. This is where the magic happens—don’t skip this step!
- Preheat and bake: Preheat your oven to 375°F (190°C). Bake the rolls for 18-22 minutes, until the tops are golden brown and the rolls sound hollow when tapped. The internal temperature should be around 190°F. If the tops are browning too quickly, tent loosely with foil for the last 5 minutes.
- Glaze while warm: While the rolls bake, mix the melted butter and honey for the glaze. As soon as the rolls come out of the oven, brush them generously with the honey butter mixture. Sprinkle with flaky sea salt if you’re using it. The rolls will absorb the glaze as they cool, creating that perfect slightly sticky top.
- Cool and serve: Let the rolls cool in the pan for 5-10 minutes, then transfer to a cooling rack. Serve warm or at room temperature. Honestly, the hardest part is waiting those 10 minutes—the smell is absolutely intoxicating.
Cooking Tips & Techniques
I’ve learned a few things the hard way so you don’t have to. Here are my best tips for perfect honey butter dinner rolls every time.
Temperature is everything. Yeast is a living thing, and it’s picky about temperature. Milk that’s too hot (above 130°F) will kill the yeast. Milk that’s too cold won’t activate it properly. I use an instant-read thermometer, but if you don’t have one, test the milk on your wrist—it should feel like warm bath water, not hot.
Don’t over-flour your dough. One of my early mistakes was adding too much flour because the dough felt sticky. The result? Dense, heavy rolls that nobody wanted to eat. A slightly tacky dough produces the fluffiest rolls. Trust the process and resist the urge to keep adding flour.
Room temperature ingredients matter. I once used a cold egg straight from the fridge, and the dough took forever to rise. Let your egg and butter sit out for at least 30 minutes before starting. If you’re in a hurry, place the egg in a bowl of warm water for 5 minutes.
Watch the second rise carefully. Over-proofing is a real thing. If the rolls rise too long, they’ll collapse in the oven and end up flat. They should be puffy and touching, but not huge and bloated. Set a timer—it’s easy to get distracted.
Brush with glaze twice for extra flavor. I like to brush the rolls once right out of the oven, then again about 5 minutes later. The first layer soaks in, and the second creates that beautiful glossy finish. It’s a small extra step that makes a big difference.
Variations & Adaptations
One of the best things about this recipe is how adaptable it is. Here are some variations I’ve tried and loved.
Garlic Herb Rolls: Add 2 minced garlic cloves and 1 tablespoon of dried rosemary or thyme to the dough. Skip the honey butter glaze and brush with garlic butter instead. These are amazing with soups and stews.
Whole Wheat Honey Rolls: Substitute half the all-purpose flour with whole wheat flour. The rolls will be denser but still soft and delicious. Add an extra tablespoon of honey to balance the nuttiness of the whole wheat. My husband actually prefers these.
Cinnamon Honey Rolls: For a sweet breakfast version, roll out the dough into a rectangle, brush with softened butter, sprinkle with cinnamon and sugar, then roll up and slice like cinnamon rolls. Bake and glaze with honey butter. My kids request these for birthday breakfasts.
Cheesy Dinner Rolls: Fold ½ cup of shredded cheddar or parmesan into the dough during the last minute of kneading. The cheese melts into the rolls and creates these amazing pockets of savory goodness. Perfect alongside pasta dishes.
Vegan Version: Substitute the milk with oat milk, the butter with vegan butter, and the egg with ¼ cup applesauce. The texture is slightly different but still soft and satisfying. I’ve made these for vegan friends and they disappeared just as fast as the original.
Serving & Storage Suggestions
These honey butter dinner rolls are incredibly versatile. Here’s how to serve and store them for the best experience.
Serving: Serve warm, ideally within 30 minutes of baking. The honey butter glaze is at its best when it’s still slightly warm and melty. These rolls pair beautifully with soups, stews, roasted meats, or simply slathered with extra butter. For a holiday dinner, arrange them in a basket lined with a cloth napkin—they look gorgeous and stay warm longer.
Storage: Store leftover rolls in an airtight container at room temperature for up to 3 days. To maintain softness, add a slice of bread to the container—the rolls will absorb moisture from the bread. Never refrigerate rolls unless you want them to go stale faster. The cold air dries them out.
Freezing: These rolls freeze beautifully. Let them cool completely, then wrap individually in plastic wrap and place in a freezer bag. They’ll keep for up to 3 months. To reheat, unwrap and warm in a 350°F oven for 5-7 minutes, or microwave for 20-30 seconds. The honey butter flavor actually intensifies after freezing—something about the flavors melding together.
Reheating: The best way to reheat is in the oven. Place rolls on a baking sheet, cover loosely with foil (to prevent over-browning), and warm at 350°F for 5-7 minutes. For a quick fix, microwave for 15-20 seconds per roll. If the glaze looks dry after reheating, brush with a little extra melted butter and honey.
Nutritional Information & Benefits
Here’s the estimated nutritional breakdown per roll (based on 12 rolls):
| Nutrient | Amount per Roll |
|---|---|
| Calories | 210 |
| Total Fat | 7g |
| Saturated Fat | 4g |
| Cholesterol | 35mg |
| Sodium | 210mg |
| Total Carbohydrates | 32g |
| Dietary Fiber | 1g |
| Sugars | 8g |
| Protein | 5g |
Health Benefits: While these are definitely a treat, they do offer some nutritional value. Honey provides antioxidants and has antibacterial properties. Whole milk adds calcium and vitamin D. If you use whole wheat flour, you’ll get additional fiber and B vitamins. The egg contributes high-quality protein. These rolls are also free from artificial preservatives and additives—something you can’t say about store-bought versions.
Dietary Considerations: This recipe contains dairy, eggs, and gluten. For a dairy-free version, see the variations section. For gluten-free, substitute with a high-quality gluten-free flour blend designed for yeast breads (I recommend Cup4Cup or King Arthur’s measure-for-measure blend). The texture will be different but still enjoyable.
Conclusion
These homemade honey butter dinner rolls have become a staple in my kitchen for good reason. They’re budget-friendly, kid-approved, and surprisingly simple to make. Every time I pull a batch out of the oven, I think back to that Tuesday afternoon at Becky’s house, standing in her kitchen while she brushed honey butter on rolls like it was no big deal. But it is a big deal. It’s the kind of food that makes a house feel like a home, that turns an ordinary dinner into something special, that makes kids run to the table instead of dragging their feet.
I hope you’ll give these rolls a try. Don’t be intimidated by the yeast—I promise it’s easier than it looks. And if your first batch isn’t perfect, that’s okay. Mine wasn’t either. The beauty of baking is that you get to try again, and each time you learn something new. Customize them to your family’s tastes, make them for holidays or random Tuesdays, and don’t forget to save some for yourself before they disappear.
Have you made these rolls? I’d love to hear how they turned out! Drop a comment below and share your experience—or better yet, tell me about the recipe that someone made for you that changed everything. Happy baking, friends!
Frequently Asked Questions
Can I use instant yeast instead of active dry yeast?
Yes, absolutely! Use the same amount (2 ¼ teaspoons). The difference is that instant yeast doesn’t need to be proofed first—you can mix it directly with the flour. Skip the proofing step and just add the yeast with the flour. The rising time might be slightly shorter, so keep an eye on the dough.
Why didn’t my rolls rise properly?
This is usually a yeast issue. Either the yeast was too old (check the expiration date), the milk was too hot (above 130°F kills yeast), or the room was too cold. If your kitchen is chilly, try placing the dough in an oven with just the light on, or on top of the refrigerator where it’s warmer. Also, make sure your salt isn’t touching the yeast directly—salt can inhibit yeast activity.
Can I make the dough ahead of time?
Yes! After the first rise, punch down the dough, wrap it tightly in plastic wrap, and refrigerate for up to 24 hours. When you’re ready to bake, let the dough sit at room temperature for 30 minutes, then shape the rolls and proceed with the second rise. The cold fermentation actually develops more flavor.
How do I get softer rolls?
For extra soft rolls, try replacing ¼ cup of the all-purpose flour with potato flour or instant mashed potato flakes. The starch helps retain moisture. Also, make sure you’re not over-baking—pull the rolls out when they’re just golden, not dark brown. Brushing with the honey butter glaze immediately after baking also helps keep them soft.
Can I double this recipe?
Absolutely! This recipe doubles beautifully. Just use a larger bowl for mixing and a bigger baking dish. You might need to increase the baking time by 2-3 minutes since the pan will be more crowded. I often make a double batch and freeze half for later—it’s a huge time-saver.
Pin This Recipe!
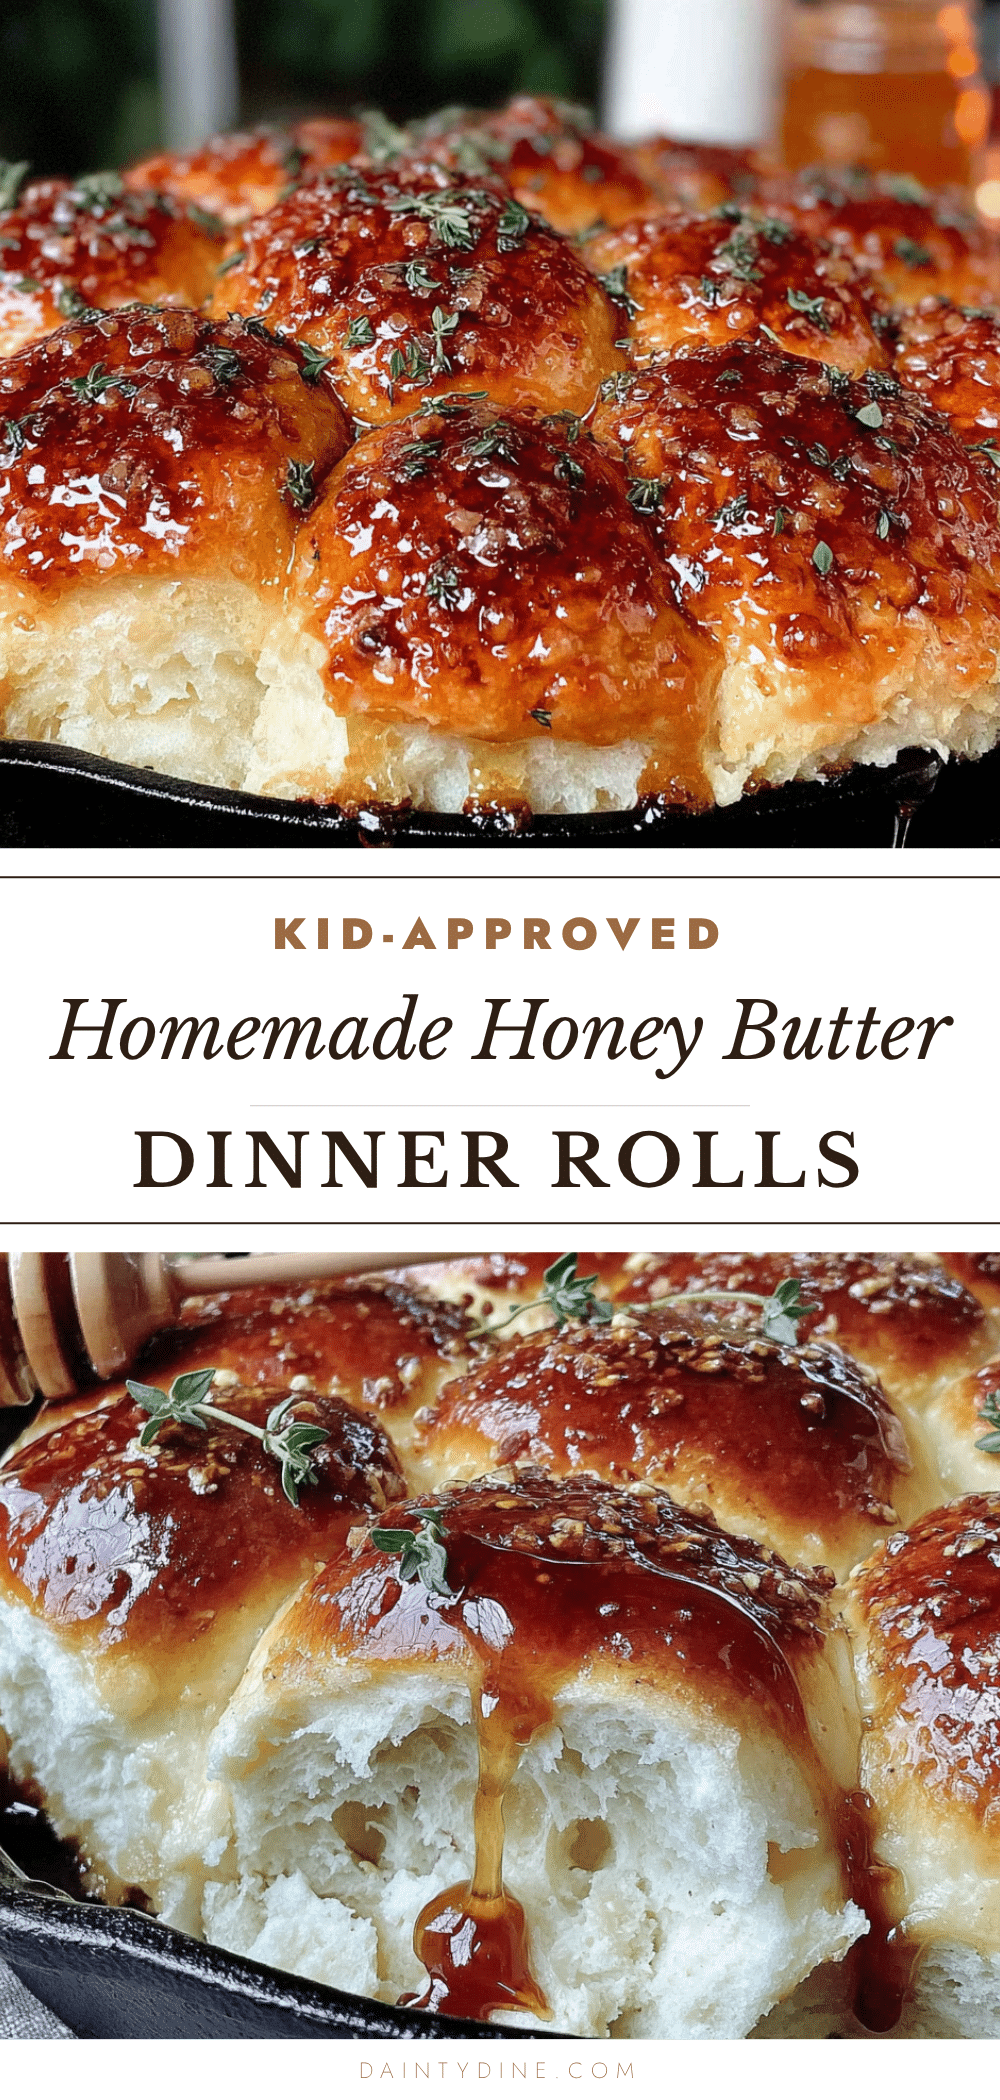
Best Homemade Honey Butter Dinner Rolls Recipe

These soft, fluffy honey butter dinner rolls are budget-friendly, kid-approved, and surprisingly simple to make. Brushed with a honey butter glaze while warm, they have a slightly sticky, caramelized top that’s absolutely irresistible.
- Prep Time: 30 minutes
- Cook Time: 20 minutes
- Total Time: 2 hours 30 minutes
- Yield: 12 rolls 1x
- Category: Side Dish
- Cuisine: American
Ingredients
- 1 cup (240ml) whole milk, warm (about 110°F)
- 2 ¼ teaspoons (7g) active dry yeast
- ¼ cup (60ml) honey
- 4 tablespoons (56g) unsalted butter, melted and slightly cooled
- 1 large egg, room temperature
- 1 teaspoon salt
- 3 ½ cups (440g) all-purpose flour, plus more for dusting
- 3 tablespoons (42g) unsalted butter, melted (for glaze)
- 2 tablespoons (30ml) honey (for glaze)
- Pinch of flaky sea salt (optional)
Instructions
- Proof the yeast: In your large mixing bowl, combine the warm milk (about 110°F) and honey. Sprinkle the yeast over the top and let it sit for 5-10 minutes until frothy.
- Mix the wet ingredients: Add the melted butter, egg, and salt to the yeast mixture. Whisk until well combined.
- Add the flour: Gradually add 3 cups of flour, one cup at a time, stirring with a wooden spoon or dough hook. Add the remaining ½ cup of flour gradually until the dough comes together and pulls away from the sides of the bowl.
- Knead the dough: Turn the dough onto a lightly floured surface. Knead for 8-10 minutes by hand, or 5-6 minutes with a stand mixer on medium speed, until smooth and elastic.
- First rise: Place the dough in a lightly greased bowl, cover with a clean kitchen towel or plastic wrap, and let rise in a warm, draft-free place for 1-1.5 hours, or until doubled in size.
- Shape the rolls: Punch down the dough, turn onto a lightly floured surface, and divide into 12 equal pieces. Shape each piece into a smooth ball and place in a greased 9×13-inch baking dish, spacing evenly.
- Second rise: Cover the rolls and let rise for 30-45 minutes until puffed up and touching each other.
- Preheat and bake: Preheat oven to 375°F (190°C). Bake for 18-22 minutes until golden brown and rolls sound hollow when tapped.
- Glaze while warm: While rolls bake, mix melted butter and honey for glaze. As soon as rolls come out, brush generously with honey butter mixture. Sprinkle with flaky sea salt if using.
- Cool and serve: Let rolls cool in pan for 5-10 minutes, then transfer to a cooling rack. Serve warm or at room temperature.
Notes
Temperature is key: milk should be warm (110°F) not hot. Don’t over-flour the dough; a slightly tacky dough produces fluffier rolls. Room temperature ingredients help the dough rise properly. Brush with glaze twice for extra flavor: once right out of the oven, then again 5 minutes later.
Nutrition
- Serving Size: 1 roll
- Calories: 210
- Sugar: 8
- Sodium: 210
- Fat: 7
- Saturated Fat: 4
- Carbohydrates: 32
- Fiber: 1
- Protein: 5
Keywords: honey butter dinner rolls, homemade rolls, soft dinner rolls, honey butter, yeast rolls, easy dinner rolls