Love this? Save it for later!
Share the inspiration with your friends
It was the kind of summer evening when the last thing I wanted was to turn on the stove or heat up the kitchen. College finals were looming, and my brain was fried, but hunger was real. I needed something quick, fresh, and—let’s be honest—cheap. That’s when I threw together what I now call my No-Cook Student Summer Snack Board. With just $8 and a handful of simple ingredients from the corner store, I created a snack spread that felt way fancier than it was. No oven, no stove, no fuss. Just fresh, tasty, and perfect for those hot afternoons or last-minute hangouts.
Since then, this snack board has become my go-to for lazy summer nights, study breaks, or when friends drop by unexpectedly. It’s the kind of spread that feels like a treat but doesn’t wreck your budget or your day. I’ve tested different combos, swapped ingredients, and perfected the balance between salty, sweet, crunchy, and creamy. And the best part? It takes maybe 10 minutes, tops.
Whether you’re a student, a busy person avoiding the heat, or just someone who loves simple, no-cook recipes, this snack board is about to become your new best friend. Oh, and if you love quick, fresh recipes, you might also enjoy the Fresh 8-Minute No-Cook Smashed Cucumber Avocado Salad or the Easy 15-Minute No-Heat Tuna Poke Bowl—both winners when you want food fast without turning on the stove.
Why This Recipe Works
This no-cook student summer snack board has completely changed how I think about easy snacking during hot months. I’ve put together dozens of versions, and here’s why this one sticks:
- Budget-Friendly — Sticking to $8 was a challenge at first, but focusing on simple, versatile ingredients like fresh veggies, cheese, and crackers made it easy. No fancy imports needed.
- Minimal Effort — No cooking means no heat, no mess, and no time wasted. I literally pull this together in under 10 minutes, perfect when I’m juggling study sessions or last-minute guests.
- Balanced Flavors and Textures — Crunchy crackers, creamy cheese, juicy fruits, and salty olives hit all the right notes. It’s not just random stuff thrown on a board—it’s a carefully curated mix that feels like a party.
- Customizable — I’ve swapped ingredients based on what’s on sale or what I have on hand. It’s forgiving and flexible, so you can make it suit your taste or dietary needs.
- Great for Sharing or Solo Snacking — Whether it’s a small gathering or a solo Netflix binge, this board scales easily. Plus, it feels way better than grabbing chips and dip out of a bag.
Honestly, this snack board saves me on days when I want something fresh and satisfying but can’t be bothered with a recipe. It’s become a small ritual—my way of treating myself without breaking the bank or the sweat meter.
Ingredients Breakdown
Here’s what I keep in mind when shopping for this board. Most of it is pantry staples or fresh basics you can find anywhere, and I’ve got tips to make each ingredient shine.
For the Base:
- Assorted Crackers (about 8 oz / 225g) — I like a mix of crunchy water crackers and multigrain for texture variety. Store brands work fine; don’t overthink it. Crackers are your crunchy vehicle.
- Cheese (8 oz / 225g total) — A block of cheddar or mozzarella is cost-effective and versatile. I also love babybel or string cheese for easy portioning. If you can swing it, a small wedge of brie makes the board feel fancy without fuss.
- Fresh Veggies (1-2 cups total) — Think cucumber slices, cherry tomatoes, carrot sticks, or bell pepper strips. These add freshness and crunch. I often grab a cucumber and a pint of cherry tomatoes—both budget-friendly and colorful.
For Flavor and Variety:
- Olives (about ½ cup / 75g) — Jarred black or green olives bring salty, tangy bursts. I usually get the pitted ones for easy snacking.
- Fresh Fruit (1 cup) — Grapes, apple slices, or berries work great for a touch of sweetness. I usually go with grapes since they’re affordable and don’t require cutting.
- Hummus or Dip (about ½ cup / 120g) — Store-bought hummus or tzatziki adds creaminess and pairs perfectly with veggies and crackers. I pick whatever flavor is on sale or plain if I’m keeping it simple.
Optional Extras (if budget allows):
- Roasted Nuts (¼ cup / 30g) — Almonds or cashews add crunch and protein. I sometimes sprinkle a few on the board for an unexpected texture.
- Pickles or Pickled Vegetables (a few spears) — Adds a tangy punch and variety. Perfect for those who love a bit of zing.
It’s crazy how these simple ingredients, most under $2 each, come together to feel like a mini feast. And if you like things fresh and simple, these ingredients won’t overwhelm your palate or your wallet. Plus, if you’re curious about super quick snacks, the No-Cook Tuna Nicoise Salad Bowl is another one I turn to when I want something fresh and satisfying without heating up the kitchen.
Equipment You’ll Need
You really don’t need much for this no-cook snack board. Here’s what I use every time:
- Serving Board or Large Plate — Anything flat and wide works. I’ve used a wooden cutting board, a big ceramic plate, or even a baking sheet lined with parchment.
- Knives — For slicing cheese and chopping veggies or fruit. A regular kitchen knife works fine.
- Small Bowls or Ramekins — For dips and olives. Keeps things neat and easy to grab.
- Cutting Board — If you don’t want to slice on your serving board, a separate one helps.
- Serving Tongs or Small Forks — Optional, but nice for guests and less mess.
No fancy gadgets or gadgets required—just grab what you have and get creative. This is the kind of spread you pull together with whatever’s on hand, no special equipment necessary.
Step-by-Step Instructions
- Prep Your Ingredients (5-7 minutes)
Wash and slice your fresh veggies and fruit. I like cucumber rounds, halved cherry tomatoes, and apple slices (tossed in a little lemon juice to prevent browning if you have it). Cut or cube your cheese into bite-sized pieces. If you bought a block, a sharp knife makes this quick. - Arrange the Board (3-5 minutes)
Place small bowls on your board or plate for the olives and hummus. Arrange crackers around the edges, then cluster cheese, veggies, and fruit in groups. I like to mix colors and textures for visual appeal—bright reds next to creamy whites, greens next to golden crackers. - Add Optional Extras
If using nuts or pickles, scatter them in small piles or bowls around the board. These add surprise flavors and crunch. - Final Touches
If you have any fresh herbs like mint or basil, toss a few leaves on top for a pop of color and freshness. It’s a small touch that makes a big difference. - Serve Immediately or Cover and Chill
This board is best fresh but can be covered and refrigerated for up to 4 hours if you want to prep early.
That’s it! Seriously, no cooking, no baking, no heat. Just fresh, simple ingredients brought together with zero stress. And if you want to keep the no-heat vibe going, I highly recommend the Quick Rotisserie Chicken Caesar Wrap for a light meal that’s just as easy to throw together.
Expert Tips & Troubleshooting
After assembling this board more times than I can count, here’s what I’ve learned:
- Keep It Simple — You don’t need fancy cheeses or exotic dips. Stick with what’s affordable and fresh. Quality over quantity wins every time.
- Balance Flavors — Make sure to include something salty (olives or nuts), something creamy (cheese or hummus), something crunchy (crackers or veggies), and something sweet (fruit). It keeps every bite interesting.
- Prep Ahead with Care — If you slice fruit too early, it can brown or get soggy. Toss apple slices in lemon juice or prep fruit right before serving.
- Don’t Overcrowd — Give each item space on the board. It looks prettier and makes it easier to grab.
- Keep Dips Cold — If you’re serving outdoors, don’t forget to keep your hummus or dip chilled to stay fresh.
Common hiccup: Sometimes crackers get soggy if they touch juicy fruit or wet veggies. I solve this by placing crackers on one side of the board and fruit/veggies on the other, or using small bowls for juicy items.
Variations & Substitutions
Once you have the basics down, you can mix and match endlessly. Here are some fun twists I’ve tried and loved:
- Vegan Version — Swap cheese for vegan cheese slices or marinated tofu cubes. Use guacamole or baba ganoush instead of hummus.
- Protein Boost — Add hard-boiled eggs or pre-cooked rotisserie chicken slices. This instantly turns the snack board into a fuller meal.
- Sweet Tooth — Include dried fruits like apricots or figs, or add a small bowl of nut butter for dipping crackers and fruit.
- Spicy Kick — Add pickled jalapeños or a sprinkle of chili flakes on the hummus for a little heat.
- International Flair — Swap crackers for pita chips, cheese for feta, and hummus for tzatziki to give your board a Mediterranean vibe.
Feel free to swap any ingredient for what you have on hand. That’s the fun part about this no-cook snack board—it’s as flexible as your fridge! If you want more ideas for quick, no-heat meals, check out the Easy 8-Minute No-Cook Greek Orzo Salad for another fresh and speedy option.
Serving & Storage
This snack board is best enjoyed fresh, but here’s how to keep it tasting great if you need to store leftovers or prep in advance:
- Serving Suggestions: Serve slightly chilled or at room temperature. I love it with a cold lemonade or iced tea on the side for a complete summer vibe.
- Storage Tips: Cover leftovers tightly with plastic wrap or store components separately in airtight containers. Crackers should be kept dry to avoid sogginess.
- How Long It Lasts: Veggies and fruit are best within 24 hours. Cheese can last up to 3 days refrigerated. Dips like hummus should be eaten within 2-3 days.
- Make Ahead: You can prep the cutting and slicing earlier in the day, but assemble the board close to serving time to keep everything fresh and crisp.
For easy grab-and-go snacks, you can even portion the components into small containers or bento boxes. It’s a great way to avoid the drive-thru during hectic summer days.
Nutrition Information
I’m not a nutritionist, but here’s a rough idea of what you’re getting per serving (assuming 4 servings from the board):
| Nutrient | Amount |
|---|---|
| Calories | 280 |
| Protein | 10g |
| Carbohydrates | 30g |
| Dietary Fiber | 5g |
| Sugars | 8g |
| Total Fat | 12g |
| Saturated Fat | 5g |
| Sodium | 450mg |
This snack board offers a good mix of macronutrients with fiber and protein to keep you satisfied. The fat mostly comes from cheese and nuts, while the carbs come from fruit and crackers. It’s a balanced snack that feels indulgent but keeps things on the lighter side.
Final Thoughts
So, there you have it—my No-Cook Student Summer Snack Board that’s easy, budget-friendly, and downright delicious. It’s perfect for those days when you want something fresh and fuss-free without spending a fortune or heating up the kitchen.
This board has saved me from many hangry moments and turned quick snacks into little celebrations. Plus, it’s a great way to enjoy simple ingredients in a new way, and it’s endlessly customizable to fit your taste or what’s on sale.
If you try this recipe, I’d love to hear how you make it your own. Drop a comment below with your favorite add-ins or any questions. I check comments daily and am always happy to help you tweak it for your kitchen.
Happy snacking—and here’s to keeping cool and eating well all summer long!
FAQs
Can I make this snack board vegan?
Absolutely! Swap out the cheese for your favorite vegan cheese or marinated tofu cubes. Use hummus or guacamole for creaminess and keep the fresh veggies and fruit. It’s just as satisfying and easy.
What if I don’t have access to a big grocery store?
No worries. This recipe shines because it uses simple, common ingredients. Local corner stores or farmers markets are great for fresh veggies and fruit, and basic crackers and cheese are usually available. Get creative with what you find!
How long can I store the assembled board?
Best served fresh! If you need to prep ahead, slice veggies and fruit separately and assemble close to serving time. Cheese and crackers keep longer if stored separately. Dips like hummus should be eaten within 2-3 days refrigerated.
Can I add protein to make this more filling?
Yes! Hard-boiled eggs, rotisserie chicken slices, or roasted nuts all add a nice protein boost. This turns your snack board into a light meal, perfect for study sessions or quick lunches.
Is this snack board kid-friendly?
Definitely! Most kids love crackers, cheese, and fruit. You can adjust veggies based on their preferences and keep dips mild. It’s a great way to encourage healthy snacking without the fuss.
Can I make this on a tighter budget?
For sure. Focus on one or two types of crackers, a block of affordable cheese, and whatever fresh fruit and veggies are cheapest that week. Skip extras like nuts or olives if needed. The key is fresh and simple.
What’s your favorite dip to pair with this board?
I’m a fan of classic hummus, but tzatziki or a herby Greek yogurt dip add freshness and creaminess. Sometimes I even mix plain yogurt with a bit of lemon juice and herbs for a quick, tangy dip that pairs perfectly with crunchy veggies.
Pin This Recipe!
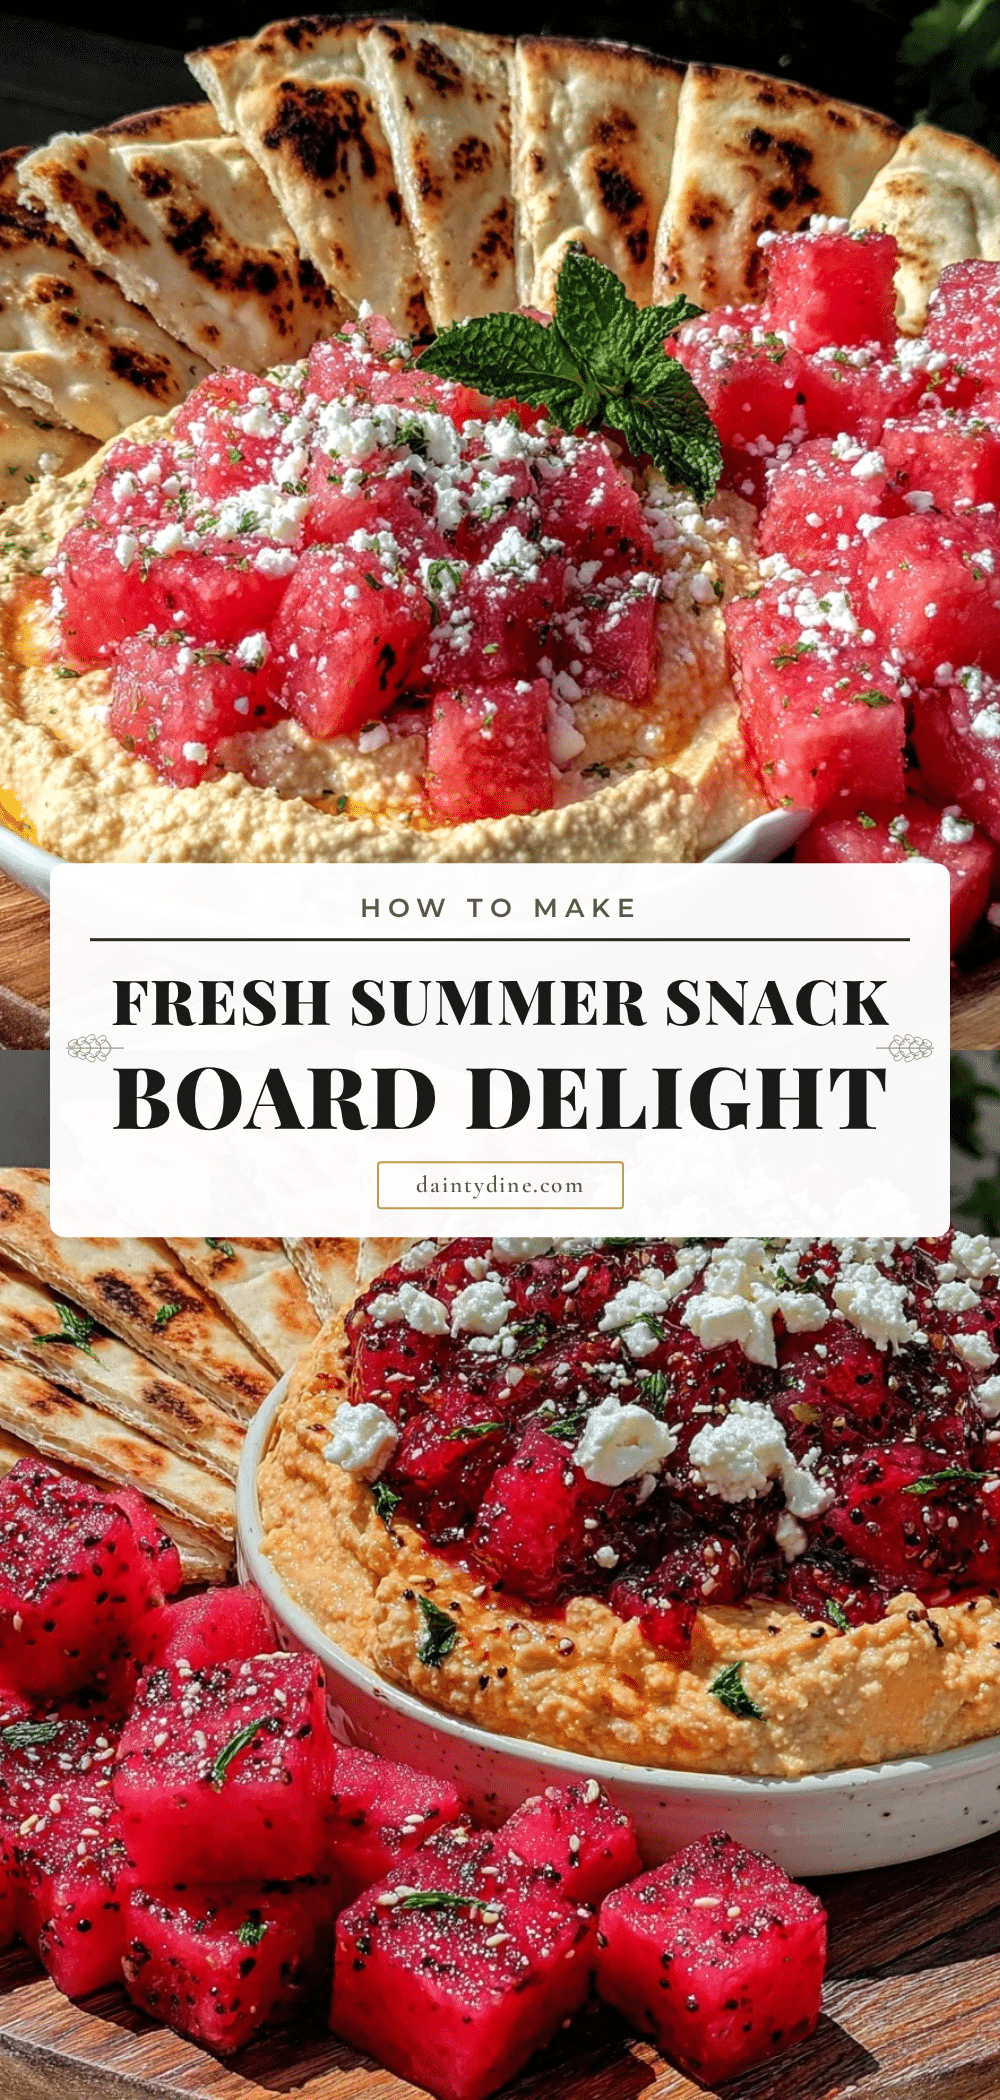
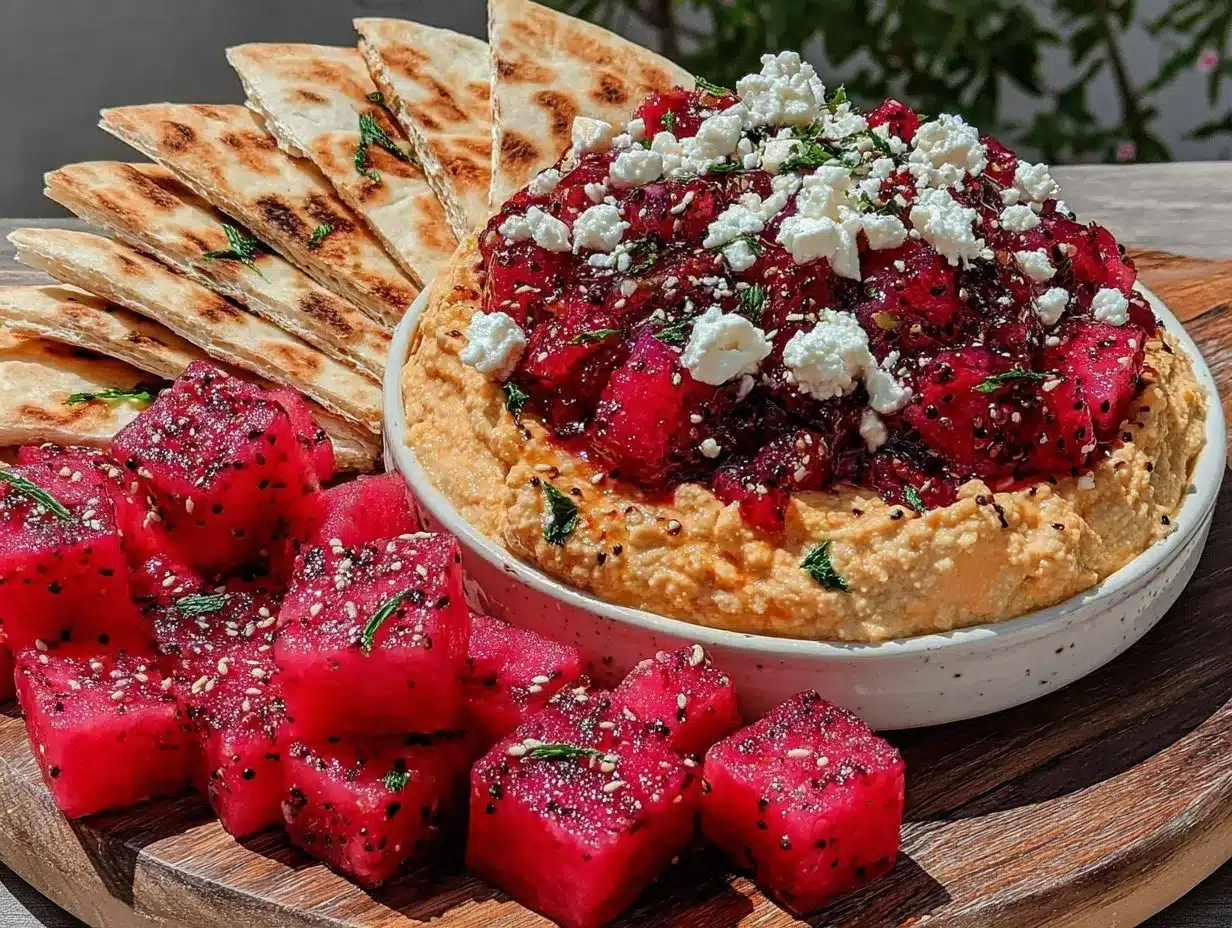
No-Cook Student Summer Snack Board

A quick, fresh, and budget-friendly no-cook snack board perfect for hot summer days, study breaks, or last-minute hangouts. This easy recipe combines crunchy crackers, creamy cheese, fresh veggies, and sweet fruit for a balanced and satisfying snack.
- Prep Time: 10 minutes
- Cook Time: 0 minutes
- Total Time: 10 minutes
- Yield: 4 servings 1x
- Category: Snack
- Cuisine: American
Ingredients
- 8 oz (225g) assorted crackers (e.g., water crackers, multigrain)
- 8 oz (225g) cheese (cheddar, mozzarella, babybel, string cheese, or brie wedge)
- 1–2 cups fresh veggies (cucumber slices, cherry tomatoes, carrot sticks, bell pepper strips)
- ½ cup (75g) jarred black or green olives, pitted
- 1 cup fresh fruit (grapes, apple slices, or berries)
- ½ cup (120g) hummus or dip (store-bought hummus or tzatziki)
- Optional: ¼ cup (30g) roasted nuts (almonds or cashews)
- Optional: a few spears pickles or pickled vegetables
- Optional: fresh herbs like mint or basil for garnish
Instructions
- Wash and slice fresh veggies and fruit. For apples, toss slices in lemon juice to prevent browning if available. Cut or cube cheese into bite-sized pieces.
- Place small bowls or ramekins on your serving board or plate for olives and hummus. Arrange crackers around the edges.
- Cluster cheese, veggies, and fruit in groups on the board, mixing colors and textures for visual appeal.
- If using nuts or pickles, scatter them in small piles or bowls around the board.
- Add fresh herbs like mint or basil on top for a pop of color and freshness.
- Serve immediately or cover and refrigerate for up to 4 hours if prepping ahead.
Notes
Keep crackers separate from juicy fruits and veggies to avoid sogginess. Toss apple slices in lemon juice to prevent browning. Keep dips chilled if serving outdoors. This snack board is highly customizable and forgiving—swap ingredients based on availability and preference.
Nutrition
- Serving Size: Approximately 1/4 of
- Calories: 280
- Sugar: 8
- Sodium: 450
- Fat: 12
- Saturated Fat: 5
- Carbohydrates: 30
- Fiber: 5
- Protein: 10
Keywords: no-cook snack, summer snack, student snack, budget recipe, easy snack board, fresh snack, cheese board, healthy snack