Love this? Save it for later!
Share the inspiration with your friends
I had refused to make pot pie for years. Something about the whole “pie” thing felt like too much work for a Tuesday night. Pastry crust, blind baking, filling that always seemed to bubble over. No thanks. Then last November, my neighbor Mark knocked on my door holding a cast iron skillet with steam still rising off it. “I made too much,” he said. But I saw the look on his face—he wasn’t getting rid of extra food. He was showing off. And honestly? I couldn’t blame him.
That skillet version changed everything. No fussy crust. No rolling pin. Just a golden, flaky top sitting on a creamy, veggie-packed filling that used up every last bit of turkey from the fridge. I stood there in my doorway, fork in hand, eating straight from the pan while Mark pretended not to watch. “I could get used to this,” I said between bites. He just laughed. But I meant it.
I spent the next few days figuring out how to make it my own. The first attempt was too soupy. The second needed more seasoning. The third—well, the third was the one that made me text Mark a photo with the caption “I win.” This Cozy Leftover Turkey Pot Pie Skillet is that version. It’s everything you want from comfort food without the hours of work. The filling is thick, creamy, and packed with tender turkey and vegetables. The topping is buttery and crisp in all the right places. And the best part? It comes together in about 30 minutes, start to finish.
Maybe you’ve got a container of leftover turkey sitting in your fridge right now, staring at you every time you open the door. Maybe you’re tired of the same old sandwiches. I get it. This recipe is for those nights when you want something that feels special but doesn’t require a trip to the store or a sink full of dishes. One skillet. One happy dinner. Let’s make it happen.
Why You’ll Love This Recipe
I’ve tested this recipe more times than I care to admit. The first batch was good. The fifth was great. By the tenth, I knew I had something worth sharing. Here’s what makes this Cozy Leftover Turkey Pot Pie Skillet stand out from every other version out there:
- Quick & Easy: From fridge to table in 30 minutes flat. No pie crust wrestling, no complicated steps. Just simple cooking that works every time.
- Simple Ingredients: You probably already have most of these in your pantry. Leftover turkey, frozen vegetables, butter, flour, milk, and a few seasonings. That’s it.
- Perfect for Leftovers: This was literally designed for that container of turkey taking up space in your fridge. It also works beautifully with rotisserie chicken if you’re starting from scratch.
- Crowd-Pleaser: I’ve served this to picky eaters, holiday guests, and my own skeptical self. Everyone goes back for seconds. The crispy biscuit topping is the star.
- Unbelievably Comforting: There’s something about that creamy filling and buttery topping that just hits different. It’s the kind of meal that makes you slow down and actually enjoy your evening.
What makes this recipe different is the technique. Instead of a traditional pie crust, I use refrigerated biscuit dough cut into small rounds. They get golden and flaky on top while the filling stays thick and luscious underneath. No rolling, no chilling, no stress. Just pure comfort food magic in a single skillet.
This isn’t just another leftover recipe. It’s the one that makes you forget you’re eating leftovers at all. It’s the one that turns a random Tuesday dinner into something you’ll actually look forward to. And honestly? It’s the kind of meal that makes closing your eyes after the first bite feel completely natural.
What Ingredients You Will Need
This recipe uses simple, everyday ingredients to create something that tastes like you spent hours in the kitchen. Most of these are pantry staples or leftovers you already have on hand. Here’s what you’ll need:
For the Filling
- 3 tablespoons unsalted butter (I use Land O’Lakes for consistent results)
- 1 medium yellow onion, diced (about 1 cup) (adds savory depth)
- 2 medium carrots, peeled and diced (about 1 cup)
- 2 celery stalks, diced (about ½ cup)
- 3 cloves garlic, minced
- ⅓ cup all-purpose flour (creates the thick, creamy base)
- 2 cups low-sodium chicken or turkey broth (I prefer Swanson’s for flavor)
- 1 cup whole milk (or half-and-half for extra richness)
- 3 cups cooked turkey, shredded or diced (leftover dark and white meat both work great)
- 1 cup frozen peas (no need to thaw)
- ½ cup frozen corn kernels (optional, but adds sweetness)
- 1 teaspoon dried thyme
- ½ teaspoon dried rosemary
- ½ teaspoon salt (plus more to taste)
- ¼ teaspoon black pepper
- ¼ teaspoon garlic powder
For the Topping
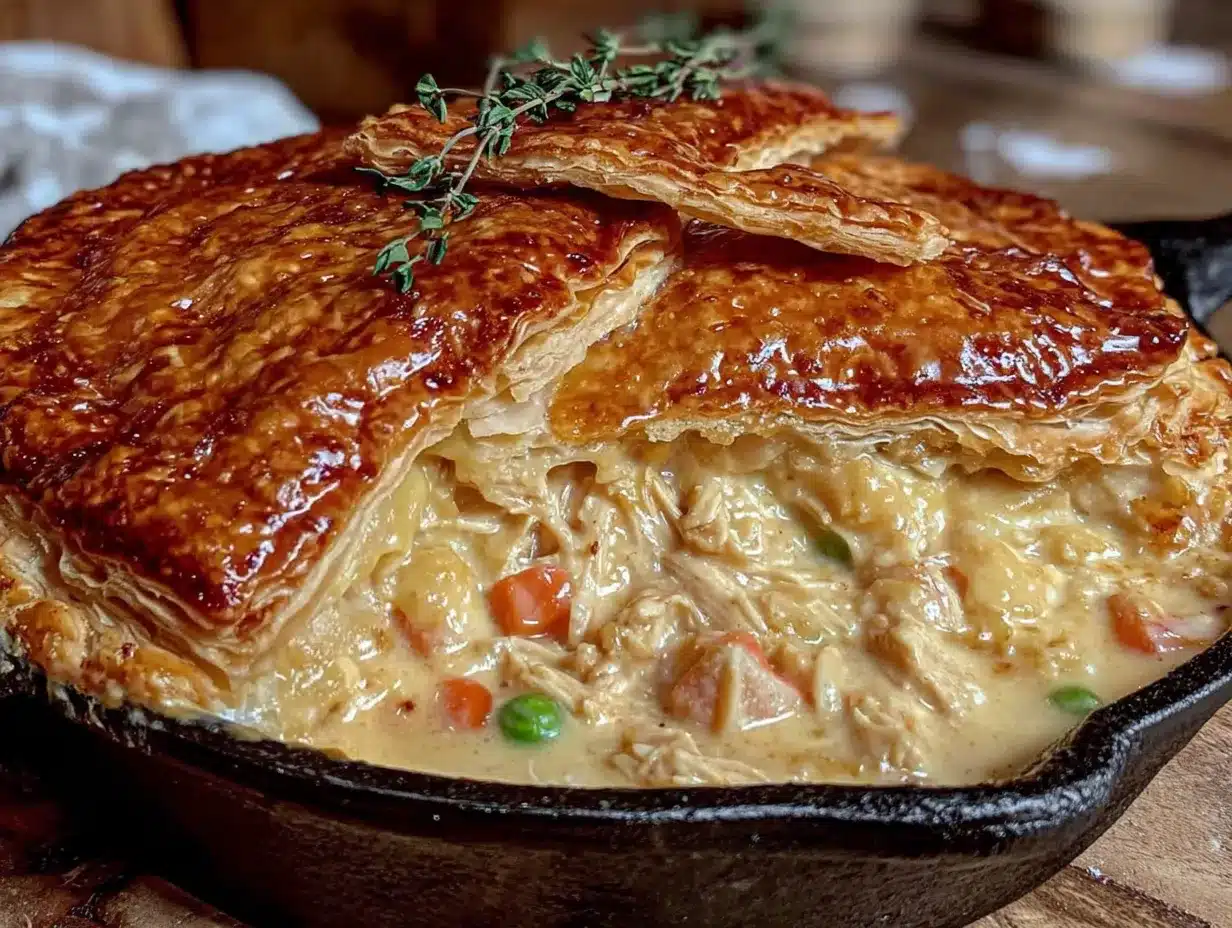
- 1 can (16.3 oz) refrigerated buttermilk biscuits (I recommend Pillsbury Grands! for best texture)
- 1 large egg, beaten (for egg wash)
- 1 tablespoon melted butter (for brushing after baking)
- Flaky sea salt (optional, for finishing)
Let me share a few ingredient notes I’ve learned through trial and error. For the turkey, I like using a mix of white and dark meat. The dark meat stays juicier, while the white meat adds nice texture. If you’re using leftover turkey that’s been in the fridge a few days, make sure to shred it rather than cube it—it incorporates more evenly into the filling.
For the vegetables, fresh carrots and celery give the best texture. I’ve tried using frozen mixed vegetables in a pinch, and while it works, the fresh ones hold up better during cooking. The peas and corn can go straight from the freezer into the skillet—no thawing needed.
The biscuits are where this recipe really shines. I’ve tested this with homemade biscuit dough, and while delicious, it adds 20 minutes of work. The refrigerated biscuits save time and deliver consistently flaky results. Just make sure you get the “Grands!” size, not the small ones. You want those big, fluffy rounds that puff up beautifully.
Equipment Needed
You don’t need much for this recipe, which is one of the reasons I love it. Here’s what you’ll need:
- 10-inch cast iron skillet (or any oven-safe skillet of similar size) — This is my go-to for even heating and that beautiful presentation. If you don’t have cast iron, a stainless steel or enameled skillet works fine. Just make sure it’s oven-safe up to 400°F.
- Sharp chef’s knife — For dicing the vegetables. A dull knife makes this step take twice as long.
- Cutting board
- Wooden spoon or silicone spatula — For stirring the filling. Metal utensils can scratch your skillet.
- 2-inch round biscuit cutter — For cutting the biscuit dough into rounds. A small drinking glass works in a pinch.
- Small bowl — For the egg wash.
- Pastry brush — For brushing the egg wash and melted butter.
- Measuring cups and spoons
If you don’t own a cast iron skillet, don’t run out and buy one just for this recipe. A 9×13 baking dish works too—just transfer the filling to the dish, top with biscuits, and bake. The presentation won’t be as rustic, but the taste will be the same.
Preparation Method
Let me walk you through this step by step. I’ve included all the little details that make the difference between a good pot pie and a great one.
- Preheat your oven to 400°F. Position the rack in the middle. This gives the biscuits room to rise without burning on the bottom.
- Melt the butter in your cast iron skillet over medium heat. Let it foam up, then subside. That’s your signal the butter is hot enough to start cooking. Add the diced onion, carrots, and celery. Cook for 5-6 minutes, stirring occasionally, until the vegetables soften and the onions turn translucent. You should smell that sweet, savory aroma filling your kitchen.
- Add the minced garlic and cook for 30 seconds until fragrant. Don’t skip this timing—garlic burns fast and turns bitter. I learned this the hard way when I got distracted by my phone and ended up with garlic that looked like tiny brown pebbles.
- Sprinkle the flour over the vegetables. Stir constantly for 1-2 minutes until the flour is fully incorporated and starts to turn golden. This step is called making a roux, and it’s what gives your filling that thick, luxurious texture. The flour needs to cook a bit to lose its raw taste.
- Slowly pour in the chicken broth while stirring continuously. I pour about ¼ cup at a time, letting it incorporate before adding more. This prevents lumps from forming. The mixture will start to thicken almost immediately.
- Pour in the milk and continue stirring. Bring the mixture to a gentle simmer, not a rolling boil. You’ll see it transform from a thin liquid to a thick, creamy sauce in about 2-3 minutes. If it gets too thick, add a splash more broth. Too thin? Let it simmer another minute.
- Add the shredded turkey, frozen peas, and frozen corn. Stir everything together until the turkey is warmed through and the peas are bright green. This takes about 2 minutes. Season with thyme, rosemary, salt, pepper, and garlic powder. Taste it now—this is your chance to adjust the seasoning. I always add a pinch more salt than I think I need.
- Remove the skillet from heat. Let it sit while you prepare the biscuits. This gives the filling a moment to settle and thicken slightly.
- Open the can of biscuits and separate them. On a lightly floured surface, use your biscuit cutter to cut each biscuit into a round shape. Don’t twist the cutter—press straight down and lift. Twisting seals the edges and prevents the biscuits from rising properly. Arrange the biscuit rounds on top of the filling in a single layer. They can touch slightly, but leave a little space between them for steam to escape.
- Brush the tops of the biscuits with the beaten egg. This gives them that gorgeous golden-brown color. Sprinkle with flaky sea salt if you’re using it.
- Bake for 15-18 minutes until the biscuits are puffed and golden brown and the filling is bubbling around the edges. The last 2 minutes are crucial—watch closely so the biscuits don’t over-brown. If they’re getting too dark, tent loosely with foil.
- Remove from the oven and brush the hot biscuits with melted butter. This adds flavor and gives them a beautiful sheen. Let the skillet cool for 5 minutes before serving. The filling will be extremely hot, and letting it rest helps it set up properly.
One thing I’ve learned: don’t rush the roux step. That 1-2 minutes of cooking the flour might seem like nothing, but it’s what separates a silky filling from a pasty one. I once tried to speed through it and ended up with filling that tasted like raw flour. Not my finest moment.
Cooking Tips & Techniques
After making this recipe more times than I can count, I’ve picked up a few tricks that make the process smoother and the results more consistent. Here are my best tips:
Don’t skip the mirepoix. That classic combination of onion, carrot, and celery isn’t just for show. It builds the flavor foundation of the entire dish. Take the time to dice them evenly—about ¼-inch pieces. Uneven pieces mean some will be undercooked while others turn to mush.
Use cold biscuits for the topping. If your biscuit dough gets warm and sticky, pop it in the freezer for 5 minutes before cutting. Cold biscuits rise higher and stay flakier. I learned this after a batch of biscuits that spread into flat, sad pancakes instead of puffy golden rounds.
Watch your liquid ratio. The filling should be thick but still saucy. If it looks too thick before baking, add a splash of broth. If it’s too thin, let it simmer an extra minute or two. The biscuits will absorb some liquid during baking, so err on the slightly thinner side. My first attempt was so thick it was almost like paste—edible, but not ideal.
Let the skillet rest before serving. I know it’s tempting to dig in immediately, but those 5 minutes of resting time allow the filling to set up. If you serve it too soon, you’ll end up with a soupy mess that runs all over the plate. Trust me on this one.
For extra golden biscuits, brush them with a second coat of egg wash halfway through baking. It adds another layer of color and shine. I do this when I’m making the recipe for guests and want that bakery-style finish.
One mistake I still make: forgetting to check the internal temperature of the turkey. If your leftover turkey has been in the fridge for more than 3 days, make sure it’s heated through to 165°F. Food safety isn’t glamorous, but it’s important.
Variations & Adaptations
This recipe is incredibly flexible. Here are some variations I’ve tried and loved:
Chicken Pot Pie Version: Swap the turkey for shredded rotisserie chicken. Use the same measurements and cooking time. It’s perfect for those nights when you’re craving comfort food but don’t have leftovers.
Vegetarian Option: Omit the turkey entirely and double the vegetables. Add 1 can of drained chickpeas for protein and texture. Use vegetable broth instead of chicken broth. The filling will be slightly lighter but just as satisfying.
Gluten-Free Adaptation: Use gluten-free all-purpose flour for the roux and gluten-free biscuit dough for the topping. I’ve tested this with King Arthur’s gluten-free flour blend, and the texture was surprisingly close to the original. Just note that gluten-free biscuits won’t rise as much.
Dairy-Free Version: Substitute the butter with vegan butter or olive oil. Use unsweetened oat milk or almond milk instead of whole milk. The filling will be slightly less creamy but still delicious. I’ve made this for dairy-free friends and they didn’t miss a thing.
Herb Variations: Try adding fresh sage or parsley instead of dried herbs. Stir in 2 tablespoons of fresh chopped parsley right before topping with biscuits. It adds a bright, fresh note that cuts through the richness.
Spicy Twist: Add ½ teaspoon of smoked paprika and a pinch of cayenne pepper to the filling. It gives the pot pie a subtle warmth that’s especially nice on cold winter nights.
My personal favorite variation? Adding a handful of chopped mushrooms along with the vegetables. They add an earthy depth that complements the turkey beautifully. I tried this on a whim one night when I had mushrooms that needed using up, and now I do it every time.
Serving & Storage Suggestions
This skillet pot pie is best served hot, straight from the oven. Here’s how to make the most of it:
Serving Temperature: Let it cool for 5 minutes after baking, then serve immediately. The filling will be piping hot, so warn your family or guests. I like to serve it with a side salad dressed with a simple vinaigrette—the acidity cuts through the richness of the pot pie beautifully.
Presentation: Bring the whole skillet to the table. There’s something about that rustic, one-pan presentation that makes everyone feel special. Garnish with a sprinkle of fresh parsley or thyme leaves for a pop of color.
Complementary Dishes: This pot pie is hearty enough to stand alone, but it pairs wonderfully with roasted green beans, steamed broccoli, or a simple side of cranberry sauce (especially if you’re using leftover Thanksgiving turkey). A glass of crisp white wine or cold beer works well too.
Storage: Leftovers keep in the refrigerator for up to 3 days in an airtight container. The biscuits will soften slightly, but the flavor remains excellent. I actually enjoy the leftovers cold, straight from the fridge—don’t judge me.
Reheating: The best way to reheat is in a 350°F oven for 10-15 minutes. This helps the biscuits crisp back up. The microwave works in a pinch, but the biscuits will be soft and the filling might separate. If microwaving, cover with a damp paper towel to prevent drying out.
Freezing: You can freeze the filling (without biscuits) for up to 3 months. Thaw overnight in the fridge, reheat in a skillet, then top with fresh biscuits and bake. The biscuits don’t freeze well once baked, so always add them fresh.
One thing I’ve noticed: the flavors actually meld and deepen overnight. Day-old pot pie tastes even better than fresh. The herbs have time to infuse the filling, and the texture becomes more cohesive. If you can resist eating it all the first night, you’re in for a treat the next day.
Nutritional Information & Benefits
Here’s the estimated nutritional breakdown per serving (based on 6 servings):
| Nutrient | Amount per Serving |
|---|---|
| Calories | 485 |
| Total Fat | 22g |
| Saturated Fat | 10g |
| Cholesterol | 95mg |
| Sodium | 890mg |
| Total Carbohydrates | 45g |
| Dietary Fiber | 4g |
| Sugars | 8g |
| Protein | 28g |
This recipe offers several nutritional benefits. The turkey provides lean protein that helps keep you full and supports muscle health. The carrots and peas deliver vitamin A and fiber, while the celery adds antioxidants. The butter and milk provide calcium and healthy fats that aid in nutrient absorption.
For those watching their sodium, use low-sodium broth and reduce the added salt. You can also swap the refrigerated biscuits for a homemade version with less salt. The recipe is naturally nut-free and egg-free (aside from the egg wash, which can be omitted).
I believe in balance when it comes to comfort food. This pot pie is indulgent enough to feel like a treat, but packed with enough vegetables and protein to make it a well-rounded meal. It’s the kind of recipe that nourishes both body and soul—and honestly, that’s what cooking should be about.
Conclusion
This Cozy Leftover Turkey Pot Pie Skillet is more than just a recipe—it’s a solution to the eternal question of what to do with leftover turkey. It’s quick enough for a weeknight, impressive enough for company, and comforting enough to make any day feel a little bit special.
I love that this recipe takes something ordinary—leftovers—and transforms it into something extraordinary. The creamy filling, the flaky biscuits, the way it all comes together in one skillet with minimal cleanup. It’s the kind of meal that reminds me why I love cooking in the first place.
I encourage you to make this recipe your own. Adjust the vegetables based on what you have. Try different herbs. Experiment with the biscuit topping. The beauty of this dish is its flexibility. And when you find your perfect version, I’d love to hear about it.
So go ahead—pull that leftover turkey out of the fridge and give this recipe a try. Your taste buds will thank you, your family will be impressed, and you’ll wonder why you ever thought pot pie had to be complicated. Happy cooking, friends!
Frequently Asked Questions
Can I use frozen mixed vegetables instead of fresh?
Absolutely! Frozen mixed vegetables (peas, carrots, corn, green beans) work perfectly. Add them directly to the filling without thawing. Just note that frozen carrots won’t be as firm as fresh ones, so the texture will be slightly softer.
Can I make this recipe without a cast iron skillet?
Yes. Use any oven-safe skillet or transfer the filling to a 9×13 baking dish before topping with biscuits. The cooking time remains the same. If using a baking dish, you might need an extra minute or two of baking since the dish won’t hold heat as well as cast iron.
How do I prevent the biscuits from getting soggy?
Make sure your filling is thick enough before adding the biscuits. If it’s too thin, the liquid will soak into the dough. Also, don’t overcrowd the biscuits—leave a little space between them for steam to escape. Brushing them with egg wash creates a barrier that helps keep them crisp.
Can I use homemade biscuit dough instead of refrigerated?
Definitely. Use your favorite biscuit recipe, cut into rounds, and bake as directed. Homemade biscuits will take about 2-3 minutes longer to bake. Just make sure they’re fully cooked through before serving.
How long do leftovers last in the fridge?
Leftovers keep for up to 3 days in an airtight container. Reheat in a 350°F oven for 10-15 minutes to restore the biscuit texture. The filling may thicken slightly upon standing, so add a splash of broth when reheating if needed.
Pin This Recipe!
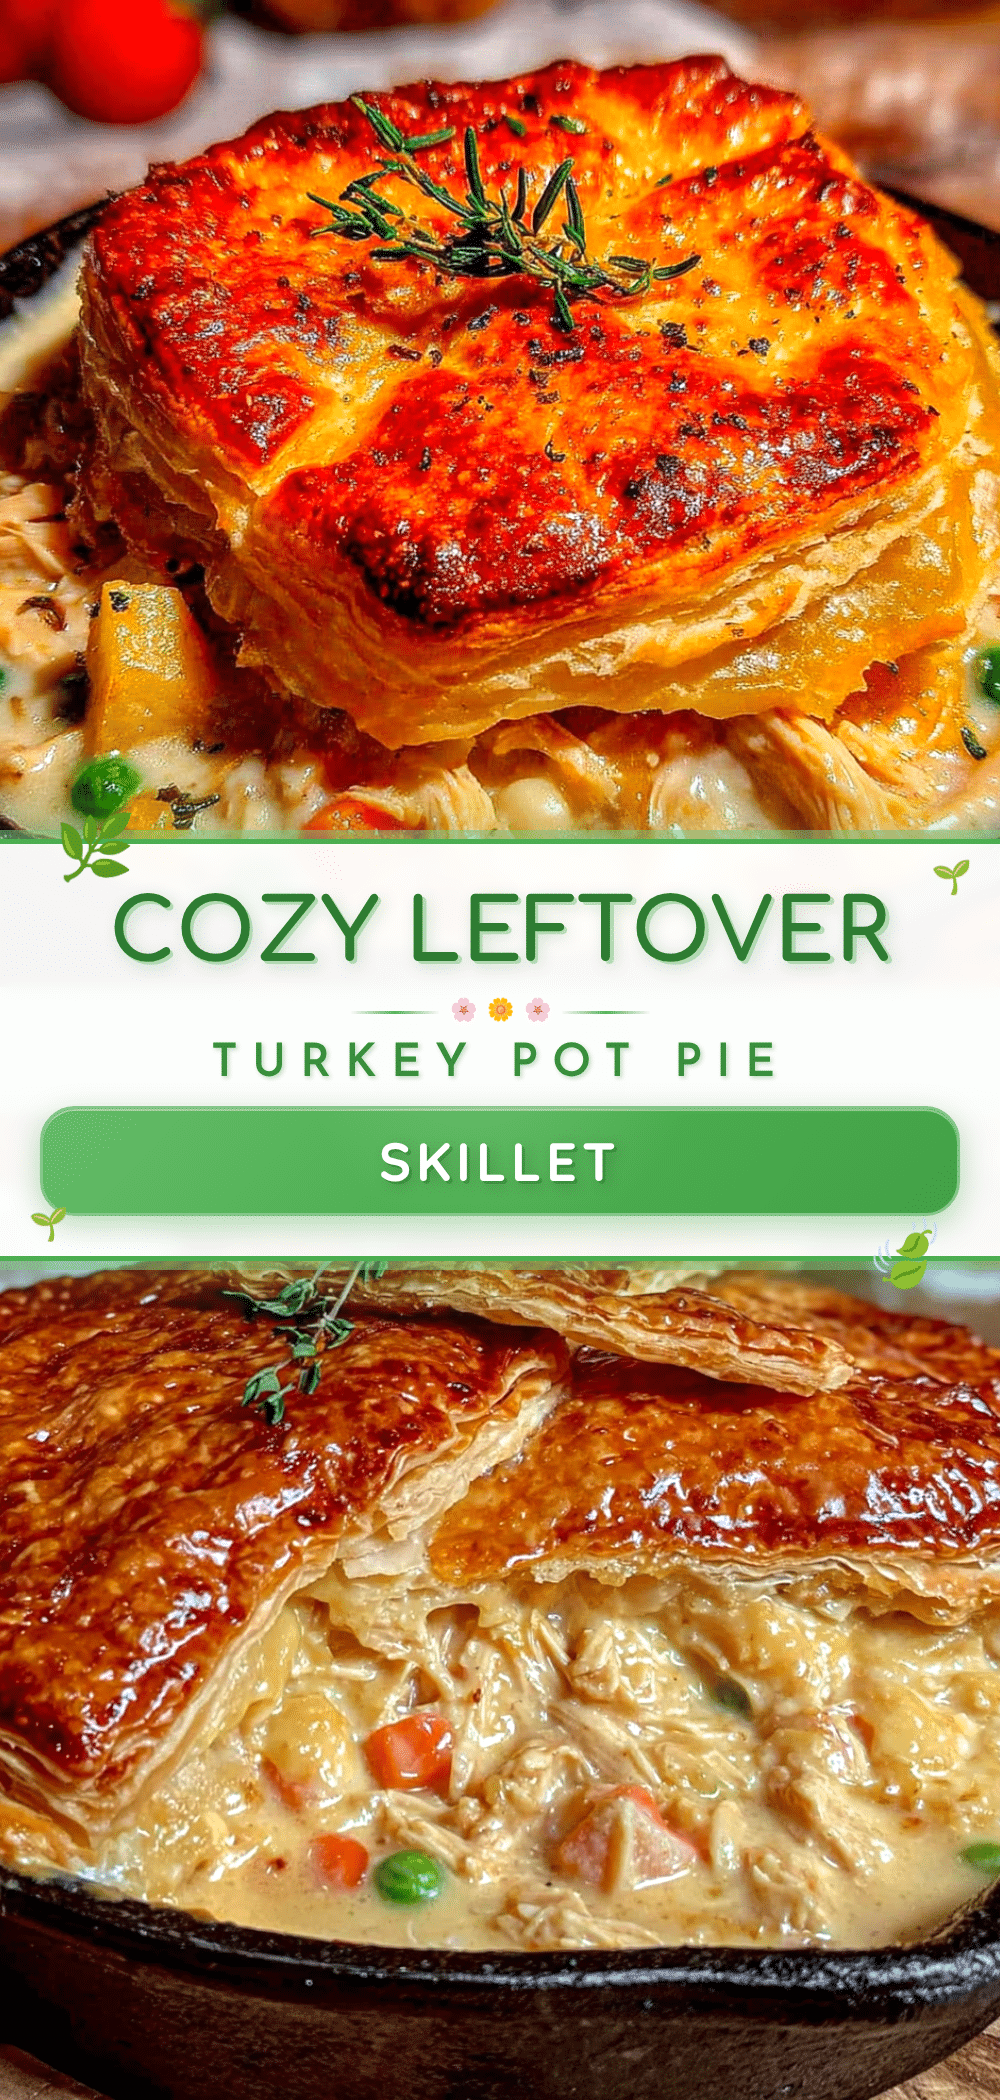
Cozy Leftover Turkey Pot Pie Skillet: Easy 30-Minute Dinner

A quick and easy skillet version of classic pot pie, using leftover turkey and refrigerated biscuit dough for a golden, flaky topping. Ready in 30 minutes, it’s the perfect comfort food for busy weeknights.
- Prep Time: 10 minutes
- Cook Time: 20 minutes
- Total Time: 30 minutes
- Yield: 6 servings 1x
- Category: Main Course
- Cuisine: American
Ingredients
- 3 tablespoons unsalted butter
- 1 medium yellow onion, diced (about 1 cup)
- 2 medium carrots, peeled and diced (about 1 cup)
- 2 celery stalks, diced (about ½ cup)
- 3 cloves garlic, minced
- ⅓ cup all-purpose flour
- 2 cups low-sodium chicken or turkey broth
- 1 cup whole milk (or half-and-half)
- 3 cups cooked turkey, shredded or diced
- 1 cup frozen peas
- ½ cup frozen corn kernels (optional)
- 1 teaspoon dried thyme
- ½ teaspoon dried rosemary
- ½ teaspoon salt (plus more to taste)
- ¼ teaspoon black pepper
- ¼ teaspoon garlic powder
- 1 can (16.3 oz) refrigerated buttermilk biscuits (e.g., Pillsbury Grands!)
- 1 large egg, beaten
- 1 tablespoon melted butter
- Flaky sea salt (optional, for finishing)
Instructions
- Preheat oven to 400°F. Position rack in the middle.
- Melt butter in a 10-inch cast iron skillet over medium heat. Add onion, carrots, and celery; cook 5-6 minutes until softened and onions are translucent.
- Add minced garlic and cook 30 seconds until fragrant.
- Sprinkle flour over vegetables; stir constantly for 1-2 minutes until flour is incorporated and starts to turn golden.
- Slowly pour in chicken broth, about ¼ cup at a time, stirring continuously to prevent lumps.
- Pour in milk and stir; bring to a gentle simmer. Cook 2-3 minutes until sauce thickens.
- Add shredded turkey, frozen peas, and frozen corn; stir until turkey is warmed through and peas are bright green (about 2 minutes). Season with thyme, rosemary, salt, pepper, and garlic powder. Adjust seasoning to taste.
- Remove skillet from heat and let sit while preparing biscuits.
- Open can of biscuits; on a lightly floured surface, cut each biscuit into a round shape using a 2-inch biscuit cutter (press straight down, do not twist). Arrange biscuit rounds on top of filling in a single layer, leaving a little space between them.
- Brush biscuit tops with beaten egg; sprinkle with flaky sea salt if desired.
- Bake for 15-18 minutes until biscuits are puffed and golden brown and filling is bubbling around the edges. If biscuits brown too quickly, tent loosely with foil.
- Remove from oven; brush hot biscuits with melted butter. Let cool 5 minutes before serving.
Notes
For best results, use a mix of white and dark meat turkey. Shred rather than cube the turkey for even incorporation. If filling is too thick before baking, add a splash of broth; if too thin, let simmer an extra minute. Let skillet rest 5 minutes before serving to allow filling to set. Leftovers keep up to 3 days in the refrigerator; reheat in a 350°F oven for 10-15 minutes to crisp biscuits.
Nutrition
- Serving Size: 1 serving (about 1/6
- Calories: 485
- Sugar: 8
- Sodium: 890
- Fat: 22
- Saturated Fat: 10
- Carbohydrates: 45
- Fiber: 4
- Protein: 28
Keywords: leftover turkey, pot pie, skillet dinner, comfort food, easy dinner, 30-minute meal, turkey pot pie, one-pan meal


