Love this? Save it for later!
Share the inspiration with your friends
My roommate asked why I couldn’t just dump everything in one bowl and call it a day. I was mid-lecture about the proper order of operations for banana bread—wet ingredients first, then dry, fold gently, don’t overmix. The whole spiel. She just stood there holding a can of pumpkin puree, looking at me like I was making things complicated for no reason. I started to explain why that wouldn’t work—then stopped. She had a point.
Honestly, I’d been making banana bread the same way for years. Cream the butter and sugar separately. Mix the dry stuff in another bowl. Slowly combine. It worked fine, but it also meant a mountain of dishes for something I made on a Tuesday night when I was already tired. So I tried her method. I threw everything into one bowl—mashed bananas, pumpkin, eggs, oil, sugar, flour, the works—and stirred. I was certain it would be dense or uneven. Let me tell you, I have never been happier to be wrong.
The loaf came out tender, perfectly spiced, and so moist it practically melted. That was three autumns ago, and I haven’t gone back to the multi-bowl method since. Maybe you’ve been there—standing in your kitchen, staring at a pile of dishes you don’t have the energy to wash, wondering if there’s a better way. There is. This easy one-bowl pumpkin banana bread is it. It’s the recipe that taught me that sometimes the simplest approach is the best one, and I keep making it because it actually works.
Why You’ll Love This Recipe
Let’s be real for a second. You’re here because you want a delicious fall treat without spending your whole evening in the kitchen. I get it. I’ve tested this recipe more times than I can count—through burnt edges, gummy centers, and one memorable loaf that refused to cook in the middle. After all that trial and error, this version is the one that finally nailed it. Here’s why it’s going to become your new go-to:
- One Bowl, Minimal Mess: Everything comes together in a single bowl. No separate mixing bowls for dry and wet ingredients. No extra spatulas to wash. Just one bowl, a whisk, and a loaf pan. Cleanup takes less than five minutes.
- Simple Pantry Ingredients: You probably already have most of these in your kitchen. Bananas, pumpkin puree, flour, sugar, eggs, oil, and basic spices. No fancy extracts or hard-to-find items. I’ve made this with whatever brand of pumpkin was on sale, and it works every time.
- Perfect for Busy Weeknights: This isn’t a weekend project. From start to oven in about 10 minutes. You can mix it up while dinner is cooking, pop it in the oven, and have warm banana bread for dessert. It’s the kind of recipe that makes you feel like you’ve got your life together.
- Crowd-Pleaser Guaranteed: I’ve brought this to potlucks, work parties, and family gatherings. It disappears fast. The combination of pumpkin and banana creates a flavor that even picky eaters love. Kids ask for seconds. Adults ask for the recipe.
- Unbelievably Moist Texture: The pumpkin adds so much moisture that this bread stays soft for days. No dry, crumbly slices here. The texture is tender and almost pudding-like in the best way. Close-your-eyes-after-the-first-bite good.
What makes this different from every other pumpkin banana bread recipe out there? It’s the ratio. I spent weeks tweaking the amount of pumpkin versus banana until I found the sweet spot where neither flavor overpowers the other. The banana adds natural sweetness and structure, while the pumpkin keeps everything incredibly moist without making it heavy. It’s comfort food reimagined—simpler, faster, but with the same soul-soothing satisfaction.
What Ingredients You Will Need
This recipe uses simple, wholesome ingredients that work together to create a loaf that’s greater than the sum of its parts. Most of these are pantry staples, which means you can whip this up on a whim without a special trip to the store. Here’s what you’ll need and why each one matters:
For the Bread Batter
- 2 cups all-purpose flour (I use Gold Medal or King Arthur—both work great. Spoon and level your flour for the best texture; don’t scoop directly from the bag or you’ll end up with a dense loaf)
- 1 teaspoon baking soda (make sure it’s fresh—test it by dropping a bit in vinegar; if it fizzes, you’re good)
- 1/2 teaspoon baking powder (adds a little extra lift alongside the baking soda)
- 1 teaspoon ground cinnamon (the backbone of the warm spice flavor. I prefer McCormick or Simply Organic)
- 1/2 teaspoon ground nutmeg (freshly grated is amazing if you have it, but pre-ground works perfectly)
- 1/2 teaspoon ground ginger (adds a subtle warmth that pairs beautifully with the pumpkin)
- 1/4 teaspoon ground cloves (just a pinch—cloves are strong, so don’t overdo it)
- 1/2 teaspoon salt (enhances all the flavors and balances the sweetness)
- 1 cup mashed ripe bananas (about 2-3 medium bananas. The riper, the better—those spotty bananas that look past their prime are actually perfect for this. They mash easier and add more natural sweetness)
- 1 cup pumpkin puree (not pumpkin pie filling—make sure you grab 100% pure pumpkin. Libby’s is my go-to brand. One 15-ounce can gives you exactly 1 cup plus a little extra for another use)
- 1/2 cup granulated sugar (adds sweetness and helps with the tender crumb)
- 1/2 cup brown sugar, packed (light or dark both work. Dark brown sugar adds a deeper molasses flavor that I personally love)
- 1/3 cup vegetable oil (or any neutral oil like canola or avocado. Oil keeps the bread moist longer than butter would)
- 2 large eggs, room temperature (room temperature eggs incorporate more evenly into the batter. If you forgot to take them out, place them in a bowl of warm water for 5 minutes)
- 1 teaspoon vanilla extract (pure vanilla extract is worth the splurge here—it rounds out the flavors beautifully)
Optional Add-Ins
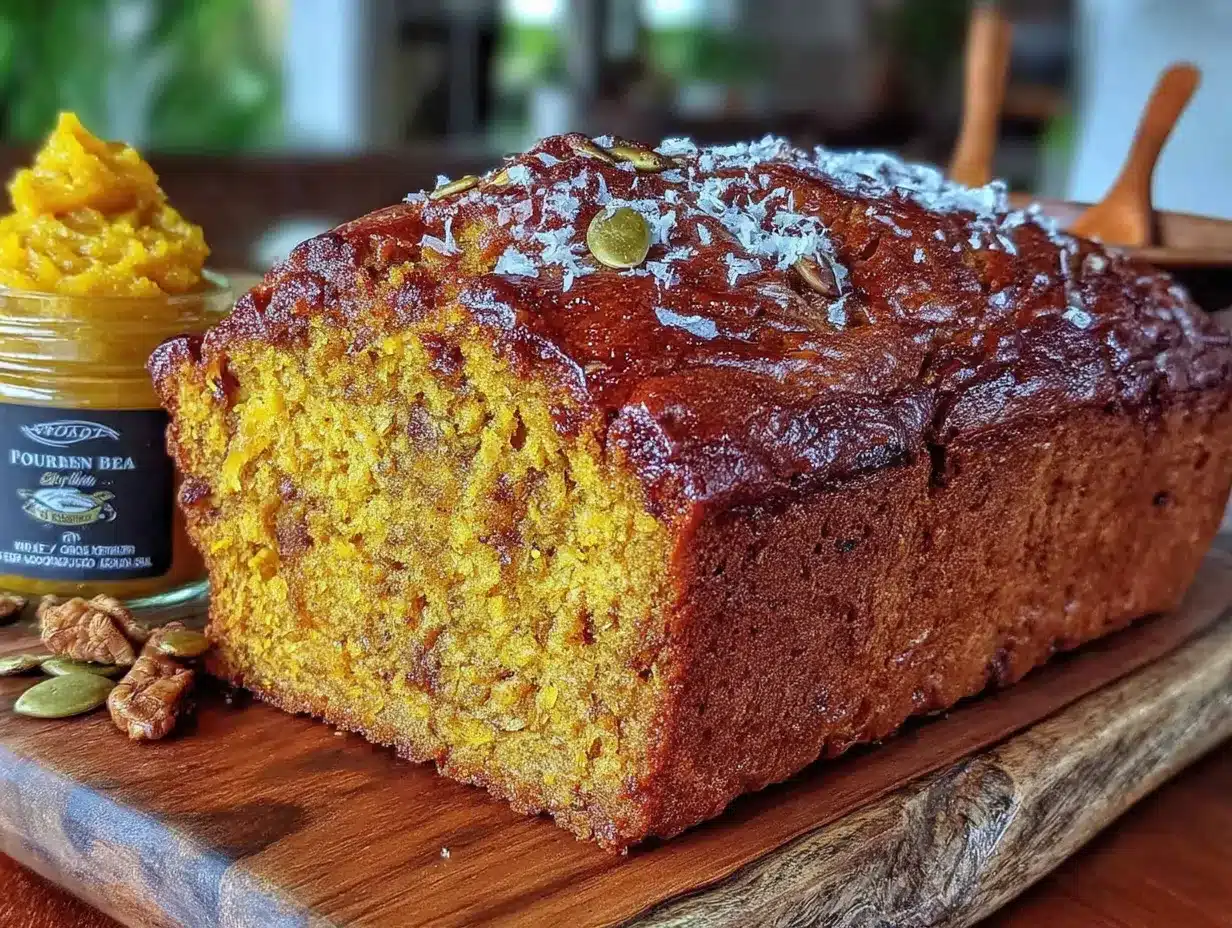
- 1/2 cup chocolate chips (semi-sweet or dark chocolate chips add a lovely contrast to the spiced bread. I’ve used Ghirardelli and Toll House—both are great)
- 1/2 cup chopped walnuts or pecans (for some crunch. Toast them lightly in a dry pan first for extra flavor)
- 1 tablespoon cinnamon sugar for topping (sprinkle on top before baking for a crunchy, sweet crust)
Substitution Guidance: If you need a gluten-free option, swap the all-purpose flour with a 1:1 gluten-free baking blend (I like Bob’s Red Mill). For a dairy-free version, you’re already good since this recipe uses oil instead of butter. If you want to reduce the sugar, you can cut the granulated sugar down to 1/3 cup—the bananas and pumpkin add plenty of natural sweetness. Just note that the texture will be slightly less tender.
Equipment Needed
The beauty of this recipe is that it doesn’t require any fancy equipment. Here’s what you’ll need:
- One large mixing bowl (any medium-to-large bowl will do. I use a ceramic one that’s about 3 quarts, but glass or metal works just as well)
- Whisk or wooden spoon (a whisk works best for incorporating the dry ingredients smoothly, but a sturdy wooden spoon gets the job done too)
- 9×5-inch loaf pan (this is the standard size for banana bread. If you only have an 8×4-inch pan, your loaf will be taller and可能需要 slightly longer baking time)
- Measuring cups and spoons (dry measuring cups for flour and sugar, liquid measuring cup for oil and pumpkin)
- Fork or potato masher (for mashing the bananas. A fork works just fine, but a potato masher makes it quicker)
- Parchment paper or non-stick spray (I prefer parchment paper with overhanging edges—it makes lifting the finished loaf out of the pan so much easier)
- Cooling rack (allows air to circulate around the bread so it cools evenly. If you don’t have one, you can use the inverted loaf pan lid or just let it cool in the pan for 10 minutes before turning out)
- Toothpick or cake tester (for checking doneness. A wooden skewer works too)
Budget-Friendly Tip: If you don’t have a loaf pan, you can bake this in an 8×8-inch square pan or even a muffin tin. Just adjust the baking time—muffins will be done in about 18-22 minutes. I’ve done this in a pinch, and it works perfectly.
Preparation Method
Alright, let’s get to it. This is where the magic happens. Follow these steps, and you’ll have a beautiful loaf of pumpkin banana bread in about an hour. I’ve included all the little details that make the difference between good bread and great bread.
- Preheat your oven to 350°F (175°C). Do this first so the oven is hot and ready when your batter is done. Position the rack in the middle of the oven.
- Prepare your loaf pan. Line a 9×5-inch loaf pan with parchment paper, leaving about 2 inches of overhang on the long sides. This creates handles that make lifting the bread out effortless. If you don’t have parchment, spray the pan generously with non-stick cooking spray and dust with a little flour.
- Mash the bananas. In your large mixing bowl, add the ripe bananas. Use a fork or potato masher to mash them until they’re mostly smooth with a few small lumps remaining. You want some texture—completely smooth bananas can make the bread a bit gummy. It should look like a chunky puree.
- Add the wet ingredients. To the mashed bananas, add the pumpkin puree, granulated sugar, brown sugar, vegetable oil, eggs, and vanilla extract. Whisk everything together until it’s well combined and smooth. The mixture should be a uniform orange-brown color. Don’t worry if it looks a little thin—that’s normal.
- Add the dry ingredients. Directly on top of the wet mixture, add the flour, baking soda, baking powder, cinnamon, nutmeg, ginger, cloves, and salt. Here’s the trick: use a spoon to lightly stir the dry ingredients together on top of the batter before mixing them in. This pre-mixes the spices and leavening agents without needing a separate bowl.
- Mix gently. Fold the dry ingredients into the wet mixture using a spatula or wooden spoon. Stir just until you no longer see streaks of flour. A few small lumps are totally fine. Overmixing at this stage will develop the gluten too much and make your bread tough. You want to see a thick, slightly lumpy batter. It should look like a thick cake batter.
- Fold in add-ins (optional). If you’re using chocolate chips, nuts, or both, gently fold them in now. Reserve a handful to sprinkle on top for a prettier presentation.
- Pour into the pan. Scrape the batter into your prepared loaf pan. Use the spatula to spread it evenly into the corners. The batter will be thick, so take a moment to level the top. Sprinkle any reserved chocolate chips or nuts on top, along with a dusting of cinnamon sugar if you’re using it.
- Bake. Place the pan in the preheated oven and bake for 55-65 minutes. The bread is done when a toothpick inserted into the center comes out clean or with just a few moist crumbs attached. If the top is browning too quickly (around the 40-minute mark), tent the pan loosely with aluminum foil. This prevents the crust from burning while the center finishes baking.
- Cool properly. Remove the pan from the oven and place it on a cooling rack. Let the bread cool in the pan for 10 minutes. Then, using the parchment overhang, lift the bread out of the pan and transfer it to the cooling rack. Let it cool completely before slicing—about 1 hour. I know it’s tempting to cut into it warm, but it will be too fragile and might crumble. Trust me, I’ve learned this the hard way.
Sensory Cues: During baking, your kitchen will fill with the warm, comforting aroma of cinnamon and pumpkin. The bread should be a deep golden brown on top, and the center should feel firm when gently pressed. If you tap the top, it should sound hollow—that’s a good sign it’s done.
Cooking Tips & Techniques
After making this recipe probably two dozen times, I’ve picked up a few tricks that make the process smoother and the results more consistent. Here are the things I wish someone had told me when I started:
Don’t overmix the batter. This is the number one mistake I see. When you stir the flour into the wet ingredients, you’re activating the gluten. The more you stir, the more gluten develops, and the denser and tougher your bread becomes. Stir just until the flour disappears. A few streaks are fine. I once got distracted and overmixed a batch—the bread came out so dense it was practically a brick. Learn from my mistake.
Use room temperature ingredients. Cold eggs can seize the batter and make it lumpy. Cold bananas are harder to mash. Take everything out of the fridge about 20 minutes before you start. If you’re short on time, place the eggs in a bowl of warm water for 5 minutes. For the bananas, you can microwave them for 10-15 seconds to soften them up.
Check for doneness the right way. Insert your toothpick into the very center of the loaf. If it comes out clean, you’re done. But here’s the thing—if you hit a pocket of melted chocolate chip, the toothpick might look wet even when the bread is fully baked. So test in a spot that’s free of add-ins. I also like to check the internal temperature with an instant-read thermometer; 200-205°F (93-96°C) means it’s perfectly baked.
Let it cool completely. This is hard, I know. Warm banana bread is incredible. But if you slice it too soon, the texture will be gummy and it might fall apart. The bread continues to set as it cools. Patience pays off here. I usually make this in the evening and let it cool while I clean up. By the time I’m done, it’s ready to slice.
Multitasking tip: While the bread is baking, wash your single bowl and spatula. By the time the bread comes out, your kitchen is already clean. This is one of those small wins that makes weeknight baking feel manageable.
Variations & Adaptations
One of the best things about this recipe is how adaptable it is. I’ve tried quite a few variations over the years, and here are my favorites. Feel free to mix and match based on what you have or what you’re craving:
Chocolate Chip Pumpkin Banana Bread: This is my most-requested version. Fold in 1/2 cup of semi-sweet chocolate chips. The chocolate melts into little pockets of richness that contrast beautifully with the spiced bread. I’ve also tried white chocolate chips, and while they’re sweeter, they’re also delicious. For a fun twist, use mini chocolate chips—they distribute more evenly.
Nutty Crunch Version: Add 1/2 cup of chopped walnuts or pecans. Toast them in a dry skillet over medium heat for 3-4 minutes until fragrant—this deepens their flavor significantly. I once forgot to toast them and the nuts tasted a bit raw. Toasting makes a real difference. You can also use pumpkin seeds (pepitas) for a seasonal touch.
Gluten-Free Adaptation: Swap the all-purpose flour with a 1:1 gluten-free baking blend that contains xanthan gum. I’ve used Bob’s Red Mill and King Arthur’s measure-for-measure blends with great success. The texture is slightly more crumbly, but the flavor is spot on. Reduce the baking time by 5-10 minutes and check early.
Vegan Version: Replace the two eggs with flax eggs (2 tablespoons ground flaxseed mixed with 6 tablespoons water, let sit for 5 minutes to thicken). Use maple syrup or coconut sugar instead of granulated sugar if you want to keep it refined sugar-free. The texture will be a bit denser, but it’s still delicious. I’ve made this for vegan friends and they loved it.
Spice It Up: If you love a bolder spice profile, add 1/4 teaspoon of cardamom or allspice. You can also swap the individual spices for 2 teaspoons of pumpkin pie spice if that’s what you have on hand. I’ve done both, and they work beautifully.
Muffin Version: Divide the batter into a greased 12-cup muffin tin. Bake at 350°F (175°C) for 18-22 minutes, or until a toothpick comes out clean. This is perfect for grab-and-go breakfasts. The muffins freeze beautifully too.
Serving & Storage Suggestions
This pumpkin banana bread is incredibly versatile when it comes to serving. Here’s how I like to enjoy it, along with tips for keeping it fresh:
Serving Temperature: This bread is delicious at room temperature, but I actually prefer it slightly warm. To warm a slice, pop it in the microwave for 10-15 seconds, or toast it in a toaster oven for 3-4 minutes. The warmth brings out the spices and makes the texture even more tender. For a special treat, spread a pat of butter on a warm slice—it melts into the bread and takes it to another level.
Presentation Ideas: For a simple but pretty presentation, dust the loaf with powdered sugar before slicing. You can also drizzle a simple glaze over the top (1 cup powdered sugar mixed with 2 tablespoons milk and 1/2 teaspoon vanilla). If you’re serving it to guests, arrange slices on a wooden board with a small dish of honey butter or cream cheese spread on the side.
What to Serve With It: A cup of coffee or chai tea is the perfect companion. For breakfast, serve it alongside scrambled eggs and fresh fruit. For dessert, a scoop of vanilla ice cream or a dollop of whipped cream turns it into something special. I’ve also been known to enjoy a slice with a glass of cold milk—simple and satisfying.
Storage Instructions: Store the bread in an airtight container at room temperature for up to 4 days. I wrap mine in plastic wrap first, then place it in a zip-top bag or container. The pumpkin keeps it moist, so it stays fresh longer than regular banana bread. If your kitchen is very warm, you can refrigerate it, but let slices come to room temperature before eating for the best texture.
Freezing: This bread freezes beautifully. Wrap the cooled loaf tightly in plastic wrap, then in a layer of aluminum foil. Freeze for up to 3 months. When you’re ready to enjoy it, thaw overnight in the refrigerator or on the counter for a few hours. You can also freeze individual slices—wrap each slice in plastic wrap and place them in a freezer bag. This way, you can grab a slice whenever the craving hits. To refresh frozen bread, warm it in the oven at 300°F (150°C) for 10 minutes.
Flavor Development: Here’s a little secret—this bread actually tastes better on day two. The flavors have more time to meld together, and the texture becomes even more moist. So don’t be disappointed if you can’t finish the whole loaf on day one. It’s even better the next morning with your coffee.
Nutritional Information & Benefits
While this is definitely a treat, it does have some nutritional perks thanks to the pumpkin and bananas. Here’s a rough estimate of what you’re getting in each slice (based on 10 slices per loaf, without add-ins):
| Nutrient | Amount Per Slice |
|---|---|
| Calories | 280 |
| Total Fat | 10g |
| Saturated Fat | 1.5g |
| Cholesterol | 37mg |
| Sodium | 280mg |
| Total Carbohydrates | 44g |
| Dietary Fiber | 3g |
| Sugars | 24g |
| Protein | 5g |
| Vitamin A | 95% DV |
| Vitamin C | 6% DV |
| Potassium | 280mg |
Health Highlights: Pumpkin is packed with vitamin A, which is great for eye health and immune function. Bananas provide potassium, which supports heart health and muscle function. The fiber content helps with digestion and keeps you feeling full. This isn’t health food by any means, but it’s a more nutrient-dense option than many other baked treats. I feel good about serving it to my family because I know exactly what’s in it.
Dietary Considerations: This recipe is dairy-free as written (since it uses oil instead of butter). It can be made gluten-free and vegan with the substitutions mentioned earlier. It contains eggs, wheat (gluten), and potentially nuts depending on your add-ins. Always check labels if you’re cooking for someone with allergies.
Conclusion
This easy one-bowl pumpkin banana bread is proof that you don’t need complicated techniques or a sink full of dirty dishes to make something truly delicious. It’s the kind of recipe that fits into real life—busy evenings, tired nights, and those moments when you just want something warm and comforting without the fuss. The combination of pumpkin and banana creates a flavor that’s greater than the sum of its parts, and the one-bowl method makes it so simple that you’ll find yourself making it on a whim.
I love this recipe because it reminds me that sometimes the best things come from letting go of the rules. My roommate was right—you really can just dump everything in one bowl and end up with something amazing. So go ahead, customize it to your heart’s content. Throw in some chocolate chips, swap the spices around, or turn it into muffins. Make it your own. And when you do, I’d love to hear about it. Leave a comment below and let me know how it turned out, or tag me in your photos if you share them online. Happy baking!
Frequently Asked Questions
Can I use frozen bananas for this recipe?
Yes, absolutely. Thaw them completely first, then drain off any excess liquid before mashing. Frozen bananas tend to be even sweeter and more flavorful, which is a bonus. Just make sure they’re fully thawed so they mash evenly.
Can I substitute pumpkin pie spice for the individual spices?
Definitely. Use 2 teaspoons of pumpkin pie spice in place of the cinnamon, nutmeg, ginger, and cloves. It’s a convenient shortcut that works perfectly. I’ve done this many times when I was out of one of the individual spices.
Why did my bread sink in the middle?
This usually happens for one of two reasons: the batter was overmixed, or the bread was underbaked. Overmixing develops too much gluten, which can cause the bread to rise unevenly and then collapse. Make sure your oven is fully preheated and bake until a toothpick comes out clean. Also, avoid opening the oven door during the first 30 minutes of baking.
Can I make this without eggs?
Yes, you can use flax eggs as a substitute. Mix 2 tablespoons of ground flaxseed with 6 tablespoons of water, let it sit for 5 minutes to thicken, then use it in place of the eggs. The texture will be slightly denser, but it’s still delicious. I’ve also used commercial egg replacers with good results.
How do I know when the bananas are ripe enough?
Look for bananas that are heavily spotted with brown patches—almost to the point where you think they’re too ripe to eat. The peel should be mostly yellow with plenty of brown spots. The bananas should feel soft when gently squeezed. If they’re still firm or mostly green, they won’t mash well and won’t add enough sweetness or moisture.
Pin This Recipe!
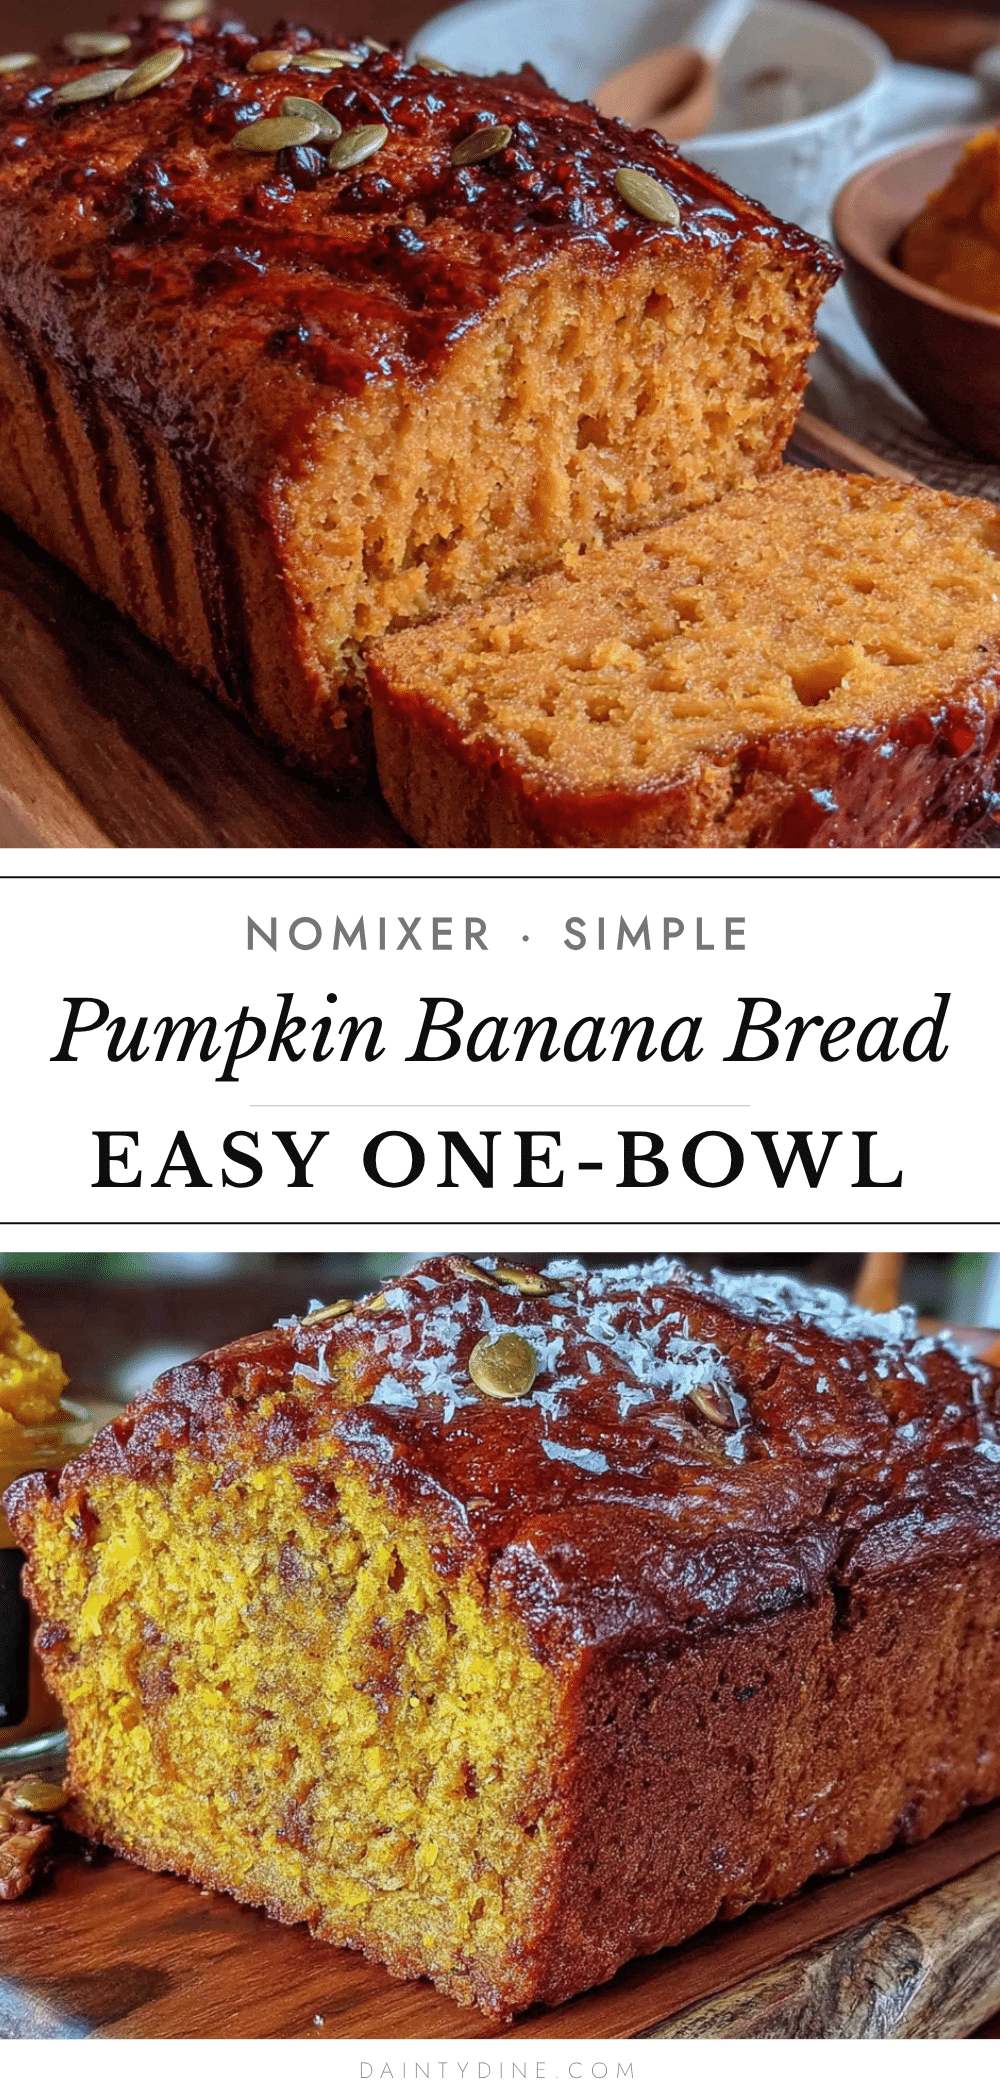
Easy One-Bowl Pumpkin Banana Bread Recipe (Perfect Fall Treat)
This easy one-bowl pumpkin banana bread is tender, perfectly spiced, and incredibly moist. It comes together in a single bowl with simple pantry ingredients, making it perfect for busy weeknights and guaranteed to be a crowd-pleaser.
- Prep Time: 10 minutes
- Cook Time: 55-65 minutes
- Total Time: 1 hour 10 minutes
- Yield: 10 servings 1x
- Category: Dessert
- Cuisine: American
Ingredients
- 2 cups all-purpose flour
- 1 teaspoon baking soda
- 1/2 teaspoon baking powder
- 1 teaspoon ground cinnamon
- 1/2 teaspoon ground nutmeg
- 1/2 teaspoon ground ginger
- 1/4 teaspoon ground cloves
- 1/2 teaspoon salt
- 1 cup mashed ripe bananas (about 2–3 medium bananas)
- 1 cup pumpkin puree (not pumpkin pie filling)
- 1/2 cup granulated sugar
- 1/2 cup brown sugar, packed
- 1/3 cup vegetable oil (or any neutral oil)
- 2 large eggs, room temperature
- 1 teaspoon vanilla extract
- 1/2 cup chocolate chips (optional)
- 1/2 cup chopped walnuts or pecans (optional)
- 1 tablespoon cinnamon sugar for topping (optional)
Instructions
- Preheat your oven to 350°F (175°C). Position the rack in the middle of the oven.
- Prepare your loaf pan: Line a 9×5-inch loaf pan with parchment paper, leaving about 2 inches of overhang on the long sides. If you don’t have parchment, spray the pan generously with non-stick cooking spray and dust with a little flour.
- Mash the bananas: In your large mixing bowl, add the ripe bananas. Use a fork or potato masher to mash them until they’re mostly smooth with a few small lumps remaining.
- Add the wet ingredients: To the mashed bananas, add the pumpkin puree, granulated sugar, brown sugar, vegetable oil, eggs, and vanilla extract. Whisk everything together until well combined and smooth.
- Add the dry ingredients: Directly on top of the wet mixture, add the flour, baking soda, baking powder, cinnamon, nutmeg, ginger, cloves, and salt. Use a spoon to lightly stir the dry ingredients together on top of the batter before mixing them in.
- Mix gently: Fold the dry ingredients into the wet mixture using a spatula or wooden spoon. Stir just until you no longer see streaks of flour. A few small lumps are fine. Do not overmix.
- Fold in add-ins (optional): If using chocolate chips, nuts, or both, gently fold them in now. Reserve a handful to sprinkle on top for a prettier presentation.
- Pour into the pan: Scrape the batter into your prepared loaf pan. Use the spatula to spread it evenly into the corners. Sprinkle any reserved chocolate chips or nuts on top, along with a dusting of cinnamon sugar if using.
- Bake: Place the pan in the preheated oven and bake for 55-65 minutes. The bread is done when a toothpick inserted into the center comes out clean or with just a few moist crumbs attached. If the top is browning too quickly (around the 40-minute mark), tent the pan loosely with aluminum foil.
- Cool properly: Remove the pan from the oven and place it on a cooling rack. Let the bread cool in the pan for 10 minutes. Then, using the parchment overhang, lift the bread out of the pan and transfer it to the cooling rack. Let it cool completely before slicing—about 1 hour.
Notes
Don’t overmix the batter. Use room temperature ingredients. Check for doneness by inserting a toothpick into the center; if it comes out clean, it’s done. Let the bread cool completely before slicing to avoid a gummy texture. This bread tastes even better on day two.
Nutrition
- Serving Size: 1 slice
- Calories: 280
- Sugar: 24
- Sodium: 280
- Fat: 10
- Saturated Fat: 1.5
- Carbohydrates: 44
- Fiber: 3
- Protein: 5
Keywords: pumpkin banana bread, one bowl banana bread, easy pumpkin bread, fall banana bread, moist banana bread, pumpkin banana bread recipe


