Love this? Save it for later!
Share the inspiration with your friends
I’d been telling my friend Jenna for weeks that I wasn’t doing themed food for Halloween this year. I mean, I love a good party platter as much as the next person, but the thought of carving vegetables into spooky shapes or layering something that looked like a graveyard felt exhausting. I just wanted to make a normal dip, put out some chips, and call it a night. Then I showed up at her place last Saturday for a pre-Halloween catch-up, and there she was, standing over my stovetop, stirring a pot of seasoned beef. “I’m making your taco dip recipe,” she said, “but I’m going to make it look like a monster.” I laughed and told her good luck. Twenty minutes later, she pulled this thing out of the fridge, and honestly? I was speechless. It was the same taco dip I’d been making for years, but the way she’d arranged the toppings—the olives as eyes, the sour cream drizzled like cobwebs—it actually looked like a cute little monster grinning up at me. I grabbed a chip, took a bite, and had to admit: she was onto something. That dip was gone in fifteen minutes flat. Maybe you’ve been there, where you think you know a recipe inside and out, and then someone shows you a version that makes you wonder why you never thought of it yourself. That’s exactly what this Easy Monster Mash Taco Dip is. It’s the same creamy, beefy, cheesy taco dip you already love, just dressed up for Halloween in the most ridiculously fun way. I keep making it because it takes about twenty minutes to throw together, uses ingredients I always have on hand, and somehow manages to be the star of every Halloween party without any actual fuss.
Why You’ll Love This Recipe
I’ve tested this dip at three different gatherings now, and I can tell you with confidence: it works. It’s the kind of appetizer that disappears before you’ve even finished setting out the rest of the snacks. Here’s why it’s become my go-to for Halloween.
- Quick & Easy: From start to finish, this dip comes together in about 20 minutes. No complicated steps, no weird ingredients. Just brown the beef, mix the layers, and let it chill.
- Simple Ingredients: You probably have most of this stuff in your pantry and fridge right now. Ground beef, taco seasoning, cream cheese, sour cream, salsa, and shredded cheese. That’s it.
- Perfect for Halloween Parties: This is the appetizer you bring when you want to impress without stressing. It looks like you spent an hour on it, but you didn’t.
- Crowd-Pleaser: I’ve watched kids and adults alike go back for thirds. The taco flavor is familiar and comforting, and the presentation is just playful enough to make everyone smile.
- Unbelievably Delicious: The combination of the creamy base, the seasoned beef, the cool sour cream, and the crunchy chips is next-level. It’s taco dip, but better.
What makes this version different from every other taco dip out there is the presentation. I’m not talking about anything complicated. It’s literally just arranging the toppings to look like a monster face. But that small change transforms the whole experience. The dip tastes exactly the same as the one you’d make for a football game, but when it’s staring up at your guests with olive eyes and a shredded cheese grin, it becomes something special. It’s comfort food reimagined for the holiday—faster, easier, but with the same soul-soothing satisfaction. Perfect for impressing guests without stress, or turning a simple snack into something memorable.
What Ingredients You Will Need
This recipe uses simple, wholesome ingredients to deliver bold flavor and satisfying texture without the fuss. Most of these are pantry staples or easy to find at any grocery store.
- For the Beef Layer:
- 1 pound ground beef (80/20 works great for flavor, but you can use lean if you prefer)
- 1 packet taco seasoning (I prefer Old El Paso or Ortega for consistent flavor)
- 1/4 cup water (helps the seasoning distribute evenly)
- For the Creamy Base:
- 8 ounces cream cheese, softened (full-fat gives the best texture, but Neufchâtel works too)
- 1 cup sour cream (adds tanginess and helps the dip spread easily)
- 1/2 cup salsa (mild, medium, or hot—whatever you like. Pace or Herdez are my go-tos)
- For the Toppings (The Monster Part):
- 1 cup shredded Mexican blend cheese (or cheddar, if that’s what you have)
- 1/2 cup chopped lettuce (for a little crunch and color)
- 1/4 cup diced tomatoes (seeded if you want to avoid extra liquid)
- 1/4 cup sliced black olives (these become the monster’s eyes)
- 2 tablespoons sour cream (for the cobweb drizzle on top)
- A handful of tortilla chips (for serving and for decorating the monster’s “hair” or “ears”)
You can easily swap the ground beef for ground turkey or a plant-based crumble if you’re feeding a crowd with different dietary needs. For a vegetarian version, skip the meat entirely and double up on the beans or add a layer of refried beans. Just spread them on the bottom before the cream cheese mixture.
Equipment Needed
You don’t need anything fancy for this recipe. Here’s what I use every time I make it:
- A large skillet for browning the beef (non-stick makes cleanup easier)
- A 9-inch pie dish or a shallow serving platter (a pie dish gives the dip a nice round shape that works perfectly for a monster face)
- A hand mixer or a sturdy spatula for blending the cream cheese base
- A small piping bag or a zip-top bag with the corner snipped off for the sour cream cobweb
- A sharp knife and cutting board for the veggies
If you don’t have a pie dish, a small baking dish or even a large dinner plate will work. Just make sure it has a slight rim to keep the dip from sliding off. I’ve used a cast iron skillet before, and it looked great. The key is a flat, wide surface so you have room to arrange the monster face.
Preparation Method
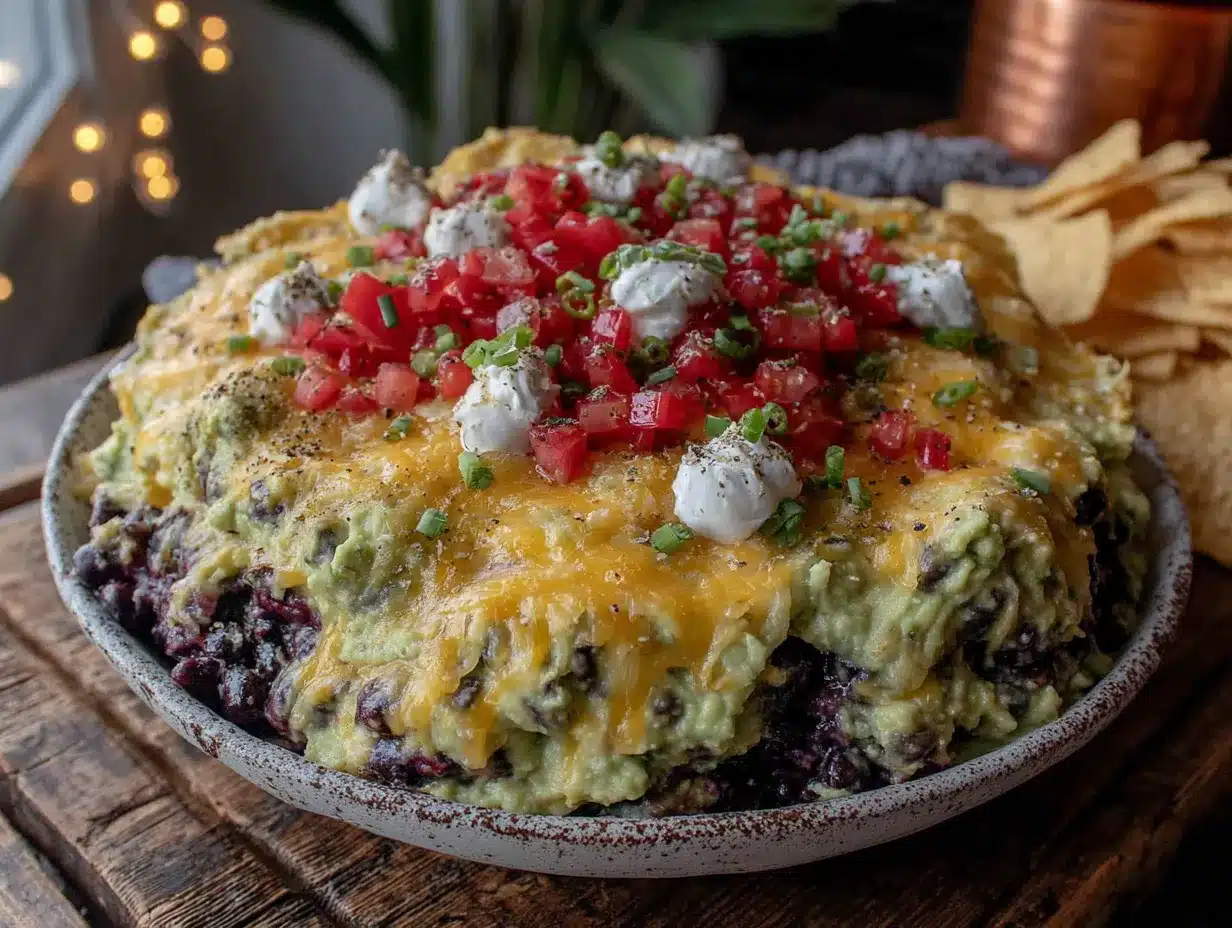
Let me walk you through this step by step. It’s really simple, but I’ll include all the little things I’ve learned along the way.
- Brown the beef. Place your skillet over medium-high heat and add the ground beef. Break it up with a wooden spoon as it cooks. This takes about 6 to 8 minutes. You want it fully browned with no pink remaining. Drain off any excess fat—I usually tilt the skillet and spoon it out, or you can use a colander if you prefer.
- Season the meat. Return the beef to the skillet and reduce the heat to low. Add the taco seasoning and 1/4 cup of water. Stir everything together and let it simmer for about 2 minutes, until the liquid thickens slightly. The meat should be coated evenly and smell amazing. Set it aside to cool for a few minutes while you work on the base.
- Make the creamy base. In a medium bowl, combine the softened cream cheese, 1 cup of sour cream, and 1/2 cup of salsa. Use a hand mixer on low speed or a sturdy spatula to blend until smooth. It should be a uniform pinkish-orange color. If the cream cheese isn’t fully softened, you’ll get small lumps, so make sure it’s at room temperature before you start.
- Assemble the first layer. Spread the cream cheese mixture evenly across the bottom of your pie dish or serving platter. Use the back of a spoon to smooth it out. This is your base layer, and it should be about 1/2 inch thick.
- Add the beef layer. Spoon the seasoned ground beef over the cream cheese mixture and spread it into an even layer. Don’t press too hard—you want it to sit on top, not mix in. Leave a small border around the edge so the cream cheese layer is visible.
- Add the cheese. Sprinkle the shredded Mexican blend cheese over the beef. Use your hands to distribute it evenly, making sure the whole surface is covered. This is the “skin” of your monster.
- Create the monster face. Now for the fun part. Use the chopped lettuce to create a messy “hair” effect around the top edge of the dip. Place the sliced black olives where you want the eyes to go. I usually put them about a third of the way down from the top, spaced a couple of inches apart. Use a small dollop of sour cream in the center of each olive to make the pupils. For the mouth, arrange a row of diced tomatoes in a curved line, like a grin. You can also add a few extra cheese shreds to look like teeth.
- Add the cobweb. Spoon the remaining 2 tablespoons of sour cream into a small piping bag or a zip-top bag. Snip off a tiny corner. Starting from the center of the dip, pipe a small circle. Then pipe concentric circles around it, getting larger each time. Use a toothpick or the tip of a knife to drag lines from the center outward, creating a web effect. This is optional, but it really sells the Halloween theme.
- Chill and serve. Place the dip in the refrigerator for at least 15 minutes before serving. This helps the layers set and makes it easier to scoop. Serve with tortilla chips arranged around the edge of the dish, like the monster’s ears or hair. I like to stick a few chips directly into the dip to look like little monster horns.
Cooking Tips & Techniques
I’ve made this dip enough times to know where things can go wrong, so let me save you some trouble.
The biggest mistake people make is not softening the cream cheese. If you try to mix cold cream cheese with sour cream, you’ll end up with a lumpy base that doesn’t spread well. Leave it out on the counter for about 30 minutes before you start. If you’re in a hurry, you can microwave it for 10 to 15 seconds, but watch it carefully—you don’t want it to melt.
Another thing I learned the hard way: drain the beef well. Too much fat in the meat layer will make the whole dip greasy, and the toppings will slide right off. I use 80/20 ground beef because it has more flavor, but I always drain it thoroughly. If you’re using a leaner blend, you might not need to drain at all.
For the sour cream cobweb, less is more. You don’t need a lot of sour cream for the piping. A thin line works better than a thick one because it looks more delicate and web-like. If you mess up the first circle, just wipe it off and try again. The dip is forgiving.
Timing-wise, I like to make the entire dip a couple of hours before the party. It gives the flavors time to meld together, and the dip gets nice and cold. Just cover it with plastic wrap and keep it in the fridge. Don’t add the chips until right before serving, or they’ll get soggy.
Variations & Adaptations
This dip is incredibly flexible. Here are a few ways I’ve adapted it over the years.
- Vegetarian Version: Skip the ground beef and spread a can of refried beans (warmed) over the cream cheese base. Then add the cheese and toppings as usual. It’s just as filling and has a great southwestern flavor.
- Spicy Monster: If you like heat, use hot salsa and add a diced jalapeño to the beef while it cooks. You can also mix some cayenne pepper into the cream cheese base. The monster will have a little extra bite.
- Different Monster Faces: You don’t have to stick with olives for eyes. Sliced cherry tomatoes work, or even small mozzarella balls with a dot of black olive in the center. For the mouth, try using strips of bell pepper or even a few pickled jalapeño slices for a green grin.
- Make It a Meal: Serve this dip with warm flour tortillas cut into triangles instead of chips. You can also spoon it over a bed of lettuce for a taco salad. I’ve done that for lunch the next day, and it’s fantastic.
I once made a version using ground chorizo instead of beef, and it was incredible. The smoky, spicy flavor paired perfectly with the creamy base. Just be aware that chorizo is greasier than beef, so drain it really well.
Serving & Storage Suggestions
This dip is best served cold or at room temperature. I usually take it out of the fridge about 10 minutes before guests arrive so it’s not ice-cold. The chips should be sturdy—I recommend restaurant-style tortilla chips or scoop-shaped ones that can hold a good amount of dip.
For presentation, I like to arrange the chips in a circle around the dip, pointing outward like sun rays. It makes the monster look like it has spiky hair or a mane. You can also add a few whole olives on the side for extra decoration.
If you have leftovers (which rarely happens, but just in case), store the dip in an airtight container in the refrigerator for up to three days. The chips will get soft, so don’t store them with the dip. To reheat, you can microwave individual portions for about 30 seconds, but I actually prefer it cold the next day. The flavors settle and become even more cohesive.
The dip doesn’t freeze well because of the cream cheese and sour cream base. The texture gets grainy when thawed. So plan to eat it within a few days.
Nutritional Information & Benefits
This is a treat, so I’m not going to pretend it’s health food. But here’s a rough estimate per serving (based on eight servings):
- Calories: 380
- Protein: 22g
- Fat: 28g
- Carbohydrates: 10g
- Fiber: 2g
The beef provides a good amount of protein and iron, while the cream cheese and sour cream add calcium. The salsa and lettuce contribute a small amount of vitamins A and C. If you’re watching your sodium, use low-sodium taco seasoning and reduce the added salt. For a lighter version, you can use reduced-fat cream cheese and sour cream, though the texture will be slightly less creamy.
This recipe is naturally gluten-free if you use certified gluten-free taco seasoning and chips. It’s also nut-free and egg-free, making it a safe option for many common allergies. Just double-check your ingredient labels if you’re serving a crowd with dietary restrictions.
Conclusion
This Easy Monster Mash Taco Dip has become my Halloween party signature, and I honestly don’t see that changing anytime soon. It’s the kind of recipe that feels special without being complicated, and it always gets the reaction I’m hoping for—people smiling when they see it, then going quiet when they taste it. I love that it’s a blank canvas for creativity. You can make the monster look silly, scary, or anything in between. The dip itself is forgiving, so even if your cobweb is crooked or your olive eyes are uneven, it still looks great and tastes even better. I’d love to hear how your monster turns out. Leave a comment below and tell me what face you gave it, or share a photo on social media and tag me. And if you come up with a variation I haven’t tried, definitely let me know. Happy Halloween, and happy dipping!
Frequently Asked Questions
Can I make this dip ahead of time?
Yes, absolutely. You can assemble the entire dip up to 24 hours in advance. Just cover it tightly with plastic wrap and keep it refrigerated. Add the chips right before serving so they stay crunchy.
What if I don’t have taco seasoning?
You can make your own with chili powder, cumin, garlic powder, onion powder, paprika, and a pinch of cayenne. Mix about 2 tablespoons of this blend with 1/4 cup of water, and you’re good to go.
Can I use ground chicken or turkey instead of beef?
Definitely. Ground chicken or turkey works perfectly. Just be aware that they are leaner, so you may need to add a little oil to the pan to prevent sticking. The flavor will still be great.
How do I keep the chips from getting soggy?
Don’t add the chips to the dip until just before serving. If you’re making the dip ahead of time, keep the chips in a separate bag or bowl and let guests scoop their own. That way, every chip stays crisp.
Can I make this dip dairy-free?
Yes, with a few swaps. Use dairy-free cream cheese and sour cream alternatives. Most brands work well, though the texture might be slightly softer. The beef and toppings are naturally dairy-free, so you’re mostly replacing the base and the shredded cheese. Use a dairy-free shredded cheese blend for the top.
Pin This Recipe!
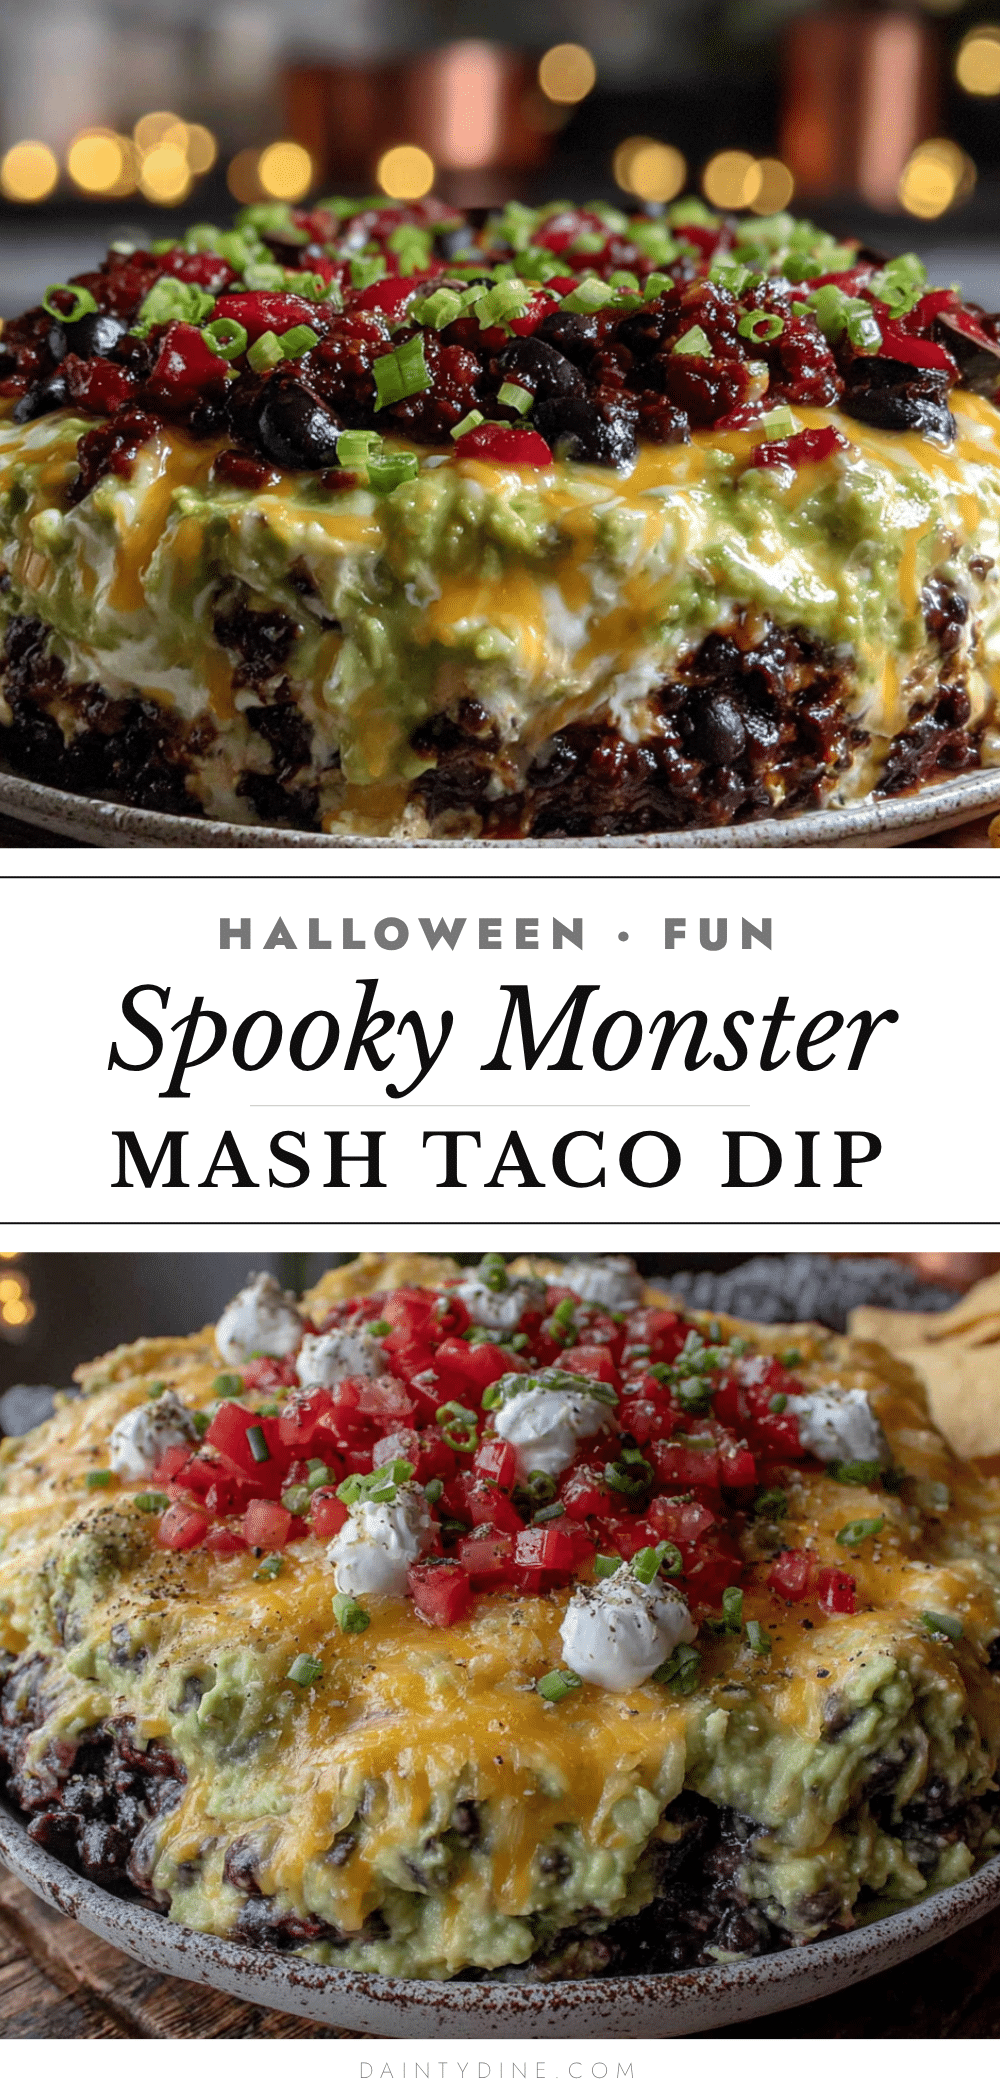
Easy Monster Mash Taco Dip: Best Halloween Appetizer

This Easy Monster Mash Taco Dip is the same creamy, beefy, cheesy taco dip you already love, dressed up for Halloween in a ridiculously fun way. It takes about twenty minutes to throw together, uses simple ingredients, and becomes the star of any Halloween party.
- Prep Time: 15 minutes
- Cook Time: 10 minutes
- Total Time: 25 minutes
- Yield: 8 servings 1x
- Category: Appetizer
- Cuisine: Mexican-American
Ingredients
- 1 pound ground beef (80/20 works great for flavor, but you can use lean if you prefer)
- 1 packet taco seasoning (I prefer Old El Paso or Ortega for consistent flavor)
- 1/4 cup water (helps the seasoning distribute evenly)
- 8 ounces cream cheese, softened (full-fat gives the best texture, but Neufchâtel works too)
- 1 cup sour cream (adds tanginess and helps the dip spread easily)
- 1/2 cup salsa (mild, medium, or hot—whatever you like. Pace or Herdez are my go-tos)
- 1 cup shredded Mexican blend cheese (or cheddar, if that’s what you have)
- 1/2 cup chopped lettuce (for a little crunch and color)
- 1/4 cup diced tomatoes (seeded if you want to avoid extra liquid)
- 1/4 cup sliced black olives (these become the monster’s eyes)
- 2 tablespoons sour cream (for the cobweb drizzle on top)
- A handful of tortilla chips (for serving and for decorating the monster’s “hair” or “ears”)
Instructions
- Brown the beef. Place your skillet over medium-high heat and add the ground beef. Break it up with a wooden spoon as it cooks. This takes about 6 to 8 minutes. You want it fully browned with no pink remaining. Drain off any excess fat—I usually tilt the skillet and spoon it out, or you can use a colander if you prefer.
- Season the meat. Return the beef to the skillet and reduce the heat to low. Add the taco seasoning and 1/4 cup of water. Stir everything together and let it simmer for about 2 minutes, until the liquid thickens slightly. The meat should be coated evenly and smell amazing. Set it aside to cool for a few minutes while you work on the base.
- Make the creamy base. In a medium bowl, combine the softened cream cheese, 1 cup of sour cream, and 1/2 cup of salsa. Use a hand mixer on low speed or a sturdy spatula to blend until smooth. It should be a uniform pinkish-orange color. If the cream cheese isn’t fully softened, you’ll get small lumps, so make sure it’s at room temperature before you start.
- Assemble the first layer. Spread the cream cheese mixture evenly across the bottom of your pie dish or serving platter. Use the back of a spoon to smooth it out. This is your base layer, and it should be about 1/2 inch thick.
- Add the beef layer. Spoon the seasoned ground beef over the cream cheese mixture and spread it into an even layer. Don’t press too hard—you want it to sit on top, not mix in. Leave a small border around the edge so the cream cheese layer is visible.
- Add the cheese. Sprinkle the shredded Mexican blend cheese over the beef. Use your hands to distribute it evenly, making sure the whole surface is covered. This is the “skin” of your monster.
- Create the monster face. Now for the fun part. Use the chopped lettuce to create a messy “hair” effect around the top edge of the dip. Place the sliced black olives where you want the eyes to go. I usually put them about a third of the way down from the top, spaced a couple of inches apart. Use a small dollop of sour cream in the center of each olive to make the pupils. For the mouth, arrange a row of diced tomatoes in a curved line, like a grin. You can also add a few extra cheese shreds to loo…
- Add the cobweb. Spoon the remaining 2 tablespoons of sour cream into a small piping bag or a zip-top bag. Snip off a tiny corner. Starting from the center of the dip, pipe a small circle. Then pipe concentric circles around it, getting larger each time. Use a toothpick or the tip of a knife to drag lines from the center outward, creating a web effect. This is optional, but it really sells the Halloween theme.
- Chill and serve. Place the dip in the refrigerator for at least 15 minutes before serving. This helps the layers set and makes it easier to scoop. Serve with tortilla chips arranged around the edge of the dish, like the monster’s ears or hair. I like to stick a few chips directly into the dip to look like little monster horns.
Notes
The biggest mistake is not softening the cream cheese. Leave it out for 30 minutes or microwave for 10-15 seconds. Drain the beef well to avoid a greasy dip. For the sour cream cobweb, less is more. The dip can be made up to 24 hours ahead; add chips just before serving. Leftovers keep in the fridge for up to 3 days (chips stored separately).
Nutrition
- Serving Size: 1 serving (about 1/8
- Calories: 380
- Sugar: 3
- Sodium: 800
- Fat: 28
- Saturated Fat: 14
- Carbohydrates: 10
- Fiber: 2
- Protein: 22
Keywords: Halloween appetizer, taco dip, monster dip, easy dip, party dip, ground beef dip, cream cheese dip


