Love this? Save it for later!
Share the inspiration with your friends
The neighborhood Halloween party was in six hours and I’d completely forgotten. Everyone else would be bringing those elaborate themed desserts you see on baking shows—you know, the ones with fondant ghosts and hand-piped spiderwebs. I had a block of cheddar, some butter, and a vague memory of something I’d seen on Pinterest at 2 AM last October. Honestly, I was ready to just grab a bag of candy corn and call it a day. But then I saw the bag of flour in my pantry, and a little lightbulb went off. Spooky Witch’s Finger Cheese Straws. I mean, how hard could they be?
Let me tell you, I was frantically rolling dough while wearing a cat sweater, muttering to myself about time management. My dog kept trying to “help” by licking the butter off the counter. It was chaos. But somehow, thirty minutes later, I had a baking sheet full of these gloriously twisted, almond-nailed little fingers staring back at me. They looked ridiculous and perfectly creepy all at once. I threw them on a platter, ran to the party, and braced for polite nods.
Instead, they disappeared in ten minutes. People kept coming up to me asking where I’d bought them. One guy tried to bite the almond “nail” off first, then gave me a thumbs up. Maybe you’ve been there—when the simplest, most last-minute thing you throw together ends up being the star of the show. That’s this recipe. It’s not fancy, it’s not fussy, but it’s got that perfect mix of buttery, cheesy goodness and just the right amount of spooky fun. I’ve made them every Halloween since, and honestly, they never get old.
Why You’ll Love This Recipe
Okay, let me break down exactly why these Spooky Witch’s Finger Cheese Straws are going to become your new Halloween secret weapon. I’ve tested this recipe about five times now—tweaking the cheese ratio, messing with the bake time, even trying different almond shapes for the nails. This version is the one. It’s the Goldilocks of creepy cheese snacks.
- Quick & Easy: From start to finish, you’re looking at about 40 minutes. That includes chilling time. For a Halloween treat that looks this impressive, that’s practically a miracle. You can whip these up while the kids are getting their costumes on.
- Simple Ingredients: I bet you already have most of this stuff in your kitchen. Butter, flour, cheese, salt, an egg. The only “special” thing is slivered almonds for the nails, and you can find those in any grocery store. No weird gelatin or food coloring required.
- Perfect for Halloween Parties: These are the ultimate conversation starter. They look genuinely creepy—like actual witch fingers—but they taste like the most addictive cheese cracker you’ve ever had. They work for adult parties, kid-friendly events, or even just a fun afternoon baking with your family.
- Crowd-Pleaser: I’ve served these to picky eaters, cheese snobs, and people who swore they were “too full” for snacks. They all caved. The salty, buttery, cheesy flavor is universally loved. Plus, the fun factor makes people want to try them.
- Unbelievably Delicious: Forget those bland, dry cheese straws you get at the store. These are rich, flaky, and packed with sharp cheddar flavor. The texture is perfect—crispy on the outside, tender on the inside. You’ll be sneaking extras off the platter before the party even starts. I won’t judge.
What makes this recipe different from the rest? It’s the texture. Most cheese straw recipes are either too crumbly or too tough. I’ve nailed the butter-to-flour ratio and added a tiny splash of cold water to keep the dough workable without making it dense. The result is a straw that snaps cleanly but melts in your mouth. Plus, the almond “nail” isn’t just for show—it adds a lovely nutty crunch that plays off the sharp cheddar beautifully. This isn’t just another Halloween recipe. It’s the one you’ll make every single year.
What Ingredients You Will Need
This recipe uses simple, everyday ingredients to deliver big flavor and the perfect creepy-crawly look. Nothing fancy here—just good pantry staples that work together beautifully. I’ve tested a few different cheese options, so I’ll share my favorite picks below.
- All-purpose flour (1 cup / 125g) – The base of our dough. No need for bread flour or cake flour here; standard all-purpose gives the perfect structure. I use King Arthur Flour because it’s consistently reliable.
- Unsalted butter (1/2 cup / 113g, cold and cubed) – This is key. Cold butter creates flaky layers. If your butter is too soft, the dough will be a sticky mess. Pop it in the freezer for 10 minutes if your kitchen is warm.
- Sharp cheddar cheese (1 cup / 115g, finely shredded) – Use a block of cheese and shred it yourself. Pre-shredded cheese has anti-caking agents that make the dough grainy. I prefer Cabot Seriously Sharp for maximum flavor. (Adds richness and that signature cheesy tang)
- Salt (1/2 teaspoon) – Balances the richness and enhances the cheese flavor. I use fine sea salt.
- Paprika (1/4 teaspoon) – Optional, but I love it. It adds a subtle warmth and a nice orange tint that makes the “fingers” look more realistic. Smoked paprika works great too.
- Garlic powder (1/4 teaspoon) – Again, optional, but highly recommended. It gives the straws a savory depth that makes them incredibly addictive.
- Cold water (2-3 tablespoons) – Just enough to bring the dough together. Start with 2 tablespoons and add more if needed. You want the dough to just hold together when pinched.
- Egg (1 large, for egg wash) – This gives the straws that beautiful golden-brown finish. It also helps the almond “nail” stick.
- Slivered almonds (about 24 pieces, for the “nails”) – The spooky secret weapon! Look for slivered almonds that are relatively flat and wide. You can also use whole almonds sliced in half lengthwise.
Equipment Needed
You don’t need a fancy kitchen to make these. I’ve made them in a tiny apartment with a wobbly countertop and they turned out great. Here’s what you’ll need:
- Baking sheet – A standard half-sheet pan works perfectly. Line it with parchment paper for easy cleanup. I’ve used silicone baking mats too, and they work fine, but the bottoms don’t get quite as crispy.
- Parchment paper – Non-negotiable for me. Cheese straws can be sticky, and parchment makes lifting them off the pan a breeze.
- Mixing bowl – Any medium-sized bowl will do. I use a glass one because I can see if the butter is properly distributed.
- Pastry cutter or two forks – To cut the butter into the flour. You can also use a food processor if you’re in a hurry, but be careful not to over-process. I actually prefer using my hands for more control—just work quickly so the butter doesn’t warm up.
- Rolling pin – To roll out the dough. If you don’t have one, a wine bottle works in a pinch. I’ve done it. No shame.
- Sharp knife or pizza cutter – To cut the dough into “finger” shapes. A pizza cutter gives you cleaner edges, but a knife works just fine.
- Small bowl – For the egg wash.
- Pastry brush – To apply the egg wash. A silicone brush is easiest to clean, but a regular one works too.
- Plastic wrap – For chilling the dough. Reusable beeswax wrap works great here too.
Budget-friendly tip: Don’t have a pastry cutter? Use two butter knives in a scissor motion. It takes a little longer, but it works perfectly. And if you don’t have a rolling pin, seriously, a clean wine bottle is your best friend.
Preparation Method
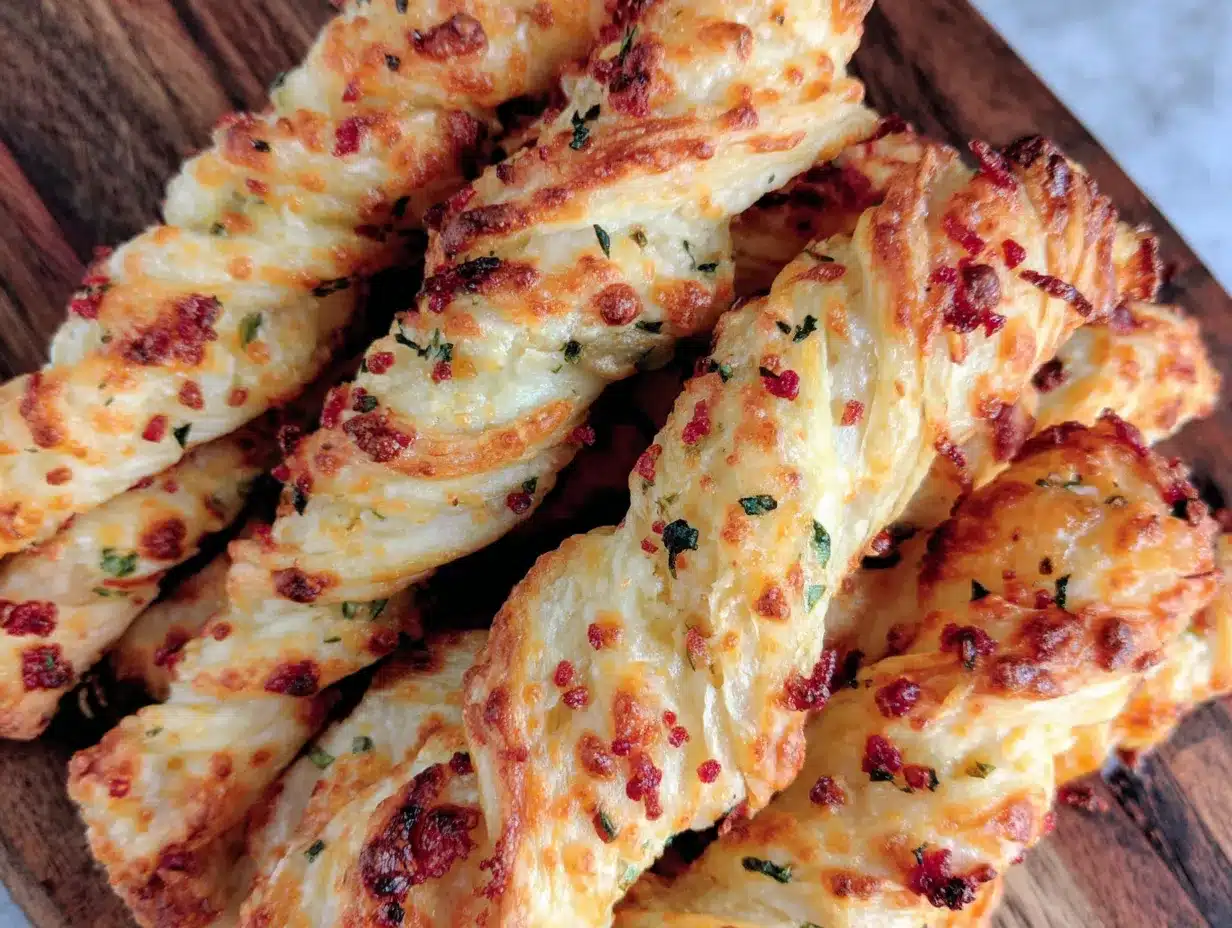
Alright, let’s get to the fun part. Follow these steps and you’ll have a batch of spooky fingers in no time. I’ve included all the little tricks I’ve learned from my own kitchen disasters—like the time I forgot to chill the dough and ended up with cheese blobs instead of fingers. Learn from my mistakes!
- Preheat your oven to 350°F (175°C). Line a baking sheet with parchment paper. Do this first so everything is ready to go. Trust me, you don’t want to be scrambling with sticky dough while your oven beeps at you.
- Combine the dry ingredients. In a medium mixing bowl, whisk together 1 cup (125g) all-purpose flour, 1/2 teaspoon salt, 1/4 teaspoon paprika, and 1/4 teaspoon garlic powder (if using). Make sure everything is evenly distributed. I usually give it a good 10-15 seconds of whisking.
- Cut in the cold butter. Add the 1/2 cup (113g) of cold, cubed butter to the flour mixture. Using a pastry cutter or two forks, cut the butter into the flour until the mixture resembles coarse crumbs. You should see small pea-sized pieces of butter throughout. This is what creates those flaky layers. Don’t overwork it—you want visible butter bits. If you’re using your hands, work quickly so the butter doesn’t soften.
- Add the cheese. Toss in the 1 cup (115g) of finely shredded sharp cheddar cheese. Gently mix it into the flour-butter mixture until the cheese is evenly distributed. Again, don’t overmix. You want little pockets of cheese in the dough.
- Add the cold water. Sprinkle 2 tablespoons of cold water over the mixture. Use a fork or your hands to gently bring the dough together. It should look shaggy and just hold together when you squeeze a handful. If it’s too dry, add the remaining tablespoon of water, one teaspoon at a time. Be careful—adding too much water will make the dough tough.
- Form the dough and chill. Turn the dough out onto a lightly floured surface. Gently press it into a disc about 1-inch thick. Wrap it tightly in plastic wrap and refrigerate for at least 20 minutes. This step is crucial. Chilling the dough solidifies the butter, which prevents the straws from spreading too much in the oven. If you skip this, you’ll get flat, sad fingers. I learned this the hard way.
- Roll out the dough. After chilling, unwrap the dough and place it on a lightly floured surface. Roll it out into a rectangle about 1/4-inch thick. Don’t stress about making it perfect—these are supposed to look like witch fingers, so imperfections add character. If the dough cracks at the edges, just press it back together with your fingers.
- Cut the “fingers.” Using a sharp knife or pizza cutter, cut the dough into strips about 4 inches long and 1/2 inch wide. You should get about 20-24 strips. Gather the scraps, gently press them together, and re-roll to cut more. Don’t knead the scraps too much or the dough will get tough.
- Shape the fingers. This is where the magic happens. Take each strip and gently roll it between your palms to create a slightly rounded, finger-like shape. Pinch one end slightly to form a “knuckle” shape. Place the shaped fingers on your prepared baking sheet, spacing them about 1 inch apart.
- Add the “nails.” In a small bowl, beat the egg with 1 tablespoon of water to make an egg wash. Brush a thin layer of egg wash onto the top of each finger. Press a slivered almond firmly onto the tip of each finger to create the “nail.” The egg wash acts like glue, so make sure it’s secure. For extra creepiness, you can use a toothpick to gently press a few lines into the dough to look like knuckles.
- Bake. Place the baking sheet in the preheated oven and bake for 14-16 minutes, or until the straws are golden brown and firm to the touch. The cheese will be bubbly and the edges will be crispy. Don’t overbake, or they’ll be too hard. Keep an eye on them during the last 2 minutes—ovens vary!
- Cool. Let the cheese straws cool on the baking sheet for 5 minutes. They will be fragile when hot, so don’t try to move them right away. After 5 minutes, transfer them to a wire rack to cool completely. They will crisp up as they cool.
Sensory cue: When they’re done, your kitchen will smell like a buttery, cheesy dream. The straws should be a deep golden brown, and you’ll see little crispy edges where the cheese bubbled out. That’s the best part.
Cooking Tips & Techniques
I’ve made a lot of mistakes with these cheese straws so you don’t have to. Here are my best tips for perfect spooky fingers every time.
Don’t overwork the dough. This is the number one rule. Overworking develops gluten, which makes the straws tough and chewy instead of tender and flaky. Mix just until the dough comes together. A few dry patches are totally fine.
Keep everything cold. Cold butter is your best friend. If at any point the dough feels warm or sticky, pop it back in the fridge for 10 minutes. I once tried to rush the process and ended up with butter oozing out of the straws in the oven. Not a good look.
Use freshly shredded cheese. I know, I know, it’s extra work. But pre-shredded cheese contains potato starch or cellulose to prevent clumping, which can make your dough dry and grainy. Block cheese melts better and gives you a much smoother, richer flavor. Take the extra two minutes to shred it yourself.
Chill the shaped fingers. If you have time, pop the shaped fingers on the baking sheet back in the fridge for 10 minutes before baking. This helps them hold their shape even better. I do this when I’m making them for a party and want them to look extra neat.
Watch the bake time. Cheese straws can go from perfect to burnt in about 30 seconds. Start checking at the 12-minute mark. You want them golden brown, not dark brown. The bottoms should be lightly browned but not scorched. If your oven runs hot, reduce the temperature to 325°F (160°C) and bake a few minutes longer.
Multitasking strategy: While the dough is chilling in the fridge, use that time to clean up your workspace or prep the egg wash. It makes the whole process feel less chaotic. I usually put on a podcast and just work through the steps.
Variations & Adaptations
One of the best things about this recipe is how easy it is to tweak. Here are some variations I’ve tried and loved.
Spicy Witch Fingers: Add 1/4 teaspoon of cayenne pepper or red pepper flakes to the flour mixture. The heat pairs beautifully with the sharp cheddar. I made these for a Halloween party with a “spicy” theme and they were a hit. Just be careful not to add too much—you want a gentle warmth, not a fire alarm.
Herby Halloween Straws: Mix in 1 tablespoon of finely chopped fresh rosemary or thyme with the cheese. The earthy herbs cut through the richness of the cheese and add a sophisticated twist. I tried this with leftover rosemary from a roast chicken dinner, and honestly, it might be my new favorite version.
Gluten-Free Option: Substitute the all-purpose flour with a 1:1 gluten-free baking flour blend. I’ve used Bob’s Red Mill 1:1 Baking Flour with great results. The texture will be slightly more crumbly, but the flavor is still fantastic. Just be sure to chill the dough a little longer—gluten-free dough can be stickier.
Vegan Adaptation: Use vegan butter (like Miyoko’s) and a plant-based cheddar shred. I haven’t tested this exact version, but a reader told me she used Violife cheddar and it worked well. The texture won’t be exactly the same, but they’ll still be delicious and creepy. Use a flax egg (1 tablespoon flaxseed meal + 3 tablespoons water) for the egg wash.
Different Cheese Varieties: Experiment with other cheeses! A mix of cheddar and parmesan adds a salty, umami punch. Smoked gouda gives a lovely smoky flavor. I once made a batch with pepper jack for a little extra kick. Just avoid very soft cheeses like brie—they won’t hold their shape.
Serving & Storage Suggestions
These spooky fingers are best served at room temperature, which makes them perfect for parties. Arrange them on a platter with the “nails” pointing outward for maximum creep factor. I like to scatter a few fake spiderwebs or plastic spiders around the platter for extra effect. They look amazing on a dark slate board or a black plate.
For a fun presentation, stand a few straws upright in a small jar or mug filled with black beans or coffee grounds. It looks like a witch’s hand reaching out of the ground. I did this for a Halloween movie night and my friends wouldn’t stop taking pictures.
Complementary dishes: These pair beautifully with a bowl of warm tomato soup or a creamy pumpkin soup. They’re also great alongside a cheese board with grapes, apple slices, and a nice chutney. For drinks, try a crisp cider or a light beer. The salty, cheesy flavor is a perfect match for something refreshing.
Storage: Store any leftovers (if there are any!) in an airtight container at room temperature for up to 3 days. Do not refrigerate them—the fridge will make them lose their crispness. If they do get a little soft, you can re-crisp them in a 300°F (150°C) oven for 5 minutes.
Freezing: You can freeze the unbaked shaped fingers. Place them on a baking sheet and freeze until solid, then transfer to a freezer bag. When you’re ready to bake, add 2-3 minutes to the bake time. You can also freeze baked straws for up to 2 months. Thaw at room temperature and re-crisp in the oven if needed.
Flavor development: Honestly, these are best the day they’re made. The texture is perfectly crispy and the cheese flavor is at its peak. They’ll still be good the next day, but they won’t have that same fresh-from-the-oven magic. So plan to make them close to when you’re serving them.
Nutritional Information & Benefits
Let’s be real—these are a treat. But they’re made with real, whole ingredients, which is more than you can say for a lot of packaged snacks. Here’s a rough estimate per cheese straw (based on 24 servings):
- Calories: ~85
- Fat: 6g
- Saturated Fat: 4g
- Carbohydrates: 5g
- Protein: 3g
- Sodium: 95mg
While they’re not exactly health food, they do offer some nutritional perks. The cheddar cheese provides a good amount of calcium and protein. The butter adds a small amount of vitamin A. And hey, they’re made from scratch—no preservatives, no artificial colors, no weird chemicals. You know exactly what’s going into them.
Dietary considerations: These are not gluten-free (unless you use the substitute mentioned above). They contain dairy and eggs. For a dairy-free version, use vegan butter and cheese. For an egg-free version, skip the egg wash and just press the almonds on—they’ll stick well enough.
My personal take? I’d rather eat a couple of these homemade cheese straws than a whole bag of processed chips. They’re satisfying, flavorful, and they make me happy. And honestly, that counts for something.
Conclusion
So there you have it—my tried-and-true Spooky Witch’s Finger Cheese Straws. They’re creepy, they’re cheesy, and they’re ridiculously easy to make. Whether you’re hosting a Halloween bash, looking for a fun activity with the kids, or just want to snack on something delicious while watching Hocus Pocus for the fifteenth time, these are your answer.
I love this recipe because it proves you don’t need to be a professional baker to create something impressive. A little butter, a little cheese, and a whole lot of imagination—that’s all it takes. Plus, watching people’s faces when they realize the “witch finger” they just bit into is actually a flaky, buttery cheese straw? Priceless.
Now I want to hear from you! Have you tried making these? Did you add your own twist? Maybe you used a different cheese or shaped them into something even spookier? Drop a comment below and tell me all about it. And if you share a photo on Pinterest or Instagram, tag me—I’d love to see your creations. Happy Halloween, and happy snacking!
Frequently Asked Questions
Can I make these ahead of time?
Absolutely! You can prepare the dough up to 2 days in advance and keep it wrapped in the fridge. You can also shape the fingers and freeze them unbaked for up to a month. Just bake them straight from the freezer, adding a couple of extra minutes to the bake time.
Why did my cheese straws spread out in the oven?
This usually happens if the dough wasn’t chilled long enough or if the butter was too warm. Make sure your butter is cold when you start, and don’t skip the 20-minute chill time. If your kitchen is very warm, pop the shaped fingers in the fridge for 10 minutes before baking.
Can I use a different type of cheese?
Yes! Sharp cheddar is my go-to because it has the best flavor and melts beautifully, but you can experiment. Try smoked gouda, pepper jack, or a mix of cheddar and parmesan. Just avoid very soft cheeses like brie or mozzarella, as they won’t hold their shape.
How do I get the almonds to stick better?
The egg wash is your best friend here. Brush a generous layer on the tip of each finger, then press the almond firmly into place. You can also use a tiny dab of water if you’re avoiding eggs, but the egg wash gives a much better hold and a beautiful golden finish.
Can I make these without a rolling pin?
Absolutely! If you don’t have a rolling pin, a clean wine bottle or even a smooth glass jar works perfectly. Just make sure whatever you use is clean and dry. You can also press the dough out with your hands, though it won’t be as even. Imperfections just add to the spooky look!
Pin This Recipe!
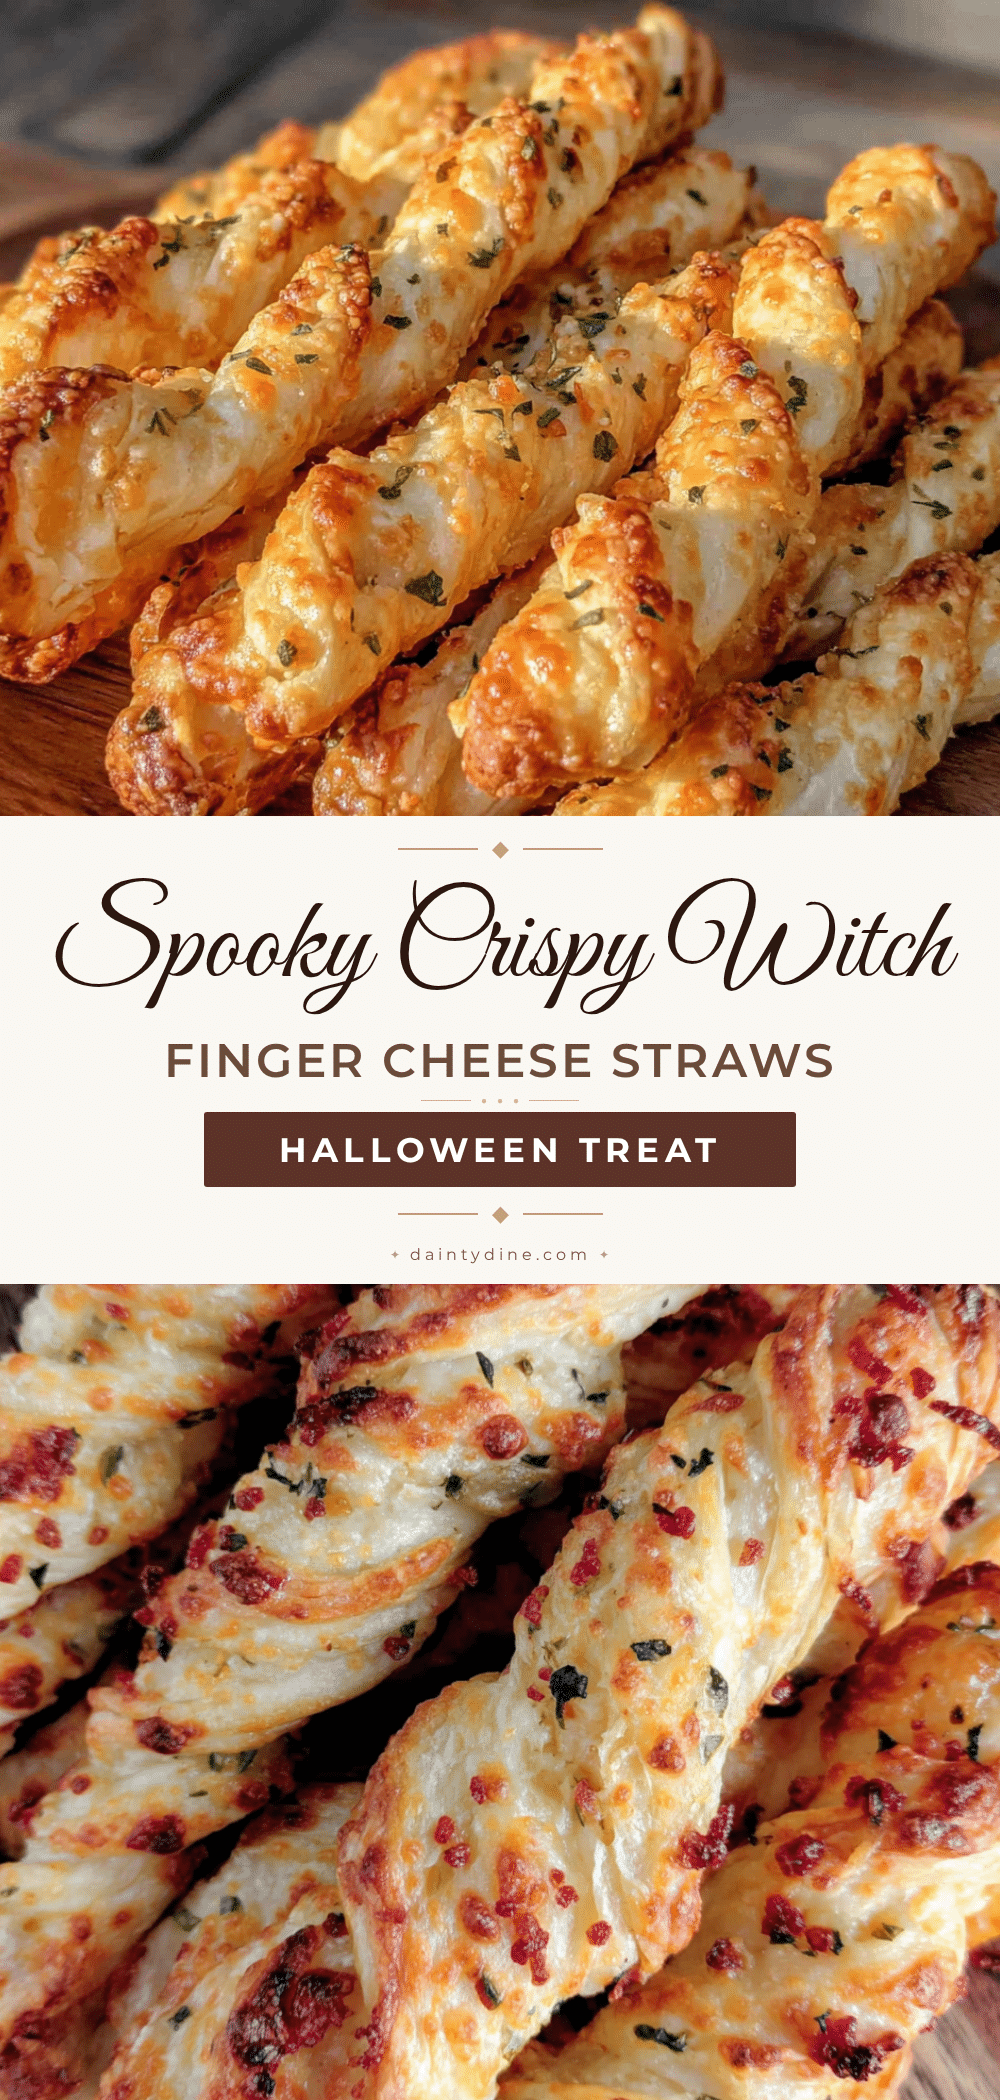
Spooky Witch’s Finger Cheese Straws
These buttery, cheesy cheese straws are shaped like creepy witch fingers with almond nails, making them the perfect last-minute Halloween party snack that disappears in minutes.
- Prep Time: 20 minutes
- Cook Time: 16 minutes
- Total Time: 40 minutes
- Yield: 24 servings 1x
- Category: Appetizer
- Cuisine: American
Ingredients
- 1 cup (125g) all-purpose flour
- 1/2 cup (113g) unsalted butter, cold and cubed
- 1 cup (115g) sharp cheddar cheese, finely shredded
- 1/2 teaspoon salt
- 1/4 teaspoon paprika (optional)
- 1/4 teaspoon garlic powder (optional)
- 2–3 tablespoons cold water
- 1 large egg (for egg wash)
- About 24 slivered almonds (for the nails)
Instructions
- Preheat your oven to 350°F (175°C). Line a baking sheet with parchment paper.
- In a medium mixing bowl, whisk together 1 cup (125g) all-purpose flour, 1/2 teaspoon salt, 1/4 teaspoon paprika, and 1/4 teaspoon garlic powder (if using).
- Add the cold, cubed butter to the flour mixture. Using a pastry cutter or two forks, cut the butter into the flour until the mixture resembles coarse crumbs with pea-sized butter pieces.
- Toss in the finely shredded sharp cheddar cheese and gently mix until evenly distributed.
- Sprinkle 2 tablespoons of cold water over the mixture and gently bring the dough together with a fork or your hands. Add more water, one teaspoon at a time, if needed, until the dough just holds together when squeezed.
- Turn the dough out onto a lightly floured surface, press into a 1-inch thick disc, wrap in plastic wrap, and refrigerate for at least 20 minutes.
- After chilling, roll the dough out on a lightly floured surface into a rectangle about 1/4-inch thick.
- Using a sharp knife or pizza cutter, cut the dough into strips about 4 inches long and 1/2 inch wide. Gather scraps, press together, and re-roll to cut more strips.
- Take each strip and gently roll it between your palms to create a slightly rounded, finger-like shape. Pinch one end slightly to form a knuckle shape. Place on the prepared baking sheet, spacing about 1 inch apart.
- In a small bowl, beat the egg with 1 tablespoon of water to make an egg wash. Brush a thin layer onto the top of each finger. Press a slivered almond firmly onto the tip of each finger to create the nail. Optionally, use a toothpick to press knuckle lines into the dough.
- Bake for 14-16 minutes, until golden brown and firm to the touch. Do not overbake.
- Let cool on the baking sheet for 5 minutes, then transfer to a wire rack to cool completely.
Notes
Keep butter and dough cold for best texture. Use freshly shredded cheese for smoother dough. For extra crispness, chill shaped fingers for 10 minutes before baking. Store in an airtight container at room temperature for up to 3 days. Re-crisp in a 300°F oven for 5 minutes if needed.
Nutrition
- Serving Size: 1 cheese straw
- Calories: 85
- Sodium: 95
- Fat: 6
- Saturated Fat: 4
- Carbohydrates: 5
- Protein: 3
Keywords: Halloween, cheese straws, witch fingers, spooky snacks, easy appetizer, cheddar cheese straws


