Love this? Save it for later!
Share the inspiration with your friends
Mark wasn’t trying to impress anyone. I’d stopped by his place to pick up a ladder I’d borrowed—mundane errand, nothing more—and the smell hit me before I even made it past his screen door. That smoky, peppery, impossibly savory scent that makes your brain stop processing anything else until you figure out where it’s coming from. He just shrugged and pointed at his smoker. “Trying something for the game tomorrow,” he said, like it was no big deal. Like he hadn’t just created something that would haunt my dreams for weeks.
Honestly, that’s how the best recipes find you, isn’t it? Not from some perfectly styled cookbook or a celebrity chef’s Instagram. They come from a neighbor who doesn’t realize they’re doing anything special. Mark had this chicken on his smoker—sitting upright on a can of beer, looking ridiculous and magnificent all at once—and he acted like it was the most normal thing in the world. I stood there for twenty minutes, maybe longer, just watching him work. He’d check the temperature, adjust the vents, take a sip of his own beer, and never once act like he was doing anything worth remembering.
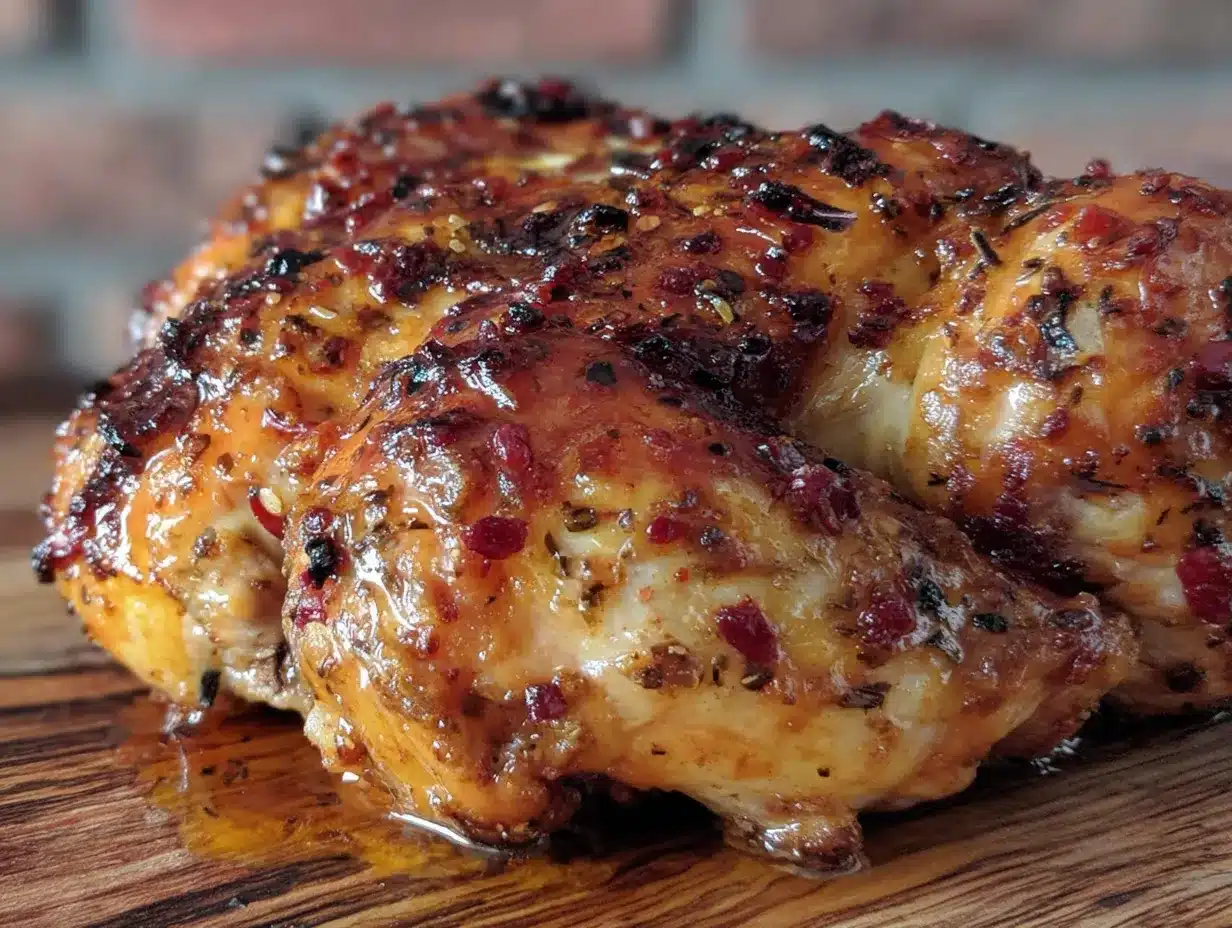
I remember thinking, “I have to figure this out.” The skin was this deep mahogany color, almost black in spots from the rub. The meat was so tender it practically fell off the bones when he finally pulled it off. And the flavor—smoky, juicy, with this subtle beer tang that you couldn’t quite place but definitely didn’t want to stop eating. Maybe you’ve had that moment where you taste something and immediately start planning when you’ll make it yourself. That was me, standing in Mark’s backyard, holding a borrowed ladder I’d completely forgotten about.
I’ve made this smoked beer can chicken for game day at least a dozen times since that afternoon. Every single time, it takes me right back to that screen door, that smell, Mark’s casual shrug. It’s become my go-to for football Sundays, backyard gatherings, and any occasion where I want to feed a crowd without spending the whole day in the kitchen. And honestly? It’s never not been a hit.
Why You’ll Love This Recipe
Let me tell you—after making this recipe more times than I can count, I’ve learned exactly what makes it work and what mistakes to avoid. You’re getting all that hard-won knowledge here, so your first attempt comes out perfect. I’ve tested this with different beers, different rubs, different wood chips, and I’m confident this version is the one that delivers every single time.
- Incredibly Juicy Meat: The beer steams from the inside while the smoke works from the outside. You get tender, moist chicken that never dries out—even the breast meat stays juicy.
- Game Day Perfect: This isn’t fussy food. You set it up, let the smoker do the work, and spend your time with friends instead of hovering over a stove. It’s made for watching football.
- Simple Ingredients: Chicken, beer, and a pantry spice rub. That’s it. No weird specialty items or expensive cuts of meat.
- Always Impressive: Pulling a whole chicken off the smoker, standing upright on a beer can, is a showstopper. People lose their minds over it. I’ve seen it happen.
- Foolproof Once You Know the Tricks: I’ll share the exact temperature, timing, and setup that works every time. No guesswork, no dried-out disasters.
This isn’t just another chicken recipe. The beer can method creates steam that keeps the meat incredibly moist while the smoke penetrates every bite. The spice rub forms this incredible bark on the outside that’s crispy, flavorful, and absolutely addictive. It’s the kind of chicken that makes you close your eyes after the first bite—I’m not exaggerating.
Whether you’re hosting a game day party, feeding a hungry family, or just want to impress your neighbors (like Mark impressed me), this recipe delivers. It’s comfort food at its best—smoky, juicy, and impossible to stop eating.
What Ingredients You Will Need
This recipe keeps things simple. You don’t need a long grocery list or hard-to-find ingredients. Most of these are probably in your kitchen right now, minus the chicken and beer. Here’s what you’ll need and why each ingredient matters.
For the Chicken
- 1 whole chicken (4-5 pounds): Look for a bird that’s not too huge. A 4-5 pounder cooks evenly and fits nicely on most smokers. I prefer air-chilled chickens if you can find them—they have better texture and don’t release as much water during cooking.
- 1 can of beer (12 ounces): Use a lager or pilsner for the best results. Nothing too hoppy or dark—you want the beer to steam, not overpower the chicken. I typically go with a standard domestic lager. The beer doesn’t need to be expensive; cheap beer works great here.
- Olive oil or vegetable oil (2 tablespoons): You need this to help the rub stick to the chicken skin. A light coating is all you need.
For the Dry Rub
- 2 tablespoons brown sugar: Adds sweetness and helps create that beautiful dark bark. Light or dark brown sugar both work fine.
- 1 tablespoon smoked paprika: This gives you that deep, smoky color and flavor. Regular paprika works too, but smoked paprika really shines here.
- 1 tablespoon garlic powder: Don’t skimp on this. Garlic powder penetrates the meat better than fresh garlic in this application.
- 1 tablespoon onion powder: Adds savory depth that balances the sweetness.
- 1 teaspoon salt: I use kosher salt. Table salt is saltier by volume, so adjust if that’s what you have.
- 1 teaspoon black pepper: Freshly ground is always better, but pre-ground works in a pinch.
- 1 teaspoon cayenne pepper (optional): Adds a little heat. Leave it out if you’re feeding kids or spice-sensitive folks.
For the Smoker
- Wood chips or chunks: I recommend apple, cherry, or hickory. Apple and cherry give a milder, sweeter smoke that complements chicken beautifully. Hickory is stronger—use it if you want a more intense smoky flavor.
- Aluminum foil (optional): Helpful for tenting the chicken if the skin gets too dark before the meat is done.
A quick note on the beer: I’ve tried this with IPA, stout, and even non-alcoholic beer. The IPA added a bitter note I didn’t love. The stout was okay but made the drippings dark and slightly bitter. Non-alcoholic beer works perfectly fine—the alcohol cooks off anyway, so you’re really just after the steam and flavor. Stick with a basic lager and you’ll be happy.
For the rub, feel free to adjust the proportions to your taste. Like it spicier? Add more cayenne. Prefer it sweeter? Bump up the brown sugar. This is my baseline recipe, but I’ve made it a dozen different ways and they’ve all been good.
Equipment Needed
You don’t need a ton of fancy equipment for this recipe, but a few key tools make the job much easier. Here’s what I use and what you can substitute if needed.
- Smoker: Any smoker works—charcoal, electric, pellet, or gas. I’ve used all four and they each have their quirks, but they all produce excellent results. A pellet smoker is the easiest for beginners because it maintains temperature automatically.
- Meat thermometer: This is non-negotiable. An instant-read thermometer works, but a leave-in probe thermometer is even better so you can monitor temperature without opening the smoker. I recommend the ThermoPro or MEATER brands.
- Beer can chicken holder (optional): You can balance the chicken on the beer can directly, but a dedicated holder is more stable. I bought a cheap one for $12 and it’s been worth every penny.
- Disposable aluminum pan: Place this under the chicken to catch drippings. It makes cleanup infinitely easier.
- Spray bottle: For spritzing the chicken with apple juice or beer during cooking. Not required, but it helps keep the skin from drying out.
- Tongs: Heavy-duty ones for moving the hot chicken. The bird gets fragile when it’s done, so good tongs prevent disaster.
If you don’t have a smoker, you can adapt this recipe for a charcoal or gas grill using indirect heat and wood chips in a smoker box or foil packet. The flavor won’t be quite the same, but it’s still delicious. I’ve done it in a pinch and nobody complained.
Preparation Method
Alright, let’s get to the good part. Here’s exactly how I make this smoked beer can chicken for game day, step by step. Follow these instructions and you’ll have a bird that’s juicy, smoky, and absolutely unforgettable.
- Prep the smoker (15 minutes before cooking): Preheat your smoker to 225°F. If you’re using a charcoal smoker, get your coals going and add your wood chunks. For electric or pellet smokers, just set the temperature and let it come up to temp. Add your wood chips or chunks now—you want thin, blue smoke, not thick white smoke.
- Prepare the chicken (10 minutes): Remove the chicken from its packaging. Take out the giblets and neck from the cavity—save them for stock if you’re that kind of cook. Pat the chicken completely dry with paper towels. This is important: dry skin equals crispy skin. Wet skin equals steamed, rubbery skin. Don’t skip this step.
- Make the rub (5 minutes): In a small bowl, combine the brown sugar, smoked paprika, garlic powder, onion powder, salt, black pepper, and cayenne if using. Mix it all together with a fork until evenly combined. Taste it—it should be savory with a hint of sweetness and a little kick.
- Season the chicken (10 minutes): Drizzle the olive oil over the chicken and rub it all over the skin, including under the wings and around the legs. Now apply the rub generously. Don’t be shy—use all of it. Get it everywhere, including inside the cavity. Massage it into the skin. This is your flavor foundation, so make it count.
- Open the beer and set it up (5 minutes): Open your can of beer and pour out about half of it (or drink it—I won’t judge). You want the can about half full. Using a can opener, punch a couple more holes in the top of the can. This lets the steam escape more freely. Place the beer can in your holder or directly on a stable surface.
- Mount the chicken on the can (5 minutes): Carefully lower the chicken onto the beer can so the can goes inside the cavity. The chicken should sit upright, legs pointing down, wings tucked in. The can and the chicken’s legs form a tripod that keeps it stable. If it feels wobbly, adjust the legs until it stands securely.
- Place in the smoker (2 minutes): Put the aluminum pan under the chicken to catch drippings. Carefully transfer the chicken-on-a-can to the smoker grate, positioning it over the pan. Close the lid and let the magic happen.
- Smoke at 225°F (2.5 to 3.5 hours): Maintain a steady temperature of 225°F. Don’t open the lid unless you need to. Every time you open it, you lose heat and smoke. I know it’s tempting to check, but resist. After about 2 hours, start checking the internal temperature.
- Optional spritzing (every 45 minutes): If you want extra moisture, spritz the chicken with apple juice, beer, or apple cider vinegar every 45 minutes. I do this maybe twice during the cook. It adds a nice glaze and keeps the skin from drying out.
- Check for doneness (critical step): The chicken is done when the internal temperature reaches 165°F in the thickest part of the thigh, away from the bone. Also check the breast—it should be at least 160°F (it’ll carry over to 165°F while resting). Don’t rely on time alone; use your thermometer. This is where people mess up.
- Rest the chicken (15 minutes): Carefully remove the chicken from the smoker using heavy-duty tongs. Transfer it to a cutting board. Let it rest for 15 minutes before carving. This lets the juices redistribute throughout the meat. If you cut into it too soon, all those juices run out onto the board instead of staying in the meat.
- Remove the beer can (careful!): The can will be hot and full of hot liquid. Use tongs to hold the chicken steady while you carefully pull the can out. Tilt it away from you to avoid steam burns. Discard the can and any remaining beer.
- Carve and serve (5 minutes): Carve the chicken however you like—I usually remove the legs and thighs first, then slice the breast meat. Arrange on a platter and watch it disappear.
Cooking Tips & Techniques
I’ve made this recipe enough times to know exactly where things can go wrong. Here are the tips I wish someone had given me before my first attempt.
Temperature control is everything. Your smoker will fluctuate, especially if it’s windy or cold outside. Try to keep it as close to 225°F as possible. If it creeps up to 250°F, that’s fine—don’t panic. But if it drops to 200°F, you’ll need to add more fuel or adjust your vents. I learned this the hard way during a particularly cold November game day. The chicken took almost 5 hours and the skin was tough.
Don’t oversmoke the chicken. Chicken absorbs smoke quickly. You don’t need to add wood chips every hour. One good addition at the beginning is usually enough. Too much smoke makes the chicken bitter and overpowering. I made that mistake with hickory once—the chicken tasted like a campfire. Not in a good way.
Patience with the skin. If the skin isn’t crispy enough at the end, you can crank the smoker up to 375°F for the last 15-20 minutes. Watch it closely—it can go from perfect to burnt fast. Alternatively, you can finish it under the broiler for 3-5 minutes, but keep an eye on it.
My biggest failure: The first time I made this, I didn’t pat the chicken dry. I was in a hurry and figured “it’ll cook off.” Nope. The skin was soggy and rubbery. It still tasted good, but the texture was disappointing. Learn from my laziness—dry that bird thoroughly.
Multitasking tip: While the chicken smokes, prep your sides. I usually make coleslaw, baked beans, or cornbread while the chicken does its thing. Everything comes together at the same time and you’re not scrambling at the end.
Variations & Adaptations
This recipe is incredibly versatile. Here are some variations I’ve tried and loved.
Spicy Buffalo Version: Add 2 tablespoons of cayenne pepper to the rub and use a buffalo wing sauce for spritzing. The result is a smoky, spicy chicken that buffalo wing lovers will devour. I made this for a Super Bowl party and it was gone in 20 minutes.
Herb and Citrus Version: Skip the brown sugar in the rub and add 2 tablespoons of dried thyme, rosemary, and oregano. Stuff the cavity with lemon halves, garlic cloves, and fresh herbs before mounting on the beer can. This gives a bright, Mediterranean flavor that’s perfect for summer.
Honey Glazed Version: During the last 30 minutes of cooking, brush the chicken with a mixture of honey and melted butter. The sugar caramelizes and creates a sticky, sweet glaze. Be careful—it can burn easily, so watch it closely.
Dietary Adaptations: For a lower-sodium version, reduce the salt in the rub and use a salt-free seasoning blend. For a sugar-free version, skip the brown sugar or use a sugar substitute like Swerve. The texture will be slightly different, but the flavor is still excellent.
Different Beer Options: I’ve tried this with stout, IPA, and even a fruity wheat beer. The stout added a rich, malty flavor that worked surprisingly well. The IPA was too bitter for my taste. The wheat beer gave a subtle citrus note that was nice but not dramatic. Stick with lager for the most reliable results.
Serving & Storage Suggestions
This chicken is best served warm, right off the smoker. But here’s how to handle leftovers and make the most of your meal.
Serving: Carve the chicken and arrange it on a large platter. I like to garnish with fresh parsley or thyme sprigs for color. Serve with extra barbecue sauce on the side, but honestly, this chicken is so flavorful it doesn’t need it. The drippings from the pan make an incredible sauce—just skim off the fat and serve the juices alongside.
Side dishes that pair perfectly: Coleslaw (the tangy vinegar kind cuts through the richness), baked beans, corn on the cob, potato salad, or a simple green salad. For game day, I always do coleslaw and baked beans. They’re easy to make ahead and everyone loves them.
Storage: Leftover chicken keeps in the refrigerator for 3-4 days in an airtight container. Remove the meat from the bones before storing—it stays moist longer that way. The bones make excellent stock, by the way. Don’t throw them out.
Reheating: The best way to reheat is in a 300°F oven for 10-15 minutes, covered with foil to prevent drying. You can also reheat in a skillet with a splash of chicken broth. Avoid the microwave—it makes the meat tough and rubbery.
Freezing: Shredded chicken freezes beautifully for up to 3 months. Package it in freezer bags with as much air removed as possible. Thaw overnight in the refrigerator before reheating. I often double this recipe just to have frozen chicken on hand for quick meals.
Nutritional Information & Benefits
This smoked beer can chicken for game day is actually a pretty solid choice if you’re watching what you eat. Here’s the breakdown per serving (about 6 ounces of meat, without skin):
| Nutrient | Amount |
|---|---|
| Calories | ~320 |
| Protein | 35g |
| Fat | 18g |
| Carbohydrates | 4g |
| Sugar | 3g |
| Sodium | 680mg |
Chicken is an excellent source of lean protein, which supports muscle maintenance and keeps you feeling full. The skin does add fat and calories, but it also contains most of the flavor. I say eat the skin—you’re not making this every day, and life is too short for sad, skinless chicken.
If you’re watching your sodium, reduce the salt in the rub or use a salt-free seasoning blend. The chicken itself is naturally low in sodium—the salt comes entirely from the rub you add.
This recipe is naturally gluten-free (check your spice blends to be sure) and low-carb. It fits into keto, paleo, and Whole30 diets if you skip the brown sugar or use a compliant alternative.
Frequently Asked Questions (FAQs)
Can I use a different type of beer?
Yes, but stick with lighter beers for the best results. Lagers and pilsners work perfectly. Avoid IPAs (too bitter) and stouts (too heavy). The beer’s main job is to create steam—you want a clean, neutral flavor that won’t overpower the chicken.
Do I have to use a beer can?
Not at all. You can use a beer can chicken holder that has a cup for liquid, or you can skip the liquid entirely and just roast the chicken upright. The beer adds moisture and subtle flavor, but you’ll still get great results without it. I’ve done both and honestly, the difference is small.
How do I keep the chicken from falling over?
The chicken’s legs and the beer can form a tripod. Make sure the legs are spread wide enough to provide stability. If it’s still wobbly, use a dedicated holder—they’re cheap and worth the investment. Also, place the chicken on the smoker grate before lighting it, so you’re not struggling with hot equipment.
Can I make this in the oven?
You can, but it won’t have the smoky flavor. Roast at 350°F for about 20 minutes per pound, or until the internal temperature reaches 165°F. Add liquid smoke to the beer for a hint of smokiness—it’s not the same as real smoke, but it helps in a pinch.
Why is my chicken skin rubbery?
Rubbery skin is usually caused by too much moisture. Make sure you pat the chicken completely dry before applying the rub. Also, try cooking at a slightly higher temperature for the last 20 minutes (375°F) to crisp the skin. If your smoker runs humid, that can also cause rubbery skin.
Conclusion
This smoked beer can chicken for game day has become my absolute favorite way to cook chicken. It’s impressive enough for company, simple enough for a Tuesday night, and always delivers juicy, flavorful meat that keeps people coming back for more. Every time I make it, I think about Mark’s backyard and that first incredible smell. Now it’s my turn to share that experience with everyone I feed.
Don’t be afraid to make this recipe your own. Adjust the rub, try different wood chips, experiment with the beer. The method is forgiving and the results are always rewarding. I’d love to hear how yours turns out—drop a comment below and tell me about your game day feast. Did you add any twists? What sides did you serve? Your version might inspire someone else’s next cook.
So fire up that smoker, grab a cold beer (one for the chicken, one for you), and get ready for the best chicken you’ve ever made. Trust me on this one. Your game day spread is about to get a whole lot better.
Pin This Recipe!
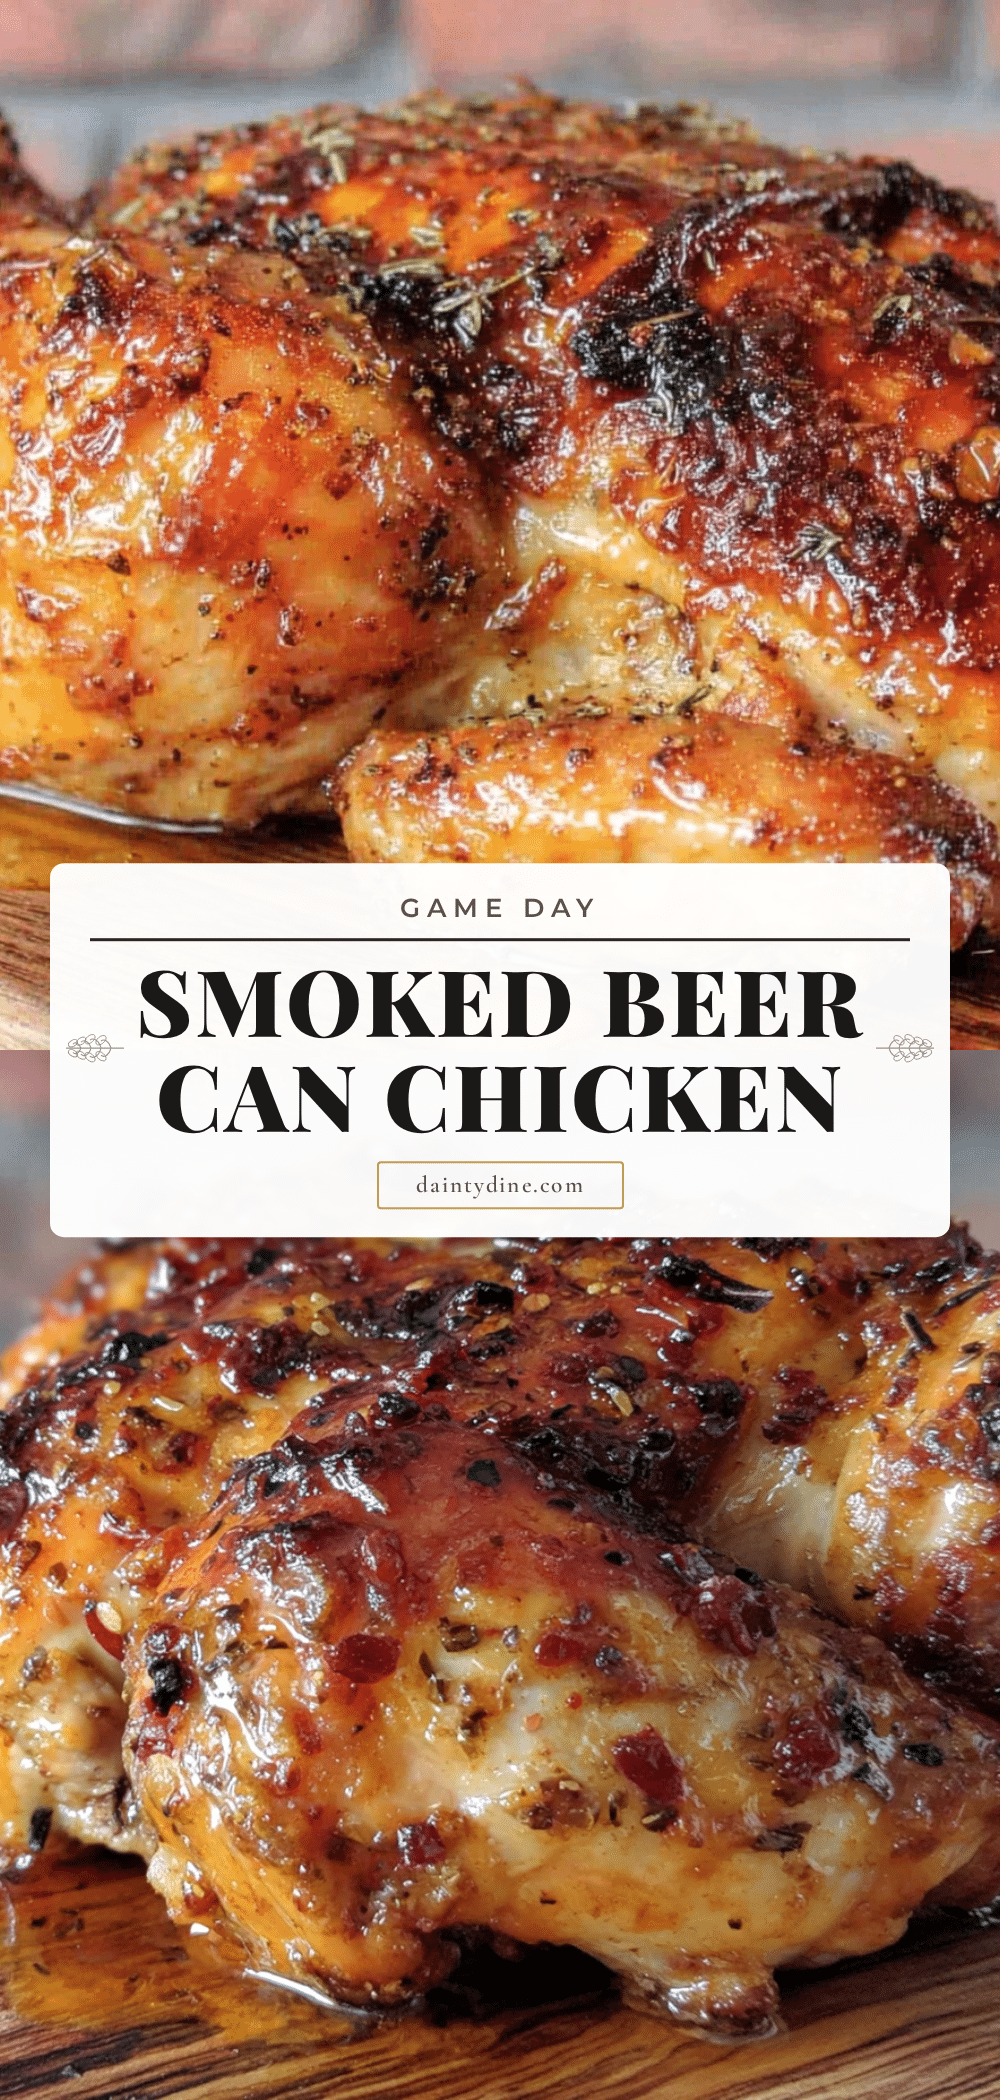
Smoked Beer Can Chicken for Game Day: The Best Easy Recipe
This smoked beer can chicken is incredibly juicy, smoky, and perfect for game day. The beer steams from the inside while the smoke works from the outside, creating tender, moist meat with a flavorful bark.
- Prep Time: 15 minutes
- Cook Time: 3 hours
- Total Time: 3 hours 15 minutes
- Yield: 4 servings 1x
- Category: Main Course
- Cuisine: American
Ingredients
- 1 whole chicken (4–5 pounds)
- 1 can of beer (12 ounces), lager or pilsner
- 2 tablespoons olive oil or vegetable oil
- 2 tablespoons brown sugar
- 1 tablespoon smoked paprika
- 1 tablespoon garlic powder
- 1 tablespoon onion powder
- 1 teaspoon kosher salt
- 1 teaspoon black pepper
- 1 teaspoon cayenne pepper (optional)
- Wood chips or chunks (apple, cherry, or hickory)
- Aluminum foil (optional)
Instructions
- Prep the smoker (15 minutes before cooking): Preheat your smoker to 225°F. Add wood chips or chunks for thin, blue smoke.
- Prepare the chicken (10 minutes): Remove giblets and neck. Pat the chicken completely dry with paper towels.
- Make the rub (5 minutes): Combine brown sugar, smoked paprika, garlic powder, onion powder, salt, black pepper, and cayenne (if using) in a small bowl.
- Season the chicken (10 minutes): Drizzle olive oil over the chicken and rub all over. Apply the rub generously, including inside the cavity.
- Open the beer and set it up (5 minutes): Open the beer can and pour out about half. Punch a couple more holes in the top. Place in a holder or on a stable surface.
- Mount the chicken on the can (5 minutes): Lower the chicken onto the beer can so it sits upright. Adjust legs for stability.
- Place in the smoker (2 minutes): Put an aluminum pan under the chicken to catch drippings. Transfer the chicken to the smoker grate.
- Smoke at 225°F (2.5 to 3.5 hours): Maintain steady temperature. Avoid opening the lid unnecessarily.
- Optional spritzing (every 45 minutes): Spritz with apple juice, beer, or apple cider vinegar for extra moisture.
- Check for doneness: Internal temperature should reach 165°F in the thickest part of the thigh and at least 160°F in the breast.
- Rest the chicken (15 minutes): Remove from smoker and let rest on a cutting board for 15 minutes.
- Remove the beer can: Use tongs to hold the chicken steady and carefully pull out the hot can. Discard.
- Carve and serve (5 minutes): Carve the chicken and arrange on a platter.
Notes
Pat the chicken completely dry for crispy skin. Maintain smoker temperature around 225°F. Don’t oversmoke; one addition of wood chips at the beginning is usually enough. If skin isn’t crispy, finish at 375°F for 15-20 minutes or under the broiler for 3-5 minutes.
Nutrition
- Serving Size: 6 ounces of meat (wi
- Calories: 320
- Sugar: 3
- Sodium: 680
- Fat: 18
- Saturated Fat: 5
- Carbohydrates: 4
- Protein: 35
Keywords: smoked beer can chicken, game day chicken, smoked chicken, beer can chicken, easy smoked chicken recipe


