Love this? Save it for later!
Share the inspiration with your friends
There used to be a tiny bakery tucked between a laundromat and a dusty antique shop on the south side of town that made the most incredible chocolate chip cookies. They called them “Midnight Cookies” because they stayed open until 2 AM, and I swear, the owner had some kind of magic. When the bakery closed suddenly three years ago—the owner moved to Oregon to be closer to her grandkids, I heard—I felt an actual pang of loss. After probably a dozen attempts—honestly, some were downright embarrassing—I finally got it. And the funny thing? The secret wasn’t chilling the dough or fancy European butter. It was about not overthinking it. This is that cookie. The one that tastes like 2 AM bakery magic but takes twenty minutes from bowl to plate.
I remember the first time I tried to recreate them. I stood in my kitchen at 11 PM, flour dusting my counter, convinced I needed to let the dough rest overnight. Nope. The real deal came together fast, hit the oven immediately, and still had that perfect contrast—crispy edges with a soft, almost gooey center. The bakery owner once told me, “Cookies don’t need therapy, honey. They just need butter and sugar.” Maybe you’ve been there, chasing a recipe that feels just out of reach. This is the one that finally landed for me.
So here it is: my best small-batch chocolate chip cookies with no chilling required. They’re the kind that makes you wonder why you ever bothered with complicated recipes. Let’s get into it. I mean, really—who has time to chill dough when you could be eating cookies in twenty minutes?
Why You’ll Love This Recipe
Let me tell you why this recipe has become my go-to for cookie emergencies—and yes, cookie emergencies are a real thing. I’ve tested this more times than I care to admit, tweaking ratios and timing until it felt like the bakery version I’d been chasing.
- Quick & Easy: From mixing bowl to warm cookie in under 20 minutes. No waiting, no chilling, no complicated steps. Perfect for those “I need a cookie right now” moments.
- Simple Ingredients: You probably have everything in your pantry right now. Butter, sugar, an egg, flour, chocolate chips—that’s it. No fancy extracts or specialty flours needed.
- Perfect for Late-Night Cravings: This is your midnight baking solution. Small batch means six perfect cookies, not a mountain of dough you’ll eat raw.
- Crowd-Pleaser: I’ve brought these to potlucks, book club, and even a work meeting. They disappear faster than anything else on the table.
- Unbelievably Delicious: The texture is what gets everyone. Crispy caramelized edges with a soft, almost underbaked center. It’s the cookie that makes people close their eyes on the first bite.
What makes this different from every other chocolate chip cookie recipe out there? It’s the technique of melting the butter instead of creaming it. This creates a chewier texture without needing to chill the dough. Plus, the small batch size means every cookie gets the perfect amount of oven space and attention. No overcrowding, no uneven baking.
This recipe isn’t just good—it’s the kind that makes you text your friend at 10 PM saying, “I just made the best cookies of my life.” It’s comfort food reimagined: faster, simpler, but with the same soul-soothing satisfaction you crave.
What Ingredients You Will Need
This recipe uses simple, everyday ingredients to create something truly special. The magic happens in how they come together, not in fancy additions. Here’s what you’ll need for six perfect cookies:
- Unsalted butter – 4 tablespoons (56g), melted and slightly cooled. I recommend using a good-quality butter like Kerrygold for richer flavor, but any brand works. Melting the butter is key here—it creates that chewy texture without chilling.
- Granulated sugar – ¼ cup (50g). Regular white sugar helps create those crispy edges we’re after.
- Light brown sugar – ¼ cup (50g), packed. This adds moisture and that deep, caramel-like flavor. Make sure it’s fresh and soft—hard brown sugar won’t incorporate as well.
- Large egg yolk – 1 yolk (save the white for breakfast tomorrow). Using just the yolk gives richness without making the cookies cakey. Room temperature is ideal, but cold works in a pinch.
- Vanilla extract – ½ teaspoon. Pure vanilla extract makes a difference here. I’ve tried imitation and honestly, go for the real stuff if you can.
- All-purpose flour – ¾ cup (96g). Spoon and level your flour—don’t scoop straight from the bag or you’ll end up with dry cookies.
- Baking soda – ¼ teaspoon. Make sure it’s fresh; old baking soda won’t give you that nice rise.
- Salt – ¼ teaspoon. I use fine sea salt. Don’t skip this—it balances the sweetness perfectly.
- Chocolate chips – ½ cup (85g). I prefer semi-sweet for that classic cookie flavor, but use what you love. Dark chocolate chips give a more sophisticated taste, while milk chocolate makes them sweeter. For a bakery-style look, chop a chocolate bar into chunks instead of using chips.
Ingredient Selection Tips: For the best texture, use butter that’s been at room temperature for about 15 minutes after melting—you want it warm but not hot. If your brown sugar has turned into a brick, microwave it for 10 seconds with a damp paper towel to soften it up. And here’s a pro tip: freeze your chocolate chips for 10 minutes before adding them to the dough. They won’t melt as much during baking, giving you those beautiful pools of chocolate.
Substitution Guidance: Need a dairy-free option? Use vegan butter sticks (not tub margarine) and dairy-free chocolate chips. For a gluten-free version, swap the all-purpose flour with a 1:1 gluten-free baking flour blend that contains xanthan gum. I’ve tried both substitutions and they work beautifully with the same no-chill method.
Equipment Needed
The beauty of this recipe is that you don’t need fancy equipment. Here’s what you’ll need:
- Mixing bowl – Any medium-sized bowl works. I use a glass bowl because I can see if the butter is properly incorporated.
- Whisk – For combining the wet ingredients. A fork works in a pinch, but a whisk gives you smoother results.
- Rubber spatula – For folding in the flour and chocolate chips. A wooden spoon works too.
- Baking sheet – A standard half-sheet pan is perfect. Avoid dark-colored pans—they absorb more heat and can burn the bottoms of your cookies.
- Parchment paper – Non-negotiable for easy cleanup and preventing sticking. Silicone baking mats work great too.
- Cookie scoop – A 1.5-tablespoon scoop gives you evenly sized cookies. I use the OXO Good Grips scoop and love it. No scoop? Use two spoons to portion the dough.
- Cooling rack – Lets air circulate so cookies cool evenly without getting soggy bottoms.
Budget-Friendly Options: If you don’t have parchment paper, lightly grease your baking sheet with butter or cooking spray. No cooling rack? Transfer cookies to a clean cutting board or plate after they’ve set on the pan for a few minutes.
I once made these cookies at a friend’s cabin with nothing but a fork, a chipped ceramic bowl, and a warped baking sheet. They still came out amazing. Trust me, this recipe is forgiving.
Preparation Method
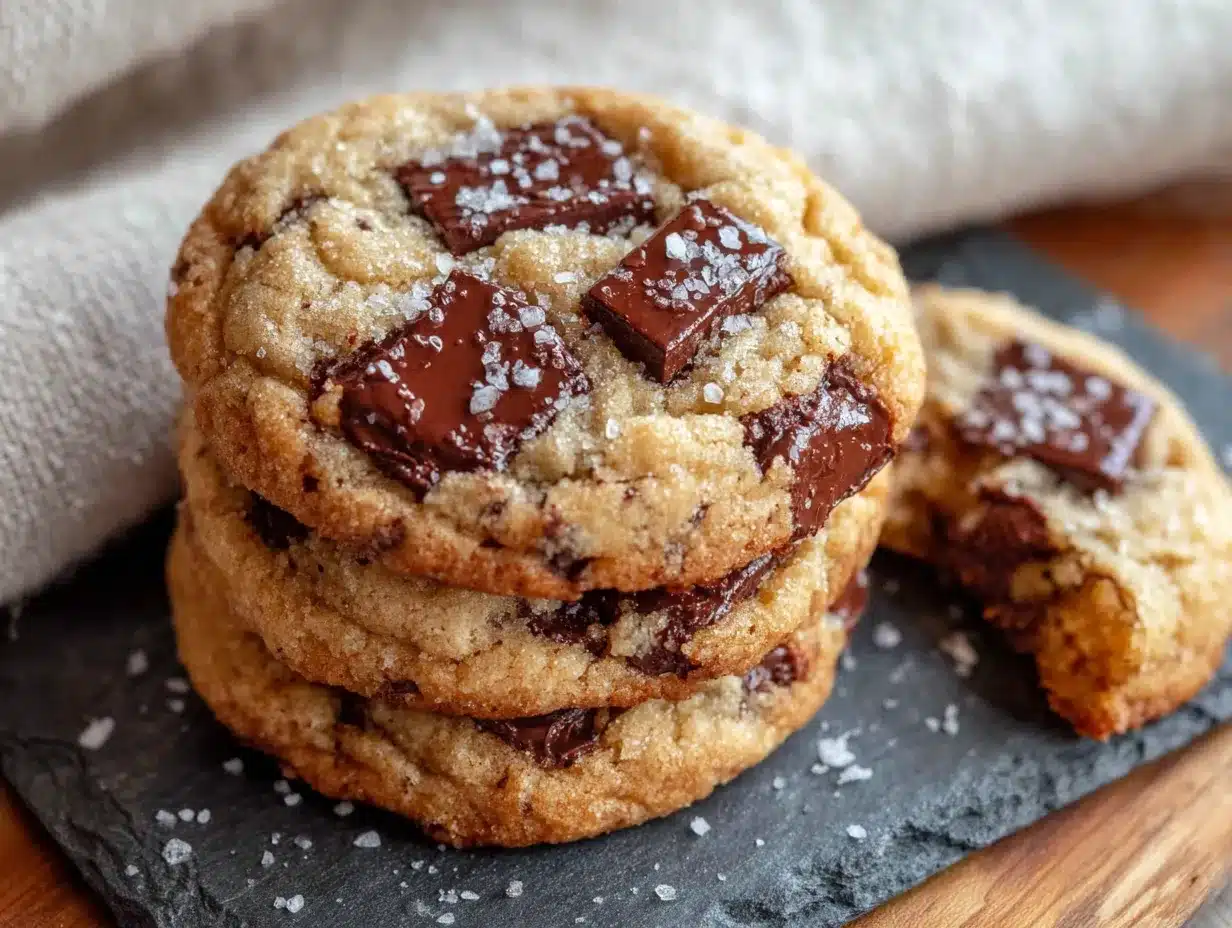
Let’s make some cookies! This whole process takes about 15 minutes of active time and 10-12 minutes of baking. Here’s exactly how to do it:
- Preheat your oven to 350°F (175°C). Line a baking sheet with parchment paper. Do this first so the oven is ready when your dough is. I’ve forgotten to preheat more times than I care to admit, and standing there with a bowl of dough waiting for the oven to warm up is frustrating.
- Melt the butter. Place 4 tablespoons of unsalted butter in a microwave-safe bowl and microwave in 15-second bursts until just melted. Alternatively, melt it in a small saucepan over low heat. Let it cool for 2-3 minutes—you want it warm, not hot. If it’s too hot, it’ll cook the egg yolk when you add it.
- Combine the sugars and butter. In your mixing bowl, whisk together the melted butter, ¼ cup granulated sugar, and ¼ cup packed light brown sugar. Whisk vigorously for about 30 seconds until the mixture looks smooth and slightly thickened. It should smell amazing at this point—like caramel.
- Add the egg yolk and vanilla. Drop in the egg yolk and ½ teaspoon vanilla extract. Whisk until everything is fully combined and the mixture looks glossy. This should take about 20 seconds. Don’t overmix here—just until it’s smooth.
- Add the dry ingredients. Sprinkle ¾ cup all-purpose flour, ¼ teaspoon baking soda, and ¼ teaspoon salt over the wet mixture. Use your rubber spatula to fold everything together gently. Stir just until you see no more streaks of flour. A few lumps are fine—overmixing develops gluten and makes tough cookies.
- Fold in the chocolate chips. Add ½ cup chocolate chips and fold them in with 4-5 strokes. Make sure they’re evenly distributed. If you’re feeling fancy, reserve a few chips to press onto the tops of the dough balls before baking—this makes them look bakery-perfect.
- Portion the dough. Using your cookie scoop or two spoons, scoop 6 equal portions of dough onto the prepared baking sheet. Space them about 2 inches apart—these cookies spread, but not excessively. Each portion should be about 2 tablespoons of dough. Roll them into balls with your hands if you want perfectly round cookies.
- Bake immediately. No chilling! Place the baking sheet in the preheated oven and bake for 10-12 minutes. At 10 minutes, the edges should be golden brown and the centers should look slightly underdone and puffy. They’ll continue baking on the hot pan after you remove them. I usually pull mine at 10 minutes for that soft, gooey center.
- Cool on the pan. Let the cookies rest on the baking sheet for 5 minutes. This is crucial—they’re too fragile to move right away. The residual heat finishes setting the centers while the edges crisp up. After 5 minutes, transfer them to a cooling rack.
- Enjoy warm. These are absolutely divine warm, when the chocolate is still melty. But they’re also fantastic at room temperature. If you can wait that long.
Visual Cues: When you pull the cookies out, the edges should be set and golden, but the centers should look soft and slightly puffy. They’ll deflate a bit as they cool, creating that perfect crackly top. If the centers look completely set and firm in the oven, you’ve overbaked them.
Cooking Tips & Techniques
After more test batches than I’m willing to admit, here are the things I’ve learned the hard way so you don’t have to:
The melted butter temperature matters. I learned this after a batch where the cookies spread into flat, greasy discs. The butter was too hot and partially cooked the egg yolk. Let your melted butter cool for at least 2-3 minutes before adding the egg. It should feel warm to the touch, not hot.
Weigh your flour if possible. I know, I know—weighing ingredients feels fussy. But flour measurement is where most cookie recipes go wrong. Scooping directly from the bag can pack in up to 50% more flour than spooning and leveling. If you don’t have a kitchen scale, fluff your flour with a fork, spoon it into the measuring cup, and level off with a knife.
Don’t skip the salt. I made a batch without salt once because I was out, and the cookies tasted flat and one-dimensional. Salt doesn’t just make things salty—it enhances sweetness and balances flavors. Trust me on this one.
Rotate your baking sheet halfway through. Ovens have hot spots. I rotate my pan at the 6-minute mark to ensure even browning. This small step makes a big difference in consistency.
Use a light-colored baking sheet. Dark pans absorb more heat and can burn cookie bottoms before the centers are done. If you only have dark pans, reduce the oven temperature by 25°F and check a minute earlier.
My biggest failure? I once tried to double the recipe and use a stand mixer. The dough came out tough and the cookies were dense. Hand-mixing is better for small batches—you have more control and less chance of overworking the dough. Plus, fewer dishes to wash.
Variations & Adaptations
This recipe is wonderfully adaptable. Here are some of my favorite variations:
Double Chocolate Chip: Replace 2 tablespoons of the all-purpose flour with 2 tablespoons of unsweetened cocoa powder. Use dark chocolate chips instead of semi-sweet. The result is a rich, fudgy cookie that chocolate lovers go crazy for.
Nutty Crunch: Reduce chocolate chips to ⅓ cup and add ¼ cup toasted chopped walnuts or pecans. Toast the nuts first in a dry pan over medium heat for 3-4 minutes until fragrant—this brings out their flavor and keeps them crunchy in the cookies.
Gluten-Free Version: Swap the all-purpose flour with a 1:1 gluten-free baking flour blend. I’ve used Bob’s Red Mill and King Arthur brands with great success. Add an extra tablespoon of flour to account for the different absorption rate of gluten-free flours.
Vegan Adaptation: Use vegan butter sticks (I like Earth Balance) and a flax egg (1 tablespoon ground flaxseed mixed with 3 tablespoons water, let sit for 5 minutes). The texture is slightly different but still delicious. Use dairy-free chocolate chips like Enjoy Life brand.
Flavor Twists: Add ¼ teaspoon of cinnamon or espresso powder to the dry ingredients for a subtle flavor boost. Or stir in ¼ cup of shredded coconut along with the chocolate chips for a tropical twist. I once added orange zest and it was surprisingly amazing.
My personal favorite variation? I swap half the chocolate chips for white chocolate chips and add ¼ cup dried cranberries. It’s like a fancier version that still feels familiar. Perfect for holiday cookie exchanges.
Serving & Storage Suggestions
Serving: These cookies are best served warm, straight from the oven. The contrast between the crispy edges and soft, melty center is at its peak within the first 15 minutes. If you’re serving them later, pop them in a 300°F oven for 3-4 minutes to re-warm them. They’re also fantastic at room temperature with a cold glass of milk—classic for a reason.
What to serve with them: A scoop of vanilla ice cream turns these into an instant dessert. Or crumble them over yogurt for a decadent breakfast (no judgment here). They pair beautifully with coffee or a hot cup of tea. For a fun twist, sandwich two cookies with a layer of chocolate ganache or vanilla frosting.
Storage: Store cooled cookies in an airtight container at room temperature for up to 5 days. Place a slice of bread in the container to keep them soft—the cookies will absorb moisture from the bread. Change the bread slice every other day. They’ll stay fresh and chewy for days.
Freezing: These cookies freeze beautifully. You can freeze the baked cookies in a freezer-safe bag for up to 3 months. Thaw at room temperature for 15 minutes or reheat directly from frozen in a 300°F oven for 5-6 minutes.
Freezing the dough: Scoop the dough into balls and place them on a parchment-lined baking sheet. Freeze for 1 hour until solid, then transfer to a freezer bag. Bake directly from frozen, adding 2-3 minutes to the baking time. This is my secret for having fresh cookies whenever the craving hits.
Flavor development: If you can resist eating them all immediately, these cookies actually taste even better on day two. The flavors meld together and the texture becomes perfectly chewy. Not that they last that long in my house.
Nutritional Information & Benefits
Here’s the estimated nutritional breakdown per cookie (based on 6 cookies per batch):
- Calories: Approximately 280
- Total Fat: 16g
- Saturated Fat: 10g
- Cholesterol: 55mg
- Sodium: 180mg
- Total Carbohydrates: 34g
- Dietary Fiber: 1g
- Sugars: 22g
- Protein: 4g
Health Benefits: While these are definitely a treat, they offer some surprising benefits. Dark chocolate chips contain antioxidants called flavonoids that support heart health. The butter provides fat-soluble vitamins A, D, E, and K. And honestly? The mental health benefit of taking 20 minutes to bake something delicious is real. Baking is therapeutic.
Dietary Considerations: This recipe contains gluten, dairy, and eggs. For gluten-free and vegan options, check the variations section above. These cookies are nut-free as written, making them safe for school lunches and parties where nut allergies are a concern.
Personal Wellness Perspective: I believe in balance. These cookies aren’t health food, and that’s okay. Life is about enjoying the good things in moderation. Sometimes you need a warm chocolate chip cookie, and that’s perfectly fine. Make them, savor them, and don’t feel guilty about it.
Conclusion
These small-batch chocolate chip cookies have become my signature recipe for a reason. They’re quick, reliable, and absolutely delicious. No chilling required, no complicated techniques, just pure cookie satisfaction from start to finish. Whether you’re craving a late-night treat, need a last-minute dessert for company, or just want to fill your kitchen with that amazing baking smell, this recipe delivers every time.
I love that this recipe lets you have fresh, homemade cookies in the time it takes to watch one episode of your favorite show. It’s the kind of recipe that makes you feel like a baking pro, even on a Tuesday night when you’re wearing sweatpants and have flour on your nose.
Try this recipe and make it your own. Swap in different chips, add nuts, experiment with flavors—that’s the beauty of baking. And when you do, I’d love to hear about it. Leave a comment below and tell me how your cookies turned out. Did you try a variation? Did you eat all six in one sitting? (No judgment here.) Share your cookie stories and tag me in your photos. Happy baking, friend!
Frequently Asked Questions
Can I make these cookies with margarine instead of butter?
I don’t recommend it. Margarine has a higher water content than butter, which will make your cookies spread too much and become flat. Stick with real butter for the best texture and flavor. If you need a dairy-free option, use vegan butter sticks.
Why didn’t my cookies spread?
This usually happens when too much flour is used. Make sure you’re spooning and leveling your flour, not scooping directly from the bag. Also, check that your butter wasn’t too cool when you mixed it—if it solidified before baking, the cookies won’t spread properly.
Can I double this recipe?
Absolutely! Double all ingredients and bake in two batches. Don’t try to bake 12 cookies on one sheet—they’ll crowd each other and bake unevenly. Use two baking sheets or bake one batch at a time.
How do I get perfectly round cookies?
Right after the cookies come out of the oven, use a round cookie cutter or a large glass to gently scoot each cookie into a perfect circle. Do this while they’re still warm and soft on the pan. It’s a bakery trick that works like magic.
Can I use whole wheat flour instead of all-purpose?
You can substitute up to half the flour with whole wheat flour. Using all whole wheat will make the cookies denser and less tender. If you try it, add an extra tablespoon of butter to compensate for the whole wheat flour’s absorbency.
Pin This Recipe!
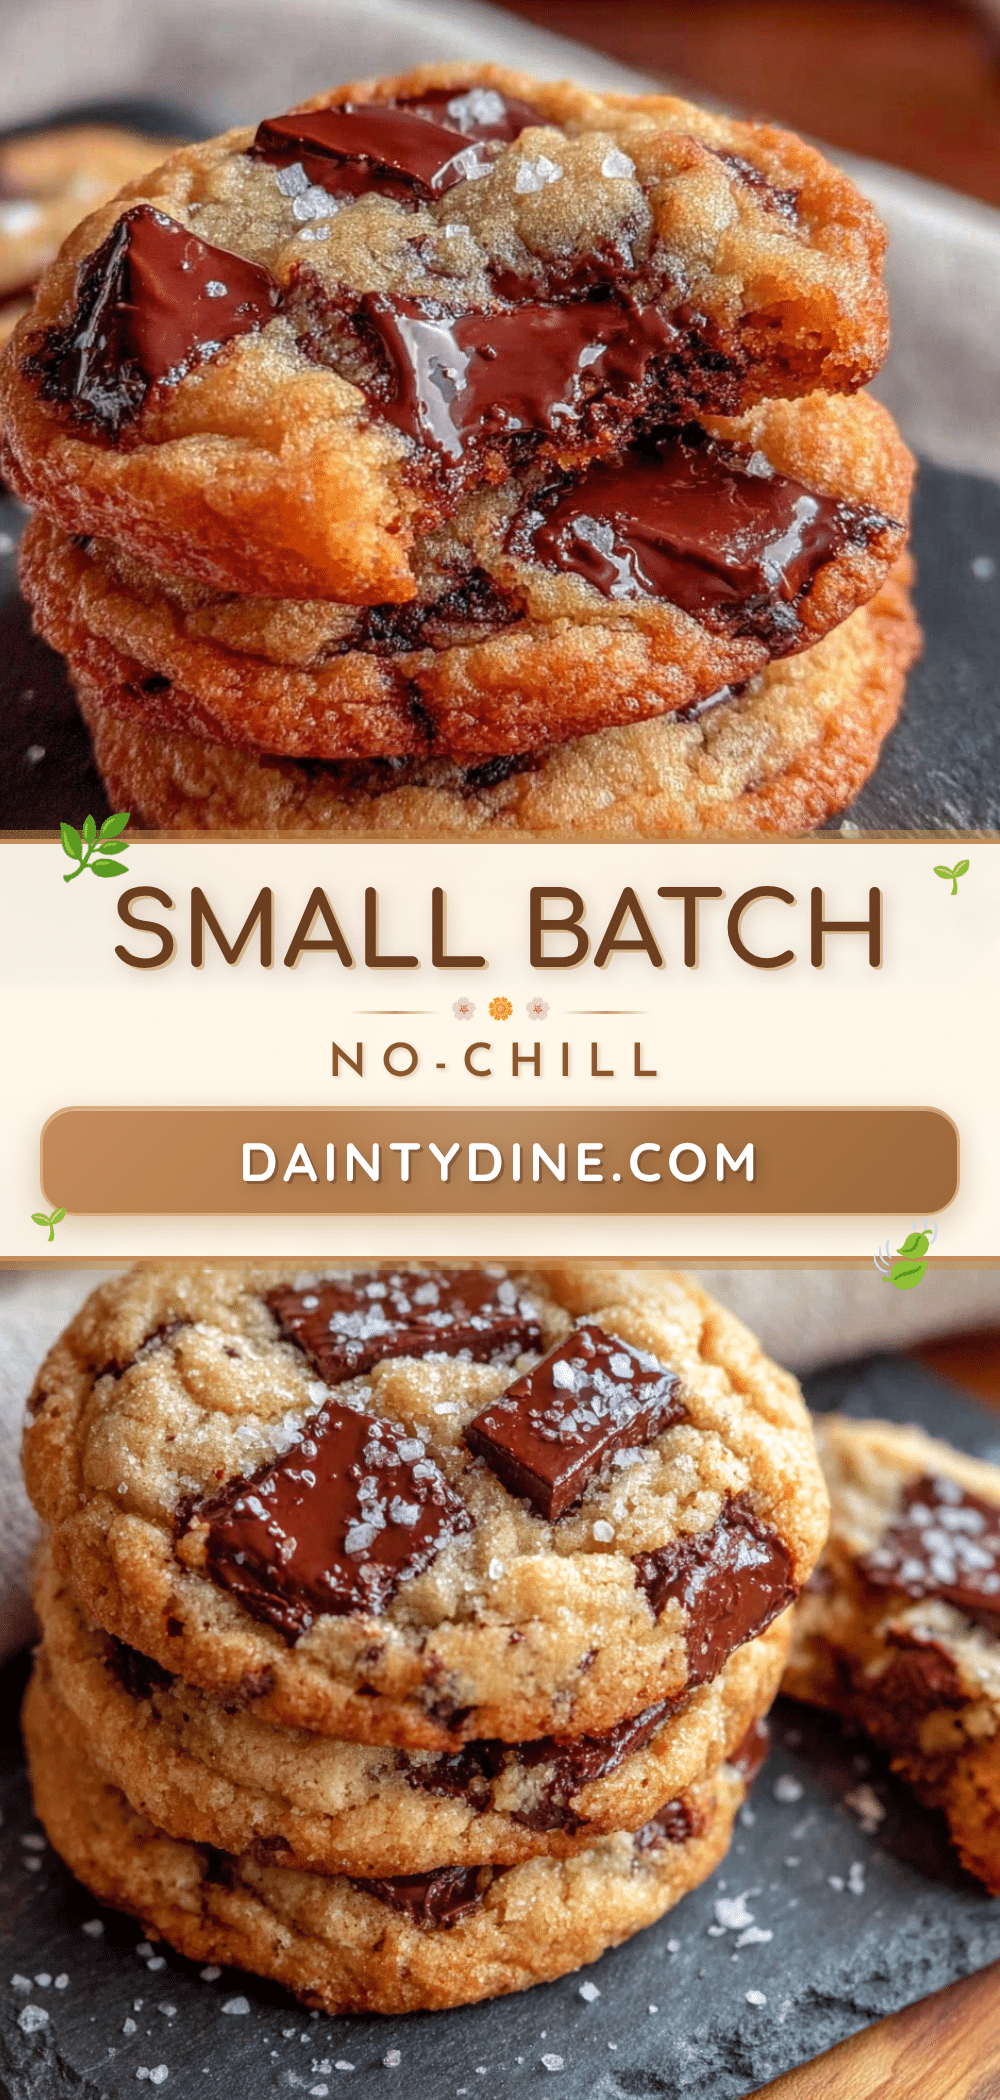
Best Small-Batch Chocolate Chip Cookies – No Chilling Needed

These small-batch chocolate chip cookies come together in under 20 minutes with no chilling required. They have crispy caramelized edges and a soft, gooey center, perfect for late-night cravings.
- Prep Time: 15 minutes
- Cook Time: 10-12 minutes
- Total Time: 25-27 minutes
- Yield: 6 cookies 1x
- Category: Dessert
- Cuisine: American
Ingredients
- 4 tablespoons (56g) unsalted butter, melted and slightly cooled
- ¼ cup (50g) granulated sugar
- ¼ cup (50g) packed light brown sugar
- 1 large egg yolk
- ½ teaspoon vanilla extract
- ¾ cup (96g) all-purpose flour, spooned and leveled
- ¼ teaspoon baking soda
- ¼ teaspoon fine sea salt
- ½ cup (85g) semi-sweet chocolate chips
Instructions
- Preheat oven to 350°F (175°C). Line a baking sheet with parchment paper.
- Melt the butter in a microwave-safe bowl in 15-second bursts or in a small saucepan over low heat. Let cool for 2-3 minutes until warm but not hot.
- In a mixing bowl, whisk together the melted butter, granulated sugar, and brown sugar for about 30 seconds until smooth and slightly thickened.
- Add the egg yolk and vanilla extract. Whisk until fully combined and glossy, about 20 seconds.
- Sprinkle the flour, baking soda, and salt over the wet mixture. Fold gently with a rubber spatula until no streaks of flour remain. Do not overmix.
- Fold in the chocolate chips until evenly distributed. Reserve a few chips to press onto the tops of the dough balls if desired.
- Scoop 6 equal portions of dough (about 2 tablespoons each) onto the prepared baking sheet, spacing them 2 inches apart. Roll into balls if desired.
- Bake immediately for 10-12 minutes. At 10 minutes, edges should be golden brown and centers should look slightly underdone and puffy.
- Let cookies rest on the baking sheet for 5 minutes. The residual heat will finish setting the centers.
- Transfer to a cooling rack and enjoy warm or at room temperature.
Notes
For best results, use a light-colored baking sheet. If using dark pans, reduce oven temperature by 25°F. Weigh flour for accuracy. Freeze chocolate chips for 10 minutes before adding to prevent excessive melting. Cookies can be stored in an airtight container at room temperature for up to 5 days. Freeze baked cookies for up to 3 months or dough balls for up to 3 months.
Nutrition
- Serving Size: 1 cookie
- Calories: 280
- Sugar: 22
- Sodium: 180
- Fat: 16
- Saturated Fat: 10
- Carbohydrates: 34
- Fiber: 1
- Protein: 4
Keywords: small-batch chocolate chip cookies, no chill cookies, quick cookies, easy cookies, late-night cookies


