Love this? Save it for later!
Share the inspiration with your friends
This was supposed to be stuffed peppers. I had the bell peppers lined up on the counter, a block of cheddar ready to grate, and a very specific vision of individual pepper boats filled with seasoned meat and rice. But then my three-year-old decided the colander was a helmet, the dog got excited about a squirrel, and by the time I turned back to the stove, the ground beef was already browning in the pan. The rice was cooked, the tomatoes were open, and honestly, I just didn’t have the energy to stuff anything. So I tossed the rice into the skillet with the beef, dumped in the tomatoes, and stirred. It was a panic move, plain and simple.
What came out of that skillet was nothing like the plan—and better. The flavors melded together in a way that stuffed peppers never quite achieve, with every single grain of rice soaking up that savory, tomatoey goodness. My husband walked in, spooned some into a bowl, and said, “This is the best thing you’ve made all week.” I didn’t have the heart to tell him it was a kitchen fail. I just smiled and served myself a second portion. That was three years ago, and this Easy Ground Beef and Rice Skillet has been a regular in our dinner rotation ever since.
Maybe you’ve been there—standing in your kitchen, ingredients prepped, plan in place, and then life happens. You realize you’re out of an ingredient, or you’re just too tired to follow through on the original idea. That’s exactly where this recipe shines. It’s forgiving, it’s fast, and it turns a moment of kitchen chaos into something genuinely delicious. I mean, how many recipes can you say that about?
This Easy Ground Beef and Rice Skillet isn’t fancy, and it doesn’t try to be. It’s the kind of dinner you make when you need something on the table in thirty minutes, when you want minimal cleanup, and when you just want everyone at the table to be happy. And honestly, that’s the best kind of recipe to have in your back pocket.
Why You’ll Love This Recipe
I’ve tested this ground beef and rice skillet more times than I can count, tweaking the seasoning, adjusting the liquid ratios, and even swapping in different types of rice to see what works best. What I landed on is a version that’s practically foolproof. Here’s why it deserves a permanent spot in your meal plan:
- Quick & Easy: From stove to table in just 30 minutes. This is a lifesaver on those nights when you walk through the door at 5:45 and need dinner by 6:15. No marinating, no complicated techniques—just browning, simmering, and serving.
- Simple Ingredients: You probably already have most of what you need in your pantry and fridge. Ground beef, rice, canned tomatoes, onions, garlic, and a few spices. No fancy grocery trips or specialty items required.
- Perfect for Busy Weeknights: This is the definition of a weeknight warrior. One pan, minimal prep, and it’s hearty enough to satisfy even the hungriest family members. It also reheats beautifully for lunch the next day.
- Crowd-Pleaser: I’ve served this to picky kids, skeptical in-laws, and hungry teenagers, and it gets rave reviews every time. It’s familiar without being boring, and the savory, slightly smoky flavor hits all the right notes.
- Unbelievably Delicious: The texture is what gets me every time. The rice absorbs all the flavor from the beef and tomatoes, creating a cohesive, satisfying dish that feels like comfort food but comes together in half the time of most comfort food classics.
What makes this recipe different from the dozens of other ground beef and rice recipes out there? It’s the balance of seasonings and the cooking method. I use a combination of smoked paprika and cumin that adds depth without being overpowering, and I let the rice simmer directly in the pan with the beef and tomatoes so it absorbs every bit of flavor. This isn’t just another version—it’s the best version I’ve found after years of trial and error.
This recipe is the kind that makes you close your eyes after the first bite. It’s comfort food reimagined—heartier, faster, but with the same soul-soothing satisfaction. Perfect for impressing guests without stress, or turning a simple Tuesday night into something memorable.
What Ingredients You Will Need
This recipe uses simple, wholesome ingredients to deliver bold flavor and satisfying texture without the fuss. Most of these are pantry staples, which makes this dish perfect for those nights when you haven’t planned ahead.
- 1 pound ground beef (80/20): I recommend 80/20 ground beef for the best flavor. The fat content adds richness and keeps the meat juicy. If you use leaner beef (like 93/7), you may need to add a tablespoon of olive oil to prevent dryness.
- 1 cup long-grain white rice: Long-grain rice works best here because it stays separate and fluffy. Do not use instant rice or minute rice—it will turn mushy. Basmati or jasmine rice are excellent choices. For a heartier texture, you can use brown rice, but you’ll need to increase the cooking time and liquid (see variations below).
- 1 medium yellow onion, diced: Yellow onion provides the savory backbone of this dish. Dice it small so it melts into the sauce. If you only have a red or white onion, those work too, though white onions are a bit sharper.
- 3 cloves garlic, minced: Fresh garlic is non-negotiable here. Jarred minced garlic works in a pinch, but fresh gives you that pungent, aromatic quality that makes the dish sing.
- 1 can (14.5 oz) diced tomatoes, undrained: I prefer fire-roasted diced tomatoes for a subtle smoky flavor, but regular diced tomatoes work perfectly. Do not drain the can—the liquid is essential for cooking the rice. Crushed tomatoes can be substituted, but you may need to add a splash of beef broth to reach the right liquid level.
- 1 can (8 oz) tomato sauce: This adds richness and body to the sauce. If you don’t have tomato sauce, you can substitute with 1/2 cup of crushed tomatoes or even a few tablespoons of tomato paste mixed with 1/2 cup of water.
- 1 cup beef broth: Low-sodium beef broth is best so you can control the salt level. Chicken broth or even water with a bouillon cube works in a pinch, but beef broth adds the most flavor.
- 2 tablespoons olive oil: For browning the beef and sautéing the aromatics. Avocado oil or vegetable oil are fine substitutes.
- 1 teaspoon smoked paprika: This is my secret ingredient. Smoked paprika adds a deep, smoky warmth that elevates the entire dish. Regular paprika works, but you’ll miss that subtle campfire note.
- 1 teaspoon ground cumin: Cumin adds an earthy, slightly nutty flavor that pairs beautifully with the beef and tomatoes. If you’re out of cumin, chili powder (which contains cumin) can be used, but reduce the amount to 1/2 teaspoon.
- 1/2 teaspoon dried oregano: Oregano brings a hint of herbal brightness. Mexican oregano is ideal, but Mediterranean oregano works well too.
- 1/2 teaspoon salt (plus more to taste): I use kosher salt. Start with 1/2 teaspoon and adjust at the end—different brands of broth and tomatoes have varying sodium levels.
- 1/4 teaspoon black pepper: Freshly ground black pepper is always best, but pre-ground works fine.
- Optional: 1/2 cup frozen peas or corn: I like to stir these in at the end for a pop of color and sweetness. They’re completely optional but highly recommended.
- Optional: Fresh parsley or cilantro for garnish: A sprinkle of fresh herbs adds brightness and makes the dish look restaurant-worthy.
Ingredient Selection Tips: For the best texture, look for long-grain rice that isn’t broken or overly starchy. I personally prefer Lundberg or Mahatma brands. When buying ground beef, check the sell-by date and look for bright red color—though vacuum-sealed beef can look darker, which is perfectly fine. If you’re using frozen ground beef, thaw it overnight in the refrigerator for even cooking.
Substitution Guidance: For a gluten-free option, this recipe is naturally gluten-free as written—just double-check your beef broth label. For a dairy-free version, this recipe contains no dairy, so you’re all set. To make it lower in carbs, swap the rice for cauliflower rice, but reduce the cooking time significantly (cauliflower rice only needs about 5-7 minutes to cook).
Equipment Needed
One of the best things about this recipe is how little equipment it requires. Here’s what you’ll need:
- Large skillet or Dutch oven (12-inch recommended): A 12-inch skillet with a tight-fitting lid is ideal. I use my trusty Lodge cast-iron skillet for this recipe because it retains heat beautifully and creates a nice fond on the bottom. A non-stick skillet works too, but you won’t get as much browning on the beef. If you’re using a stainless steel pan, just be sure to deglaze it well after browning the meat.
- Wooden spoon or spatula: For breaking up the ground beef as it cooks. A wooden spoon is gentle on your cookware and gives you good leverage for scraping up any browned bits.
- Chef’s knife and cutting board: For dicing the onion and mincing the garlic. A sharp knife makes this task much faster and safer.
- Measuring cups and spoons: Accurate measurements matter for the liquid-to-rice ratio. I use a liquid measuring cup for the broth and dry measuring cups for the rice.
- Can opener: For the diced tomatoes and tomato sauce.
- Optional: Garlic press: If you’re not confident in your knife skills, a garlic press makes quick work of mincing.
Personal Note on Equipment: I’ve made this recipe in a cheap non-stick skillet and in my expensive cast-iron pan, and honestly, it works well in both. The key is having a lid that fits snugly. If your skillet doesn’t have a lid, you can use a baking sheet or aluminum foil to cover it tightly. I’ve also made this in a Dutch oven with great results—the heavy bottom helps distribute heat evenly and prevents scorching.
Preparation Method
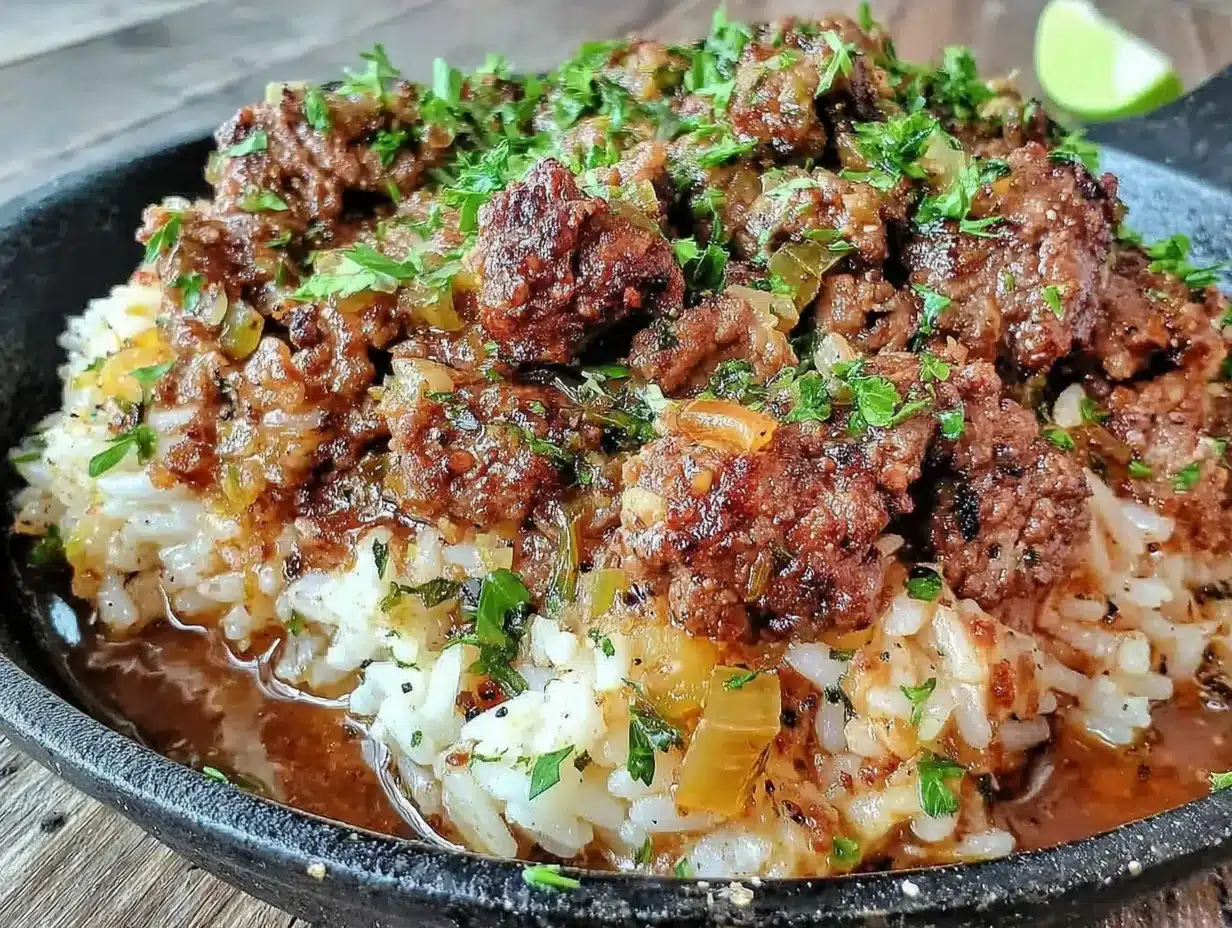
Follow these steps carefully, and you’ll have a perfect skillet dinner every time. The key is not to rush the browning step—that’s where the flavor lives.
- Heat the oil: Place your large skillet over medium-high heat and add the 2 tablespoons of olive oil. Let it heat for about 1 minute until it shimmers. You want it hot enough that the beef sizzles immediately when it hits the pan.
- Brown the beef: Add the ground beef to the hot skillet. Use your wooden spoon to break it into large chunks. Let it cook undisturbed for 3-4 minutes—this allows a nice brown crust to form. Then start breaking it into smaller pieces. Continue cooking for another 3-4 minutes until the beef is fully browned and no longer pink. Do not drain all the fat—leave about 1 tablespoon in the pan for flavor. (If you’re using very lean beef and there’s no fat, that’s okay—just proceed.)
- Sauté the aromatics: Push the beef to one side of the skillet. Add the diced onion to the empty side and cook for 3-4 minutes, stirring occasionally, until it becomes translucent and starts to soften. Add the minced garlic and cook for 30 seconds until fragrant. Stir the onion and garlic into the beef. Your kitchen should smell incredible at this point—if it doesn’t, your garlic might be old or your pan wasn’t hot enough.
- Add the spices: Sprinkle the smoked paprika, cumin, oregano, salt, and pepper over the beef mixture. Stir well to coat everything evenly. Let the spices cook for about 1 minute—this “blooms” them and deepens their flavor. You’ll notice the color darken and the aroma intensify.
- Add the liquids and rice: Pour in the undrained diced tomatoes, tomato sauce, and beef broth. Stir to combine, scraping up any browned bits from the bottom of the pan. Add the 1 cup of uncooked rice and stir until it’s evenly distributed. Bring the mixture to a boil—you should see bubbles breaking the surface all over.
- Simmer: Once boiling, reduce the heat to low, cover the skillet with a tight-fitting lid, and let it simmer gently for 18-20 minutes. Do not lift the lid during this time—the steam is what cooks the rice. Set a timer and walk away. If you peek, you’ll release valuable steam and the rice may not cook properly.
- Check for doneness: After 18 minutes, remove the lid carefully (steam will escape). Fluff the rice with a fork. It should be tender and have absorbed most of the liquid. If the rice is still crunchy or there’s standing liquid, re-cover and cook for another 2-3 minutes. If the rice is tender but there’s a little liquid left, that’s fine—it will continue to absorb as it rests.
- Add optional stir-ins: If using frozen peas or corn, stir them in now. The residual heat will warm them through in about 1 minute. Taste the mixture and adjust salt and pepper if needed.
- Rest and serve: Remove the skillet from heat and let it rest, uncovered, for 5 minutes. This allows the rice to finish absorbing any remaining liquid and lets the flavors meld. Garnish with fresh parsley or cilantro if desired, and serve hot.
Sensory Cues: When the beef is properly browned, it should look deep brown with crispy edges, not gray. The onions should be soft and translucent, not crunchy. When you lift the lid after simmering, you should see a cohesive mixture where the rice has plumped up and the sauce has thickened into a rich, savory coating. The smell should be warm and inviting—smoky from the paprika, earthy from the cumin, and sweet from the tomatoes.
Troubleshooting Tip: If your rice turns out mushy, you likely used too much liquid or the heat was too high. If it’s crunchy, you either lifted the lid too early or the heat was too low. Next time, make sure your simmer is gentle but steady—you should see small bubbles, not a vigorous boil.
Cooking Tips & Techniques
Over the years, I’ve learned a few tricks that make this recipe even better. Here are my top tips:
Don’t skip the browning: This is the most important step for flavor. If you rush the browning or crowd the pan, the beef will steam instead of sear, and you’ll lose that deep, savory flavor. If you’re doubling the recipe, brown the beef in batches.
Toast the rice (optional but amazing): Before adding the liquids, you can toast the uncooked rice in the skillet for 1-2 minutes after sautéing the aromatics. This adds a nutty flavor and helps the rice stay separate. Just stir constantly so it doesn’t burn.
Use the right rice: I cannot stress this enough—long-grain white rice is your friend here. Jasmine rice adds a subtle floral note, while basmati is more neutral. Avoid short-grain rice (it gets sticky) and instant rice (it turns to mush).
Control the heat: When you first add the liquids and bring to a boil, that’s fine. But once you cover and reduce to low, make sure it’s truly low. If your stovetop runs hot, you might even want to use the “simmer” setting. A gentle simmer ensures even cooking without scorching the bottom.
Let it rest: I know it’s tempting to serve immediately, but that 5-minute rest is crucial. The rice continues to absorb liquid, the flavors settle, and the texture becomes perfect. Patience pays off here.
My biggest failure: The first time I made this, I used jasmine rice and thought I could get away with a 15-minute simmer. The rice was still crunchy, and I ended up adding more broth and cooking it for another 10 minutes. It worked out in the end, but the texture was uneven. Now I always set a timer for 18 minutes and resist the urge to peek. Learn from my impatience!
Variations & Adaptations
This recipe is incredibly versatile. Here are some of my favorite ways to change it up:
Mexican-Inspired Version: Add 1 teaspoon of chili powder along with the other spices, and stir in 1/2 cup of frozen corn and a can of drained black beans at the end. Top with shredded cheddar cheese, a dollop of sour cream, and fresh cilantro. Serve with warm tortillas or tortilla chips.
Italian-Inspired Version: Swap the cumin and smoked paprika for 1 teaspoon of Italian seasoning and 1/2 teaspoon of fennel seeds. Use crushed tomatoes instead of diced, and stir in a handful of fresh spinach at the end until wilted. Top with grated Parmesan cheese and fresh basil.
Low-Carb Version: Replace the rice with 4 cups of riced cauliflower. Follow the same steps, but after adding the liquids and cauliflower, simmer for only 5-7 minutes (cauliflower cooks much faster). You may want to add a little extra salt since cauliflower is more neutral than rice.
Spicy Version: Add 1/2 teaspoon of red pepper flakes or a diced jalapeño (seeds removed for less heat) along with the onions. You can also use hot smoked paprika instead of regular smoked paprika for an extra kick.
Cheesy Version: After the rice is cooked and rested, sprinkle 1 cup of shredded cheddar or Monterey Jack cheese over the top. Cover the skillet for 2-3 minutes until the cheese melts, then serve. This is my kids’ absolute favorite variation.
Personal Favorite: I love adding a tablespoon of Worcestershire sauce along with the liquids. It adds an umami depth that makes the beef taste even beefier. It’s a small change that makes a big difference.
Serving & Storage Suggestions
This skillet dinner is satisfying on its own, but here are some ideas for making it a complete meal:
Serving Temperature: Serve hot, straight from the skillet. The residual heat keeps it warm at the table. If you’re serving a crowd, you can keep it warm on the stovetop over very low heat, stirring occasionally.
Presentation: Spoon the mixture into shallow bowls and garnish with fresh parsley or cilantro. A sprinkle of red pepper flakes adds a pop of color for those who like heat. For a family-style dinner, bring the skillet right to the table—it’s rustic and inviting.
Complementary Dishes: This dish pairs beautifully with a simple green salad dressed with lemon vinaigrette. The acidity cuts through the richness of the beef. You can also serve it with warm crusty bread for sopping up any extra sauce, or with steamed green beans or roasted broccoli on the side.
Beverage Pairings: A cold beer like a Mexican lager or a pale ale works wonderfully with the smoky, savory flavors. For wine drinkers, a medium-bodied red like a Merlot or a Zinfandel complements the beef without overpowering it. For a non-alcoholic option, try a sparkling water with lime or an iced tea.
Storage Instructions: Store leftovers in an airtight container in the refrigerator for up to 4 days. The flavors actually deepen overnight, making this one of those rare dishes that tastes even better the next day. To reheat, add a splash of water or beef broth to a skillet and warm over medium heat, stirring occasionally. You can also microwave individual portions—just cover the bowl with a damp paper towel to prevent the rice from drying out.
Freezing Instructions: This recipe freezes beautifully. Let it cool completely, then transfer to freezer-safe containers or zip-top bags. Press out as much air as possible before sealing. Freeze for up to 3 months. To thaw, move to the refrigerator overnight. Reheat in a skillet over medium heat, adding a little broth if needed to restore moisture.
Flavor Development Note: The rice will continue to absorb liquid as it sits in the refrigerator, so leftovers may be slightly drier than the fresh version. Don’t worry—adding a splash of broth or water when reheating brings it right back to life.
Nutritional Information & Benefits
Here’s an approximate nutritional breakdown for one serving (based on 6 servings, without optional add-ins):
- Calories: 385
- Protein: 24g
- Fat: 16g
- Saturated Fat: 5g
- Carbohydrates: 35g
- Fiber: 3g
- Sugar: 5g
- Sodium: 680mg
Health Benefits: This dish provides a solid balance of protein, carbohydrates, and healthy fats. The ground beef is an excellent source of iron, zinc, and B vitamins, which support energy metabolism and immune function. The tomatoes are rich in lycopene, a powerful antioxidant linked to heart health. Onions and garlic provide prebiotic fiber that supports gut health, and the olive oil offers heart-healthy monounsaturated fats.
Dietary Considerations: This recipe is naturally gluten-free and dairy-free. For a lower-sodium version, use no-salt-added diced tomatoes and low-sodium beef broth, and reduce the added salt. For a lower-carb version, see the variation above using cauliflower rice. If you’re watching your saturated fat intake, use lean ground beef (93/7) and drain the fat after browning.
Personal Wellness Perspective: I love that this recipe feels indulgent but is actually quite balanced. It’s the kind of meal that fills you up without weighing you down, and the protein and fiber keep you satisfied for hours. It’s a regular in our meal prep rotation because it’s nourishing and practical.
Conclusion
This Easy Ground Beef and Rice Skillet has saved me on more busy weeknights than I can count. It started as a happy accident—a moment of kitchen chaos that turned into something genuinely delicious—and it’s become a staple that I return to again and again. It’s proof that you don’t need fancy ingredients or complicated techniques to make a meal that brings everyone to the table.
I hope you give this recipe a try and make it your own. Add your favorite spices, throw in whatever vegetables you have in the fridge, or top it with cheese and call it dinner. That’s the beauty of a one-pan meal—it’s forgiving, flexible, and always satisfying.
When you make it, I’d love to hear how it turned out. Did you add a twist? Did your family love it? Drop a comment below and let me know. And if you’re looking for more quick and easy dinner ideas, be sure to check out my other one-pan recipes. Happy cooking!
Frequently Asked Questions
Can I use brown rice instead of white rice?
Yes, but you’ll need to adjust the cooking time and liquid. Brown rice takes about 40-45 minutes to cook and requires 1 3/4 cups of liquid per cup of rice. Increase the beef broth to 1 1/2 cups and simmer covered for 40 minutes, checking for doneness. You may need to add a little more broth if it dries out before the rice is tender.
Can I make this in an Instant Pot or slow cooker?
For the Instant Pot, use the sauté function to brown the beef and cook the aromatics, then add the remaining ingredients (use 1 cup broth instead of 1 cup). Pressure cook on high for 5 minutes with a natural release. For a slow cooker, brown the beef first, then add all ingredients and cook on low for 4-5 hours or high for 2-3 hours. The rice may be slightly softer in the slow cooker.
How do I prevent the rice from burning on the bottom?
Make sure your heat is on low after bringing the mixture to a boil. If your stovetop runs hot, use a heat diffuser or place the skillet on a smaller burner. Also, avoid lifting the lid during cooking—releasing steam can cause the liquid to evaporate too quickly, leading to scorching.
Can I use ground turkey or chicken instead of beef?
Absolutely. Ground turkey or chicken work well, but they are leaner, so add 1 tablespoon of olive oil to the pan before browning. You may also want to increase the spices slightly since poultry has a milder flavor than beef. Cook until the internal temperature reaches 165°F.
How do I make this recipe ahead of time for meal prep?
This is a great meal prep recipe. Cook the skillet as directed, let it cool completely, and portion it into airtight containers. Store in the refrigerator for up to 4 days. To reheat, add a splash of water or broth and microwave for 2-3 minutes, or reheat in a skillet over medium heat. The flavors are even better on day two!
Pin This Recipe!
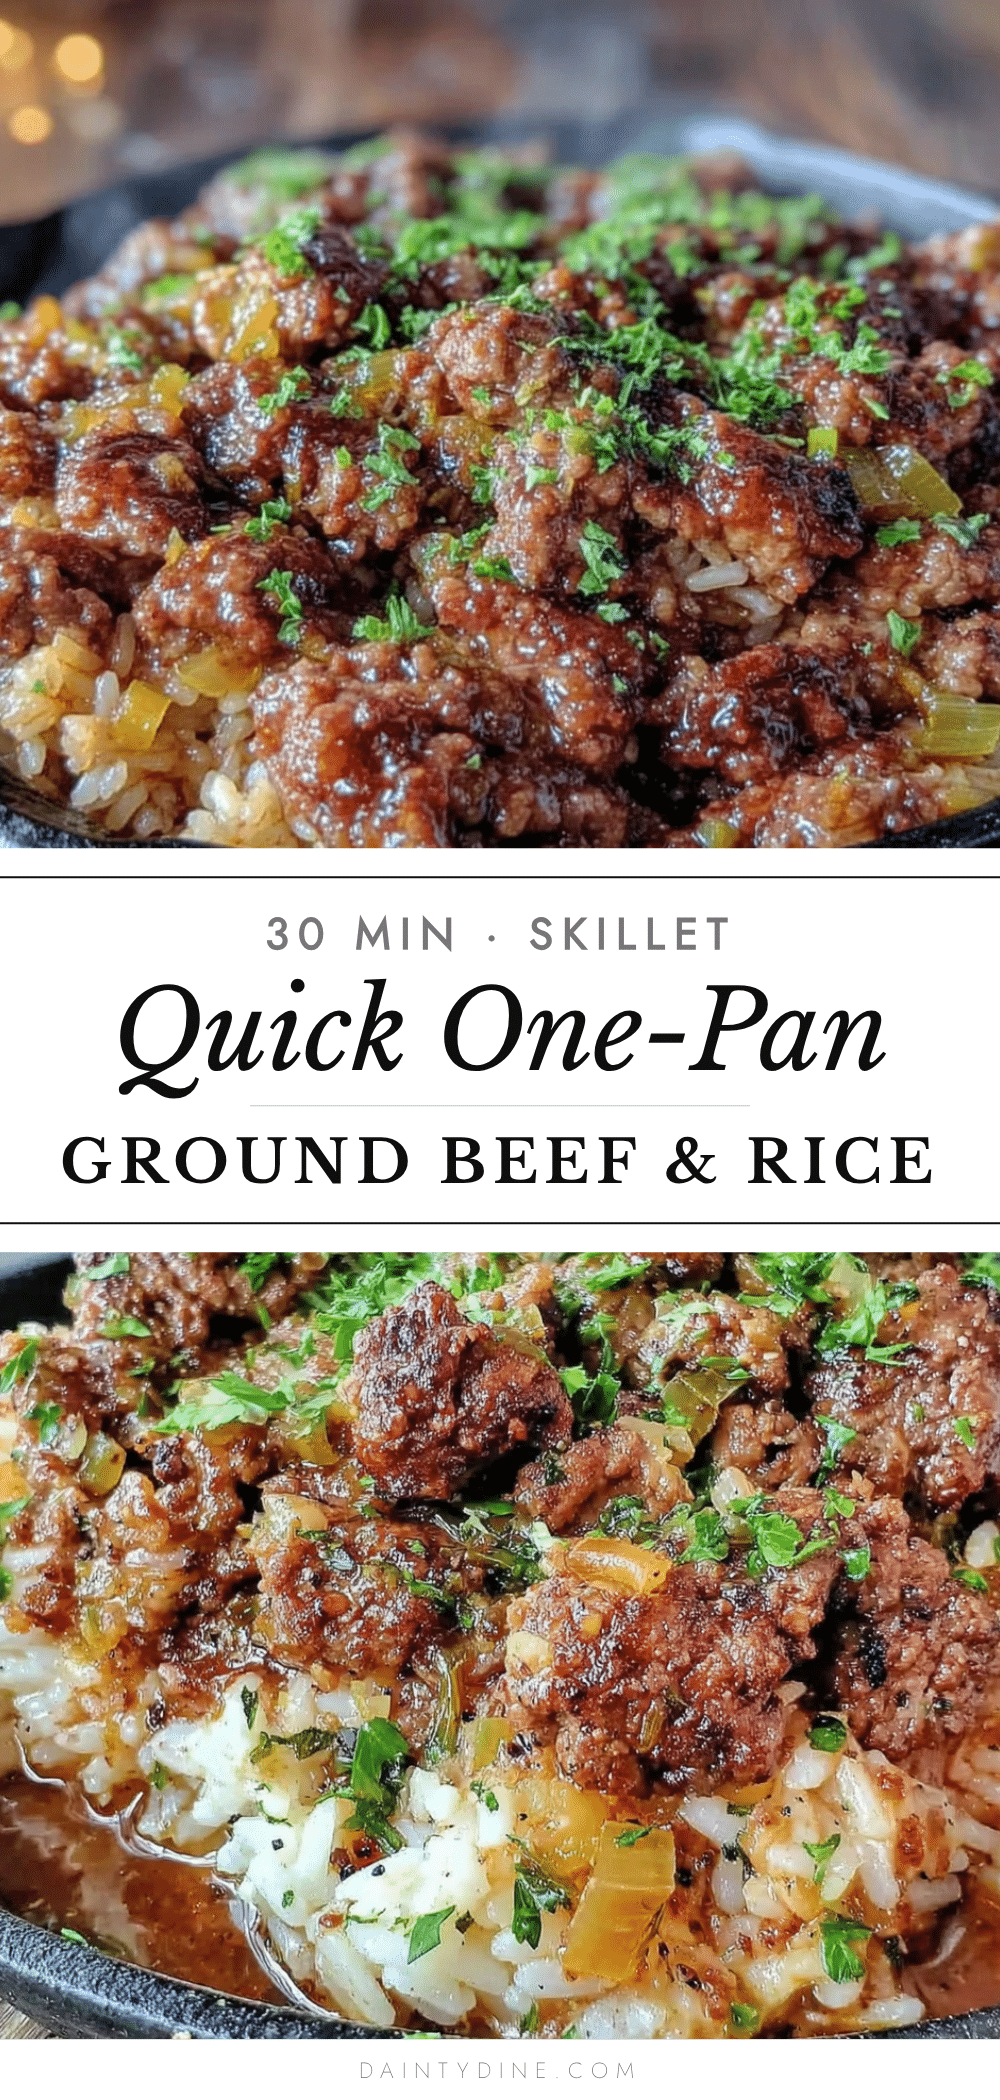
Easy Ground Beef and Rice Skillet: 30-Minute One-Pan Dinner

A quick and easy one-pan dinner made with ground beef, rice, and tomatoes, perfect for busy weeknights. This forgiving recipe turns kitchen chaos into a delicious, crowd-pleasing meal in just 30 minutes.
- Prep Time: 10 minutes
- Cook Time: 20 minutes
- Total Time: 30 minutes
- Yield: 6 servings 1x
- Category: Main Course
- Cuisine: American
Ingredients
- 1 pound ground beef (80/20)
- 1 cup long-grain white rice
- 1 medium yellow onion, diced
- 3 cloves garlic, minced
- 1 can (14.5 oz) diced tomatoes, undrained
- 1 can (8 oz) tomato sauce
- 1 cup beef broth
- 2 tablespoons olive oil
- 1 teaspoon smoked paprika
- 1 teaspoon ground cumin
- 1/2 teaspoon dried oregano
- 1/2 teaspoon salt (plus more to taste)
- 1/4 teaspoon black pepper
- Optional: 1/2 cup frozen peas or corn
- Optional: Fresh parsley or cilantro for garnish
Instructions
- Heat the oil: Place your large skillet over medium-high heat and add the 2 tablespoons of olive oil. Let it heat for about 1 minute until it shimmers.
- Brown the beef: Add the ground beef to the hot skillet. Use your wooden spoon to break it into large chunks. Let it cook undisturbed for 3-4 minutes, then break into smaller pieces. Continue cooking for another 3-4 minutes until fully browned. Leave about 1 tablespoon of fat in the pan.
- Sauté the aromatics: Push the beef to one side. Add the diced onion to the empty side and cook for 3-4 minutes until translucent. Add the minced garlic and cook for 30 seconds until fragrant. Stir the onion and garlic into the beef.
- Add the spices: Sprinkle the smoked paprika, cumin, oregano, salt, and pepper over the beef mixture. Stir well and let cook for about 1 minute to bloom the spices.
- Add the liquids and rice: Pour in the undrained diced tomatoes, tomato sauce, and beef broth. Stir to combine, scraping up any browned bits. Add the 1 cup of uncooked rice and stir until evenly distributed. Bring the mixture to a boil.
- Simmer: Reduce heat to low, cover with a tight-fitting lid, and let simmer gently for 18-20 minutes. Do not lift the lid during this time.
- Check for doneness: After 18 minutes, remove the lid and fluff the rice with a fork. If rice is still crunchy, re-cover and cook for another 2-3 minutes.
- Add optional stir-ins: If using frozen peas or corn, stir them in now. Adjust salt and pepper if needed.
- Rest and serve: Remove from heat and let rest, uncovered, for 5 minutes. Garnish with fresh parsley or cilantro if desired, and serve hot.
Notes
For best results, do not lift the lid during simmering. Let the dish rest for 5 minutes before serving. Leftovers can be stored in the refrigerator for up to 4 days or frozen for up to 3 months.
Nutrition
- Serving Size: 1 serving
- Calories: 385
- Sugar: 5
- Sodium: 680
- Fat: 16
- Saturated Fat: 5
- Carbohydrates: 35
- Fiber: 3
- Protein: 24
Keywords: ground beef, rice, one-pan dinner, 30-minute meal, weeknight dinner, easy dinner, skillet dinner


