Love this? Save it for later!
Share the inspiration with your friends
It was 11:23 PM on a sleepy Wednesday, and I was hit with a strange craving for something nostalgic yet oddly specific: those perfectly sealed, crustless peanut butter and jelly sandwiches you find in the freezer aisle. I didn’t have the fancy Uncrustables mold or store-bought packs, but I did have a couple of slices of slightly stale bread, a jar of chunky peanut butter, and some raspberry jam that my friend Karen once brought back from Maine. Honestly, the late-night kitchen glow and the quiet hum of the fridge gave me this wild idea — why not try making my own Easy Homemade Uncrustables PB&J Sandwiches?
I grabbed a glass bowl that I’d cracked last month—still usable, if a little wobbly—and set to work, improvising with a butter knife and a drinking glass to press the edges. The jam was a bit runnier than I expected, and I spilled some on the counter, but that’s part of the charm, right? Maybe you’ve been there, trying to recreate a snack from your childhood with whatever random ingredients are left in the pantry at midnight. This recipe stuck with me because it’s simple, comforting, and honestly kind of fun to make when the world is quiet and the kitchen feels like your own little universe.
Let me tell you, these Easy Homemade Uncrustables PB&J Sandwiches aren’t just a knockoff—they’re a legit snack hack that you can whip up on a whim, no special tools required, and with way better control over what goes inside. Plus, they’re perfect for packing in lunches or stashing in the freezer for those “I need a quick bite” moments. So, if you’re ready to master a homemade version of this classic treat, let’s get started!
Why You’ll Love This Recipe
After several rounds of trial (and error, if I’m honest), this Easy Homemade Uncrustables PB&J Sandwiches recipe has become my go-to snack hack. Here’s why I think you’ll totally dig it:
- Quick & Easy: Whips up in under 15 minutes — perfect for busy weekdays or last-minute snack attacks.
- Simple Ingredients: No need for special runs to the store; you probably have everything in your pantry already.
- Perfect for Lunchboxes: Freezes well and thaws quickly, making it brilliant for school or work lunches.
- Crowd-Pleaser: Kids and adults alike love the nostalgic, mess-free appeal.
- Customizable: You can swap jams, nut butters, or even use seed butters for allergies.
- Better Control: Unlike store-bought, you get to decide the sweetness, thickness, and even the bread type.
This isn’t just another peanut butter and jelly sandwich. I’ve fine-tuned the edge-sealing technique so the filling stays put, and the bread never sogs out. Plus, the little homemade touch means you can make it exactly how you like it — maybe a little extra peanut butter, or a swirl of honey for sweetness. Honestly, it’s comfort food without the fuss, and it’s become a quiet favorite in my kitchen late at night (and, well, during afternoon snack time too).
What Ingredients You Will Need
This recipe uses straightforward, pantry-friendly ingredients to recreate the perfect Easy Homemade Uncrustables PB&J Sandwiches. Each plays a role in the classic flavor and texture you remember, and you can easily swap some out to suit your taste or dietary needs.
- White sandwich bread (preferably soft and fresh, but slightly stale works better for sealing)
- Peanut butter (creamy or chunky depending on your crunch preference; I personally recommend Skippy for a smooth spread)
- Jelly or jam (grape, strawberry, or raspberry work great — homemade or store-bought; I love Smucker’s Natural for a less sweet option)
- Butter or margarine (optional, for lightly buttering the bread edges to help sealing)
- Flour (just a pinch for dusting the work surface to prevent sticking)
- Optional sweetener like honey or maple syrup (if you want an extra touch of sweetness in the peanut butter)
Substitution tips: Use almond or sunflower seed butter to make it nut-free, and swap the bread for gluten-free sandwich bread if needed. For jam, any fruit spread or even a thin layer of Nutella makes a fun twist.
Equipment Needed
Good news: you don’t need fancy gadgets for these sandwiches. Here’s what I use and recommend:
- Butter knife or small spreading knife: For even peanut butter and jelly layers.
- Drinking glass or small round cookie cutter: To press and seal the sandwich edges (a glass rim works just fine if you don’t have a cutter).
- Baking sheet or plate: To arrange the sandwiches before freezing or serving.
- Parchment paper: Optional but helpful to keep sandwiches from sticking during freezing.
- Plastic wrap or freezer bags: For storage.
If you want to get fancy, a crimping press or specialized sandwich sealer works wonders and saves time, but honestly, I find a glass and a butter knife just as satisfying to use. If your knife gets sticky, just dip it in warm water and wipe it off before spreading.
Preparation Method
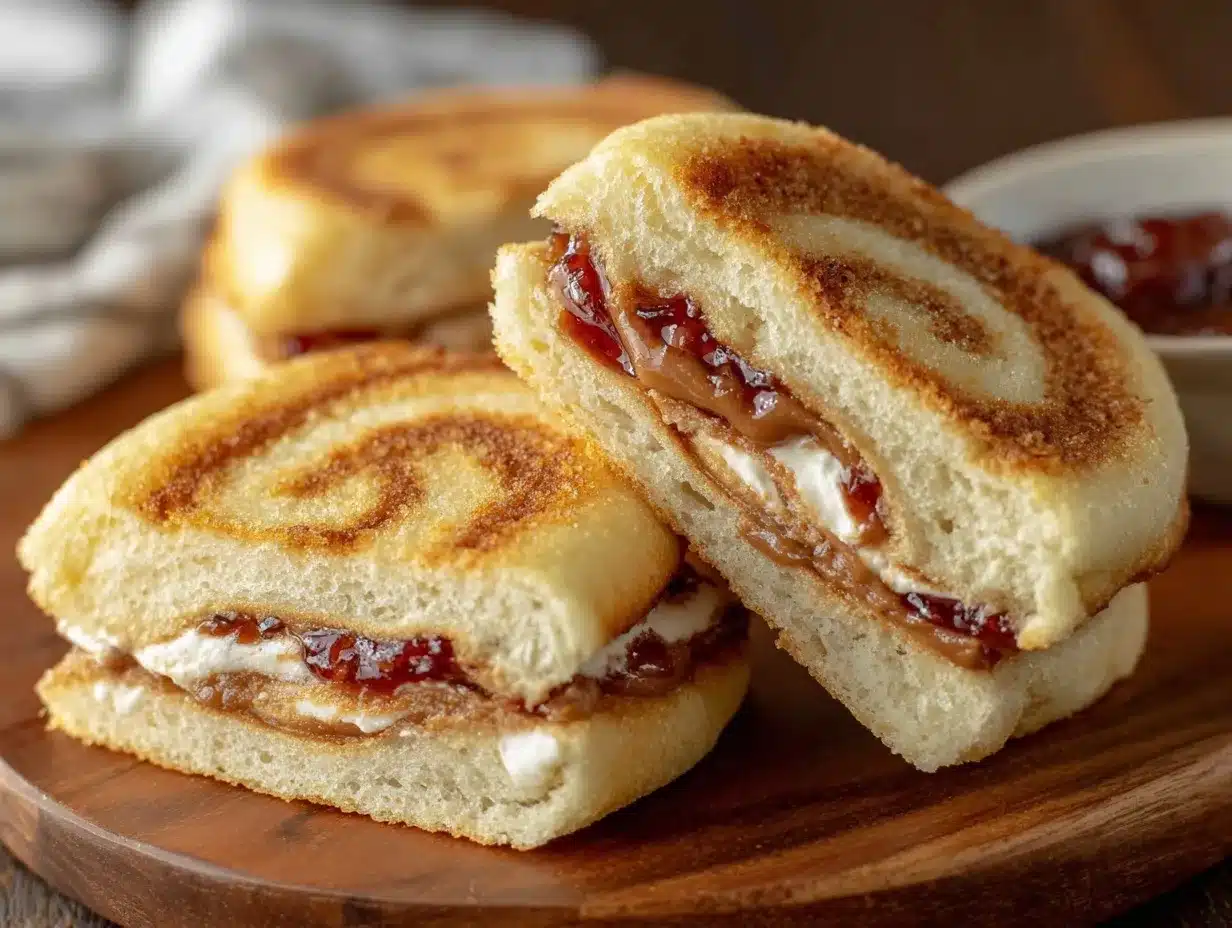
- Prepare your workspace: Lightly dust a clean surface with flour to keep the bread from sticking. Lay out your slices of white sandwich bread, ideally slightly stale so it seals better (about 4 to 6 slices per batch).
- Spread the peanut butter: Using your butter knife, spread about 2 tablespoons (30g) of peanut butter evenly over one slice of bread. Leave a small border around the edges (about 1/4 inch or 0.6 cm) to prevent overflow.
- Add the jelly or jam: On the other slice, spread about 1 to 1.5 tablespoons (15-22g) of jelly evenly, also leaving the border clear. You want enough to taste but not so much that it leaks out.
- Assemble the sandwich: Carefully place the peanut butter slice on top of the jelly slice, aligning the edges as neatly as possible.
- Seal the edges: Lightly butter the edges of the sandwich with softened butter (optional, but it helps). Then, press around the edges firmly with the rim of a drinking glass or a cookie cutter, pushing down to crimp and seal the sandwich. Go all around the edge to make sure it’s tight.
- Trim the edges: If you want the classic round Uncrustables shape, use the glass or cutter to cut the sandwich into a circle, removing the crust. You can save the crusts for breadcrumbs or a snack later.
- Freeze or serve: Place the sandwiches on a parchment-lined baking sheet or plate. Freeze for at least 1 hour to firm up, or serve immediately if you prefer soft bread.
- Storage: Once frozen firm, wrap each sandwich tightly in plastic wrap or store in freezer bags for up to 2 months.
Pro tip: If your jelly is too runny, try chilling it before spreading or mix in a teaspoon of powdered sugar or gelatin to thicken. Also, don’t overload the peanut butter — it makes sealing tricky and can tear the bread.
Cooking Tips & Techniques
Making Easy Homemade Uncrustables PB&J Sandwiches is simple, but a few tricks make all the difference:
- Use slightly stale bread: Fresh bread can be too soft and tear when you press the edges. Stale bread seals better and holds shape during freezing and thawing.
- Butter the edges lightly: This helps the bread edges stick together, reducing leaks and messy sandwiches.
- Don’t overfill: Too much peanut butter or jelly leads to spillage and soggy sandwiches. Measure your spreads for consistency.
- Press firmly but gently: Use the rim of a glass or cutter to seal edges well without squashing the sandwich flat.
- Freeze before storing: This prevents sandwiches from sticking together and keeps the bread texture intact.
- Thaw naturally: Let frozen sandwiches thaw at room temperature for 20-30 minutes or overnight in the fridge for best texture.
I’ve learned the hard way that rushing the sealing process or skipping the freezing step results in sad, messy sandwiches. Patience pays off, and once you get the hang of the edge-sealing technique, you’ll be making these like a pro.
Variations & Adaptations
Easy Homemade Uncrustables PB&J Sandwiches are incredibly versatile. Here are some ways to switch things up:
- Nut-free option: Swap peanut butter for sunflower seed butter or soy nut butter for allergy-friendly sandwiches.
- Flavored jams: Try apricot, blueberry, or even marmalade for a tangy twist.
- Grain and bread types: Use whole wheat, oat, or gluten-free bread to suit dietary needs or add fiber.
- Sweet additions: Mix a little honey or cinnamon into the peanut butter for extra flavor depth.
- Chocolate lovers: Substitute jelly with a thin layer of Nutella or chocolate spread.
One time, I tried a combo with mashed banana and peanut butter (kind of like a PB&banana sandwich) — it was a hit with unexpected creaminess. Feel free to experiment depending on what you love or what’s in your pantry.
Serving & Storage Suggestions
These sandwiches are best served slightly chilled or at room temperature. They make a fuss-free addition to lunchboxes or a quick snack straight from the freezer.
- Serve with: Fresh fruit, veggie sticks, or a cold glass of milk for a balanced snack.
- Storage: Wrap individually in plastic wrap or beeswax wraps for freezer storage up to 2 months.
- Reheating: Thaw at room temperature or in the fridge. For a warm twist, toast lightly in a sandwich press or toaster oven without the crust trimming.
- Flavor development: Letting them sit overnight in the fridge softens the bread and melds flavors deliciously.
Personally, I love packing them for hiking trips or quick grab-and-go snacks, and they never disappoint.
Nutritional Information & Benefits
Estimated nutrition per sandwich (using standard white bread, peanut butter, and jelly):
| Calories | 300-350 kcal |
|---|---|
| Protein | 8-10 g |
| Fat | 12-16 g |
| Carbohydrates | 35-40 g |
| Fiber | 2-3 g |
Peanut butter provides healthy fats and protein, while the jelly contributes natural sugars and antioxidants (especially if you choose berry jams). Using whole grain or gluten-free bread can increase fiber content. These sandwiches are a balanced mix of energy and satiety, making them a wholesome snack or light meal option.
Be mindful of potential allergens like nuts and gluten. If allergies are a concern, the recipe adapts easily with seed butters and gluten-free bread.
Conclusion
If you’re after a snack that’s nostalgic, simple, and genuinely satisfying, these Easy Homemade Uncrustables PB&J Sandwiches are a winner. They bring childhood memories to your kitchen in a straightforward, customizable way that anyone can make. I love how adaptable they are and how they make packing lunches or grabbing snacks stress-free.
Give this recipe a try and tweak it to your liking. Whether you’re a peanut butter purist or more of a Nutella fan, there’s room for your spin here. And hey, I’d love to hear how you make yours — drop a comment or share your favorite combo!
Happy sandwich making, and remember: sometimes the best recipes come from those quiet late-night kitchen moments.
FAQs
- Can I use fresh bread instead of slightly stale? Yes, but slightly stale bread seals better and is less likely to tear when pressing the edges.
- How long can I store these sandwiches in the freezer? Up to 2 months wrapped tightly in plastic wrap or freezer bags.
- Can I use natural peanut butter? Absolutely! Just be aware it may be a bit runnier, so adjust the amount to avoid leaks.
- What’s the best way to thaw frozen Uncrustables? Thaw at room temperature for 20-30 minutes or overnight in the fridge for best texture.
- Can I make these sandwiches ahead for a party or picnic? Yes, they’re perfect for prepping in advance and freezing until needed.
Pin This Recipe!
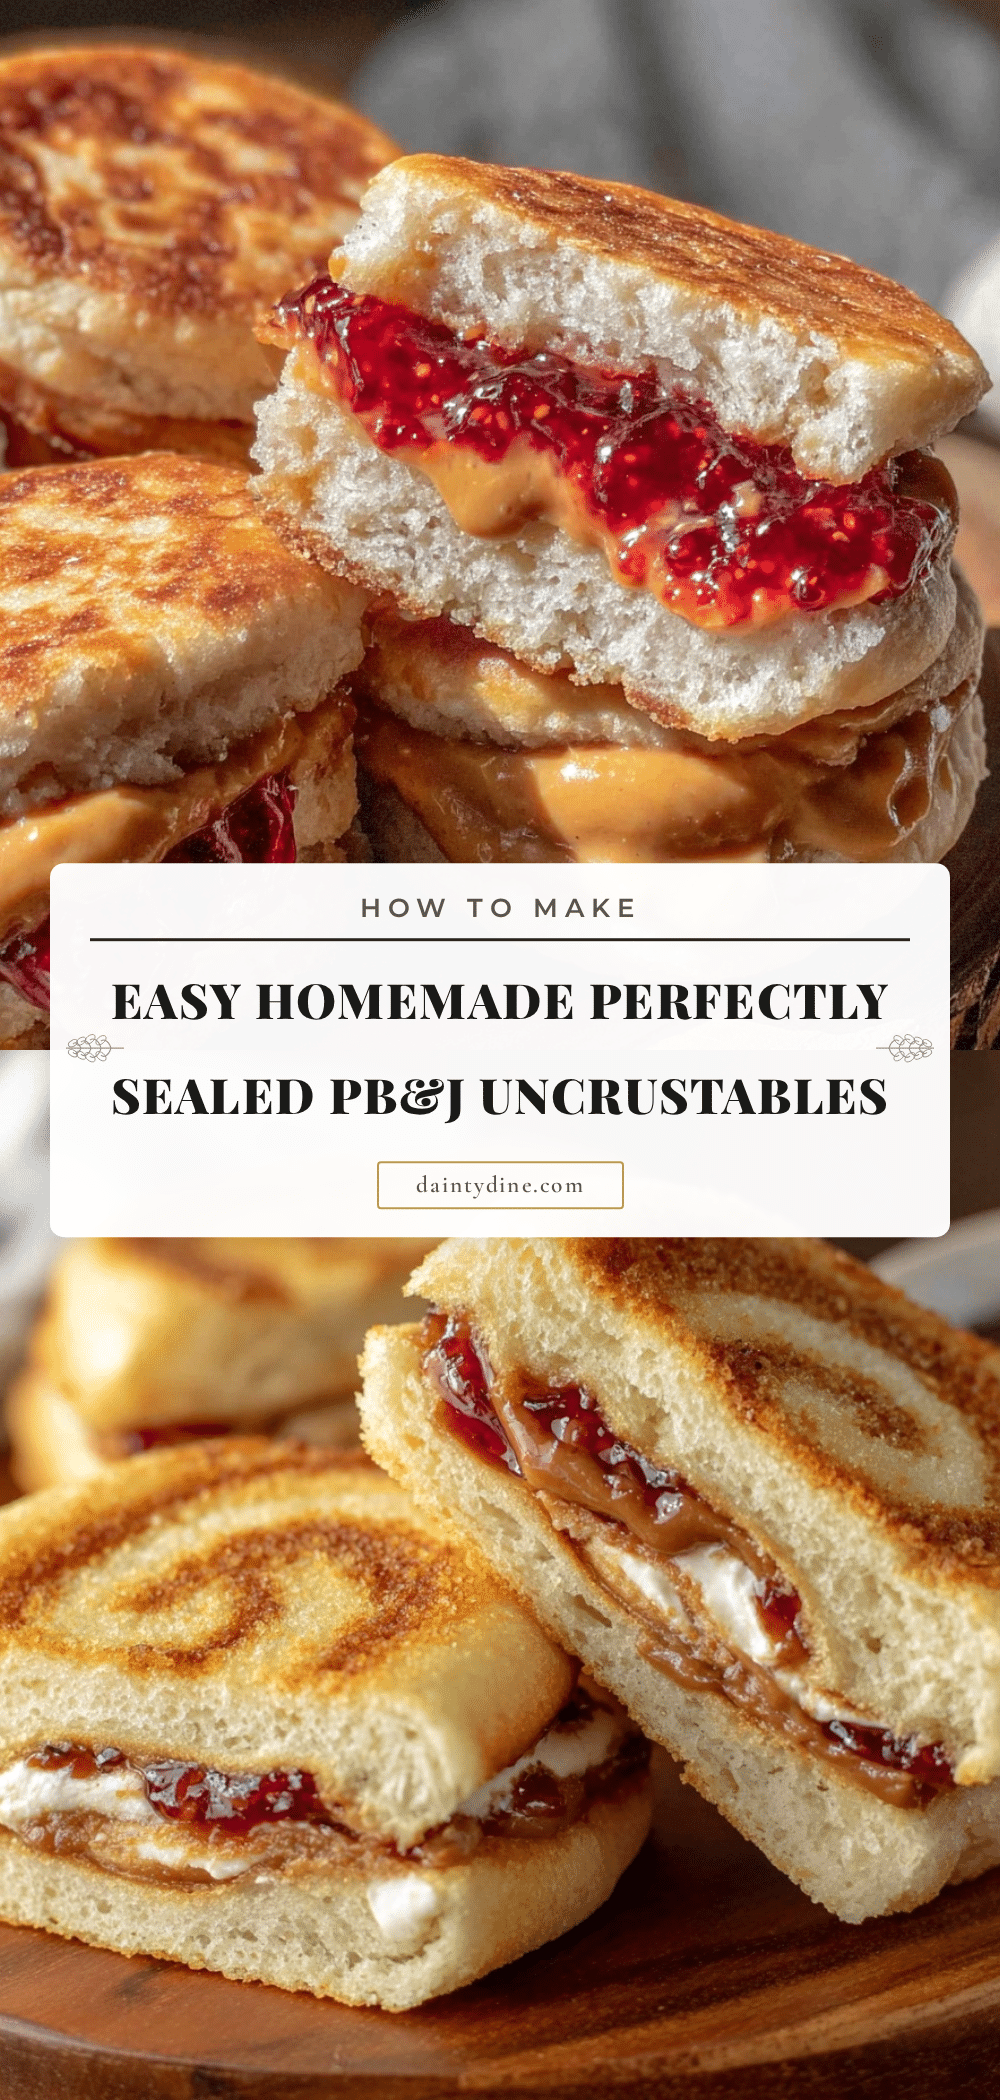
Easy Homemade Uncrustables PB&J Sandwiches Recipe for Perfect Snack

A simple, nostalgic recipe for homemade crustless peanut butter and jelly sandwiches that are perfect for snacks, lunchboxes, and freezing.
- Prep Time: 10 minutes
- Cook Time: 0 minutes
- Total Time: 1 hour 10 minutes
- Yield: 4-6 sandwiches
- Category: Snack
- Cuisine: American
Ingredients
- White sandwich bread (preferably soft and fresh, but slightly stale works better for sealing)
- Peanut butter (creamy or chunky, about 2 tablespoons per sandwich)
- Jelly or jam (grape, strawberry, raspberry, or other, about 1 to 1.5 tablespoons per sandwich)
- Butter or margarine (optional, for lightly buttering the bread edges to help sealing)
- Flour (a pinch for dusting the work surface to prevent sticking)
- Optional sweetener like honey or maple syrup (to mix into peanut butter for extra sweetness)
Instructions
- Lightly dust a clean surface with flour to keep the bread from sticking. Lay out your slices of white sandwich bread, ideally slightly stale so it seals better (about 4 to 6 slices per batch).
- Using a butter knife, spread about 2 tablespoons (30g) of peanut butter evenly over one slice of bread, leaving a small border around the edges (about 1/4 inch or 0.6 cm) to prevent overflow.
- On the other slice, spread about 1 to 1.5 tablespoons (15-22g) of jelly evenly, also leaving the border clear.
- Carefully place the peanut butter slice on top of the jelly slice, aligning the edges as neatly as possible.
- Lightly butter the edges of the sandwich with softened butter (optional). Then, press around the edges firmly with the rim of a drinking glass or a cookie cutter, pushing down to crimp and seal the sandwich all around.
- If desired, use the glass or cutter to cut the sandwich into a circle, removing the crust. Save the crusts for breadcrumbs or a snack later.
- Place the sandwiches on a parchment-lined baking sheet or plate. Freeze for at least 1 hour to firm up, or serve immediately if you prefer soft bread.
- Once frozen firm, wrap each sandwich tightly in plastic wrap or store in freezer bags for up to 2 months.
Notes
Use slightly stale bread for better sealing and less tearing. Lightly butter edges to help seal. Do not overfill with peanut butter or jelly to avoid leaks. Freeze sandwiches before storing to prevent sticking and maintain bread texture. Thaw at room temperature for 20-30 minutes or overnight in the fridge. Optional to toast sandwiches without crust after thawing.
Nutrition
- Serving Size: 1 sandwich
- Calories: 325
- Sugar: 10
- Sodium: 250
- Fat: 14
- Saturated Fat: 3
- Carbohydrates: 38
- Fiber: 2.5
- Protein: 9
Keywords: Uncrustables, peanut butter and jelly, homemade sandwich, snack, lunchbox, freezer snack, easy recipe


