Love this? Save it for later!
Share the inspiration with your friends
Introduction
“I wasn’t expecting my late summer trip to the farmer’s market to turn into a full-on corn frenzy,” I admit. It was one of those blazing August Saturdays when the air buzzed with cicadas and the scent of fresh earth. I spotted the stand overflowing with golden ears of corn—so fresh they practically hummed summer. I grabbed a dozen, maybe more than I needed, thinking, “Surely I can eat all this before it goes bad.” Spoiler: I couldn’t.
Between impromptu barbecues and busy weeknights, those sweet kernels were slipping toward spoilage. That’s when my neighbor, Mr. Jenkins—who’s more known for his vintage record collection than kitchen skills—casually dropped by with a tip. “Freezing corn on the cob keeps that summer sweetness locked in all winter,” he said, peeling back the husk like a pro. I was skeptical; I mean, freezing veggies always felt like a compromise, right?
But after a bit of trial and error (and a minor mishap involving a bag that burst open in my freezer), I perfected a simple, no-fuss method to freeze corn on the cob that actually tastes fresh and vibrant months later. Honestly, knowing I can pull out summer sunshine in January makes those frantic harvest moments worth it. Maybe you’ve been there—holding a bunch of corn, wondering if it’s worth the effort. Let me tell you, this guide will have you freezing like a pro in no time.
Why You’ll Love This Recipe
Freezing corn on the cob might sound like a chore, but this recipe turns it into a quick and rewarding task. I’ve tested this method multiple times, and it keeps corn tasting just-picked fresh, which means no more settling for bland frozen corn or off-season substitutes.
- Quick & Easy: From husk to freezer, you’re looking at about 30 minutes tops—perfect for busy days when you want to stash summer flavor fast.
- Simple Ingredients: Just fresh corn, water, and a pinch of salt if you like—the pantry staples you already have on hand.
- Perfect for Winter Meals: Whether it’s cozy soups, chowders, or a quick side with a roast, having frozen corn on the cob ready is a game-changer.
- Crowd-Pleaser: Friends and family always praise the sweet, crisp bite—even skeptics say it tastes like fresh-picked.
- Unbelievably Delicious: The texture stays tender but firm, and the flavor? Oh, it’s that perfect sweet summer burst every time.
What sets this apart from other freezing methods is the blanching step that locks in color and flavor without overcooking. Plus, the quick cooling and proper wrapping prevent freezer burn—so you get top-notch quality months down the line. Honestly, this isn’t just a preservation trick; it’s about keeping that summer joy alive all winter long.
What Ingredients You Will Need
This recipe uses straightforward, fresh ingredients to keep the corn tasting natural and sweet without additives. The focus is on timing and technique, but a few simple things make all the difference.
- Fresh Corn on the Cob: Ideally picked the same day or within 24 hours. Look for ears with bright green husks and plump kernels. I prefer small to medium ears as they blanch more evenly.
- Water: For blanching. Use filtered or tap water—just make sure it’s enough to cover the corn fully.
- Salt (Optional): A teaspoon added to the blanching water can enhance sweetness, but it’s completely optional.
Helpful Tip: If you’re prepping a big batch, grab a few extra freezer bags or airtight containers. I like using heavy-duty freezer bags from brands like Ziploc or Stasher for best sealing. And if you want to go organic or non-GMO, many local markets carry corn that fits the bill.
Equipment Needed
- Large Pot: For blanching the corn. A wide, deep pot works best for even cooking.
- Large Bowl: Filled with ice water to cool the corn quickly after blanching. This stops the cooking process and preserves texture.
- Tongs or Slotted Spoon: For safely moving hot corn between pot and ice bath.
- Sharp Knife: To cut off the husks and trim ends if needed.
- Freezer Bags or Airtight Containers: For storing the corn. Resealable heavy-duty bags work well and save space.
- Kitchen Towels or Paper Towels: To dry the corn before freezing, which helps prevent ice crystals.
If you don’t have a colander that fits inside your pot, a slotted spoon or tongs will do just fine. Honestly, I’ve used everything from a spider strainer to regular tongs and it’s all about what you’re comfortable with. For budget-friendly options, basic tools from any supermarket or dollar store are perfectly sufficient.
Preparation Method
- Husk the Corn: Remove the green husks and silk threads from each ear. I like to snap off the stalk end for a clean fit in pots and bags. This step usually takes about 5-7 minutes for a dozen ears.
- Trim the Ends: Cut off any rough or dry ends, but leave most of the cob intact to hold kernels during blanching.
- Boil Water: Fill your large pot with water and bring it to a rapid boil. Add salt if you’re using it—about 1 teaspoon per gallon of water.
- Blanch the Corn: Using tongs, gently place the ears into the boiling water. Blanch for exactly 4 minutes—no longer! This cooks the corn just enough without making it mushy.
- Ice Bath: Immediately transfer the corn to the bowl of ice water. Let it chill for 4-5 minutes until completely cooled. This step is crucial to stop cooking and keep that crisp bite.
- Dry the Corn: Lay ears on a clean kitchen towel or paper towels and pat dry thoroughly. Moisture is the enemy in freezing, so take your time here.
- Wrap and Pack: Wrap each ear tightly in plastic wrap or foil to prevent freezer burn. Then place them in freezer bags, squeezing out as much air as possible before sealing.
- Label and Freeze: Don’t forget to label your bags with the date—you’ll want to use these within 10-12 months for best taste.
Pro Tip: If you’re in a hurry, skip wrapping each ear individually and freeze them directly in bags, but be mindful that texture might slightly suffer. I prefer the extra step for top quality.
Cooking Tips & Techniques
Blanching is the magic here—too short, and you risk enzymes spoiling the flavor; too long, and the kernels get too soft. I learned that the hard way after overcooking a batch and ending up with mushy corn that nobody wanted to touch. Timing is everything.
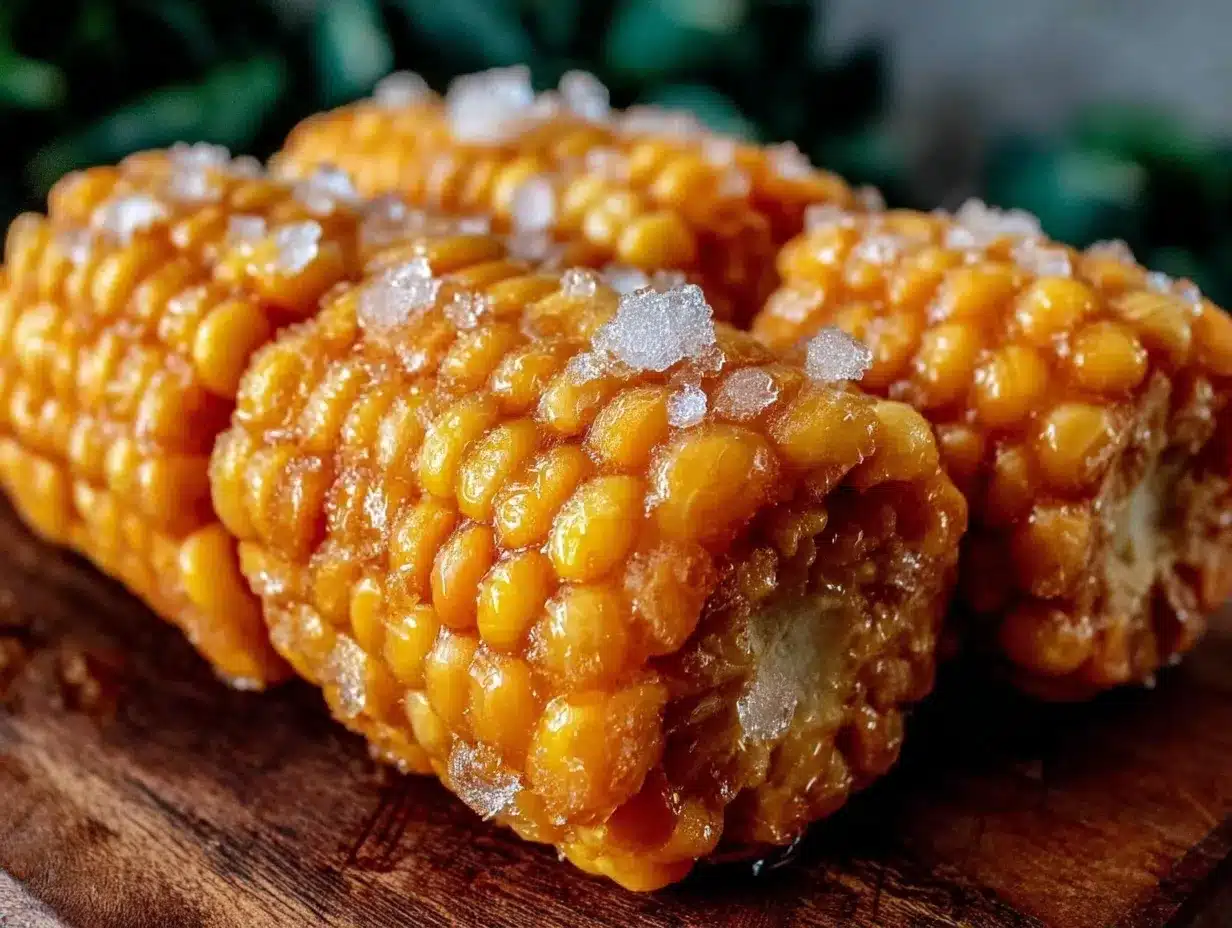
Another tip: ice water isn’t just for show. It really stops cooking cold and keeps the corn’s color bright, which is why it looks so inviting straight from the freezer. I’ve tried skipping the ice bath, and honestly, the corn ended up dull and mealy.
When packing, removing air is key to avoiding freezer burn. You can even use a vacuum sealer if you have one, but squeezing bags manually works great too. I usually lay the bags flat in the freezer to save space and speed up freezing.
For thawing, let the corn sit in the fridge overnight or boil directly frozen ears for just a few minutes. This quick cook brings back that fresh-picked texture without overdoing it.
Variations & Adaptations
- Cut Kernels: If you prefer, you can cut kernels off the cob after blanching and freeze them in containers instead. This is great for soups or casseroles.
- Herb-Infused: Add a sprig of fresh thyme or rosemary to the blanching water for a subtle flavor twist before freezing.
- Spicy Corn: After thawing, brush ears with melted butter mixed with chili powder and lime for a zesty kick—perfect for summer vibes even in winter.
- Allergen-Friendly: This recipe is naturally gluten-free and dairy-free, making it suitable for most diets.
- Grill-Ready: Freeze unblanched, but husked corn for quick grilling later; just note the texture will be less crisp than blanched.
I once tried freezing corn with a quick soak in lemon water before blanching—it added a faint brightness that I really liked. Feel free to experiment as long as you keep the blanching step solid.
Serving & Storage Suggestions
Frozen corn on the cob is a versatile side. I love serving it warm with a pat of butter and a sprinkle of sea salt. It pairs beautifully with grilled meats, creamy chowders, or just a simple fresh salad.
Store frozen corn in the coldest part of your freezer, ideally at 0°F (-18°C) or below. This helps maintain texture and flavor for up to a year, though I recommend using within 10-12 months.
To reheat, boil frozen ears for 3-5 minutes or microwave wrapped in a damp paper towel for about 2-3 minutes. Avoid overcooking; you want that tender snap, not soggy corn.
Pro tip: Flavors actually deepen after a few days frozen, so sometimes I prepare batches early and let them sit a bit before using.
Nutritional Information & Benefits
Corn on the cob is a great source of fiber, vitamins B and C, and antioxidants like lutein and zeaxanthin, which are good for eye health. Freezing preserves most of these nutrients, making it a smart choice for off-season nutrition.
This recipe is naturally low-fat and gluten-free, with no added sugars or preservatives. It’s a wholesome way to enjoy summer’s bounty year-round without any guilt.
From a wellness perspective, having frozen corn on hand means less reliance on processed foods and canned options, helping you keep meals fresh and nourishing.
Conclusion
Freezing corn on the cob isn’t just about preservation—it’s about holding onto a little summer magic when the cold winds blow. This easy, foolproof method has become my go-to for making sure I never miss out on sweet, tender corn no matter the season.
Feel free to tweak the blanching time or seasoning to suit your taste, but trust me, the basics work exceptionally well. I keep making this recipe because it reminds me of those long August days and friendly chats—plus, it just tastes amazing.
If you try it out, please drop a comment below sharing your experience or any fun twists you’ve added. Sharing these little kitchen wins makes cooking even better. Happy freezing!
FAQs
How long can I store frozen corn on the cob?
For best flavor and texture, use frozen corn within 10-12 months. It can last longer but might lose quality over time.
Do I need to blanch corn before freezing?
Yes, blanching stops enzyme activity that causes spoilage and helps maintain color, flavor, and texture.
Can I freeze corn on the cob without removing the husks?
It’s best to remove husks before freezing to avoid mold and make storage easier, though some people freeze with husks on—just be cautious of moisture buildup.
How do I thaw frozen corn on the cob?
You can thaw in the fridge overnight or cook directly from frozen by boiling or microwaving for a few minutes.
Can I use this method for baby corn or sweet corn varieties?
Absolutely! This method works well for all fresh corn varieties, adjusting blanching time slightly for size differences.
For more kitchen hacks and seasonal recipes, you might enjoy my homemade vegetable stock or the ever-popular easy garlic roasted potatoes—both perfect companions for your frozen corn dishes.
Pin This Recipe!
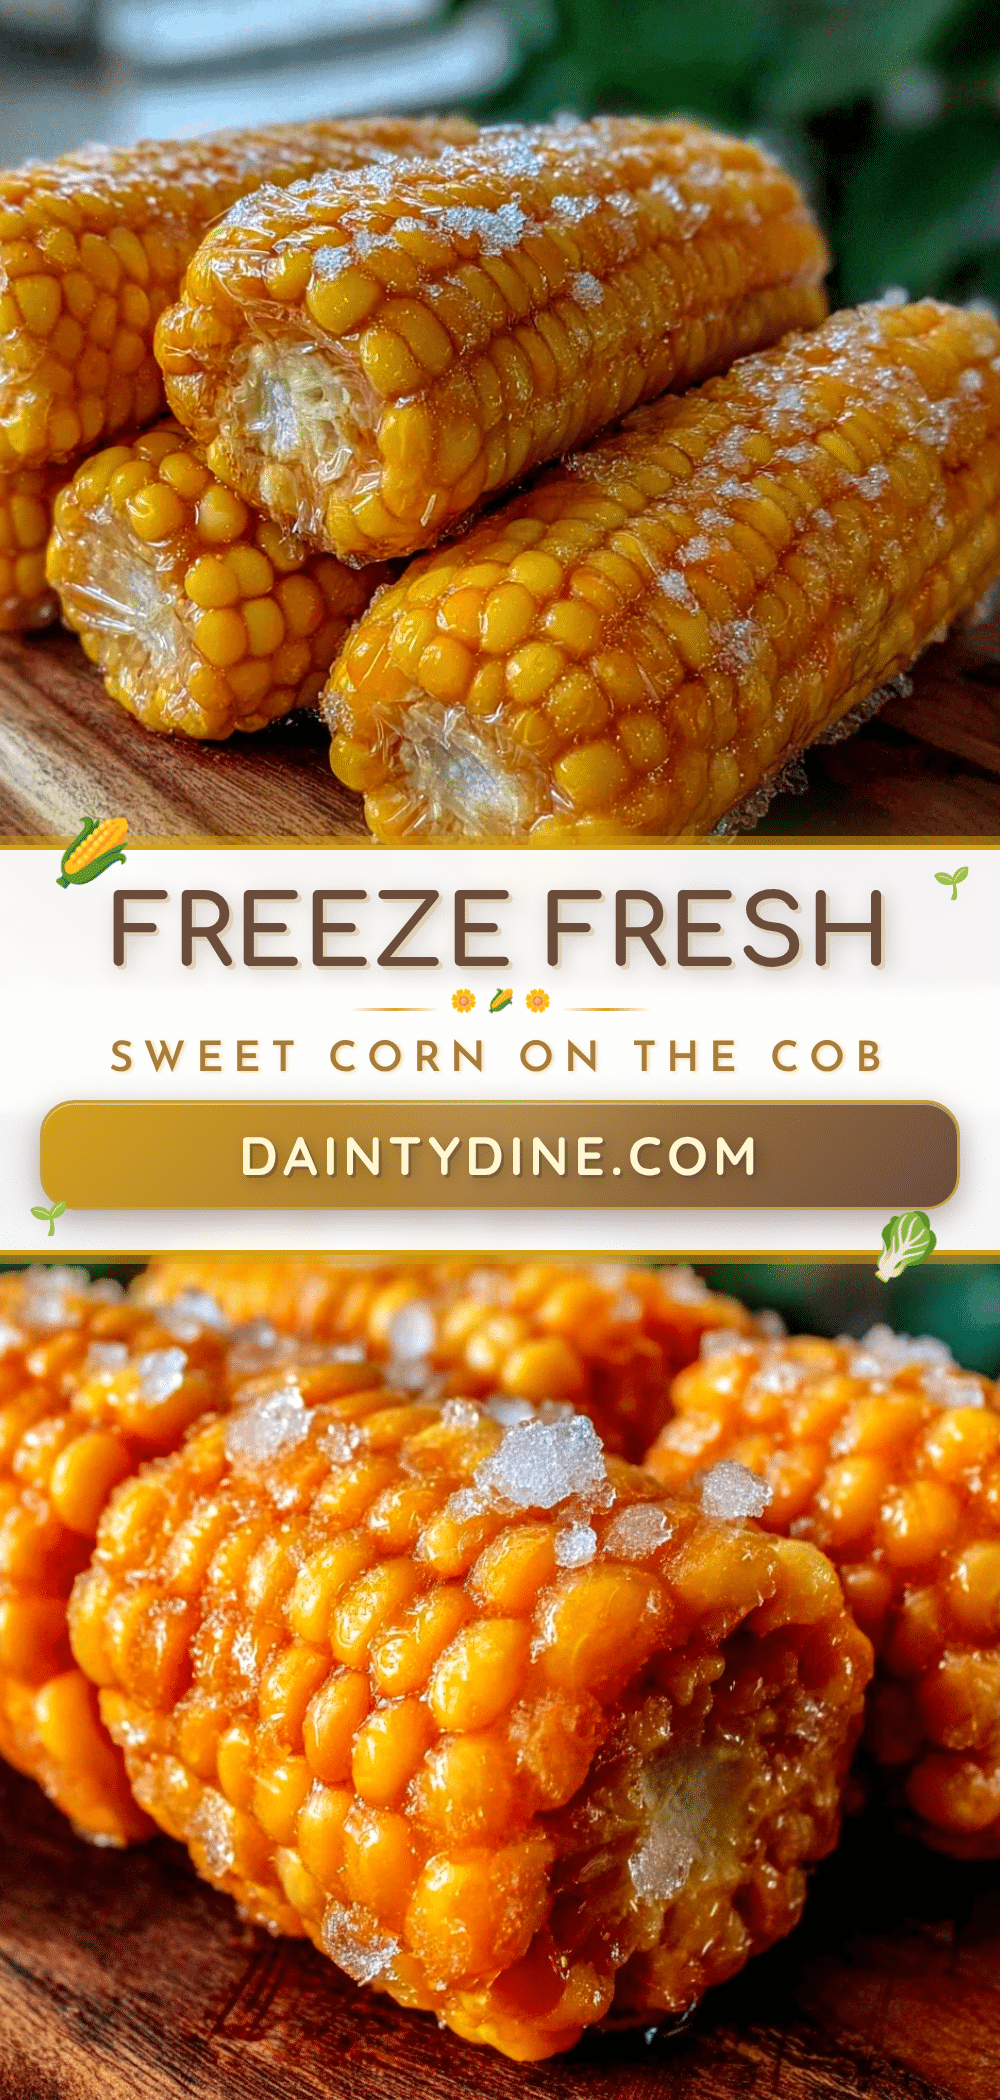
Fresh How to Freeze Corn on the Cob Easy Step-by-Step Guide for Winter

A simple, no-fuss method to freeze corn on the cob that preserves its fresh, sweet flavor and texture for months, perfect for enjoying summer corn all winter long.
- Prep Time: 10 minutes
- Cook Time: 10 minutes
- Total Time: 20 minutes
- Yield: 12 ears of corn
- Category: Preservation
- Cuisine: American
Ingredients
- Fresh corn on the cob (small to medium ears, ideally picked within 24 hours)
- Water (enough to cover corn for blanching)
- Salt (optional, about 1 teaspoon per gallon of water)
Instructions
- Remove the green husks and silk threads from each ear. Snap off the stalk end for a clean fit.
- Trim off any rough or dry ends, leaving most of the cob intact.
- Fill a large pot with water and bring to a rapid boil. Add salt if using.
- Using tongs, gently place ears into boiling water and blanch for exactly 4 minutes.
- Immediately transfer corn to a large bowl of ice water and chill for 4-5 minutes.
- Lay ears on kitchen towels or paper towels and pat dry thoroughly.
- Wrap each ear tightly in plastic wrap or foil to prevent freezer burn.
- Place wrapped ears in freezer bags, squeeze out as much air as possible, seal, label with date, and freeze.
Notes
Blanching for exactly 4 minutes locks in color and flavor without overcooking. Cooling in ice water stops cooking and preserves texture. Removing air from freezer bags prevents freezer burn. Label bags with date and use within 10-12 months for best quality. For quicker freezing, you can skip wrapping each ear individually but texture may suffer slightly.
Nutrition
- Serving Size: 1 ear of corn
- Calories: 77
- Sugar: 6.3
- Sodium: 15
- Fat: 1.1
- Saturated Fat: 0.2
- Carbohydrates: 17
- Fiber: 2
- Protein: 3
Keywords: freeze corn on the cob, blanching corn, freezing vegetables, summer corn preservation, freezer corn recipe