Love this? Save it for later!
Share the inspiration with your friends
“You know that moment when you’re all set for a perfect summer dinner, and then the corn on the cob turns out… well, starchy and kind of disappointing? Yeah, I’ve been there more times than I care to admit. One Saturday afternoon, I was at the local farmer’s market browsing for fresh produce when I struck up a conversation with a vendor named Rosa. She wasn’t just selling corn; she was sharing secrets. Honestly, I didn’t expect to get kitchen wisdom between tomato tastings, but she whispered this simple fix that changed my corn game forever.
Before Rosa’s tip, my corn on the cob was often dry and starchy—like chewing on a mouthful of fiber, not the juicy, sweet bites I was craving. I’d boil, grill, and steam, thinking the problem was technique, but nope—it was something else entirely. Maybe you’ve been there too, staring at a pile of disappointing corn, wondering how to rescue it. Let me tell you, this fix isn’t complicated, and it feels like a little magic trick every time I do it.
What’s great is you don’t need fancy gadgets or rare ingredients. Just a few tweaks, and suddenly your corn is tender, sweet, and juicy—like biting into sunshine. I remember the first time I tried it after Rosa’s advice; I forgot to set a timer, and the kitchen filled with that warm, sweet corn aroma. It was a small victory, but it stuck with me. Now, every time I cook corn on the cob, I use this method. It’s honest, straightforward, and perfect for any backyard BBQ or quick weeknight meal.
Why You’ll Love This Recipe
If you’ve ever been frustrated with corn that’s more like chewing on a dry sponge than a summer treat, this simple fix will be your new best friend. After testing countless methods, this approach consistently delivers sweet, tender kernels every time. Here’s why it stands out:
- Quick & Easy: Takes less than 20 minutes from start to finish—ideal for busy nights or last-minute plans.
- Simple Ingredients: No need for exotic herbs or spices; just fresh corn and a pinch of salt.
- Perfect for Any Occasion: Whether it’s a casual cookout, a picnic, or a cozy dinner, this corn on the cob fits right in.
- Crowd-Pleaser: Kids and adults alike always ask for seconds—it’s that good.
- Unbelievably Delicious: The balance of sweetness and moisture is spot on, with a tender bite that melts in your mouth.
What really sets this recipe apart is the simple trick of soaking the corn before cooking, which cuts down that starchy texture and locks in natural sweetness. Plus, it’s a foolproof method, even if you’re not a kitchen pro. Honestly, this isn’t just another way to cook corn—it’s the go-to that I keep coming back to, no matter what else is on the menu.
What Ingredients You Will Need
This recipe uses simple, wholesome ingredients that bring out the best in your corn without any fuss. Most of these are pantry staples or easy to find at your local market. Here’s what you’ll need:
- Fresh corn on the cob (4 ears, husked) – Look for plump, bright yellow kernels; local or farmer’s market corn tends to be sweeter.
- Water – For soaking and boiling the corn.
- Salt (about 1 tablespoon) – Helps draw out excess starch and enhances natural sweetness.
- Butter (optional, for serving) – Unsalted or salted, softened for spreading.
- Freshly ground black pepper (optional, to taste) – Adds a mild kick that pairs nicely with the sweetness.
Ingredient tips: If you prefer a dairy-free option, swap butter for olive oil or a sprinkle of smoked paprika for a smoky twist. For best results, pick corn that’s been harvested recently; older corn tends to be starchier and less sweet.
Equipment Needed
Luckily, this method doesn’t require anything fancy. Here’s what you’ll want on hand:
- Large bowl or container – Big enough to hold water and soak 4 ears of corn comfortably.
- Large pot – For boiling the corn.
- Tongs – Helpful for safely lowering and removing corn from hot water.
- Knife – To trim the ends if needed.
- Colander or strainer – To drain the corn after soaking and boiling.
If you don’t have tongs, a slotted spoon or even a fork works fine. I often use a lightweight colander inside a big bowl for soaking—it makes draining easier and cuts down on mess. Honestly, keeping your equipment simple helps the kitchen feel less intimidating, especially when you’re rushing to get dinner on the table.
Preparation Method
- Husk the Corn: Remove the green husks and silky threads from each ear. Don’t worry about trimming the stalk ends unless they seem dry or tough.
- Soak the Corn: Fill a large bowl or container with cold water and add 1 tablespoon of salt. Stir to dissolve. Submerge the ears of corn completely and let them soak for 20 to 30 minutes. This step is the secret to reducing starchiness and waking up the corn’s natural sugars.
- Bring Water to a Boil: While the corn soaks, fill a large pot with water and bring it to a rolling boil over high heat. No salt needed here since the soaking water does the seasoning job.
- Boil the Corn: Remove the corn from the soaking water (discard the soaking water) and carefully place the ears into the boiling pot. Use tongs to avoid splashes. Boil the corn for 4 to 6 minutes—don’t overcook! The kernels should be tender but still have a little snap.
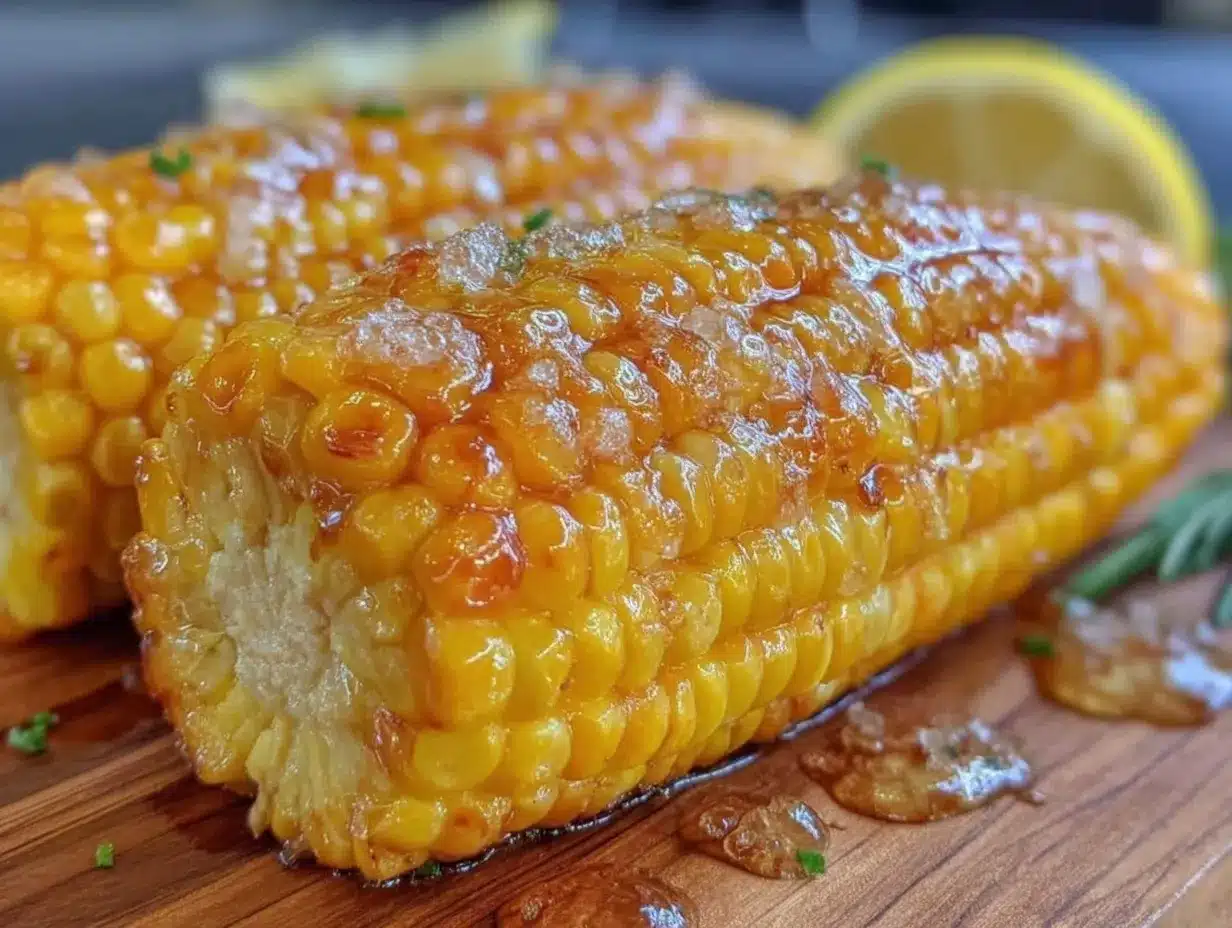
- Drain and Serve: Use tongs to lift the corn out and place it in a colander to drain briefly. Serve immediately with softened butter and a sprinkle of black pepper if you like. The warmth helps the butter melt into every crevice.
Pro tip: If you find your kitchen gets hectic, soak the corn while prepping other dishes. The soaking time is forgiving, and it won’t hurt to leave it a bit longer if needed. Just don’t boil for more than 6 minutes, or the kernels might turn mushy.
Cooking Tips & Techniques
Cooking corn on the cob sounds simple, but I’ve learned a few things from trial and error that make a big difference. First, soaking the corn is a game changer. It hydrates the kernels and helps flush out excess starch that can make corn taste dry or tough.
Another key tip is timing. Boiling corn for too long is the classic mistake that results in mushy kernels or that starchy texture we’re trying to avoid. Four to six minutes is your sweet spot—long enough to cook through but short enough to keep it fresh and snappy.
When removing corn from boiling water, always use tongs or a slotted spoon to avoid burns. Also, resist the urge to pierce kernels with a fork or knife before cooking; it lets the natural juices escape.
One time, I got distracted and left my corn boiling for ten minutes. The result? Super mushy kernels that were a total bummer. From then on, I keep a timer on my phone—trust me, it saves headaches!
Lastly, seasoning after cooking lets the butter and pepper really soak in. If you try salting the water instead of soaking, you might end up with uneven seasoning. The soak method seasons the whole kernel gently and uniformly.
Variations & Adaptations
This simple fix is flexible, so you can adjust it to suit your tastes or dietary needs. Here are a few ideas:
- Grilled Corn Variation: After soaking, grill the corn over medium heat for 10-12 minutes, turning often until charred in spots. Skip boiling for a smoky, slightly crisp finish.
- Dairy-Free Option: Use olive oil or vegan butter instead of regular butter. A squeeze of fresh lime juice brightens the flavor here, too.
- Spice it Up: Sprinkle smoked paprika, chili powder, or even a dash of cayenne for a little heat. It adds a fun twist without overpowering the corn’s natural sweetness.
- Frozen Corn Substitute: If fresh corn isn’t available, thaw frozen ears and soak briefly before boiling to reduce starchiness.
Personally, I like adding a sprinkle of fresh herbs—like chopped cilantro or parsley—right before serving. It freshens things up and makes the corn look extra inviting.
Serving & Storage Suggestions
This corn on the cob is best enjoyed hot off the stove while the kernels are juicy and tender. Serve with a pat of butter, a pinch of salt, and freshly ground pepper for classic flavor. It pairs beautifully with grilled meats, fresh salads, or even alongside a hearty bowl of creamy garlic mashed potatoes.
If you’re prepping ahead or have leftovers, wrap cooled corn tightly in plastic wrap or store in an airtight container in the fridge. It’s best eaten within 1-2 days. When reheating, gently steam or microwave wrapped in a damp paper towel to keep kernels moist.
Flavors tend to mellow a bit overnight, but the texture stays pretty good if you don’t overcook during reheating. Honestly, sometimes I like leftovers cold—especially in salads or cut off the cob for a quick snack.
Nutritional Information & Benefits
A medium ear of corn (about 90 grams) contains roughly 90-100 calories, with 2-3 grams of fiber and 3-4 grams of natural sugars. It’s a good source of B vitamins, particularly thiamine and folate, and provides antioxidants like lutein and zeaxanthin, which support eye health.
Because this recipe uses minimal added fat and salt, it’s a light and wholesome side dish that fits into many diets. Corn is naturally gluten-free, making it suitable for those with gluten sensitivities. Just watch portions if you’re managing carb intake, as corn does have moderate starch content.
From my experience, corn prepared this way feels satisfying without being heavy—perfect for summer meals that leave you energized rather than weighed down.
Conclusion
So there you have it: a simple fix for starchy corn on the cob that really works. Sometimes, the easiest solutions are the best, and soaking your corn before cooking is one of those little kitchen hacks that pays off big time. I love this recipe because it’s straightforward, reliable, and captures the sweet, juicy corn flavor we all crave without fuss or fancy ingredients.
Give it a try next time you pick up fresh corn, and feel free to customize with your favorite toppings or cooking style. If you have your own corn-cooking tips or fun twists, I’d love to hear about them in the comments below. Let’s keep making simple meals taste like a celebration!
Happy cooking—and here’s to perfect corn on the cob every time!
Frequently Asked Questions
Why does corn on the cob sometimes taste starchy?
Corn can taste starchy if it’s older or not cooked properly. Starch builds up in kernels as they dry out, so soaking fresh corn before cooking helps reduce that starch and brings out natural sweetness.
Can I use frozen corn for this recipe?
You can! Thaw frozen corn ears and soak them briefly in salted water before cooking to improve texture and flavor.
How long should I boil corn on the cob?
Boil for 4 to 6 minutes after soaking. Overcooking can make kernels mushy or tough, so keep an eye on the timer.
Is it necessary to soak the corn before cooking?
While not mandatory, soaking helps hydrate the kernels and reduces starchiness, resulting in sweeter, more tender corn.
What’s the best way to store leftover cooked corn?
Wrap cooled corn tightly and store in the refrigerator for up to 2 days. Reheat gently by steaming or microwaving with a damp paper towel to keep it moist.
Pin This Recipe!
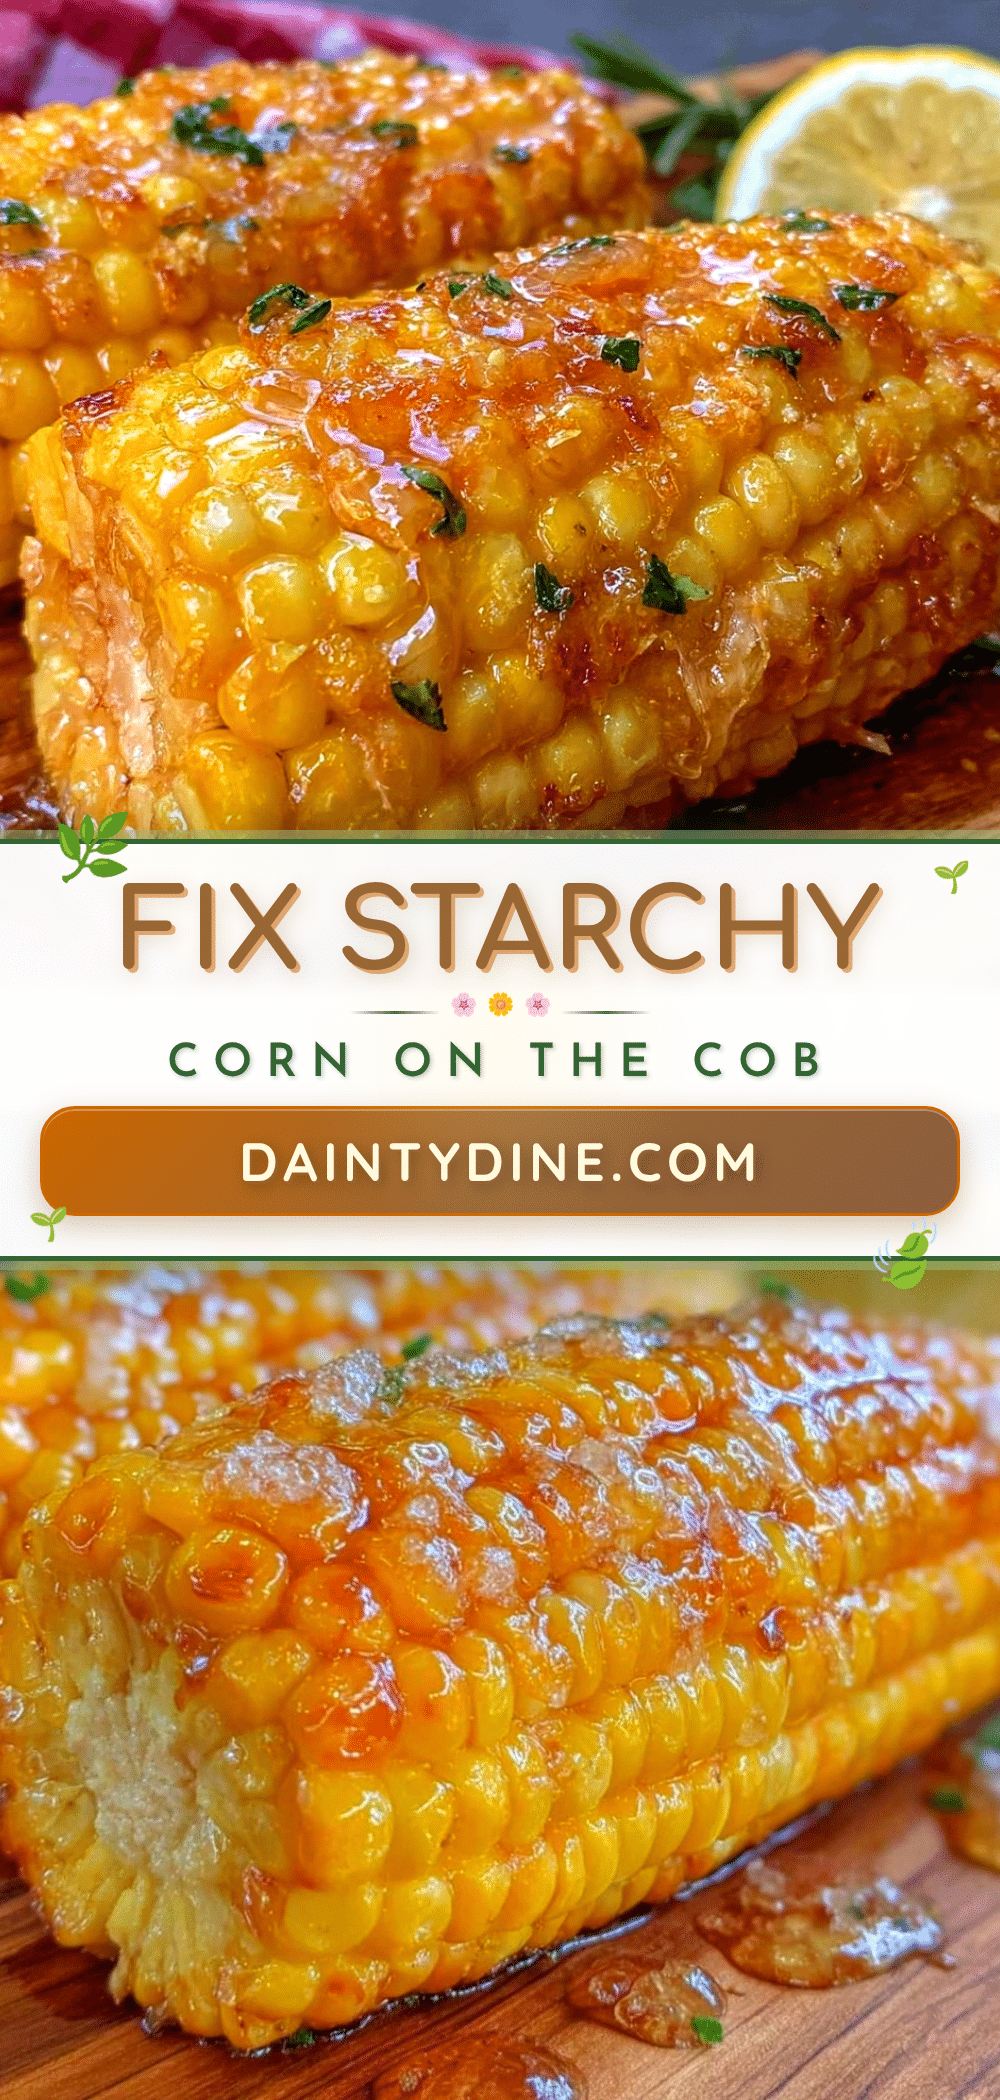
Simple Fix for Starchy Corn on the Cob Every Time

A straightforward method to soak and boil corn on the cob that reduces starchiness and enhances natural sweetness, resulting in tender, juicy kernels perfect for any occasion.
- Prep Time: 5 minutes
- Cook Time: 6 minutes
- Total Time: 35 minutes
- Yield: 4 servings 1x
- Category: Side Dish
- Cuisine: American
Ingredients
- 4 ears fresh corn on the cob, husked
- Water, for soaking and boiling
- 1 tablespoon salt
- Butter (optional, for serving)
- Freshly ground black pepper (optional, to taste)
Instructions
- Remove the green husks and silky threads from each ear of corn. Trim stalk ends if dry or tough.
- Fill a large bowl or container with cold water and add 1 tablespoon of salt. Stir to dissolve.
- Submerge the ears of corn completely and let them soak for 20 to 30 minutes.
- While soaking, fill a large pot with water and bring it to a rolling boil over high heat.
- Remove the corn from the soaking water and discard the soaking water.
- Carefully place the ears into the boiling pot using tongs to avoid splashes.
- Boil the corn for 4 to 6 minutes until kernels are tender but still have a little snap.
- Use tongs to lift the corn out and place it in a colander to drain briefly.
- Serve immediately with softened butter and a sprinkle of black pepper if desired.
Notes
Soaking the corn in salted water before boiling hydrates kernels and reduces starchiness, enhancing sweetness. Do not boil for more than 6 minutes to avoid mushy kernels. Use tongs or a slotted spoon to handle hot corn safely. Season after cooking for best flavor. For dairy-free options, substitute butter with olive oil or vegan butter.
Nutrition
- Serving Size: 1 ear of corn
- Calories: 100
- Sugar: 4
- Sodium: 230
- Fat: 1.5
- Saturated Fat: 0.5
- Carbohydrates: 22
- Fiber: 2.5
- Protein: 3
Keywords: corn on the cob, starchy corn fix, soaking corn, boiling corn, summer side dish, sweet corn, easy corn recipe