Love this? Save it for later!
Share the inspiration with your friends
“You know that moment when you’re flipping burgers on the grill, and the pressure to cut into that juicy patty is almost unbearable? Well, let me tell you, I’ve been there more times than I’d like to admit. It all started one humid Saturday afternoon at my friend Marcus’s rooftop barbecue. I was helping him with the burgers, and halfway through, he stopped me with a grin and said, ‘Trust me, no cutting allowed.’
At first, I thought he was being overly cautious or maybe just showing off his grilling skills. But as the afternoon went on, he casually shared his secrets to knowing exactly when a burger is perfectly cooked—without slicing it open and letting all those flavorful juices escape. Honestly, it was a game-changer.
That day, amidst the laughter and the sizzling sound of patties on the cast iron skillet, I realized that mastering the art of judging burger doneness without cutting is one of those subtle kitchen skills that transforms a simple meal into a memorable one. Maybe you’ve been there too—nervous about overcooking or undercooking, biting your nails as you poke and prod the patties. Well, stick around. I’m about to share some down-to-earth, practical tips that’ll keep your burgers tender, juicy, and full of flavor every single time, no juicy slice sacrificed.
Why You’ll Love This Recipe
Having grilled countless burgers (and yes, made my fair share of mistakes), I can confidently say these tips are rooted in real kitchen experience and have been tested on friends, family, and even a few picky eaters. Here’s why this approach stands out:
- Quick & Easy: Knowing when your burgers are done without cutting saves you precious time and keeps the cooking process smooth.
- Simple Ingredients: No fancy gadgets needed—just your hands, a good pan or grill, and a little instinct.
- Perfect for Any Occasion: Whether it’s a casual weeknight or a backyard weekend feast, these tips keep your burgers juicy and flavorful.
- Crowd-Pleaser: Avoid the dreaded dry or undercooked burger that guests complain about; this method always wins rave reviews.
- Unbelievably Delicious: By not cutting your patties, you lock in all those mouthwatering juices and savor every bite.
This isn’t just about cooking a burger; it’s about understanding your food and building confidence at the grill or stove. When you master these simple tricks—like feeling the firmness or noticing the juices pooling—you’ll find yourself enjoying the cooking process more and, honestly, eating better burgers.
What Ingredients You Will Need
This method works best with straightforward, quality ingredients that let the flavors shine without fuss.
- Ground beef: Ideally 80/20 lean-to-fat ratio for juicy, flavorful patties. I usually pick local butcher fresh ground beef for the best texture.
- Salt and pepper: Simple but essential seasoning to bring out the meat’s natural flavor.
- Optional mix-ins: Finely diced onions, Worcestershire sauce, or minced garlic can add a subtle boost without overpowering.
- Cheese slices: American, cheddar, or your favorite melting cheese for topping.
- Burger buns: Toasted lightly for that perfect contrast of textures.
- Condiments and toppings: Lettuce, tomato, pickles, mustard, ketchup—you know the drill!
Feel free to swap ground beef with ground turkey or plant-based alternatives if you prefer. The doneness tips I’m sharing translate well across these variations.
Equipment Needed
- Grill or stovetop skillet: A cast iron skillet is my go-to for even heat and great sear, but a grill works wonders too.
- Spatula: A sturdy, flat spatula helps flip patties gently without breaking them.
- Instant-read meat thermometer (optional): While these tips help you avoid cutting, a thermometer is useful when you’re starting out.
- Plate lined with paper towels: To rest your burgers and catch any excess juices.
Personally, I’ve found that a well-seasoned cast iron skillet gives me the best crust and control. If you don’t have one, a heavy stainless steel pan is a fine substitute. For outdoor grilling, a clean, well-oiled grate keeps patties from sticking.
Preparation Method
- Form your patties: Divide 1 lb (450 g) of ground beef into 4 equal portions. Gently shape each into a ¾-inch (2 cm) thick patty. Avoid overworking the meat to keep the texture tender. Press a small dimple in the center of each patty with your thumb to prevent puffing during cooking.
- Season generously: Sprinkle salt and black pepper on both sides just before cooking. This helps form a nice crust.
- Preheat your pan or grill: Medium-high heat is ideal. You want a good sizzle when the patty hits the surface.
- Cook the first side: Place patties on the hot surface and cook undisturbed for about 3-4 minutes. You’ll notice the edges starting to brown and juices pooling on the top—good signs.
- Test doneness without cutting—The Finger Test: Gently press the center of the patty with your fingertip or spatula. The firmness tells you a lot: soft means rare, springy means medium, and firm means well done.
- Flip carefully: Use your spatula to turn patties once the first side is seared. Cook the other side for 3-5 minutes depending on thickness and desired doneness.
- Second doneness check: Repeat the finger test on the flipped side. If you’re unsure, press the side of the patty gently to feel the internal texture.
- Optional cheese: Add a slice of cheese during the last minute of cooking. Cover loosely to help melt.
- Rest your burgers: Transfer patties to a plate and let rest for 5 minutes. This step lets juices redistribute so every bite stays juicy.
Remember, cooking times vary depending on your stove or grill, so keep an eye on those texture cues. I once got distracted by a phone call and almost overcooked, but the finger test saved me from a dry disaster that day!
Cooking Tips & Techniques
- Don’t press down on your patties: It’s tempting to press burgers with your spatula, but that squeezes out the juices and dries out the meat.
- Use consistent patty sizes: This ensures even cooking. I use a kitchen scale when I’m feeling precise.
- The finger test explained: Compare the firmness of your thumb muscle when touching your thumb to different fingers. Thumb to index finger is rare, middle finger is medium, ring finger is medium-well, and pinky is well done. It sounds odd, but it works like a charm.
- Resting is key: Letting the burgers rest after cooking keeps them juicy. Skipping this step can lead to dry bites.
- Multitasking with sides: While your burgers rest, toss together a quick salad or toast buns to keep the meal flowing smoothly.
I learned the hard way that relying on cooking times alone can be misleading. One summer, I cooked burgers for a group and some came out overdone while others were undercooked. After that, I started trusting these tactile techniques and never looked back.
Variations & Adaptations
- For a juicy turkey burger: Add a tablespoon of olive oil or grated zucchini to prevent dryness. The finger test still applies.
- Cheese-stuffed patties: Before shaping, place a small cube of your favorite cheese in the center and seal the meat around it. Cook as usual but add a minute or two for thorough melting inside.
- Seasonal flavor twists: Mix in finely chopped herbs like rosemary or thyme for a fresh, aromatic touch.
- Plant-based burgers: Use the same doneness techniques by feeling firmness and looking for juices or moisture on the surface, though cooking times vary.
- Grill vs. skillet: If you switch between cooking methods, remember that grill heat is often higher and quicker, so adjust your timing accordingly.
I once tried a sweet and spicy version with chipotle powder and a touch of maple syrup—surprisingly, the finger test still nailed the timing perfectly. It’s a flexible method that adapts well.
Serving & Storage Suggestions
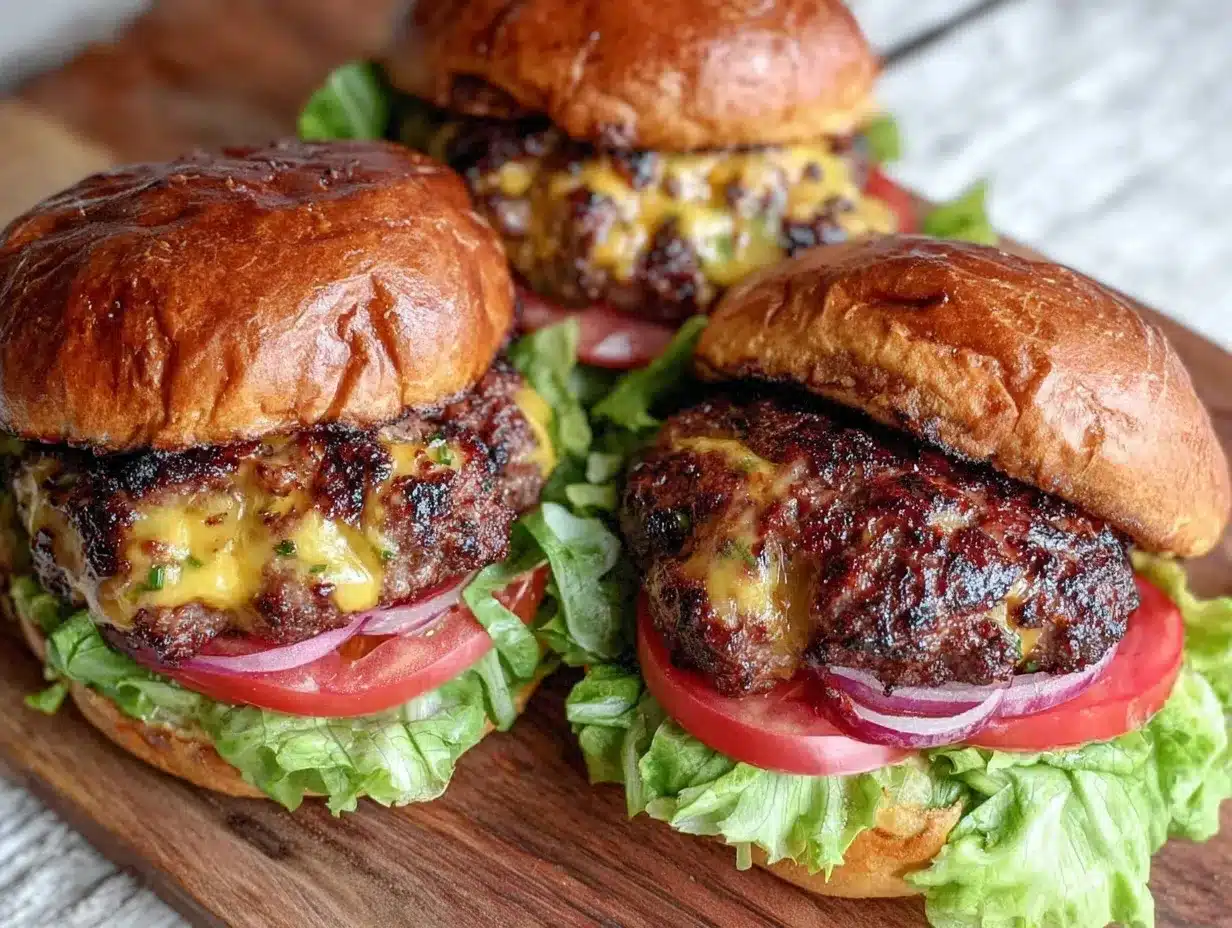
Serve your burgers hot off the grill or skillet, ideally on toasted buns with crisp lettuce and ripe tomato slices. A side of homemade fries or a fresh coleslaw pairs beautifully. If you have leftovers (and sometimes you do!), wrap them tightly in foil and refrigerate for up to 2 days.
To reheat, gently warm them in a skillet over low heat to preserve juiciness—microwaving tends to dry them out. Resting again after reheating helps redistribute the juices. Interestingly, some say the flavors improve after a day as the seasoning settles in, but I prefer mine fresh and warm every time.
Nutritional Information & Benefits
A typical 4-ounce (113 g) beef burger patty provides around 250-300 calories, with about 20 grams of protein and 18 grams of fat (depending on the lean-to-fat ratio). Ground beef is rich in iron and vitamin B12, important for energy and red blood cell production.
Using leaner meat or mixing in vegetables can reduce calories and boost fiber. This recipe can easily fit into a balanced diet and is naturally gluten-free if you opt for gluten-free buns or lettuce wraps.
From a wellness perspective, cooking burgers to the right temperature without cutting helps retain moisture and nutrients, making each bite not just delicious but satisfying in a wholesome way.
Conclusion
Figuring out when burgers are done without cutting into them is one of those handy kitchen skills that makes a big difference in your cooking confidence and meal satisfaction. With these tips, you’ll avoid dry, overcooked patties and keep your burgers juicy and flavorful every single time.
Feel free to tweak the seasonings and techniques to suit your taste, but trust your hands and eyes—they’re your best tools. Honestly, once I got comfortable with these tricks, grilling became less stressful and way more fun.
Give these methods a try at your next cookout and drop a comment sharing your experience or any secret burger tips you’ve learned along the way. Happy grilling!
FAQs
How can I tell if a burger is cooked without cutting it?
Use the finger test by pressing the patty’s center to judge firmness. Soft means rare, springy is medium, and firm indicates well done. Also, look for juices pooling on the surface as a sign of doneness.
What’s the ideal internal temperature for cooked burgers?
For ground beef, aim for 160°F (71°C) for safety. An instant-read thermometer helps, but the finger test is a great tactile guide.
Can I use these tips for turkey or plant-based burgers?
Yes, the firmness and juice cues still apply, but cooking times may differ. Be extra cautious with turkey as it should be cooked fully.
Why shouldn’t I press down on burgers while cooking?
Pressing squeezes out juices, leading to dry, less flavorful patties. Let the heat do the work for a juicy burger.
How long should I rest burgers after cooking?
Rest patties for about 5 minutes before serving to let juices redistribute, ensuring a juicy bite every time.
Pin This Recipe!
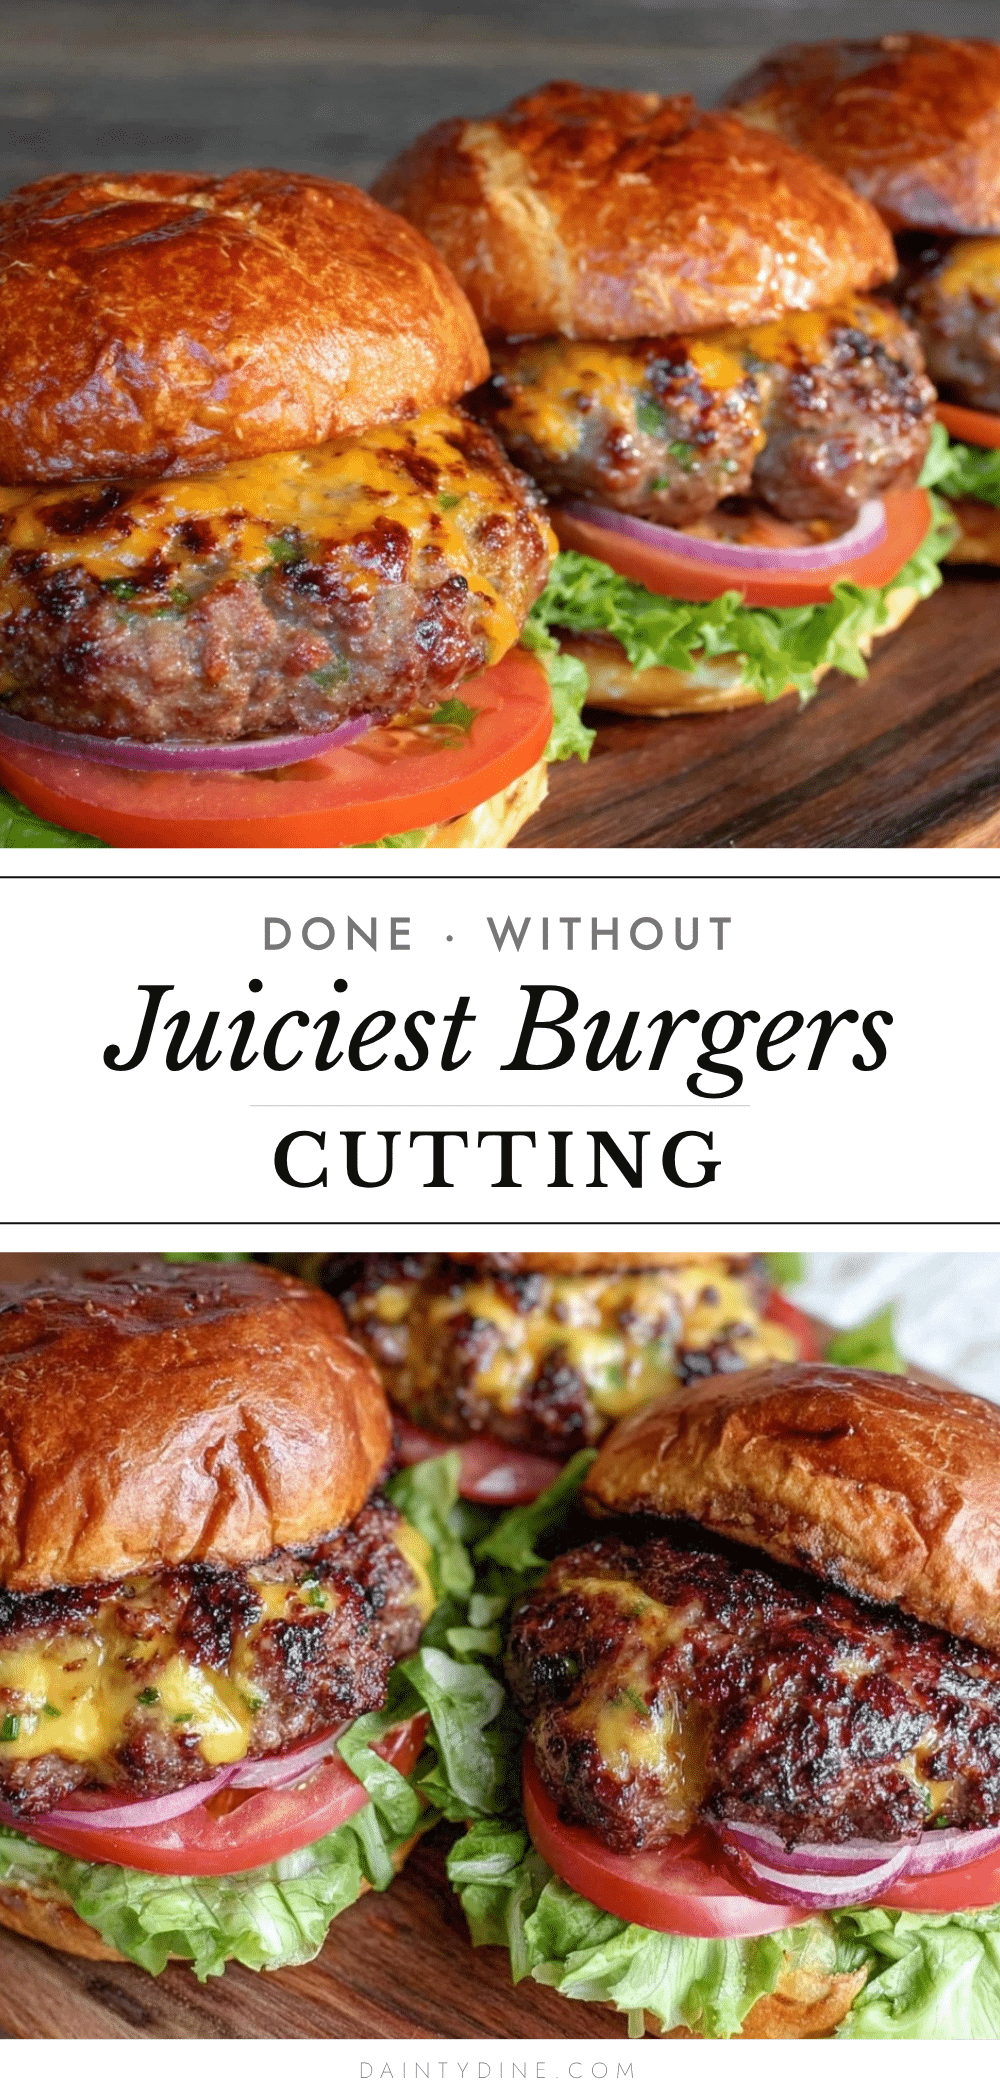
Burgers Done Without Cutting: 5 Easy Tips for Perfect Flavorful Patties

Learn how to cook juicy, flavorful burgers without cutting into the patties, using simple tactile techniques like the finger test to judge doneness perfectly every time.
- Prep Time: 10 minutes
- Cook Time: 8 minutes
- Total Time: 18 minutes
- Yield: 4 servings 1x
- Category: Main Course
- Cuisine: American
Ingredients
- 1 lb (450 g) ground beef (80/20 lean-to-fat ratio)
- Salt and pepper, to taste
- Optional mix-ins: finely diced onions, Worcestershire sauce, minced garlic
- Cheese slices (American, cheddar, or preferred melting cheese)
- Burger buns, toasted lightly
- Condiments and toppings: lettuce, tomato, pickles, mustard, ketchup
Instructions
- Divide 1 lb (450 g) of ground beef into 4 equal portions.
- Gently shape each portion into a ¾-inch (2 cm) thick patty, pressing a small dimple in the center with your thumb to prevent puffing.
- Season both sides generously with salt and black pepper just before cooking.
- Preheat your grill or cast iron skillet to medium-high heat until hot.
- Place patties on the hot surface and cook undisturbed for 3-4 minutes until edges brown and juices pool on top.
- Use the finger test by gently pressing the center of the patty to check firmness: soft for rare, springy for medium, firm for well done.
- Flip patties carefully with a spatula and cook the other side for 3-5 minutes depending on thickness and desired doneness.
- Repeat the finger test on the flipped side to confirm doneness.
- Optional: Add a slice of cheese during the last minute of cooking and cover loosely to melt.
- Transfer patties to a plate lined with paper towels and let rest for 5 minutes to redistribute juices before serving.
Notes
Do not press down on patties while cooking to avoid squeezing out juices. Use consistent patty sizes for even cooking. The finger test compares patty firmness to thumb muscle firmness when touching different fingers. Rest burgers for 5 minutes after cooking to keep them juicy. Adjust cooking times if using turkey or plant-based alternatives.
Nutrition
- Serving Size: 1 burger patty with
- Calories: 275
- Sugar: 3
- Sodium: 400
- Fat: 18
- Saturated Fat: 7
- Carbohydrates: 20
- Fiber: 1
- Protein: 20
Keywords: burgers, grilling, finger test, juicy burgers, no cutting, beef patties, easy burger recipe, backyard barbecue