Love this? Save it for later!
Share the inspiration with your friends
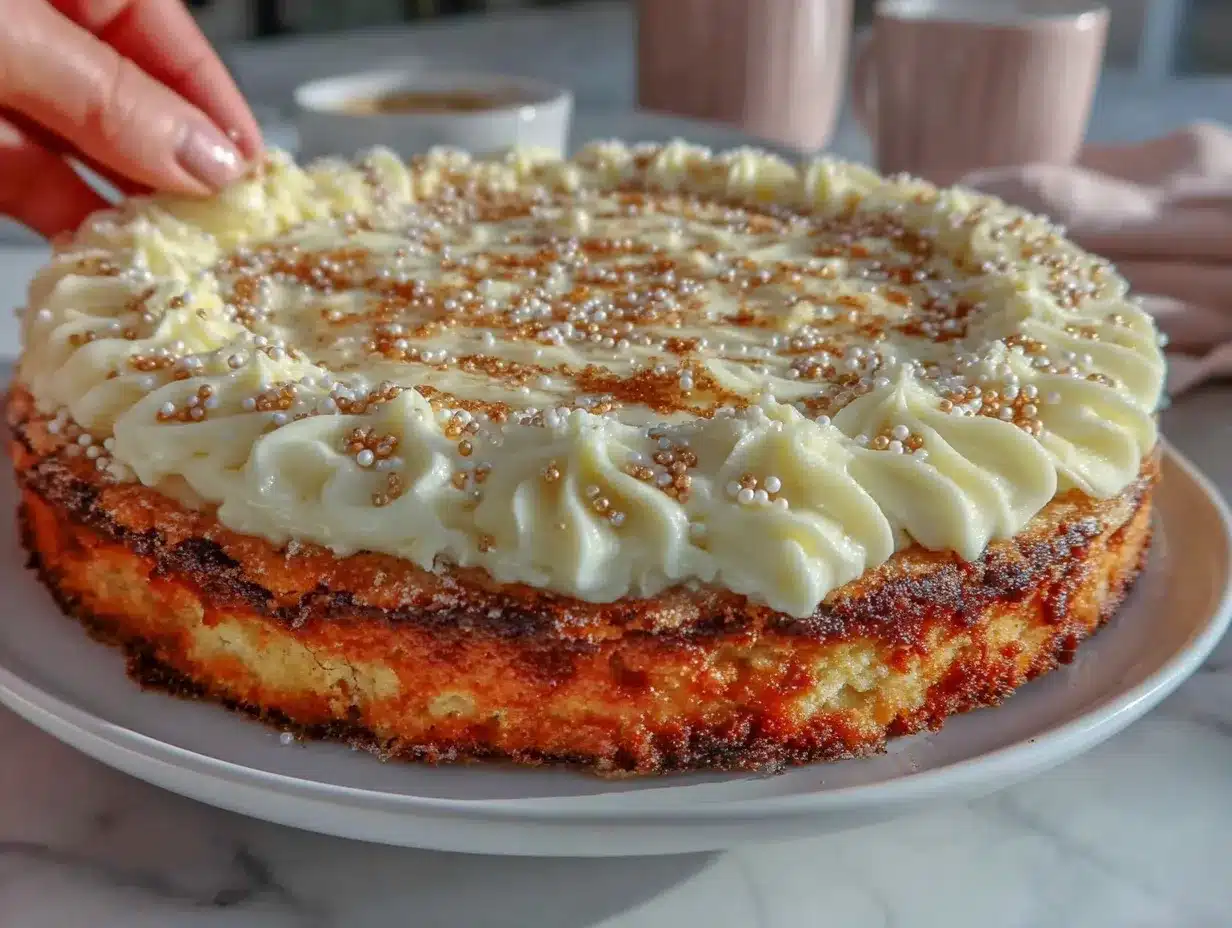
Graduation day is a whirlwind of excitement, nerves, and celebrations, and one thing I’ve learned over the years is that the dessert has to be as memorable as the moment itself. The first time I made this Graduation Cookie Cake with Buttercream Border, it was for my nephew’s high school graduation party. I wanted something bigger than cupcakes but less formal than a traditional cake. Something that everyone—kids, teens, and adults—would actually want to eat. Turns out, this cookie cake disappeared faster than the graduation caps flying in the air.
I’ve made this recipe at least a dozen times since then, tweaking the buttercream border and the cookie base until it’s just right. It’s got that perfect chewy edge with a soft, buttery center, and the buttercream border adds a touch of sweetness and charm that makes it feel special. Plus, it’s easy enough that you don’t need to be a professional baker to pull it off. If you’ve been looking for a crowd-pleasing dessert that’ll have your whole family craving seconds and thirds, this graduation cookie cake might just become your new go-to.
And yes, I’ve decorated it with everything from simple “Congrats Grad!” messages to elaborate designs—because this cookie cake is like a blank canvas for celebration. Let me walk you through how to make this showstopper that’s perfect for your next family milestone.
Why This Recipe Works
This recipe changed the game for me when it comes to celebratory desserts. I’ve tested it against a few other cookie cakes and buttercream frostings, and here’s why this one always wins:
- Perfect Cookie Texture — Chewy on the edges, soft and slightly gooey in the center. It’s exactly what you want in a cookie cake, not too cakey, not too crunchy. I learned early on that underbaking by just a minute or two makes all the difference.
- Buttercream Border That Holds Its Shape — This buttercream isn’t too sweet or runny. It pipes beautifully, so your decorations look sharp and professional, even if you’re a beginner. I’ve decorated cookie cakes with this buttercream at 90°F summer parties and it never melted away.
- Feeds a Crowd — The 12-inch round pan makes a big cookie cake that slices into 12 generous pieces. It’s perfect for family celebrations or graduation parties with friends.
- Customizable — You can add chocolate chips, M&Ms, nuts, or even swirl in peanut butter. Plus, the buttercream border lets you get creative with colors and piping styles.
This cookie cake has become my secret weapon for celebrations because it’s easy, looks impressive, and tastes like the perfect homemade treat everyone loves. Every time I bring it out, I get the same reaction: “Can I have the recipe?”
Ingredients Breakdown
Here’s the thing about this recipe: most of the ingredients are probably already in your pantry or fridge. I’m picky about a few key items, and I’ll tell you why as we go along.
For the Cookie Base:
- All-purpose flour (2 ¼ cups / 280g) — This provides the structure. I’ve tried whole wheat, but it makes the cookie too dense and changes the flavor. Stick with all-purpose for that classic cookie texture.
- Baking soda (1 teaspoon) — This gives the cookie a little lift and helps with browning. Don’t skip it!
- Salt (½ teaspoon) — Enhances all the flavors. Even in sweet recipes, salt is your friend.
- Unsalted butter (1 cup / 227g, softened) — Butter is everything here. Use unsalted so you can control the salt level. I learned the hard way that cold butter doesn’t cream properly and affects the texture.
- Granulated sugar (¾ cup / 150g) — Adds sweetness and crunch. You can reduce slightly if you prefer less sweet.
- Brown sugar (¾ cup / 165g, packed) — Adds moisture and that classic caramel flavor. Don’t skip the brown sugar—it’s what makes this cookie cake chewy and rich.
- Egg (1 large) — Binds everything together and adds moisture. Room temperature eggs mix better, so leave it out for 30 minutes before starting.
- Vanilla extract (1 ½ teaspoons) — The secret flavor booster. Use pure vanilla if you can.
- Chocolate chips (1 ½ cups / 270g, semi-sweet) — Optional but highly recommended. You can swap for M&Ms or nuts if you want. I like the contrast of melty chocolate in a buttery cookie.
For the Buttercream Border:
- Unsalted butter (½ cup / 113g, softened) — The base of your frosting. Soft but not melted.
- Powdered sugar (2 ½ cups / 300g) — Sweetness and structure. Sift it to avoid lumps.
- Heavy cream (2-3 tablespoons / 30-45ml) — Adjusts the consistency. Add gradually to get that perfect pipeable texture.
- Vanilla extract (1 teaspoon) — For flavor. You can also swap for almond or other extracts for fun variations.
- Food coloring (optional) — Gel colors work best and don’t thin out the frosting.
Equipment You’ll Need
You don’t need much to make this graduation cookie cake, which is part of why I love it.
- 12-inch round cake pan — I use a metal pan for even browning. You can line it with parchment paper for easy removal.
- Mixing bowls — One large for creaming butter and sugars, another for dry ingredients.
- Electric mixer or stand mixer — Creaming the butter and sugar is way easier with a mixer, but a strong hand whisk works if you’re patient.
- Rubber spatula — For scraping bowls clean and folding in chocolate chips.
- Piping bags and tips — For the buttercream border. A large round or star tip works great for borders; smaller tips for writing.
- Cooling rack — To cool the cookie cake completely before decorating.
If you don’t have a piping bag, no worries—you can use a zip-top bag with a corner snipped off. I’ve done that plenty of times when I’m in a pinch.
Step-by-Step Instructions
- Preheat & Prepare (10 minutes)
Preheat your oven to 350°F (175°C). Grease your 12-inch round pan with butter or cooking spray, then line it with parchment paper. This ensures the cookie cake comes out cleanly without sticking to the edges. - Cream Butter and Sugars (5 minutes)
In a large bowl, use your electric mixer to cream the softened butter, granulated sugar, and brown sugar on medium speed until the mixture is light and fluffy—about 3-4 minutes. This airiness is key for a tender cookie cake. - Add Egg and Vanilla (2 minutes)
Beat in the egg and vanilla extract until fully combined. Stop and scrape down the sides of the bowl to make sure everything is mixed evenly. - Mix Dry Ingredients (2 minutes)
In a separate bowl, whisk together the all-purpose flour, baking soda, and salt. This helps distribute the leavening agent evenly. - Combine Wet and Dry Ingredients (3 minutes)
Gradually add the dry ingredients to the wet mixture in batches, mixing on low speed just until combined. Do not overmix—you want the dough to be thick and slightly sticky. - Fold in Chocolate Chips (1 minute)
Using a spatula, fold in the chocolate chips gently but thoroughly. - Spread and Smooth (3 minutes)
Transfer the dough into your prepared pan. Use a spatula or your fingers (lightly greased) to press the dough evenly into the pan, smoothing the top. - Bake (20-25 minutes)
Bake for 20-25 minutes, starting to check around 18 minutes. The edges should be golden brown, and the center should look set but still slightly soft. A toothpick inserted near the center should come out with moist crumbs, not raw batter. - Cool Completely (30-40 minutes)
Let the cookie cake cool in the pan on a wire rack for 15 minutes, then carefully invert it onto the rack to cool completely. Decorating a warm cookie cake will melt your buttercream and ruin your border. - Make Buttercream (10 minutes)
While the cookie cools, beat the softened butter on medium speed until creamy. Gradually add powdered sugar, alternating with heavy cream, until you reach a smooth, pipeable consistency. Mix in vanilla extract and food coloring if using. - Pipe the Border (10-15 minutes)
Fill your piping bag with the buttercream and pipe a thick border around the cookie cake’s edge. You can keep it simple with a classic shell or rosette border, or get creative with stars and dots. - Add Message or Decorations (optional)
Use a small round tip to write a congratulatory message or add fun decorations like stars and swirls.
Expert Tips & Troubleshooting
After making this graduation cookie cake for years (and yes, sometimes flubbing it!), here’s what I’ve learned:
- Don’t Overbake — This cookie cake keeps baking in the pan after you take it out. Pull it when the center still looks soft but not wet. If you wait until it’s completely firm, you’ll get a dry cookie.
- Use Room Temperature Butter — Cold butter won’t cream properly, and melted butter makes the dough too runny. Softened butter is your sweet spot.
- Cool Completely Before Frosting — Buttercream on a warm cookie will melt and slide off. I learned this the hard way at my nephew’s party. Let it cool fully.
- Pipe the Border with Confidence — If you’re nervous about piping, practice on parchment paper first. A steady hand and even pressure make the border look professional.
- Customize Your Flavors — Feel free to swap vanilla for almond extract in the buttercream or add a pinch of cinnamon to the cookie dough for a subtle twist.
Common issues and fixes:
- Cookie cake too thick or dough too stiff? Your butter might have been too cold or you overpacked the flour. Use the scoop-and-level method when measuring flour.
- Buttercream too runny? Add a bit more powdered sugar or chill it briefly in the fridge before piping.
- Cookie cake stuck to pan? Always line with parchment and grease well. Let it cool before flipping out.
Variations & Substitutions
Once you’ve nailed the classic Graduation Cookie Cake with Buttercream Border, you can play around with these ideas:
- Double Chocolate Cookie Cake — Add ¼ cup cocoa powder to the flour and swap chocolate chips for white chocolate chunks.
- Peanut Butter Swirl — Drop dollops of peanut butter on top of the dough before baking and swirl with a knife for a marbled effect.
- M&M or Candy Cookie Cake — Substitute chocolate chips with colorful M&Ms for a festive look that kids love.
- Nutty Upgrade — Fold in chopped pecans or walnuts for crunch.
- Buttercream Flavors — Try adding lemon zest and juice for a citrusy twist or swap vanilla for peppermint extract during the holidays.
- Gluten-Free Option — Use a 1:1 gluten-free baking blend instead of all-purpose flour. The texture is slightly different but still delicious.
For a lighter option, you can try a cream cheese frosting border instead of buttercream, but be sure to keep it refrigerated until serving.
Serving & Storage
This cookie cake is best served at room temperature or slightly warmed for that fresh-baked feel. I like to slice it into wedges and serve with a glass of cold milk or a cup of coffee. For graduation parties, it pairs perfectly with savory finger foods like the rotisserie chicken Caesar wraps or a fresh salad like the smashed cucumber avocado salad to balance the sweetness.
Storage:
- Room Temperature: Store covered at room temperature for up to 2 days. The cookie will stay soft and the buttercream creamy.
- Refrigerator: Keep in an airtight container for up to 5 days. Bring to room temperature before serving for best texture.
- Freezer: Wrap the cookie cake tightly with plastic wrap and foil, then freeze for up to 3 months. Thaw overnight in the fridge and let come to room temperature before serving. You can also freeze individual slices for quick treats later.
Nutrition Information
I’m not a nutritionist, but here’s a rough idea per slice if you cut the cake into 12 pieces:
| Calories | 320 |
|---|---|
| Protein | 3g |
| Total Carbohydrates | 45g |
| Sugars | 30g |
| Total Fat | 14g |
| Saturated Fat | 8g |
| Cholesterol | 45mg |
| Sodium | 150mg |
This is definitely a treat, but it’s made with real butter and eggs, so it’s got that homemade goodness. The buttercream adds sweetness and richness, so enjoy it as a special celebration dessert.
Final Thoughts
So there you have it—my tried-and-true Graduation Cookie Cake with Buttercream Border that your whole family will crave. It’s the perfect centerpiece for any graduation party or milestone event, combining the comfort of a classic cookie with the festive flair of a decorated cake. I love how it brings people together, from kids sneaking second slices to adults reminiscing about their own school days.
Don’t be intimidated by the buttercream border—once you try it, you’ll see how simple it is, and it really takes your cookie cake to the next level. Plus, the recipe is flexible enough to make it your own, whether you want to add nuts, swap in different flavors, or try a fun color scheme.
If you decide to make this for your next celebration, I’d love to hear how it turned out! Drop a comment below or share your decorating ideas. I check every message and love swapping tips.
Happy celebrating—and happy baking! If you want other easy, crowd-pleasing recipes to go alongside this, check out the rotisserie chicken Caesar wrap or the smashed cucumber avocado salad. They’re perfect for party spreads that everyone will love.
FAQs
- Can I make this cookie cake ahead of time?
Absolutely! You can bake the cookie cake a day ahead and keep it wrapped at room temperature. Make the buttercream the day of decorating for the freshest look. - Can I use store-bought frosting instead of making buttercream?
You can, but homemade buttercream tastes way better and pipes better too. If you’re short on time, a good-quality store-bought buttercream can work in a pinch. - How do I keep the buttercream from melting in warm weather?
Use unsalted butter and add a bit less cream to make a stiffer frosting. Also, keep the decorated cookie cake in the fridge until serving and serve within a couple of hours. - Can I freeze the cookie cake with the buttercream border already piped?
It’s better to freeze the cookie cake without the frosting. Freeze the plain cookie wrapped tightly, then thaw and decorate before serving for best results. - What if I don’t have a 12-inch round pan?
You can use a 9×13-inch rectangular pan, but the baking time will be shorter—start checking at 18 minutes. The cookie will be a bit thicker in some spots but still delicious. - Can I add food coloring to the buttercream?
Yes! Gel food coloring works best so it doesn’t thin the frosting. I love using pastel colors for graduation themes. - Is there a vegan version of this cookie cake?
I haven’t tested a fully vegan version, but you can try swapping butter for vegan butter and egg replacer for the egg. The texture will be different but it should still be tasty.
Pin This Recipe!
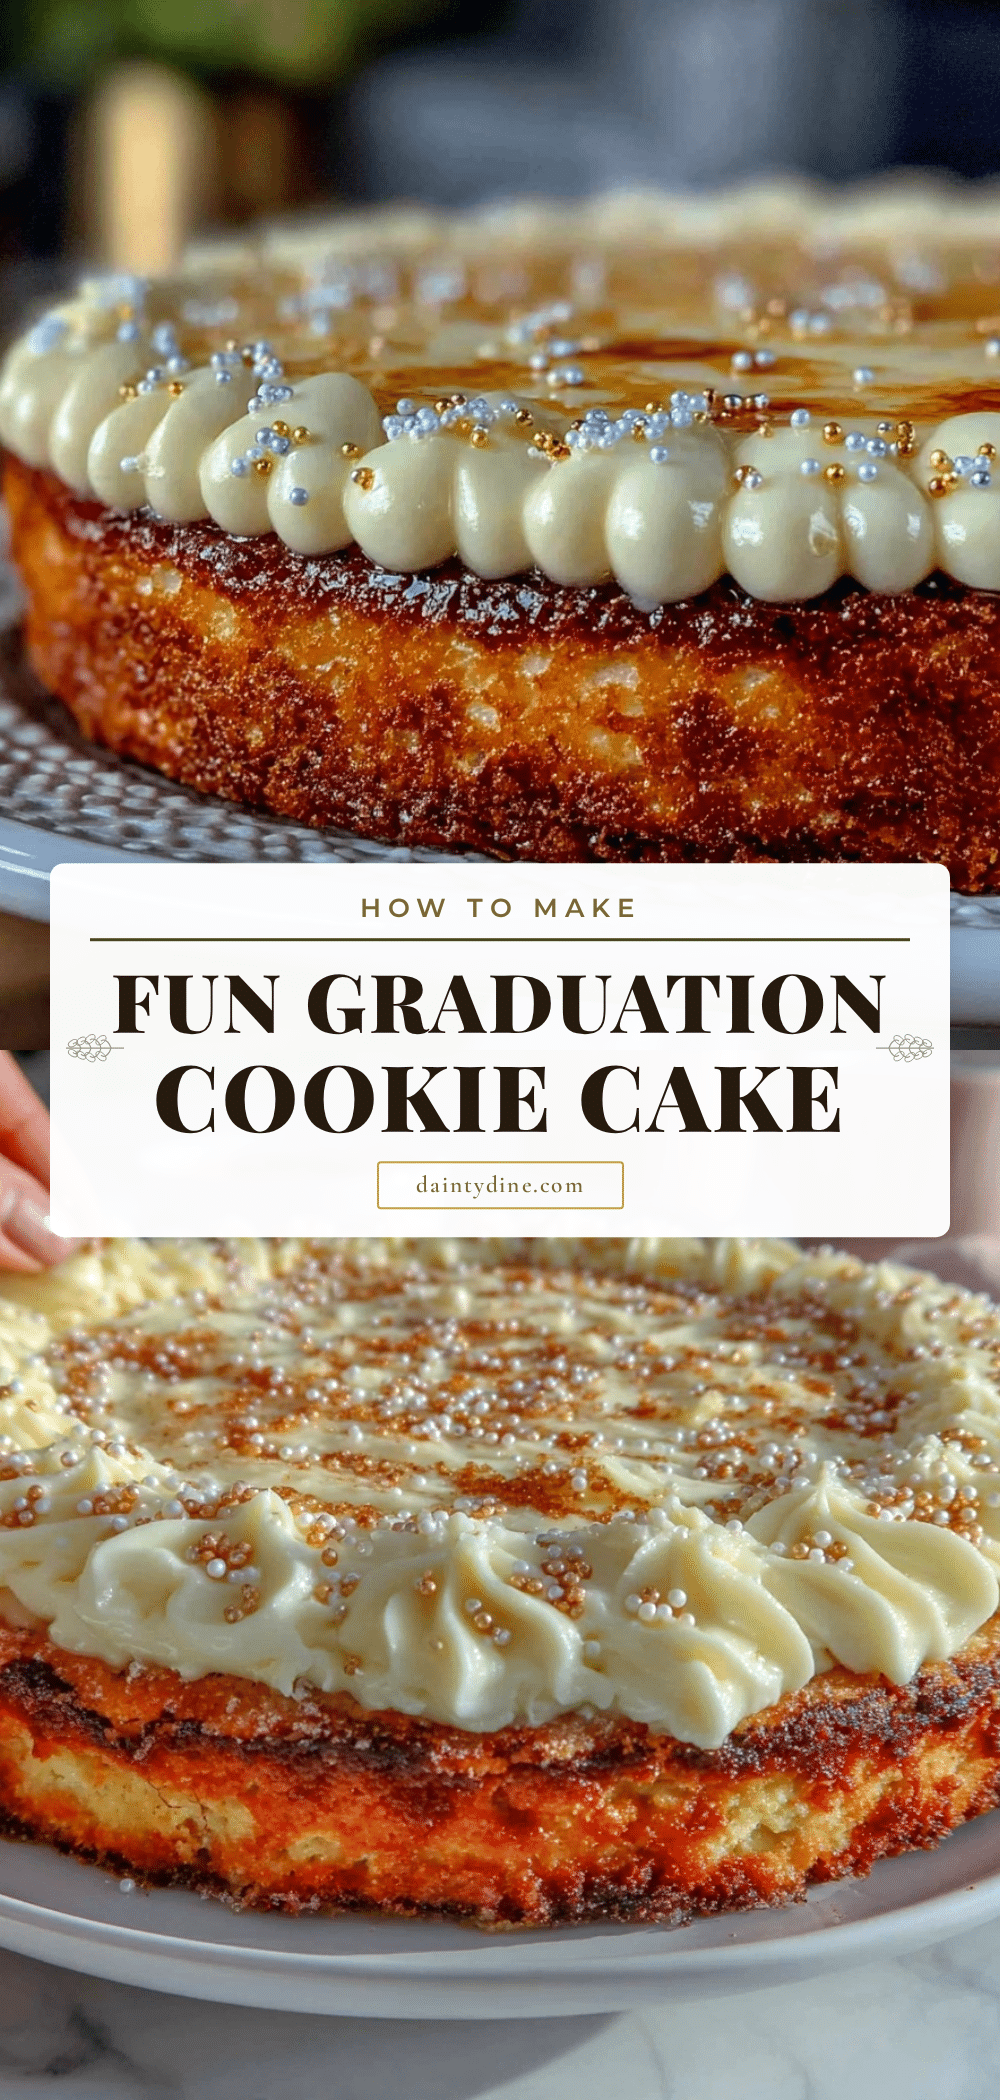
Graduation Cookie Cake Recipe with Buttercream Border Your Family Will Crave
A chewy and soft cookie cake with a buttery center and a beautifully piped buttercream border, perfect for graduation parties and family celebrations.
- Prep Time: 25 minutes
- Cook Time: 20-25 minutes
- Total Time: 55 minutes
- Yield: 12 servings 1x
- Category: Dessert
- Cuisine: American
Ingredients
- 2 ¼ cups all-purpose flour (280g)
- 1 teaspoon baking soda
- ½ teaspoon salt
- 1 cup unsalted butter, softened (227g)
- ¾ cup granulated sugar (150g)
- ¾ cup packed brown sugar (165g)
- 1 large egg, room temperature
- 1 ½ teaspoons vanilla extract
- 1 ½ cups semi-sweet chocolate chips (270g) (optional)
- ½ cup unsalted butter, softened (113g) (for buttercream)
- 2 ½ cups powdered sugar (300g) (for buttercream)
- 2–3 tablespoons heavy cream (30-45ml) (for buttercream)
- 1 teaspoon vanilla extract (for buttercream)
- Food coloring (optional, for buttercream)
Instructions
- Preheat your oven to 350°F (175°C). Grease a 12-inch round pan with butter or cooking spray, then line it with parchment paper.
- In a large bowl, cream the softened butter, granulated sugar, and brown sugar on medium speed until light and fluffy, about 3-4 minutes.
- Beat in the egg and vanilla extract until fully combined, scraping down the sides of the bowl as needed.
- In a separate bowl, whisk together the all-purpose flour, baking soda, and salt.
- Gradually add the dry ingredients to the wet mixture in batches, mixing on low speed just until combined. Do not overmix.
- Fold in the chocolate chips gently but thoroughly using a spatula.
- Transfer the dough into the prepared pan and press evenly into the pan, smoothing the top.
- Bake for 20-25 minutes, starting to check around 18 minutes. The edges should be golden brown and the center set but slightly soft.
- Let the cookie cake cool in the pan on a wire rack for 15 minutes, then invert onto the rack to cool completely.
- While the cookie cools, beat the softened butter for the buttercream on medium speed until creamy.
- Gradually add powdered sugar, alternating with heavy cream, until smooth and pipeable. Mix in vanilla extract and food coloring if using.
- Fill a piping bag with buttercream and pipe a thick border around the cookie cake’s edge.
- Optionally, use a small round tip to write a congratulatory message or add decorations.
Notes
Do not overbake the cookie cake; pull it when the center is still slightly soft to avoid dryness. Use room temperature butter for proper creaming. Cool the cookie completely before frosting to prevent buttercream from melting. Practice piping on parchment paper if nervous. Customize with nuts, M&Ms, or different extracts. For gluten-free, use a 1:1 gluten-free baking blend. Store covered at room temperature up to 2 days or refrigerated up to 5 days. Freeze plain cookie cake without frosting for up to 3 months.
Nutrition
- Serving Size: 1 slice (1/12 of cak
- Calories: 320
- Sugar: 30
- Sodium: 150
- Fat: 14
- Saturated Fat: 8
- Carbohydrates: 45
- Protein: 3
Keywords: cookie cake, graduation dessert, buttercream border, chocolate chip cookie cake, celebration dessert, easy cookie cake