Love this? Save it for later!
Share the inspiration with your friends
I was standing in the frozen foods aisle last Tuesday, staring at a box of mini pies like they held the secrets to the universe. The fluorescent lights were humming that weird hum they do, and honestly, I was this close to just tossing a box in the cart and calling it a day. But then I picked one up and flipped it over to read the ingredients list — and oh boy. The list was longer than my arm. Words I couldn’t pronounce. Sugar in three different forms. And the crust? Let’s just say it had more in common with cardboard than anything my grandmother ever pulled out of her oven.
That’s when it hit me — that sharp, specific memory of standing on a step stool in her kitchen, flour dusted across my nose, watching her roll out dough for apple pie. She’d let me press the scraps together into little rough shapes and bake them off as my own “special pies.” I can still feel the warmth of that kitchen, the smell of cinnamon hanging in the air like a hug you could breathe in. She’s been gone seven years now, and I haven’t made a proper pie since. But standing there in that cold aisle, I decided it was time.
Only this time, I wanted something different. Something that didn’t require a degree in pastry arts or a full afternoon of commitment. And maybe — just maybe — something that wouldn’t leave me feeling like I needed a nap after one bite. So I went home, grabbed a bag of apples, and started messing around with a no-fuss crust that actually delivers. These lighter mini apple pie hand pies are the result of that afternoon, and let me tell you, they’re everything I wanted and nothing I didn’t.
Why You’ll Love This Recipe
I’ve tested this recipe more times than I care to admit — there was one particularly tragic batch where the filling turned into apple soup, and another where the crust tasted suspiciously like saltine crackers. But I kept at it because I knew there was a version that could actually work for real life. And honestly? This is it.
- Quick & Easy : From start to finish, we’re talking about 45 minutes. That’s less time than it takes to decide what to order for delivery.
- Simple Ingredients : You probably have everything in your kitchen right now. No fancy pastry flour, no obscure extracts, no trips to three different stores.
- Perfect for Fall Baking : These little guys are made for cozy afternoons, apple picking season, or when you just want your house to smell amazing.
- Crowd-Pleaser : I brought a batch to my book club last week and they disappeared before we even got to chapter two. People love anything that looks like you put in effort (even when you didn’t).
- Unbelievably Delicious : The filling is warm and spiced, the crust is flaky without being heavy, and the whole thing feels like a hug in handheld form.
What makes this recipe different from the rest? It’s the crust, honestly. Most hand pie recipes call for butter that’s practically frozen and a technique that requires the patience of a saint. This version uses a combination of butter and Greek yogurt to create a tender, workable dough that doesn’t require you to keep everything ice cold. It’s forgiving. It’s flexible. And it actually tastes good — not just “good for a lighter version,” but genuinely, properly delicious.
This is the kind of recipe that makes you close your eyes after the first bite. It’s comfort food reimagined — lighter, faster, but with the same soul-soothing satisfaction that makes pie worth making in the first place.
What Ingredients You Will Need
This recipe uses simple, wholesome ingredients to deliver that classic apple pie flavor without the heavy feeling afterward. Everything here is pretty standard stuff — you might need to grab an extra apple or two, but that’s about it.
For the No-Fuss Crust
- All-purpose flour, 1 ½ cups (180g) — regular old flour works perfectly here. No need for pastry flour or anything fancy.
- Cold unsalted butter, ½ cup (1 stick or 113g), cut into small cubes — the key word here is cold, not frozen. Straight from the fridge is perfect.
- Plain Greek yogurt, ¼ cup (60g) — this is the secret ingredient that makes the dough work. It adds moisture and tenderness without requiring you to handle the dough like it’s a bomb. I like using full-fat Greek yogurt here for the best texture.
- Ice water, 2-3 tablespoons (30-45ml) — you might not need all of it, so add it slowly.
- Salt, ½ teaspoon — don’t skip this. It makes everything taste more like itself.
- Granulated sugar, 1 tablespoon — just a touch to give the crust a hint of sweetness.
For the Apple Filling
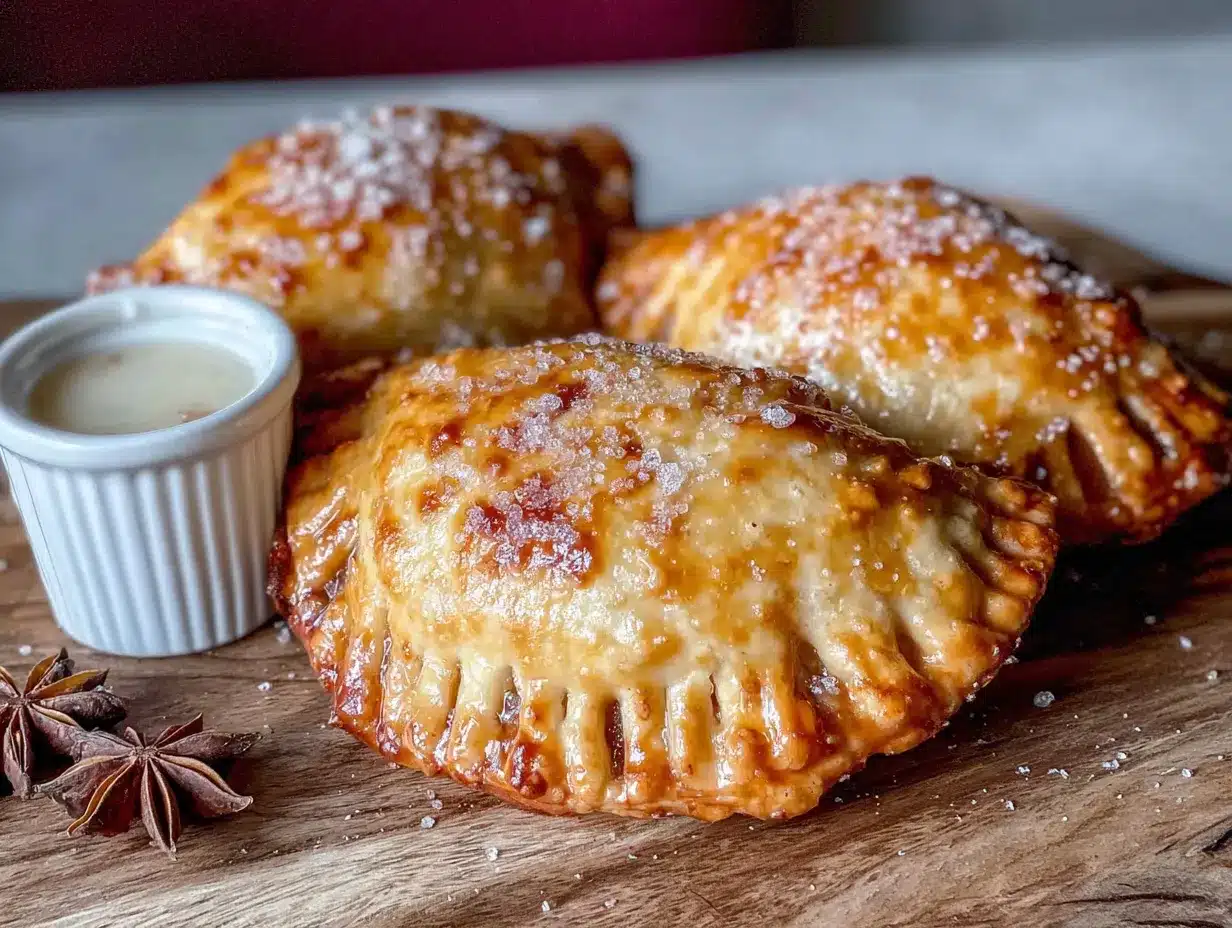
- Apples, 2 medium (about 300g total) — I recommend Honeycrisp or Granny Smith. Honeycrisp gives you natural sweetness, while Granny Smith gives you that tartness that cuts through the richness. A mix of both is honestly the dream team.
- Brown sugar, 3 tablespoons (packed, 45g) — light or dark both work. Dark gives a deeper molasses flavor.
- Cinnamon, 1 teaspoon — the backbone of any good apple pie filling.
- Nutmeg, ¼ teaspoon — freshly grated if you have it, but pre-ground is totally fine.
- Lemon juice, 1 tablespoon — keeps the apples from browning and brightens everything up.
- Cornstarch, 1 tablespoon — this is what thickens the filling so it doesn’t turn into apple soup inside your hand pies.
- Vanilla extract, ½ teaspoon — a little warmth and depth.
For Assembly and Topping
- 1 egg, beaten (for egg wash) — gives the pies that beautiful golden color.
- Turbinado or coarse sugar, for sprinkling — optional, but that crunch on top is really nice.
One quick note on apples: you want something that holds its shape when baked. Avoid Red Delicious or McIntosh — they turn into applesauce faster than you can say “pie.” I learned that the hard way during my apple soup incident.
Equipment Needed
You don’t need much for this recipe, which is honestly my favorite part. Here’s what you’ll want to have on hand:
- Baking sheet — any standard half-sheet pan works. Line it with parchment paper for easy cleanup.
- Parchment paper — trust me on this one. The first batch I made without it required some serious scraping.
- Rolling pin — you can use a wine bottle in a pinch. I’ve done it. It works.
- Mixing bowls — one large, one medium. Nothing fancy needed.
- Pastry cutter or two forks — for cutting the butter into the flour. If you have a food processor, that works too and is actually faster.
- Sharp knife or pizza cutter — for cutting the dough into squares.
- Fork — for crimping the edges and poking steam vents.
- Pastry brush — for the egg wash. A clean paintbrush works if you’re in a bind.
I picked up my pastry cutter at a thrift store for like two dollars, and it’s been going strong for years. You really don’t need fancy equipment to make good food.
Preparation Method
Alright, let’s get into it. I’ll walk you through this step by step, including the little things I wish someone had told me when I was figuring this out.
- Make the filling first (about 10 minutes). Peel and dice your apples into small cubes — about ¼-inch pieces. You want them small enough that they’ll cook through quickly but not so small they turn to mush. Toss them in a bowl with the brown sugar, cinnamon, nutmeg, lemon juice, cornstarch, and vanilla. Stir everything together until the apples are evenly coated. Let this sit while you make the dough. The apples will start releasing their juices, which is exactly what you want.
- Start the crust (about 10 minutes). In a large bowl, whisk together the flour, salt, and sugar. Add the cold butter cubes and use your pastry cutter (or two forks, or your fingertips if you work fast) to cut the butter into the flour until you have pieces ranging from pea-sized to about the size of a small bean. Some larger pieces are fine — those are what create flaky layers. Don’t overwork it. You want to see visible bits of butter.
- Add the yogurt and water. Add the Greek yogurt and 2 tablespoons of ice water. Stir with a fork until the dough starts coming together. If it seems dry, add the remaining tablespoon of water. The dough should feel slightly tacky but not sticky. If it’s sticking to your fingers like crazy, add a tiny bit more flour. If it’s crumbling apart, add another teaspoon of water.
- Chill the dough (30 minutes minimum). Form the dough into a disk, wrap it in plastic wrap, and pop it in the fridge. This step is non-negotiable — the dough needs time to relax so it doesn’t shrink when you bake it. Plus, it makes it way easier to roll out. While the dough chills, preheat your oven to 375°F (190°C) and line your baking sheet with parchment paper.
- Roll out the dough. On a lightly floured surface, roll the dough out to about ⅛-inch thickness. Don’t stress about getting a perfect rectangle — mine never look like one. Just aim for even thickness. If the dough starts sticking, dust a little more flour underneath.
- Cut into squares. Use a sharp knife or pizza cutter to cut the dough into 3-inch squares. You should get about 9 to 12 squares, depending on how thick you rolled it. Gather the scraps, gently press them together (don’t knead!), and re-roll to cut more squares if needed.
- Fill the pies. Spoon about 1 heaping tablespoon of the apple filling onto the center of each square. Don’t overfill — I know it’s tempting, but too much filling makes the pies burst open. Leave about a ½-inch border around the edges.
- Seal the pies. Brush the edges of each square with a little water (or the beaten egg). Fold the dough over to form a triangle or rectangle, then press the edges together with a fork to seal. Make sure the edges are well-sealed or the filling will leak out. Ask me how I know.
- Add vents and egg wash. Use the fork to poke 2-3 small holes on top of each pie — this lets steam escape so your pies don’t explode in the oven. Brush the tops with the beaten egg and sprinkle with coarse sugar if you’re using it.
- Bake (18-22 minutes). Place the pies on your prepared baking sheet, leaving a little space between each one. Bake at 375°F (190°C) for 18-22 minutes, or until the crust is golden brown and the filling is bubbly. Let them cool on the baking sheet for at least 10 minutes before eating — the filling is basically lava right out of the oven.
One thing I want to mention: your pies might look a little pale when you take them out. Don’t panic. The egg wash helps, but these pies don’t get super dark because of the yogurt in the crust. Look for a light golden color and bubbly filling peeking through the vents.
Cooking Tips & Techniques
I’ve made this recipe about seven times now, and I’ve definitely learned a few things along the way. Here’s what I wish I’d known from the start:
Don’t overwork the dough. This is the number one mistake people make with any pastry. The more you handle it, the tougher it gets. Mix just until it comes together, and when you’re rolling it out, use gentle, even pressure. If the dough starts feeling warm and sticky, pop it back in the fridge for 10 minutes.
Keep your butter cold. I know I already said this, but it’s worth repeating. Cold butter creates steam pockets in the oven, which gives you that flaky texture. If your butter starts softening while you’re cutting it in, stick the bowl in the fridge for a few minutes.
Drain your filling if needed. After the apples sit with the sugar and lemon juice, they release liquid. If the mixture looks super watery, use a slotted spoon to transfer the apples to the dough, leaving most of the liquid behind. This prevents soggy bottoms.
Use a timer for the chilling step. I once got distracted by a phone call and left my dough in the fridge for two hours. It was actually fine — even better, honestly. But 30 minutes is the minimum. Don’t skip it.
Make extra filling. I always make a little more than I think I’ll need. If you have leftover filling, just cook it down in a small saucepan and use it as a topping for oatmeal or yogurt. Waste not, want not.
My biggest failure with this recipe? The first time I made it, I forgot to add the cornstarch to the filling. The pies looked beautiful coming out of the oven, but when I bit into one, apple juice ran down my chin and all over my shirt. It was delicious but messy. Learn from my mistakes — don’t skip the cornstarch.
Variations & Adaptations
One of the things I love about this recipe is how flexible it is. Here are some ways to make it your own:
Gluten-Free Version: Substitute the all-purpose flour with a 1:1 gluten-free baking flour blend. I’ve tested this with Bob’s Red Mill 1-to-1 and it worked beautifully. Just note that the dough might be a little more fragile, so handle it gently.
Dairy-Free Option: Use a high-quality vegan butter stick (not the spreadable kind in a tub) and a dairy-free yogurt alternative. Coconut yogurt works, but it will add a slight coconut flavor that’s actually pretty nice with the apple.
Different Fruit Fillings: This recipe works great with pears, peaches, or even mixed berries. If you’re using berries, add an extra tablespoon of cornstarch since they’re juicier than apples. I made a batch with pear and ginger last fall and it was incredible.
Savory Version: Skip the sugar in the crust and fill the pies with sauteed mushrooms and thyme, or a mix of spinach and feta. The same dough works perfectly for savory applications — just omit the sugar and use a little less yogurt.
Spice It Up: Add a pinch of cardamom or ginger to the filling for a different flavor profile. I sometimes add a tiny pinch of black pepper to the filling — it sounds weird, but it actually enhances the apple flavor.
Air Fryer Method: Cook the pies at 350°F (175°C) in the air fryer for about 12-14 minutes, flipping halfway through. The crust gets extra crispy this way. Just make sure your air fryer basket is big enough to hold them in a single layer.
My personal favorite variation? I add a handful of dried cranberries and some chopped pecans to the filling. It adds texture and a little tartness that plays really well with the sweet apples.
Serving & Storage Suggestions
These hand pies are best served warm, about 10-15 minutes after they come out of the oven. The filling is still soft and the crust is at its flakiest. If you’re serving them at room temperature, they’re still delicious — just not quite as magical.
For serving, I love these with a small dollop of vanilla Greek yogurt or a drizzle of warm caramel sauce. A scoop of vanilla ice cream is never a bad idea either, but since we’re going lighter here, the yogurt is my go-to. They’re also fantastic with a cup of hot coffee or a mug of spiced chai.
Storage Instructions: Keep leftover hand pies in an airtight container at room temperature for up to 2 days, or in the refrigerator for up to 5 days. I don’t recommend leaving them out longer than that because the filling can spoil.
Freezer Instructions: These freeze beautifully! Place the baked and cooled hand pies in a single layer on a baking sheet and freeze until solid (about 2 hours). Then transfer them to a freezer-safe bag or container. They’ll keep for up to 3 months. To reheat, pop them in a 350°F (175°C) oven for about 10 minutes, or in the microwave for 20-30 seconds if you’re in a hurry.
Reheating Tips: The oven method is best for restoring that flaky texture. The microwave works in a pinch, but the crust will be softer. If you’re reheating from frozen, add an extra 5 minutes to the oven time.
One thing I’ve noticed: the flavors actually develop more after a day in the fridge. The spices meld together and the filling gets even more flavorful. So if you can resist eating them all right away, they’re even better the next day.
Nutritional Information & Benefits
Here’s an approximate nutritional breakdown for one hand pie (based on making 10 pies from the recipe):
| Nutrient | Amount |
|---|---|
| Calories | 165 |
| Total Fat | 8g |
| Saturated Fat | 5g |
| Cholesterol | 35mg |
| Sodium | 95mg |
| Total Carbohydrates | 22g |
| Dietary Fiber | 2g |
| Sugars | 10g |
| Protein | 3g |
What I love about these hand pies is that they feel indulgent without being over the top. The Greek yogurt adds a little protein and calcium, and the apples provide fiber and vitamin C. Compared to a traditional hand pie that can clock in at 300+ calories, these are a much lighter option that still satisfies that pie craving.
If you’re watching your sugar intake, you can reduce the brown sugar to 2 tablespoons without sacrificing too much sweetness — especially if you’re using naturally sweet apples like Honeycrisp or Fuji.
These are also nut-free and can easily be made gluten-free or dairy-free with the substitutions I mentioned above. Just be aware of your specific dietary needs and adjust accordingly.
Conclusion
These lighter mini apple pie hand pies have become my go-to when I want something that feels special without requiring a whole production. They’re the recipe I make when I’m missing my grandmother’s kitchen but don’t have three hours to spend. They’re what I bring to potlucks and book clubs and casual weekend gatherings. And honestly? They’re what I make just for myself on a quiet Tuesday when I need a little comfort.
The crust is forgiving. The filling is forgiving. The whole thing is designed for real people who want to bake something delicious without turning their kitchen into a flour bomb. I hope you give them a try and make them your own — maybe with a different fruit, some extra spice, or just exactly as written.
If you do make them, I’d love to hear how they turn out. Drop a comment below and let me know what variations you tried, or tag me in your photos if you’re sharing online. Happy baking, friend — I’m rooting for you and your hand pies.
Frequently Asked Questions
Can I use store-bought pie crust instead of making the no-fuss crust?
Absolutely. If you’re short on time or just not feeling the homemade crust vibe, a refrigerated pie crust from the store works perfectly. Just roll it out a little thinner and cut it into squares the same way. The filling and assembly instructions stay the same.
Why did my hand pies burst open in the oven?
This usually happens for one of two reasons: either you overfilled them, or the edges weren’t sealed properly. Make sure you leave that ½-inch border around the filling, and really press those edges down with a fork. Also, don’t skip the steam vents — they’re there for a reason.
Can I make the dough ahead of time?
Yes! The dough can be made up to 2 days in advance and kept wrapped in the fridge. You can also freeze it for up to 3 months. Just thaw it overnight in the refrigerator before using. This is actually a great time-saver if you’re planning to bake for a gathering.
How do I prevent the bottom of the hand pies from getting soggy?
Make sure you drain any excess liquid from the apple filling before spooning it onto the dough. That liquid is full of flavor, but too much of it will make the bottom crust soggy. Also, baking the pies on a preheated baking sheet can help the bottoms crisp up faster.
Can I use a different type of yogurt in the crust?
You can, but the texture might change slightly. Full-fat Greek yogurt gives the best results because it’s thick and has a good amount of fat. Regular yogurt is thinner and might make the dough stickier. If you use a non-dairy yogurt, look for one that’s thick and unsweetened to avoid altering the flavor too much.
Pin This Recipe!
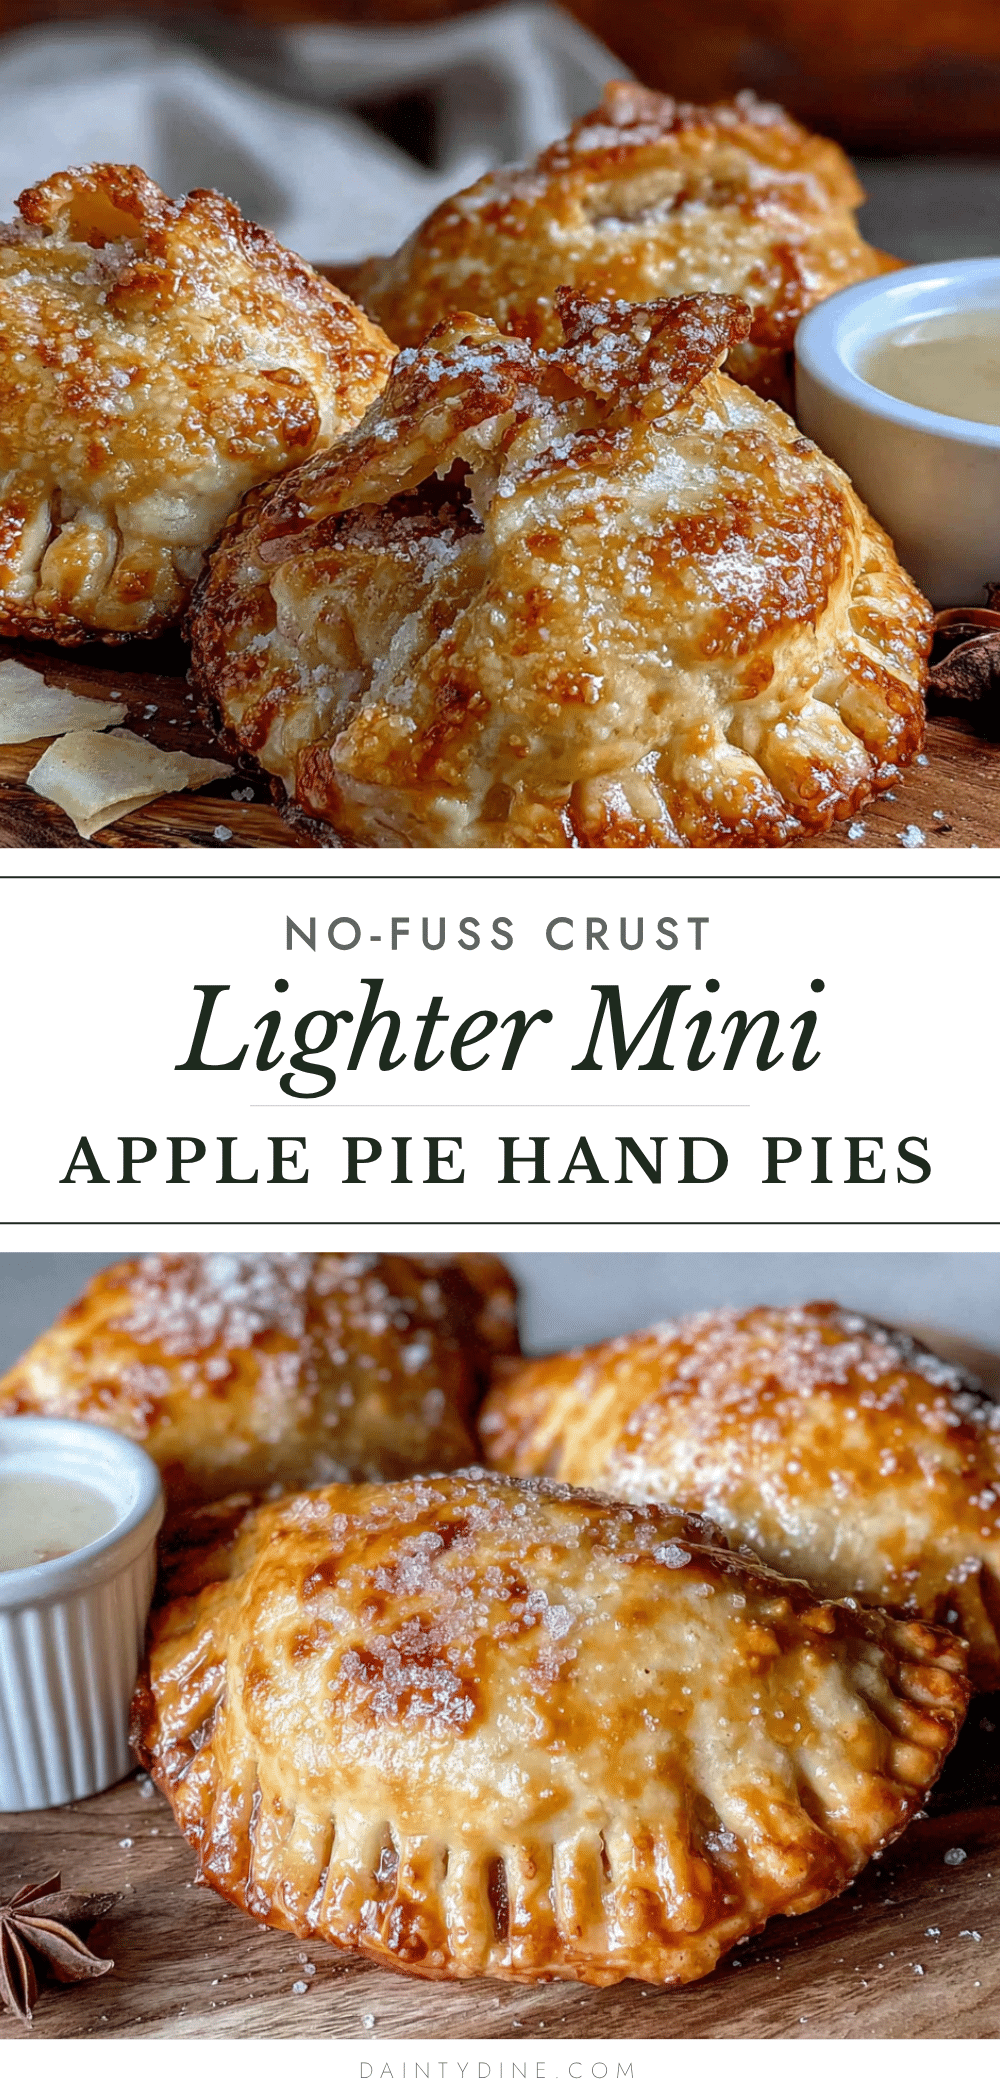
Lighter Mini Apple Pie Hand Pies: Easy No-Fuss Recipe

These lighter mini apple pie hand pies feature a no-fuss crust made with Greek yogurt and a warm, spiced apple filling. They’re quick, easy, and perfect for fall baking or any time you crave a handheld comfort treat.
- Prep Time: 15 minutes
- Cook Time: 20 minutes
- Total Time: 45 minutes
- Yield: 10 servings 1x
- Category: Dessert
- Cuisine: American
Ingredients
- 1 ½ cups (180g) all-purpose flour
- ½ cup (1 stick or 113g) cold unsalted butter, cut into small cubes
- ¼ cup (60g) plain Greek yogurt
- 2–3 tablespoons (30-45ml) ice water
- ½ teaspoon salt
- 1 tablespoon granulated sugar
- 2 medium apples (about 300g total), such as Honeycrisp or Granny Smith
- 3 tablespoons (45g) packed brown sugar
- 1 teaspoon cinnamon
- ¼ teaspoon nutmeg
- 1 tablespoon lemon juice
- 1 tablespoon cornstarch
- ½ teaspoon vanilla extract
- 1 egg, beaten (for egg wash)
- Turbinado or coarse sugar, for sprinkling (optional)
Instructions
- Make the filling: Peel and dice apples into ¼-inch cubes. Toss with brown sugar, cinnamon, nutmeg, lemon juice, cornstarch, and vanilla. Let sit while making dough.
- Start the crust: In a large bowl, whisk together flour, salt, and sugar. Add cold butter cubes and cut in with a pastry cutter or two forks until mixture resembles pea-sized crumbs.
- Add yogurt and water: Add Greek yogurt and 2 tablespoons ice water. Stir with a fork until dough comes together. Add remaining water if needed. Dough should be slightly tacky but not sticky.
- Chill the dough: Form into a disk, wrap in plastic wrap, and refrigerate for at least 30 minutes. Meanwhile, preheat oven to 375°F (190°C) and line a baking sheet with parchment paper.
- Roll out dough: On a lightly floured surface, roll dough to about ⅛-inch thickness.
- Cut into squares: Cut dough into 3-inch squares. Gather scraps, press together, and re-roll to cut more squares. You should get 9-12 squares.
- Fill the pies: Spoon about 1 heaping tablespoon of apple filling onto the center of each square, leaving a ½-inch border.
- Seal the pies: Brush edges with water or beaten egg. Fold dough over to form a triangle or rectangle. Press edges with a fork to seal.
- Add vents and egg wash: Poke 2-3 small holes on top of each pie. Brush tops with beaten egg and sprinkle with coarse sugar if desired.
- Bake: Place pies on prepared baking sheet. Bake at 375°F (190°C) for 18-22 minutes, until golden brown and filling is bubbly. Cool on baking sheet for at least 10 minutes before serving.
Notes
Don’t overwork the dough; keep butter cold. Drain excess liquid from filling to prevent soggy bottoms. For best results, chill dough at least 30 minutes. Pies can be frozen for up to 3 months.
Nutrition
- Serving Size: 1 hand pie
- Calories: 165
- Sugar: 10
- Sodium: 95
- Fat: 8
- Saturated Fat: 5
- Carbohydrates: 22
- Fiber: 2
- Protein: 3
Keywords: mini apple pie, hand pies, lighter apple pie, no-fuss crust, Greek yogurt crust, fall baking, easy dessert