Love this? Save it for later!
Share the inspiration with your friends
I was standing in the grocery store parking lot last November, juggling a bag of onions and my phone, when the smell hit me. It wasn’t the usual exhaust-and-wet-asphalt mix. It was sage—sharp, earthy, unmistakable—drifting from someone’s open car window as they loaded in their Thanksgiving haul. And just like that, I was eight years old again, sitting on the edge of a too-tall stool in my Aunt Clara’s cramped kitchen, watching her tear stale bread into a giant metal bowl with her bare hands.
She never used a knife for the bread. Said it made the pieces too uniform, too polite. She wanted jagged edges and crannies that could trap every bit of broth and butter. I remember the flour dusting her old sweater and the way she’d sneak me a warm, buttery crust straight from the pan before anyone else came downstairs. She passed away a few years ago, and honestly, I haven’t been able to make her traditional stuffing since without feeling a little hollow. It’s hers, you know? Not mine.
But last fall, I needed stuffing for a Friendsgiving potluck, and I couldn’t face the big baking dish. I wanted something that felt new but still tasted like home. That’s when these Easy Individual Stuffing Muffins for a Crowd were born. They’re her recipe at heart—the same sage, the same onions, the same slightly-too-much-butter—but baked into perfect little portions that don’t need a knife or a serving spoon. They’re crispy on top, tender in the middle, and they made me realize that maybe I could carry her tradition forward in my own way. Maybe you’ve been there, trying to honor a loved one’s dish while making it your own. These muffins are that bridge.
Why You’ll Love This Recipe
Let’s be real—Thanksgiving dinner is a logistical beast. You’ve got a turkey hogging the oven, three different casseroles vying for space, and hungry guests circling the kitchen like sharks. Traditional stuffing is wonderful, but it’s also a pain to serve without making a mess of the table. These Easy Individual Stuffing Muffins for a Crowd solve that problem in the most delicious way possible.
- Quick & Easy: From start to finish, you’re looking at about 45 minutes. That’s faster than most side dishes, and you don’t have to babysit a big casserole dish.
- Simple Ingredients: Nothing fancy here. Stale bread, onions, celery, butter, broth, and herbs. You probably have everything in your pantry right now.
- Perfect for Weeknights or Holidays: I’ve made these on a random Tuesday with leftover rotisserie chicken, and they were just as good as they were at Thanksgiving. They’re versatile like that.
- Crowd-Pleaser: Kids love the muffin shape. Adults love the crispy edges. Everyone loves that they get their own personal portion—no fighting over the corner pieces.
- Unbelievably Delicious: The texture is what gets me every time. The outside gets golden and slightly crunchy, while the inside stays soft and almost custard-like from the broth. It’s next-level comfort food in a handheld form.
What makes these different from every other stuffing recipe out there? It’s the method. By baking them in a muffin tin, you maximize the surface area for browning. More crispy bits per bite. Plus, portion control is built right in—no guessing how much to scoop onto your plate. I’ve tested this recipe with four different types of bread, two kinds of broth, and even a gluten-free version. This is the version that works every single time. It’s not just another stuffing recipe. It’s your new go-to.
What Ingredients You Will Need
This recipe uses simple, honest ingredients that come together to create something truly special. Most of these are pantry staples, especially if you cook during the fall and winter months. Here’s what you’ll need to grab:
For the Stuffing Muffins
- 12 cups stale bread cubes (about 1 loaf of French bread or sourdough, cut into ½-inch cubes) — Day-old bread works best because it absorbs the broth without turning to mush. If your bread is fresh, spread the cubes on a baking sheet and toast them at 300°F for 10 minutes.
- ½ cup unsalted butter (1 stick) — I use Kerrygold for the rich flavor, but any good unsalted butter works. Salted butter will make the final dish too salty, so stick with unsalted.
- 1 large yellow onion, diced (about 2 cups) — Yellow onions have the right balance of sweetness and bite. White onions are too sharp; red onions are too sweet.
- 3 celery stalks, diced (about 1½ cups) — Celery adds that essential crunch and freshness. Don’t skip it, even if you’re not a celery fan. It melts into the background.
- 3 cloves garlic, minced — Fresh garlic is non-negotiable here. The jarred stuff has a different flavor that doesn’t play as nicely with the herbs.
- 2 teaspoons dried sage — This is the soul of the recipe. If you can find fresh sage, use 1 tablespoon chopped. But dried works beautifully here.
- 1½ teaspoons dried thyme — Thyme adds an earthy, slightly floral note that complements the sage.
- 1 teaspoon dried rosemary — Crush it between your fingers before adding to release the oils.
- 1 teaspoon kosher salt — I prefer Diamond Crystal for its clean taste. If using table salt, reduce to ¾ teaspoon.
- ½ teaspoon black pepper — Freshly ground is worth the extra five seconds.
- 2 cups low-sodium chicken or vegetable broth — Low-sodium is key here because the bread absorbs the liquid and concentrates the salt. You can always add more salt later, but you can’t take it out.
- 2 large eggs, lightly beaten — Eggs bind the stuffing and give it that tender, almost custardy interior. For a vegan version, use 2 flax eggs (2 tablespoons ground flaxseed mixed with 6 tablespoons water).
- ½ cup fresh parsley, chopped (optional but recommended) — Adds a pop of color and freshness right at the end.
For the Pan
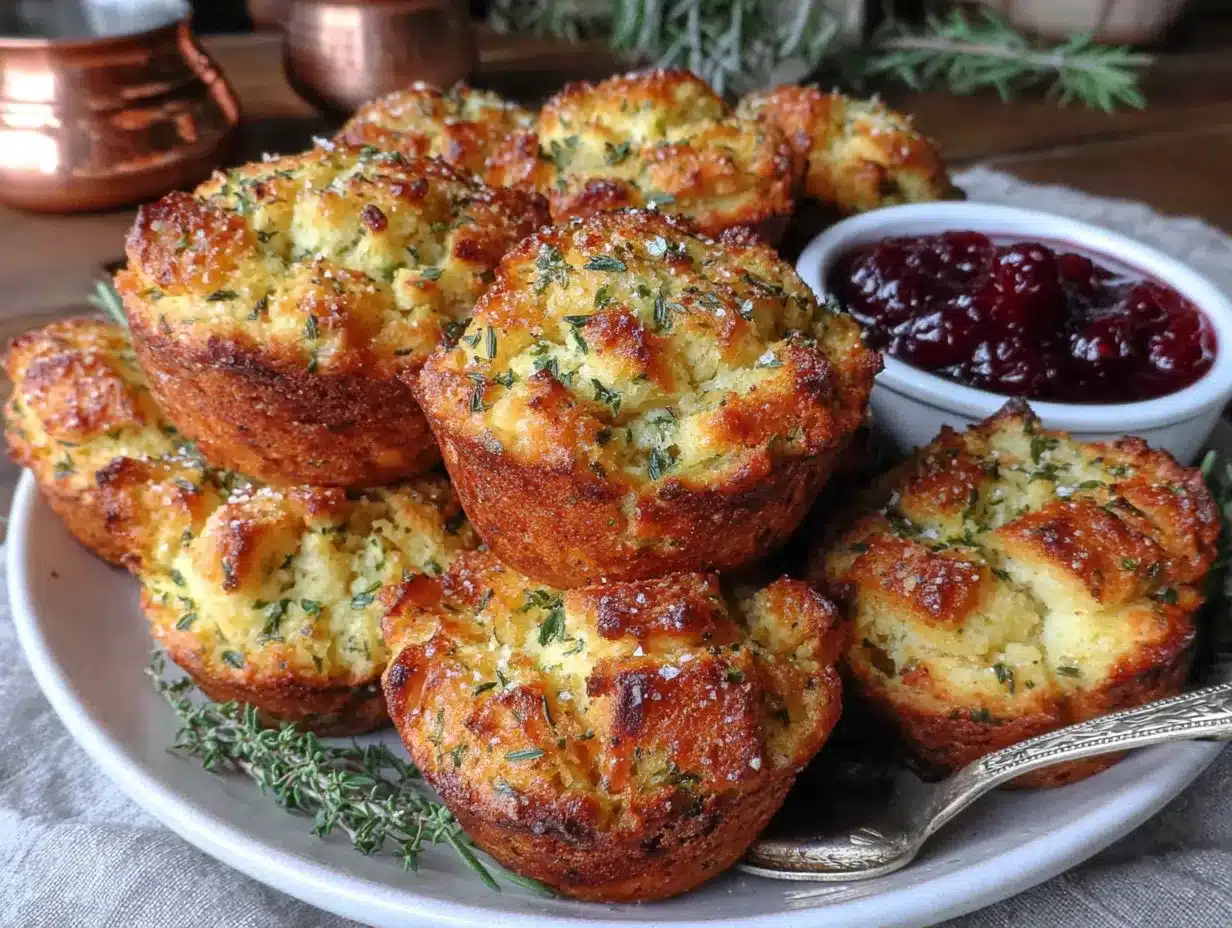
- Non-stick cooking spray or softened butter — Don’t skip greasing the muffin tin, even if it’s non-stick. These muffins like to hold on.
Ingredient Selection Tips: For the best texture, use a sturdy bread like French bread, sourdough, or a good Italian loaf. Avoid soft sandwich bread—it will turn into paste. If you’re feeling ambitious, try using cornbread for a Southern twist. I’ve done that with great results, just reduce the broth to 1½ cups since cornbread is more delicate.
Equipment Needed
You don’t need a fancy kitchen to pull these off. Here’s what you’ll need:
- 12-cup standard muffin tin — This is the star of the show. A non-stick tin works best, but a regular one will do with enough greasing.
- Large skillet — For sautéing the vegetables. A 12-inch skillet gives you plenty of room.
- Large mixing bowl — Big enough to hold all the bread cubes without spilling over.
- Whisk — For beating the eggs and broth together.
- Rubber spatula — For gently folding everything together without crushing the bread.
- Cooling rack — Lets the muffins cool evenly and keeps the bottoms from getting soggy.
Budget-Friendly Options: If you don’t have a muffin tin, you can bake this in a standard 9×13-inch baking dish. Just spread the stuffing evenly and bake for 35-40 minutes. You won’t get the crispy edges on every bite, but it’ll still taste amazing. I’ve also used a jumbo muffin tin with great results—just increase the baking time by 5-7 minutes.
Personal Experience: I learned the hard way that you really need to grease the muffin tin well. The first time I made these, I used a light spray and ended up with half the muffins stuck in the pan. Now I use a pastry brush to coat every nook and cranny with softened butter. It makes all the difference, and the butter adds a little extra flavor to the crispy edges.
Preparation Method
Alright, let’s get cooking. This recipe moves quickly once you start, so have everything prepped and measured before you turn on the stove. Trust me on this one.
- Preheat your oven to 375°F (190°C). Position the rack in the center of the oven. While it’s heating, generously grease a 12-cup muffin tin with butter or non-stick spray. Don’t be shy here—those crispy edges are worth the extra effort.
- In a large skillet, melt the butter over medium heat. Once it’s foamy (about 2 minutes), add the diced onion and celery. Cook, stirring occasionally, for 6-8 minutes until the vegetables are soft and translucent. You’re not looking for color here—just tenderness. Add the minced garlic and cook for another 30 seconds until fragrant. Your kitchen should smell like the best Thanksgiving ever.
- While the vegetables cook, place the bread cubes in a large mixing bowl. If your bread isn’t stale, spread the cubes on a baking sheet and toast them in the preheating oven for 8-10 minutes. Let them cool for a few minutes before adding to the bowl.
- Pour the cooked vegetable mixture over the bread cubes. Add the dried sage, thyme, rosemary, salt, and pepper. Toss everything gently with a rubber spatula until the bread is evenly coated in the buttery vegetables. Be gentle—you don’t want to break the bread into crumbs.
- In a separate small bowl, whisk together the broth and beaten eggs. Pour this mixture over the bread and vegetables. Fold gently until all the liquid is absorbed. The bread should look moist but not soupy. If it looks dry, add another ¼ cup of broth. If it looks too wet, let it sit for 5 minutes—the bread will absorb more liquid as it rests.
- Let the mixture sit for 10 minutes. This is the most important step. The bread needs time to soak up all that flavorful liquid. During this time, the texture transforms from dry cubes into something that will bake up tender and custard-like. Resist the urge to skip this—I’ve done it, and the muffins came out dry.
- Divide the stuffing mixture evenly among the 12 muffin cups. Use a spoon or a cookie scoop to portion it out. Press the mixture down gently with the back of the spoon to pack it in. Don’t overpack—you want some air pockets for texture—but do make sure each cup is full.
- Bake for 20-25 minutes until the tops are golden brown and the edges are crispy. You’ll know they’re done when a toothpick inserted into the center comes out clean and the tops feel firm to the touch. If you like extra-crispy tops, broil for 1-2 minutes at the end. Watch them closely—broilers work fast.
- Let the muffins cool in the pan for 5 minutes. This allows them to set and makes them easier to remove. Run a knife around the edges of each muffin to loosen it, then gently lift them out. Transfer to a cooling rack if you’re serving them later, or serve directly from the pan if you’re eating right away.
- Sprinkle with fresh parsley just before serving. It adds a pop of color and a fresh note that balances the rich, savory flavors.
Cooking Tips & Techniques
I’ve made this recipe more times than I can count, and I’ve learned a few things along the way. Here are my best tips for perfect stuffing muffins every time:
Don’t overmix the stuffing. I know it’s tempting to stir vigorously to make sure everything is combined, but that will break the bread into crumbs. Use a gentle folding motion, like you’re making a salad. You want distinct pieces of bread that hold their shape.
Toast your bread if it’s fresh. Fresh bread will turn into a soggy mess. If you don’t have day-old bread, spread the cubes on a baking sheet and toast at 300°F for 10-12 minutes. They should be dry but not browned. This step is non-negotiable for the right texture.
Use a cookie scoop for even portions. A #20 cookie scoop (about 3 tablespoons) is perfect for filling the muffin cups evenly. It makes the process faster and ensures each muffin is the same size, so they bake evenly. If you don’t have one, use a ¼-cup measuring cup.
The resting time is crucial. I cannot stress this enough. Letting the mixture sit for 10 minutes before baking allows the bread to absorb the liquid fully. If you skip this, the muffins will be dry on the inside and the liquid will pool at the bottom of the pan. I learned this the hard way during a stressful Thanksgiving prep—never again.
Make ahead tip: You can assemble the stuffing mixture up to 24 hours in advance. Just prepare the recipe through step 5, cover the bowl with plastic wrap, and refrigerate. When you’re ready to bake, let it sit at room temperature for 20 minutes, then proceed with filling the muffin tin and baking. Add 5 minutes to the baking time since the mixture starts cold.
Multitasking strategy: While the vegetables are cooking, cube your bread and measure your herbs. While the mixture rests, clean up your workspace or prep your other dishes. This recipe is forgiving enough that you can work on other things while it bakes.
Variations & Adaptations
One of the best things about this recipe is how adaptable it is. Here are some of my favorite variations:
Cornbread Stuffing Muffins: Swap the French bread for 6 cups of crumbled cornbread. Reduce the broth to 1½ cups since cornbread is more absorbent. Bake for 18-22 minutes. These are perfect for a Southern-style Thanksgiving or alongside chili.
Sausage & Apple Stuffing Muffins: Brown 1 pound of breakfast sausage in the skillet before cooking the vegetables. Remove the sausage and set it aside. Proceed with the recipe, adding the cooked sausage back in with the bread cubes. Add 1 diced apple (Granny Smith or Honeycrisp) along with the celery. The sweetness of the apple balances the savory sausage beautifully.
Mushroom & Leek Version: Replace the celery with 2 cups of sliced cremini mushrooms and 1 large leek (white and light green parts only, cleaned well). Cook the leek first for 4 minutes, then add the mushrooms and cook until they release their liquid and start to brown. This version is earthy and elegant—perfect for a vegetarian holiday table.
Gluten-Free Adaptation: Use a good-quality gluten-free bread. I’ve had the best luck with Udi’s or Schar. Toast the cubes until they’re very dry—gluten-free bread needs extra drying to avoid a gummy texture. Use gluten-free broth and check that your spices are certified gluten-free. Everything else in the recipe is naturally gluten-free.
Vegan Version: Use olive oil or vegan butter instead of butter. Replace the eggs with 2 flax eggs (2 tablespoons ground flaxseed mixed with 6 tablespoons water, let sit for 5 minutes). Use vegetable broth instead of chicken broth. The texture will be slightly less custard-like, but still delicious.
Spicy Kick: Add ½ teaspoon of red pepper flakes along with the dried herbs. Or stir in 1 diced jalapeño (seeds removed unless you want heat) with the onions. This is my personal favorite when I want a little warmth on a cold night.
Serving & Storage Suggestions
These stuffing muffins are incredibly versatile when it comes to serving. Here’s how to make the most of them:
Serving Temperature: Serve them warm, straight from the oven. The contrast between the crispy exterior and the soft interior is best within 15 minutes of baking. If you need to hold them, keep them in a warm oven (200°F) for up to 30 minutes.
Presentation Ideas: Arrange the muffins on a large platter lined with fresh sage leaves or rosemary sprigs. Sprinkle with extra fresh parsley for color. For a holiday table, place them in a basket lined with a cloth napkin—they look rustic and inviting.
What to Serve With Them: These muffins are perfect alongside roasted turkey or chicken, but they also shine with pork chops, roast beef, or even a simple green salad. For a weeknight dinner, I’ll serve them with pan-seared chicken thighs and a quick gravy. They’re also fantastic with a bowl of creamy tomato soup for dipping.
Storage Instructions: Store leftover muffins in an airtight container in the refrigerator for up to 4 days. I like to layer them with parchment paper so they don’t stick together. The flavors actually deepen overnight, so leftovers are often even better the next day.
Freezer Instructions: These freeze beautifully. Let the muffins cool completely, then place them on a baking sheet and freeze for 1 hour until solid. Transfer to a freezer-safe bag or container. They’ll keep for up to 3 months. To reheat, place frozen muffins on a baking sheet and warm in a 350°F oven for 12-15 minutes, or until heated through. You can also microwave them for 45-60 seconds, but the texture won’t be as crispy.
Reheating Tips: For the best texture, reheat in the oven or an air fryer. The air fryer at 350°F for 5-6 minutes is my go-to method—it restores the crispy edges perfectly. If you’re in a rush, the microwave works, but the muffins will be softer.
Flavor Development: Here’s a secret—these muffins are actually better the next day. The flavors meld and deepen overnight. If you’re planning a big meal, make them a day ahead, refrigerate, and reheat just before serving. Your guests will never know they weren’t made fresh.
Nutritional Information & Benefits
While stuffing is traditionally seen as a indulgent side dish, these muffins offer some surprising nutritional benefits. Here’s the breakdown per muffin (based on 12 servings):
| Nutrient | Amount |
|---|---|
| Calories | 185 |
| Total Fat | 9g |
| Saturated Fat | 5g |
| Cholesterol | 48mg |
| Sodium | 410mg |
| Total Carbohydrates | 21g |
| Dietary Fiber | 2g |
| Total Sugars | 3g |
| Protein | 5g |
| Vitamin A | 8% DV |
| Vitamin C | 6% DV |
| Calcium | 4% DV |
| Iron | 8% DV |
Health Benefits: The celery and onions provide a good dose of vitamin K and antioxidants. Sage is known for its anti-inflammatory properties and has been used in traditional medicine for centuries. Using low-sodium broth helps keep the sodium in check, and you can further reduce it by using no-salt-added broth.
Dietary Considerations: This recipe can be made gluten-free, dairy-free, and vegan with simple substitutions (see Variations section). It’s naturally nut-free and egg-free if you use the flax egg option. For a lower-carb version, use cauliflower rice instead of bread—though I’ll be honest, it’s not quite the same texture.
Personal Wellness Perspective: I love that these muffins let me enjoy comfort food without overdoing it. The built-in portion control means I can have one or two and feel satisfied. Plus, the whole-grain version (using whole wheat bread) adds extra fiber, making it a more balanced side dish.
Conclusion
These Easy Individual Stuffing Muffins for a Crowd have become my signature contribution to every holiday gathering, potluck, and cozy weeknight dinner. They’re everything I love about traditional stuffing—the sage, the butter, the tender bread—but in a form that’s easier to serve, easier to store, and honestly, more fun to eat. The crispy edges and soft centers remind me of Aunt Clara’s kitchen, but with a twist that’s entirely my own.
I hope you’ll give these a try, whether it’s for a big Thanksgiving feast or a simple Tuesday dinner. Play around with the variations, make them your own, and don’t be afraid to double the batch—they disappear fast. I’d love to hear how they turn out for you. Drop a comment below and let me know your favorite variation, or tag me in your photos on social media. Happy cooking, friends. You’ve got this.
Frequently Asked Questions
Can I use fresh bread instead of stale bread?
Yes, but you’ll need to dry it out first. Spread fresh bread cubes on a baking sheet and toast at 300°F for 10-12 minutes until dry but not browned. This prevents the stuffing from becoming soggy.
Can I make these ahead of time?
Absolutely. You can assemble the mixture up to 24 hours in advance and refrigerate it. When ready to bake, let it sit at room temperature for 20 minutes, then fill the muffin tin and bake, adding 5 minutes to the baking time.
How do I keep the muffins from sticking to the pan?
Grease the muffin tin generously with softened butter or non-stick spray. I use a pastry brush to get into all the crevices. Let the muffins cool in the pan for 5 minutes before removing, and run a knife around the edges if needed.
Can I freeze these stuffing muffins?
Yes! Let them cool completely, freeze on a baking sheet for 1 hour, then transfer to a freezer bag. They’ll keep for up to 3 months. Reheat in a 350°F oven for 12-15 minutes or in an air fryer at 350°F for 5-6 minutes.
What’s the best bread to use for this recipe?
A sturdy bread like French bread, sourdough, or Italian bread works best. Avoid soft sandwich bread—it will turn into paste. Day-old bread is ideal because it’s already dry and will absorb the broth perfectly.
Pin This Recipe!
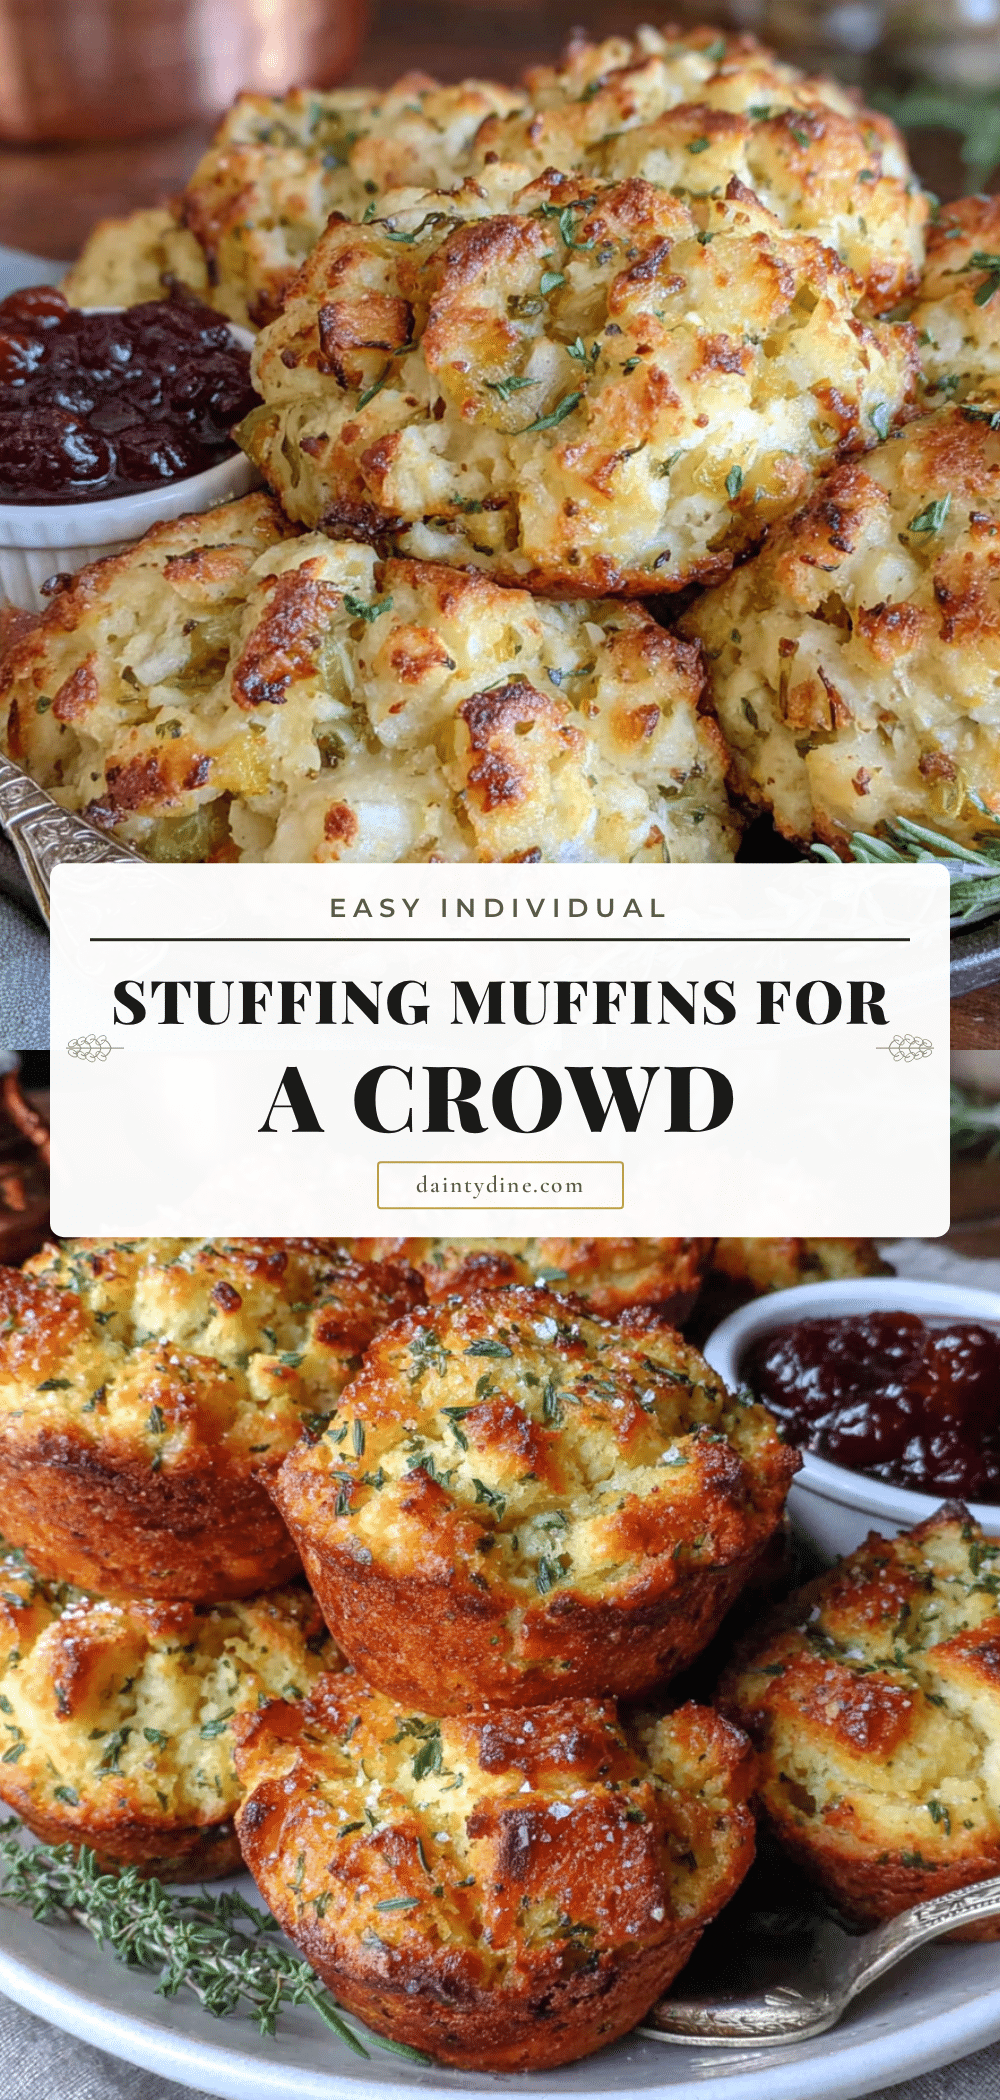
Easy Individual Stuffing Muffins for a Crowd

These individual stuffing muffins are crispy on top, tender in the middle, and perfect for holidays or weeknight dinners. Made with simple ingredients like stale bread, onions, celery, butter, broth, and herbs, they offer built-in portion control and maximum crispy edges.
- Prep Time: 15 minutes
- Cook Time: 25 minutes
- Total Time: 45 minutes
- Yield: 12 servings 1x
- Category: Side Dish
- Cuisine: American
Ingredients
- 12 cups stale bread cubes (about 1 loaf of French bread or sourdough, cut into ½-inch cubes)
- ½ cup unsalted butter (1 stick)
- 1 large yellow onion, diced (about 2 cups)
- 3 celery stalks, diced (about 1½ cups)
- 3 cloves garlic, minced
- 2 teaspoons dried sage
- 1½ teaspoons dried thyme
- 1 teaspoon dried rosemary
- 1 teaspoon kosher salt
- ½ teaspoon black pepper
- 2 cups low-sodium chicken or vegetable broth
- 2 large eggs, lightly beaten
- ½ cup fresh parsley, chopped (optional)
- Non-stick cooking spray or softened butter (for greasing the pan)
Instructions
- Preheat your oven to 375°F (190°C). Position the rack in the center of the oven. Generously grease a 12-cup muffin tin with butter or non-stick spray.
- In a large skillet, melt the butter over medium heat. Once foamy (about 2 minutes), add the diced onion and celery. Cook, stirring occasionally, for 6-8 minutes until soft and translucent. Add the minced garlic and cook for another 30 seconds until fragrant.
- While the vegetables cook, place the bread cubes in a large mixing bowl. If your bread isn’t stale, spread the cubes on a baking sheet and toast them in the preheating oven for 8-10 minutes. Let cool for a few minutes before adding to the bowl.
- Pour the cooked vegetable mixture over the bread cubes. Add the dried sage, thyme, rosemary, salt, and pepper. Toss gently with a rubber spatula until the bread is evenly coated.
- In a separate small bowl, whisk together the broth and beaten eggs. Pour this mixture over the bread and vegetables. Fold gently until all the liquid is absorbed. The bread should look moist but not soupy.
- Let the mixture sit for 10 minutes to allow the bread to absorb the liquid.
- Divide the stuffing mixture evenly among the 12 muffin cups. Press the mixture down gently with the back of a spoon to pack it in, but don’t overpack.
- Bake for 20-25 minutes until the tops are golden brown and the edges are crispy. If you like extra-crispy tops, broil for 1-2 minutes at the end.
- Let the muffins cool in the pan for 5 minutes. Run a knife around the edges of each muffin to loosen it, then gently lift them out.
- Sprinkle with fresh parsley just before serving.
Notes
For the best texture, use day-old sturdy bread like French bread or sourdough. Don’t skip the 10-minute resting time—it’s crucial for the bread to absorb the liquid. Grease the muffin tin generously to prevent sticking. These can be assembled up to 24 hours in advance and refrigerated. They freeze beautifully for up to 3 months.
Nutrition
- Serving Size: 1 muffin
- Calories: 185
- Sugar: 3
- Sodium: 410
- Fat: 9
- Saturated Fat: 5
- Carbohydrates: 21
- Fiber: 2
- Protein: 5
Keywords: stuffing muffins, individual stuffing, Thanksgiving side dish, easy stuffing recipe, holiday side dish, bread stuffing, sage stuffing