Love this? Save it for later!
Share the inspiration with your friends
This was supposed to be a gingerbread house. I mean, a proper one—the kind with structural walls, a roof that doesn’t sag, and gumdrop shingles. I had the template printed, the royal icing recipe memorized, and a whole Saturday afternoon carved out. But somewhere between “let’s make this fun” and “why is the dough cracking,” I grabbed the wrong measuring cup. Instead of the half-cup for flour, I used the one for—wait for it—buttermilk. I dumped it in before I realized what I’d done. The dough turned into this sticky, impossible mess that would never hold a wall upright. I sat there, staring at the bowl, already picturing the ruined afternoon and the disappointed faces at the holiday party later that week. Honestly, I almost threw the whole thing in the trash. But I figured, what’s the worst that could happen? I added a bit more flour, a touch more spice, and baked them as cookies instead. The kitchen smelled like Christmas threw up in the best way. And when I bit into one—still warm, slightly domed, with that crackly top—I knew I’d stumbled onto something better than my original plan. Maybe you’ve been there, standing over a bowl of something gone sideways, wondering if you should start over. Don’t. These cookies became the thing everyone asks for now, and I never would have found them if I hadn’t messed up first.
Why You’ll Love This Recipe
Let me tell you why these cookies have earned a permanent spot in my holiday rotation and honestly, my year-round baking stash.
- Perfectly Soft Every Time: These cookies stay tender for days. No crunchy edges, no sad, dry texture. Just that pillowy, melt-in-your-mouth softness that makes gingerbread cookies actually worth eating.
- Simple Pantry Ingredients: You probably have most of this already. Molasses, butter, sugar, flour, and spices. No weird specialty items that require a trip to three different stores.
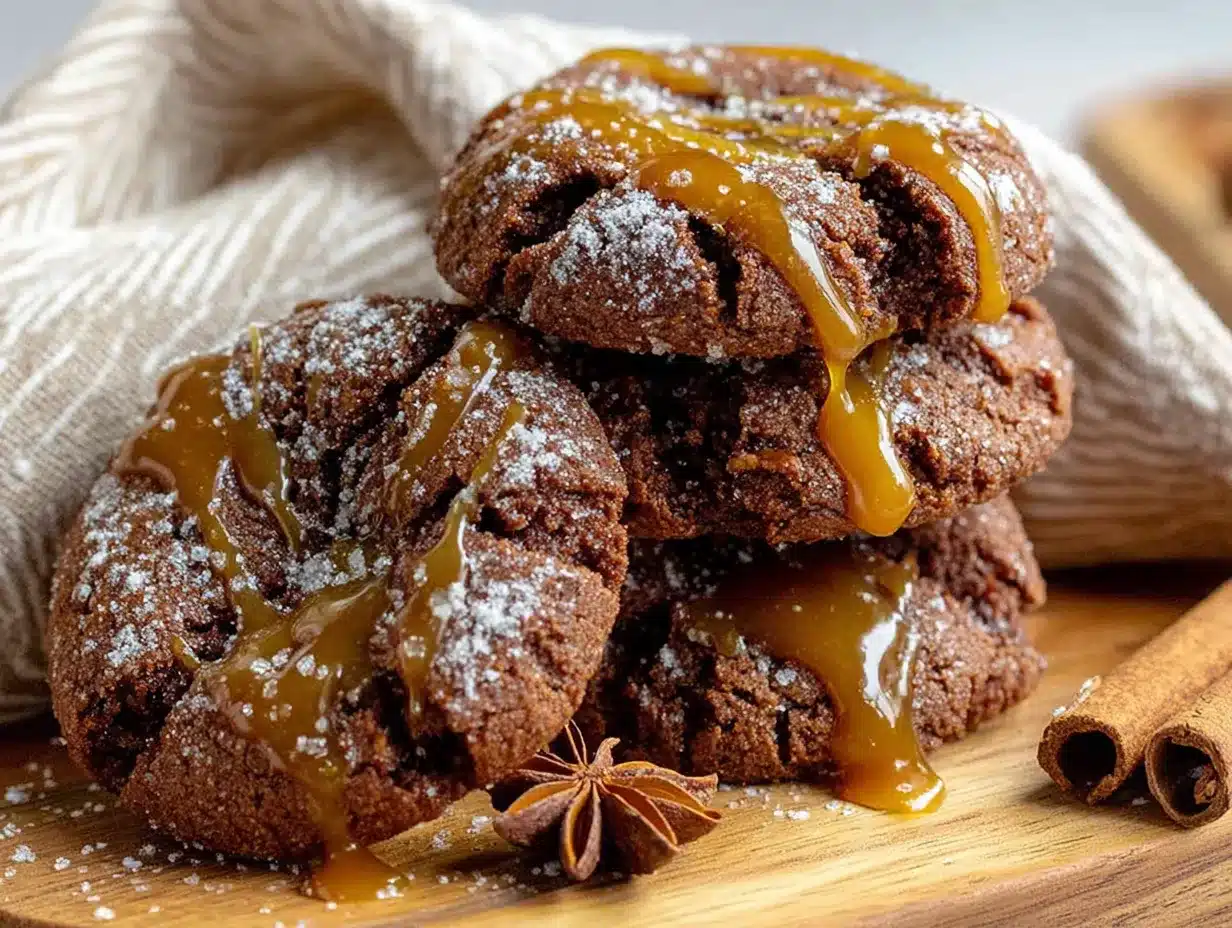
- Ideal for Holiday Gatherings: Bring these to a cookie swap, a dinner party, or a festive brunch, and watch them disappear. They look impressive with that glossy molasses glaze, but they’re secretly low-stress to make.
- Crowd-Pleaser Across Ages: Kids love the sweetness. Adults appreciate the warm spice kick. Even my aunt who “doesn’t do dessert” had two.
- Unbelievably Delicious Flavor: The molasses glaze isn’t just pretty—it adds this deep, almost caramel-like richness that takes the gingerbread from good to unforgettable.
What makes this recipe different from every other gingerbread cookie out there? It’s the texture, plain and simple. Most recipes give you either a rock-hard cookie that snaps or a flat, spread-out mess. This one has a specific ratio of butter to molasses and a resting time that lets the flour fully hydrate, creating that signature softness without any weird tricks. I tested this six times before I got it right—the first batch was too cakey, the second too thin. This version? It’s the Goldilocks of gingerbread cookies.
This recipe isn’t just good—it’s the kind that makes you close your eyes after the first bite. It’s holiday comfort reimagined, with the same soul-soothing satisfaction you remember from childhood but with a texture that actually delivers.
What Ingredients You Will Need
This recipe uses simple, wholesome ingredients to deliver that bold gingerbread flavor and irresistibly soft texture. Most of these are pantry staples, which makes these cookies perfect for last-minute holiday baking or a spontaneous sweet craving.
For the Gingerbread Cookies
- 3 cups (375g) all-purpose flour (spooned and leveled—don’t scoop directly from the bag or you’ll pack in too much)
- 1 teaspoon baking soda (fresh is key; check the expiration date)
- 2 teaspoons ground ginger (I prefer Simply Organic for its bold, peppery kick)
- 1 ½ teaspoons ground cinnamon
- ½ teaspoon ground cloves
- ½ teaspoon ground nutmeg (freshly grated if you have it—worth the extra 30 seconds)
- ½ teaspoon salt (fine sea salt works best)
- ¾ cup (1 ½ sticks / 170g) unsalted butter, softened to room temperature (not melted, not cold—softened so it creams properly)
- ¾ cup (150g) packed dark brown sugar (light brown works too, but dark gives deeper molasses notes)
- ½ cup (170g) unsulphured molasses (do not use blackstrap molasses here—it’s too bitter and will make the cookies tough)
- 1 large egg, room temperature
- 1 teaspoon vanilla extract
For the Molasses Glaze
- 1 cup (120g) powdered sugar, sifted (sifting prevents lumps in the glaze)
- 2 tablespoons unsulphured molasses
- 1 to 2 tablespoons milk or heavy cream (start with 1 tablespoon and add more if needed for drizzling consistency)
- ¼ teaspoon vanilla extract (optional but adds a nice warmth)
Ingredient Tips from My Kitchen
For the molasses, I always reach for Grandma’s Molasses or Brer Rabbit—they’re reliable and widely available. If you’re substituting the butter with a dairy-free option, use a high-quality vegan butter stick (not the spreadable kind in a tub) for the best texture. And here’s something I learned the hard way: dark brown sugar makes a noticeable difference here. Light brown sugar works in a pinch, but the cookies won’t have quite the same deep, almost toffee-like flavor. Trust me on this one.
Equipment Needed
You don’t need a professional bakery setup for these cookies, but having the right tools makes the process smoother. Here’s what you’ll need:
- Electric mixer (stand mixer or hand mixer—I’ve used both, and either works fine)
- Large mixing bowls (at least two)
- Whisk (for combining dry ingredients)
- Rubber spatula (for scraping down the bowl and folding the dough)
- Measuring cups and spoons (dry and liquid sets)
- Baking sheets (I recommend heavy-duty aluminum sheets for even baking)
- Parchment paper or silicone baking mats (parchment paper is cheaper and works just as well)
- Wire cooling rack (essential for the glaze to set properly)
- 2-inch round cookie cutter (or any shape you like—these work great as cutouts)
- Small offset spatula (for spreading the glaze, though a butter knife works too)
If you don’t have a cookie cutter, you can use the rim of a drinking glass. Just dip it in flour first to prevent sticking. And if you’re using a silicone baking mat, reduce the baking time by about 1 minute since they conduct heat differently.
Preparation Method
Step 1: Mix the Dry Ingredients
In a medium bowl, whisk together the 3 cups of all-purpose flour, 1 teaspoon baking soda, 2 teaspoons ground ginger, 1 ½ teaspoons cinnamon, ½ teaspoon cloves, ½ teaspoon nutmeg, and ½ teaspoon salt. Whisk for about 20 seconds to evenly distribute the spices and leavening agent. Set this aside.
Step 2: Cream the Butter and Sugar
In a large mixing bowl, beat the ¾ cup softened unsalted butter with the ¾ cup packed dark brown sugar on medium speed for 3 to 4 minutes. You want it light and fluffy—scrape the sides of the bowl halfway through. The mixture should look pale and almost airy. This step is where the texture starts coming together, so don’t rush it.
Step 3: Add Wet Ingredients
Add the ½ cup molasses, 1 large egg, and 1 teaspoon vanilla extract to the creamed butter mixture. Beat on medium-low until fully combined. The mixture might look slightly separated at this point—that’s normal. Scrape the bowl again to make sure everything is incorporated.
Step 4: Combine Wet and Dry
Gradually add the flour mixture to the wet ingredients, mixing on low speed. I add it in three additions, mixing just until the flour disappears before adding more. Once all the flour is in, you’ll have a soft, slightly sticky dough. Don’t overmix here—stop as soon as you don’t see any more white streaks. Overmixing develops gluten and makes the cookies tough.
Step 5: Chill the Dough
This step is non-negotiable. Divide the dough in half, flatten each half into a disc about 1-inch thick, wrap tightly in plastic wrap, and refrigerate for at least 2 hours. I know it’s tempting to skip this, but warm dough spreads into flat, sad cookies. Chilling firms up the butter and allows the flour to fully hydrate, which gives you that perfect soft, thick texture. I once tried baking after only 30 minutes of chilling—the cookies spread into thin, crispy discs. Learn from my mistake.
Step 6: Preheat and Prep
Preheat your oven to 350°F (175°C). Line two baking sheets with parchment paper or silicone mats. Remove one disc of dough from the fridge and let it sit at room temperature for 5 minutes—this makes it easier to roll without cracking.
Step 7: Roll and Cut
On a lightly floured surface, roll the dough to about ¼-inch thickness. I use a rolling pin with thickness rings, but if you don’t have those, visual cues work: the dough should be thick enough that you can see the outline of your hand through it but not thin enough to see every finger clearly. Cut out shapes using your cookie cutter and place them 2 inches apart on the prepared baking sheets. Gather the scraps, gently press them together, and re-roll once. Re-rolling more than once can make the cookies tough.
Step 8: Bake
Bake for 9 to 11 minutes. The cookies should look set around the edges but still soft and slightly puffed in the center. They will not look “done” in the traditional sense—that’s the secret. If you wait until they look fully baked, they’ll be overdone. Remove from the oven and let them cool on the baking sheet for 5 minutes. This allows them to set without overbaking. Then transfer to a wire rack to cool completely before glazing.
Step 9: Make the Molasses Glaze
In a small bowl, whisk together the 1 cup sifted powdered sugar, 2 tablespoons molasses, 1 tablespoon milk or heavy cream, and ¼ teaspoon vanilla extract. Whisk until smooth. If the glaze is too thick to drizzle, add another ½ tablespoon of milk. If it’s too thin, add a bit more powdered sugar. You want it to flow slowly off the whisk in a thick ribbon.
Step 10: Glaze the Cookies
Once the cookies are completely cool, drizzle the glaze over them using a spoon or a small offset spatula. I like to let it drip naturally over the edges for that rustic, bakery-style look. Let the glaze set for at least 30 minutes before stacking or storing. If you’re impatient like me, you can pop them in the fridge for 15 minutes to speed things up.
Cooking Tips & Techniques
Here are the things I wish someone had told me before my first attempt at soft gingerbread cookies.
Don’t overbake. This is the number one mistake people make. These cookies need to come out of the oven when they still look slightly underdone in the center. The carryover heat finishes the baking process on the sheet. I ruined my first two batches by leaving them in “just one more minute.” That minute turned soft cookies into hockey pucks.
Use room temperature ingredients. Cold egg or cold butter won’t cream properly with the sugar, and you’ll end up with a dense, greasy dough. Let your egg sit on the counter for 30 minutes before starting. For the butter, 45 minutes to an hour is usually enough.
Measure flour correctly. Spoon the flour into your measuring cup and level it off with a knife. Scooping directly from the bag can add up to 25% more flour, which makes dry, crumbly cookies. I learned this the hard way when my cookies turned out like sand.
Chill the dough thoroughly. Two hours minimum. Overnight is even better. The dough develops more flavor as it rests, and the cookies spread less. I’ve baked batches with 2-hour chill time and 24-hour chill time side by side—the overnight batch was noticeably thicker and more flavorful.
Bake one sheet at a time. If you crowd the oven with two sheets, the heat circulates unevenly and your cookies will bake at different rates. If you must bake two sheets, rotate them halfway through and swap the racks.
Variations & Adaptations
These cookies are forgiving and easy to adapt. Here are some variations I’ve tried and loved:
Gluten-Free Version
Substitute the all-purpose flour with a 1:1 gluten-free baking flour blend (I use King Arthur Measure for Measure). Add ¼ teaspoon xanthan gum if your blend doesn’t already include it. The texture will be slightly more tender, but the flavor stays spot-on.
Spice It Up or Down
If you want a milder cookie, reduce the ginger to 1 teaspoon and skip the cloves. For a bolder, spicier kick, add ¼ teaspoon of black pepper and an extra ½ teaspoon of ginger. My neighbor swears by adding a pinch of cayenne—she says it makes the molasses flavor pop.
Vegan Adaptation
Use a flax egg (1 tablespoon ground flaxseed mixed with 3 tablespoons water, let sit for 5 minutes) and substitute the butter with vegan butter sticks. For the glaze, use plant-based milk. I tested this version for a friend’s holiday party, and honestly, no one could tell the difference.
Cookie Sandwiches
Skip the glaze and sandwich two cookies with a cream cheese frosting or a spiced buttercream. It transforms them into a decadent dessert that feels completely different from the original.
Gingerbread Ice Cream Sandwiches
Bake the cookies slightly thinner (roll to ⅛-inch thickness) and use them as the “bread” for vanilla or cinnamon ice cream. Roll the edges in crushed gingersnaps for extra crunch. This is my personal favorite summer variation.
Serving & Storage Suggestions
These cookies are best served at room temperature with a cold glass of milk or a hot cup of spiced chai. For holiday gatherings, arrange them on a platter with fresh cranberries and rosemary sprigs for a festive look. They also pair beautifully with mulled wine or a dark stout beer.
Storage: Store the glazed cookies in an airtight container at room temperature for up to 5 days. Place a slice of bread in the container—it absorbs excess air and keeps the cookies soft. Replace the bread slice every other day. I know it sounds weird, but it works like magic.
Freezing: You can freeze the baked, unglazed cookies for up to 3 months. Wrap them tightly in plastic wrap and place in a freezer-safe bag. Thaw at room temperature, then glaze fresh. You can also freeze the dough discs for up to 3 months—just thaw overnight in the fridge before rolling and baking.
Reheating: Pop a cookie in the microwave for 8 to 10 seconds to bring back that fresh-from-the-oven softness. Don’t overdo it, or the glaze will melt into a sticky puddle.
Flavor Development: Here’s something interesting—these cookies actually taste better on day two. The spices mellow and meld together overnight, creating a more rounded flavor. If you can resist eating them all on day one, you’re in for a treat.
Nutritional Information & Benefits
Per cookie (based on 24 cookies with glaze): approximately 175 calories, 7g fat, 27g carbohydrates, 2g protein, 15g sugar, and 1g fiber.
While these are definitely a treat, the molasses brings some surprising benefits. Molasses is a good source of iron, calcium, and magnesium—nutrients that support energy levels and bone health. The ginger and cinnamon in these cookies also have anti-inflammatory properties and can aid digestion. I like to think of these as a slightly more nutritious indulgence compared to plain sugar cookies.
Dietary Considerations: This recipe contains wheat (gluten), dairy, and eggs. For gluten-free and vegan adaptations, see the Variations section above. The cookies are nut-free as written, making them safe for school events and parties.
Conclusion
These soft gingerbread cookies with molasses glaze are the kind of recipe that makes you look like a baking hero without actually having to work that hard. They’re forgiving, adaptable, and absolutely delicious—the perfect addition to any holiday gathering or cozy winter evening. I’ve made these for cookie swaps, dinner parties, and even just a random Tuesday when I needed something sweet, and they’ve never let me down.
I hope you give these a try and make them your own. Maybe you’ll add extra ginger like my neighbor, or turn them into ice cream sandwiches like I do in July. Whatever you do, don’t be afraid to mess up—sometimes the best recipes come from the biggest mistakes. If you make these, I’d love to hear how they turned out. Drop a comment below, share a photo, or tell me about your own baking disaster that turned into something amazing.
Happy baking, and may your kitchen always smell like gingerbread.
Frequently Asked Questions
Can I use blackstrap molasses instead of regular molasses?
I don’t recommend it. Blackstrap molasses has a much stronger, more bitter flavor and less sugar, which can throw off the texture of the cookies. Stick with unsulphured molasses (like Grandma’s or Brer Rabbit) for the best results.
Why did my cookies spread too much?
This usually happens when the dough isn’t chilled long enough or the butter was too soft. Make sure you chill the dough for at least 2 hours, and if your kitchen is warm, pop the cut cookies back in the fridge for 10 minutes before baking.
Can I freeze the dough for later use?
Absolutely. Wrap the dough discs tightly in plastic wrap and place them in a freezer bag. They’ll keep for up to 3 months. Thaw overnight in the refrigerator before rolling and baking.
How do I keep the cookies soft for days?
Store them in an airtight container with a slice of bread. The bread absorbs excess moisture and releases it slowly, keeping the cookies perfectly soft. Replace the bread every 2 to 3 days.
Can I skip the glaze?
Yes, the cookies are delicious on their own. The glaze adds sweetness and a glossy finish, but if you prefer a less sweet cookie, simply dust them with powdered sugar or leave them plain. They’ll still be wonderfully soft and flavorful.
Pin This Recipe!
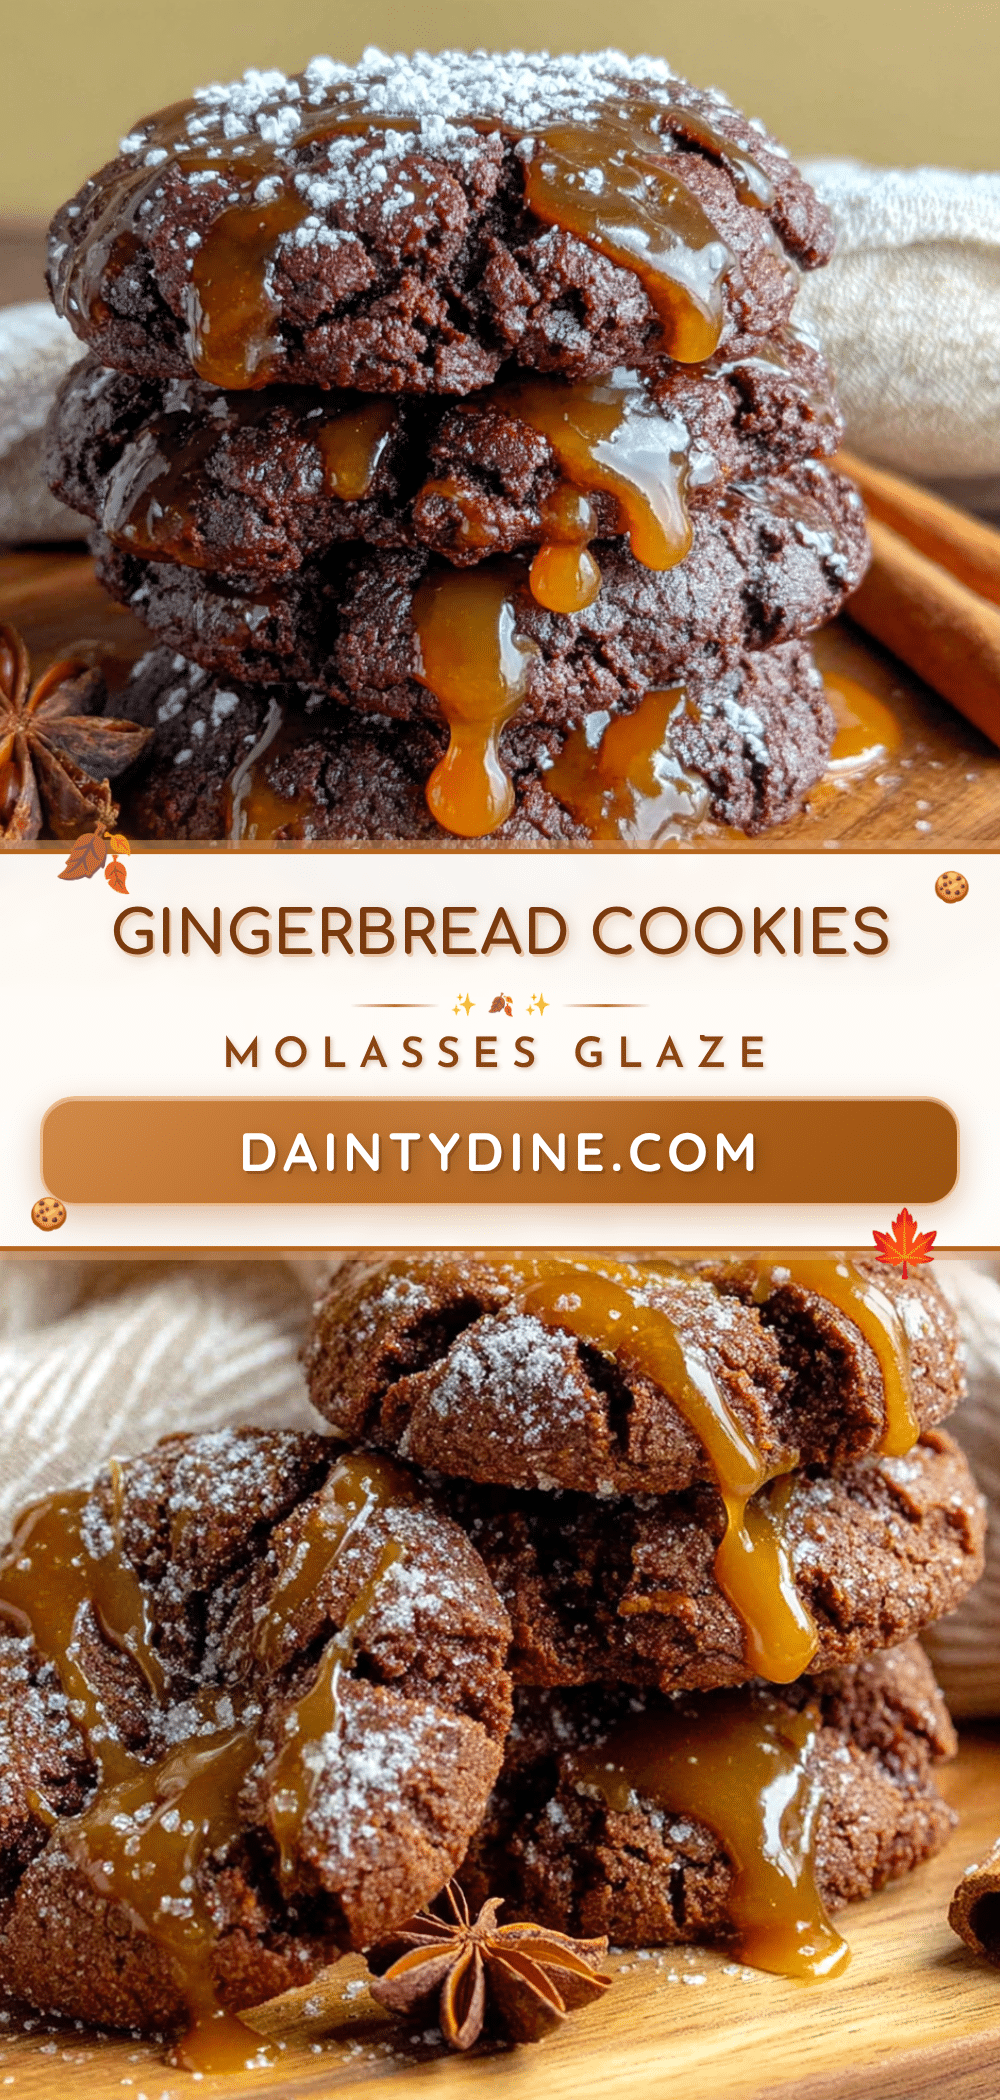
Perfect Soft Gingerbread Cookies with Easy Molasses Glaze Recipe
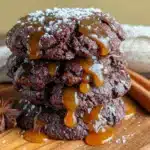
These soft gingerbread cookies with molasses glaze are the kind of recipe that makes you look like a baking hero without actually having to work that hard. They’re forgiving, adaptable, and absolutely delicious—the perfect addition to any holiday gathering or cozy winter evening.
- Prep Time: 20 minutes
- Cook Time: 10 minutes
- Total Time: 2 hours 30 minutes (includes chilling time)
- Yield: 24 cookies 1x
- Category: Dessert
- Cuisine: American
Ingredients
- 3 cups (375g) all-purpose flour (spooned and leveled)
- 1 teaspoon baking soda
- 2 teaspoons ground ginger
- 1 ½ teaspoons ground cinnamon
- ½ teaspoon ground cloves
- ½ teaspoon ground nutmeg
- ½ teaspoon salt (fine sea salt)
- ¾ cup (1 ½ sticks / 170g) unsalted butter, softened to room temperature
- ¾ cup (150g) packed dark brown sugar
- ½ cup (170g) unsulphured molasses (not blackstrap)
- 1 large egg, room temperature
- 1 teaspoon vanilla extract
- 1 cup (120g) powdered sugar, sifted
- 2 tablespoons unsulphured molasses
- 1 to 2 tablespoons milk or heavy cream
- ¼ teaspoon vanilla extract (optional)
Instructions
- In a medium bowl, whisk together the 3 cups of all-purpose flour, 1 teaspoon baking soda, 2 teaspoons ground ginger, 1 ½ teaspoons cinnamon, ½ teaspoon cloves, ½ teaspoon nutmeg, and ½ teaspoon salt. Whisk for about 20 seconds to evenly distribute the spices and leavening agent. Set this aside.
- In a large mixing bowl, beat the ¾ cup softened unsalted butter with the ¾ cup packed dark brown sugar on medium speed for 3 to 4 minutes until light and fluffy. Scrape the sides of the bowl halfway through.
- Add the ½ cup molasses, 1 large egg, and 1 teaspoon vanilla extract to the creamed butter mixture. Beat on medium-low until fully combined. Scrape the bowl again.
- Gradually add the flour mixture to the wet ingredients in three additions, mixing on low speed just until the flour disappears. Stop as soon as no white streaks remain.
- Divide the dough in half, flatten each half into a disc about 1-inch thick, wrap tightly in plastic wrap, and refrigerate for at least 2 hours.
- Preheat your oven to 350°F (175°C). Line two baking sheets with parchment paper or silicone mats. Remove one disc of dough from the fridge and let it sit at room temperature for 5 minutes.
- On a lightly floured surface, roll the dough to about ¼-inch thickness. Cut out shapes using a 2-inch round cookie cutter and place them 2 inches apart on the prepared baking sheets. Gather scraps, press together, and re-roll once.
- Bake for 9 to 11 minutes. The cookies should look set around the edges but still soft and slightly puffed in the center. Remove from the oven and let them cool on the baking sheet for 5 minutes, then transfer to a wire rack to cool completely.
- In a small bowl, whisk together the 1 cup sifted powdered sugar, 2 tablespoons molasses, 1 tablespoon milk or heavy cream, and ¼ teaspoon vanilla extract until smooth. Adjust consistency with additional milk or powdered sugar as needed.
- Once the cookies are completely cool, drizzle the glaze over them using a spoon or small offset spatula. Let the glaze set for at least 30 minutes before stacking or storing.
Notes
Don’t overbake—cookies should look slightly underdone in the center when removed from the oven. Use room temperature ingredients for best results. Chill dough for at least 2 hours (overnight is better). Store glazed cookies in an airtight container with a slice of bread to keep them soft for up to 5 days. Cookies taste even better on day two as flavors meld.
Nutrition
- Serving Size: 1 cookie
- Calories: 175
- Sugar: 15
- Sodium: 120
- Fat: 7
- Saturated Fat: 4
- Carbohydrates: 27
- Fiber: 1
- Protein: 2
Keywords: soft gingerbread cookies, molasses glaze, holiday cookies, gingerbread, easy cookie recipe, Christmas cookies