Love this? Save it for later!
Share the inspiration with your friends
I was standing in my kitchen last Tuesday, staring at the inside of my refrigerator like it might suddenly reveal a winning lottery ticket, when the smell hit me. Not from the fridge — from somewhere deeper, somewhere in my memory. It was that specific, almost-burnt-chocolate scent that hangs in the air after you pull a lava cake from the oven, the one that smells like a fancy restaurant even when you’re in sweatpants. And suddenly I was nine years old again, sitting at my aunt Rita’s tiny kitchen table in her apartment above the dry cleaners on Maple Street, watching her pull four little ramekins from the oven with a dish towel wrapped around her hands because she’d lost the oven mitts again.
Aunt Rita wasn’t really my aunt — she was my mom’s best friend from college, the one who always smelled like vanilla and cigarette smoke and who let me eat dessert first because, in her words, “life’s too short to save the good stuff for later.” She made these molten chocolate cakes for every occasion, and I mean every occasion. Bad report card? Lava cake. Good report card? Also lava cake. Tuesday? Definitely lava cake. She’d let me lick the bowl clean while she sipped her coffee and told me stories about the time she accidentally set her toaster on fire. I haven’t thought about those afternoons in years, honestly. But standing there with the fridge door open, I realized I needed that feeling back — that warm, gooey, chocolatey hug in a dish. The only problem? I’m not eating sugar these days, and Aunt Rita’s recipe was basically butter, sugar, chocolate, and more butter.
So I got to work. Three failed attempts later — one that was basically chocolate soup, one that was a hockey puck, and one that I dropped on the floor because I got too excited — I finally nailed it. This keto chocolate lava cake with almond flour is the real deal. It’s got that same dramatic, oozy center that makes you feel like a pastry chef, but it comes together in about five minutes of actual work. Maybe you’ve been there, craving something that feels special but not having the time or the carb budget for it. Let me tell you, this one’s a game changer.
Why You’ll Love This Recipe
Look, I’ve tested a lot of keto dessert recipes over the years. Some of them are fine, some of them are tragic, and a rare few make you forget you’re eating low-carb at all. This easy keto chocolate lava cake falls firmly in that last category. Here’s why I keep coming back to it:
- Ready in under 10 minutes — From craving to eating in the time it takes to find something decent on Netflix. The actual hands-on prep is maybe five minutes, and then it bakes while you pour yourself a cup of coffee or, you know, just stand there staring at the oven because you’re impatient.
- Simple ingredients you probably have — No weird specialty items that require a trip to three different stores. Almond flour, cocoa powder, eggs, butter, and a keto-friendly sweetener. That’s it. If you’ve been doing keto for more than a week, you’ve got all of this in your pantry right now.
- Perfect for those “I need chocolate NOW” moments — Let’s be real, that’s every day. But especially on a busy weeknight when the kids are finally in bed and you just want something indulgent without derailing your progress.
- Actually foolproof — I say this as someone who has messed up more recipes than I care to admit. This one is forgiving. Underbake it slightly and you get extra lava. Overbake it by a minute and you still get a fudgy cake. It’s hard to truly ruin this.
- Tastes like the real thing — My non-keto husband ate one and asked if I was sure it was sugar-free. That’s the highest compliment I can give.
What makes this recipe different from all the other keto lava cakes out there? It’s the texture. So many keto cakes end up dense and greasy, but using the right ratio of almond flour to eggs gives you that delicate, cakey exterior with a center that actually flows. Not a thick pudding, not a runny mess — a genuine, restaurant-quality molten center. I spent four weekends tweaking the ratios to get it exactly right so you don’t have to.
What Ingredients You Will Need
This recipe uses simple, wholesome ingredients that work together to create that perfect lava cake magic. Most of these are keto pantry staples, which means you can whip this up anytime the chocolate craving hits without a special trip to the store.
For the Cakes
- 1/4 cup almond flour — I recommend Bob’s Red Mill super-fine almond flour for the best texture. The finer the grind, the less grainy your cake will be. Don’t use almond meal here — it’s too coarse and will make your cake dense and gritty.
- 2 tablespoons unsweetened cocoa powder — Go for a good quality Dutch-processed cocoa if you have it. It gives a deeper, richer chocolate flavor. I like Droste or Valrhona, but honestly, whatever you have works fine.
- 3 tablespoons powdered erythritol or monk fruit sweetener — Powdered is key here. Granulated sweetener won’t dissolve properly and you’ll end up with a grainy texture. You can blitz regular erythritol in a coffee grinder for a few seconds to make your own powdered version.
- 1/4 teaspoon baking powder — This gives the cake just enough lift to create that delicate structure around the molten center.
- Pinch of salt — Don’t skip this. Salt makes chocolate taste more chocolatey. I use fine sea salt.
- 2 tablespoons unsalted butter, melted — Butter adds richness and helps create that tender crumb. Use good butter — it makes a difference in taste.
- 1 large egg, room temperature — Room temperature eggs incorporate more smoothly into the batter. If you forgot to take yours out ahead of time, place it in a bowl of warm water for five minutes.
- 1/2 teaspoon vanilla extract — Pure vanilla, not imitation. It rounds out the chocolate flavor beautifully.
- 1 tablespoon heavy cream or full-fat coconut milk — This adds moisture and richness. The fat content helps keep the cake tender.
For the Molten Center
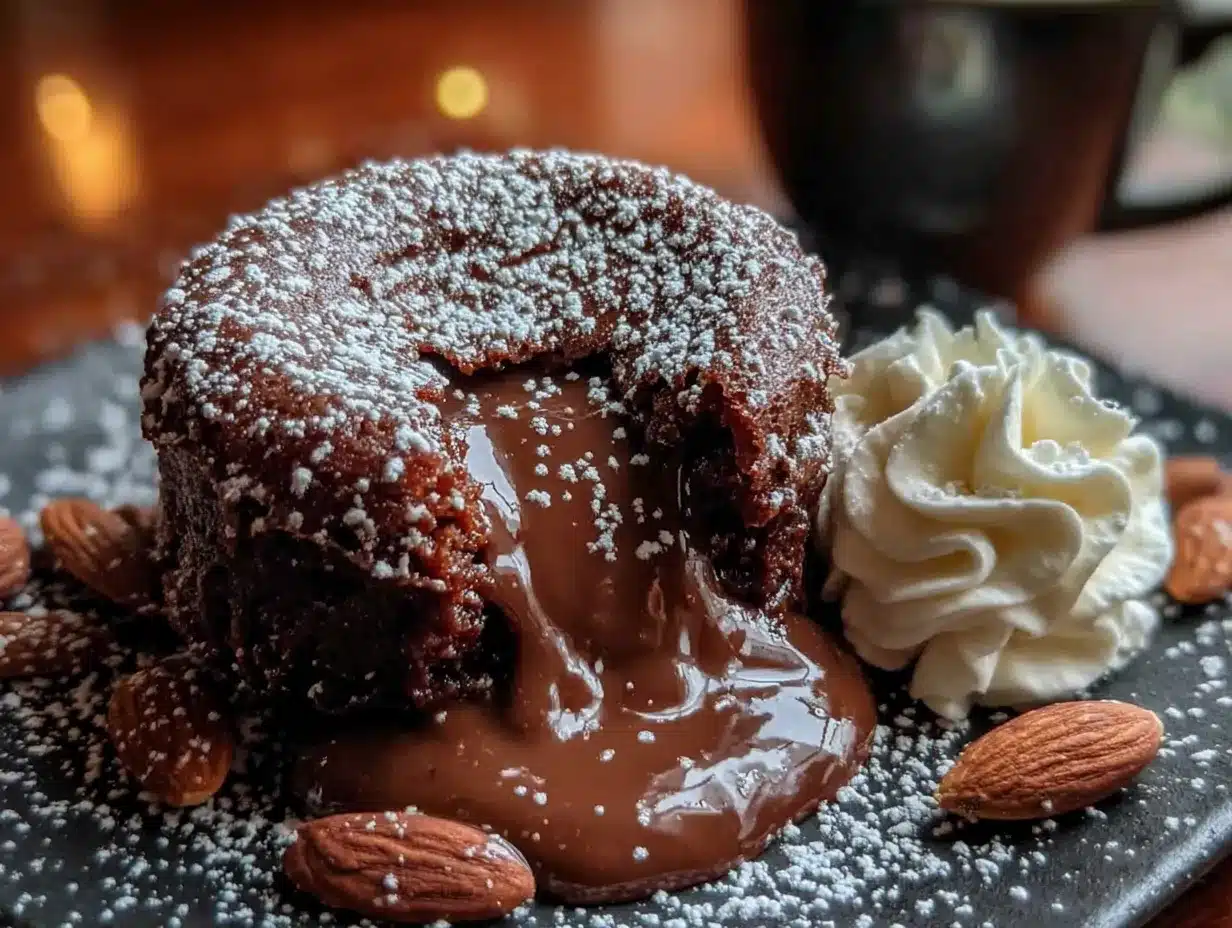
- 2 squares sugar-free dark chocolate — I use Lily’s dark chocolate chips or a chopped sugar-free chocolate bar. You want something that melts smoothly and tastes good on its own. About 1 ounce total, divided into two pieces.
For Serving (Optional)
- Whipped cream — Make your own by whipping heavy cream with a splash of vanilla and a pinch of sweetener. Store-bought keto whipped cream works too.
- Fresh raspberries or strawberries — The tartness cuts through the richness of the chocolate beautifully.
- A dusting of powdered erythritol or cocoa powder — For that fancy restaurant look.
A quick note on substitutions: If you’re dairy-free, use coconut oil or vegan butter instead of regular butter, and full-fat canned coconut milk instead of heavy cream. The texture will be slightly different — a touch less tender — but still delicious. For nut-free, you can try sunflower seed flour, but I haven’t tested it personally, so I can’t guarantee results.
Equipment Needed
You don’t need much fancy equipment for this, which is part of why I love it. Here’s what you’ll need:
- Two 6-ounce ramekins — These are the standard size for individual lava cakes. If you don’t have ramekins, you can use a muffin tin. Just grease the cups well and adjust the baking time down by a minute or two since they’ll be slightly smaller.
- A small mixing bowl — Any bowl works. I use a ceramic one because it feels nice, but a glass or metal bowl is fine.
- A whisk or fork — For mixing the batter. A fork works surprisingly well for such a small amount of batter.
- A baking sheet — Place your ramekins on a baking sheet before putting them in the oven. This catches any potential overflow and makes it easier to get them in and out.
- Measuring spoons — Precision matters with keto baking, so use actual measuring spoons, not eyeballed estimates.
- Non-stick cooking spray or butter for greasing — Don’t skip this step. You want those cakes to slide out perfectly.
I bought my ramekins at a thrift store for a dollar each, and they’ve lasted me years. If you’re just starting out, don’t feel pressured to buy expensive equipment. A muffin tin works perfectly well as a substitute.
Preparation Method
Alright, let’s make some lava cake. This is straightforward, but I’ll walk you through each step with the little tricks I’ve learned from making these about fifty times.
- Preheat your oven to 350°F (175°C). Place a baking sheet on the middle rack to heat up with the oven. This helps the cakes cook evenly from the bottom.
- Grease your ramekins thoroughly. Use butter or non-stick spray, making sure to get the sides and bottom. Then dust them lightly with cocoa powder — tap out any excess. This gives the cakes a nice dark exterior and helps them release cleanly. I forgot to do this once and spent fifteen minutes chiseling cake out of a ramekin. Learn from my mistakes.
- Melt the butter in a small bowl in the microwave, about 20-30 seconds. Set it aside to cool slightly while you mix the dry ingredients.
- In your mixing bowl, whisk together the almond flour, cocoa powder, powdered sweetener, baking powder, and salt. Make sure there are no lumps. I use a fork for this because it breaks up any clumps of almond flour easily.
- Add the melted butter, egg, vanilla extract, and heavy cream to the dry ingredients. Stir until just combined. Don’t overmix — you want to stop as soon as you don’t see any dry spots. Overmixing can make the cake tough. The batter will be thick and slightly sticky, like a brownie batter.
- Divide half the batter between your two prepared ramekins. Spread it evenly across the bottom and slightly up the sides. This creates a little nest for the chocolate center.
- Place one piece of sugar-free chocolate in the center of each ramekin, pressing it down gently into the batter. This is your lava. If you want extra ooze, use two small pieces per ramekin.
- Divide the remaining batter over the chocolate, making sure the chocolate is completely covered. Smooth the tops gently with the back of a spoon. The batter should come about three-quarters of the way up the sides of the ramekin.
- Place the ramekins on the hot baking sheet in the oven. Bake for 10-12 minutes. The edges should look set and slightly puffed, but the center should still jiggle when you gently shake the ramekin. At 10 minutes, I start checking every 30 seconds. Every oven is different, and that one-minute window is where the magic happens.
- Remove from the oven and let them cool in the ramekins for exactly 1 minute. Not 30 seconds, not 2 minutes — 1 minute. This lets the structure set just enough to hold together while staying molten inside. Run a thin knife around the edge of each ramekin to loosen the cake.
- Place a plate on top of each ramekin and carefully invert. Give it a gentle tap on the bottom, then lift the ramekin off. If the cake doesn’t release immediately, don’t panic — just give it another few seconds and try again. Sometimes they need a little coaxing.
- Serve immediately with whipped cream or berries. These wait for no one. The lava will start setting as soon as the cake cools, so eat them while they’re warm.
A quick note on timing: You can prepare the batter in the ramekins up to an hour ahead and keep them in the refrigerator. Just add 2-3 minutes to the baking time. This is perfect if you’re making dessert for guests and want to minimize last-minute chaos.
Cooking Tips & Techniques
After making these more times than I care to count, here are the things I wish someone had told me from the start:
The egg is everything. Use a large egg, not an extra-large or a medium. The size affects the liquid ratio, and too much egg will make your cake puff up and then collapse into a sad, flat disc. Also, make sure it’s room temperature. Cold egg seizes up the melted butter and gives you a lumpy batter that bakes unevenly.
Don’t overbake. This is the number one mistake people make, and I’ve done it plenty of times myself. The center should look slightly underdone and jiggly when you pull it out. It continues cooking from residual heat for another minute or two. If you wait until the center looks set, you’ll have a chocolate muffin instead of a lava cake. Still tasty, but not quite the same experience.
Use a kitchen scale if you have one. Almond flour can be tricky to measure by volume because it settles differently depending on how it’s packed. 1/4 cup of almond flour should weigh about 28 grams. If you’re scooping directly from the bag, you might be getting more than you think, which leads to a denser cake.
Let the batter rest for 5 minutes before baking. This gives the almond flour time to absorb some of the liquid, resulting in a more tender crumb. I stumbled onto this trick by accident when I got distracted by a phone call, and the cakes came out noticeably better.
If you’re making multiple batches, wash and thoroughly dry your ramekins between uses. Residual moisture or batter can cause sticking and uneven baking.
Variations & Adaptations
One of the best things about this recipe is how easy it is to customize. Here are some variations I’ve tried and loved:
Peppermint Chocolate Lava Cake: Add 1/4 teaspoon peppermint extract to the batter and top with crushed sugar-free peppermint candies. This is my go-to during the holiday season. The peppermint and chocolate combination is just unbeatable.
Peanut Butter Swirl: Drop a teaspoon of sugar-free peanut butter on top of the chocolate center before adding the final layer of batter. Use a toothpick to gently swirl it through. The salty peanut butter against the rich chocolate is absolutely divine.
Mocha Lava Cake: Dissolve 1/2 teaspoon instant espresso powder in the vanilla extract before adding it to the batter. Coffee doesn’t make it taste like coffee — it just deepens and enriches the chocolate flavor. You won’t taste the coffee, I promise.
Dairy-Free Version: Use coconut oil or vegan butter instead of regular butter, and full-fat canned coconut milk instead of heavy cream. The texture will be slightly less tender, but still delicious. I’ve made this for dairy-free friends multiple times and they always ask for the recipe.
Nut-Free Option: Replace almond flour with sunflower seed flour. Note that sunflower seed flour can react with baking powder and turn green — it’s completely safe to eat, just not the prettiest. A tablespoon of lemon juice in the batter can help prevent this color change.
Extra Indulgent: Add a tablespoon of sugar-free chocolate chips to the batter along with the center chocolate. You get little melty pockets of chocolate throughout the cake. Dangerous, but worth it.
Serving & Storage Suggestions
These lava cakes are best served immediately, while the center is still warm and flowing. But let me give you some ideas for making the experience extra special.
Serving Temperature: Hot from the oven is non-negotiable. The contrast between the warm cake and cold whipped cream or ice cream is what makes this dessert sing. If you’re serving guests, have everything else ready before you pull the cakes from the oven.
Presentation: Dust the plate with a little cocoa powder or powdered sweetener before placing the inverted cake on top. Add a dollop of whipped cream and a few fresh raspberries. The red against the dark chocolate is gorgeous and very Pinterest-worthy.
What to Serve With It: A dollop of homemade whipped cream is classic. Sugar-free vanilla ice cream is amazing if you can find a good one. Fresh berries add a tart contrast that cuts through the richness. For a grown-up twist, a small glass of bourbon or a strong cup of black coffee pairs beautifully.
Storage: Honestly, these don’t store well once baked. The lava sets as it cools, so you lose the whole point of a lava cake. If you must, you can store baked cakes in the refrigerator for up to 2 days and reheat them in the microwave for 15-20 seconds, but the texture won’t be the same.
Make-Ahead Option: The unbaked batter can be assembled in the ramekins and stored in the refrigerator for up to 24 hours. Cover each ramekin with plastic wrap. When you’re ready to bake, add 2-3 minutes to the baking time. This is my favorite trick for dinner parties — all the work is done ahead, and I just pop them in the oven after the main course.
Freezing: You can freeze the unbaked ramekins for up to 3 months. Thaw in the refrigerator overnight before baking as directed. I’ve done this several times and the results are just as good as fresh.
Nutritional Information & Benefits
Here’s the breakdown for one lava cake (using the ingredients listed, without toppings):
- Calories: 245
- Fat: 22g
- Protein: 8g
- Total Carbohydrates: 8g
- Fiber: 4g
- Net Carbs: 4g
These numbers will vary slightly depending on the specific brands you use, especially the chocolate and sweetener. But this gives you a solid baseline.
Beyond the macros, this dessert actually has some nutritional benefits. Almond flour is rich in vitamin E, magnesium, and healthy monounsaturated fats. Cocoa powder is packed with antioxidants called flavonoids that support heart health and reduce inflammation. Eggs provide high-quality protein and important nutrients like choline for brain health. It’s not a health food, obviously, but it’s a far cry from the sugar-laden, nutrient-void desserts you’d get at a restaurant.
This recipe is naturally gluten-free, grain-free, and vegetarian. It can easily be made dairy-free and nut-free with the substitutions I mentioned earlier. It’s also suitable for low-carb, keto, and diabetic-friendly diets when made with the recommended ingredients.
Conclusion
Look, I’m not going to tell you this keto chocolate lava cake will change your life. But it might change your Tuesday night. It’s the kind of recipe that makes eating low-carb feel like a choice rather than a sacrifice — something indulgent and satisfying that doesn’t leave you staring longingly at the bread basket.
What I love most about this recipe is how it brings back that feeling from my aunt Rita’s kitchen. That warmth, that comfort, that sense that something simple can feel really special. It’s not about replicating the exact dessert from my childhood — it’s about creating a new version that fits my life now. And honestly, that’s what good cooking is all about. Taking what you loved and making it work for who you are today.
I’d love to hear how these turn out for you. Did you try a variation? Did you discover a new favorite topping? Drop a comment below and let me know. And if you share a photo on Pinterest, tag me — I love seeing your creations. Now go preheat that oven. You deserve some chocolate.
Frequently Asked Questions
Can I use coconut flour instead of almond flour?
I don’t recommend it. Coconut flour is much more absorbent and would require a completely different ratio of wet to dry ingredients. You’d end up with a dry, crumbly cake. Stick with almond flour for this recipe — it’s what gives the tender, cakey texture.
Why did my lava cake turn out like a muffin?
You likely overbaked it. The center should still look slightly underdone and jiggly when you pull it out of the oven. Remember, it continues cooking from residual heat for another minute or two. Next time, check it at 10 minutes and trust the jiggle.
Can I make this in a microwave instead of an oven?
Yes, but the texture won’t be as good. Microwave for about 60-90 seconds on high, checking at 60 seconds. The cake will be softer and less structured, but it works in a pinch. Let it rest for 30 seconds before inverting.
What’s the best sweetener to use?
Powdered erythritol or monk fruit sweetener works best. Allulose also works well and doesn’t have the cooling aftertaste that some people notice with erythritol. Whatever you use, make sure it’s powdered — granulated sweetener won’t dissolve properly and will leave your cake grainy.
Can I double this recipe?
Absolutely. Just double all the ingredients and bake in four ramekins. The baking time stays roughly the same since they’re the same size. If you’re using larger ramekins, you’ll need to add a few minutes to the baking time.
Pin This Recipe!
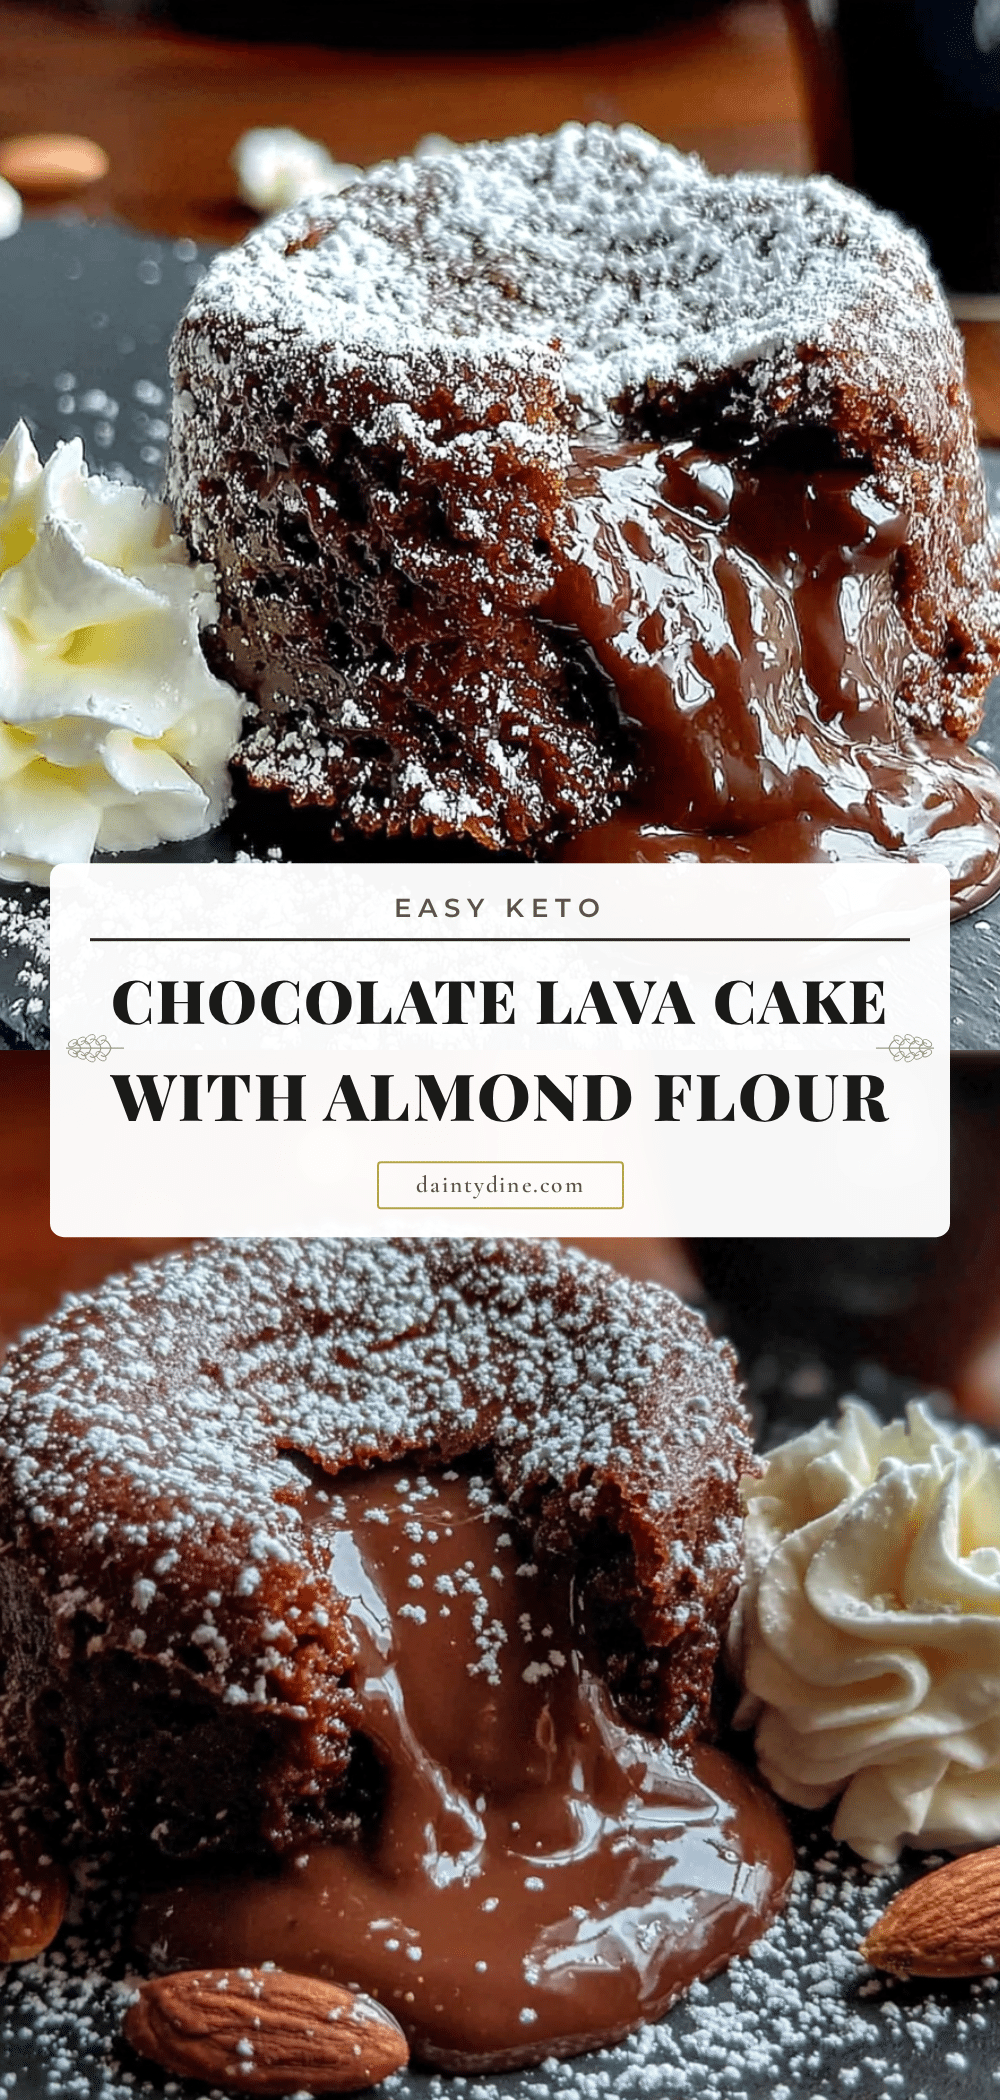
Easy Keto Chocolate Lava Cake – Best 5-Minute Recipe
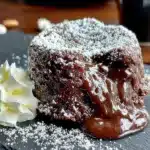
A quick and indulgent keto-friendly chocolate lava cake that comes together in under 10 minutes. With a tender almond flour cake and a molten sugar-free chocolate center, this dessert satisfies cravings without derailing your low-carb lifestyle.
- Prep Time: 5 minutes
- Cook Time: 10-12 minutes
- Total Time: 15-17 minutes
- Yield: 2 servings 1x
- Category: Dessert
- Cuisine: American
Ingredients
- 1/4 cup almond flour (super-fine, e.g., Bob’s Red Mill)
- 2 tablespoons unsweetened cocoa powder (Dutch-processed preferred)
- 3 tablespoons powdered erythritol or monk fruit sweetener
- 1/4 teaspoon baking powder
- Pinch of fine sea salt
- 2 tablespoons unsalted butter, melted
- 1 large egg, room temperature
- 1/2 teaspoon pure vanilla extract
- 1 tablespoon heavy cream or full-fat coconut milk
- 2 squares (about 1 ounce total) sugar-free dark chocolate (e.g., Lily’s)
- Non-stick cooking spray or butter for greasing ramekins
- Optional: whipped cream, fresh raspberries or strawberries, powdered erythritol or cocoa powder for dusting
Instructions
- Preheat your oven to 350°F (175°C). Place a baking sheet on the middle rack to heat up with the oven.
- Grease two 6-ounce ramekins thoroughly with butter or non-stick spray. Dust lightly with cocoa powder and tap out excess.
- Melt the butter in a small bowl in the microwave (20-30 seconds). Set aside to cool slightly.
- In a mixing bowl, whisk together almond flour, cocoa powder, powdered sweetener, baking powder, and salt until no lumps remain.
- Add melted butter, egg, vanilla extract, and heavy cream to the dry ingredients. Stir until just combined (batter will be thick and slightly sticky).
- Divide half the batter between the two prepared ramekins, spreading evenly across the bottom and slightly up the sides.
- Place one piece of sugar-free chocolate in the center of each ramekin, pressing it down gently into the batter.
- Divide the remaining batter over the chocolate, making sure it is completely covered. Smooth tops gently with the back of a spoon (batter should come about three-quarters up the sides).
- Place ramekins on the hot baking sheet in the oven. Bake for 10-12 minutes. Edges should look set and slightly puffed, but the center should still jiggle when shaken.
- Remove from oven and let cool in ramekins for exactly 1 minute. Run a thin knife around the edge of each ramekin to loosen the cake.
- Place a plate on top of each ramekin and carefully invert. Give a gentle tap on the bottom, then lift the ramekin off.
- Serve immediately with whipped cream or berries.
Notes
For best results, use room temperature egg and powdered sweetener. Do not overbake; the center should jiggle when done. Batter can be prepared in ramekins up to 1 hour ahead and refrigerated (add 2-3 minutes to baking time). For dairy-free, use coconut oil or vegan butter and full-fat canned coconut milk. For nut-free, try sunflower seed flour (may turn green; add 1 tablespoon lemon juice to prevent).
Nutrition
- Serving Size: 1 lava cake
- Calories: 245
- Sugar: 1
- Sodium: 150
- Fat: 22
- Saturated Fat: 12
- Carbohydrates: 8
- Fiber: 4
- Protein: 8
Keywords: keto chocolate lava cake, low-carb lava cake, sugar-free lava cake, almond flour lava cake, easy keto dessert, 5-minute dessert, gluten-free lava cake