Love this? Save it for later!
Share the inspiration with your friends
I was elbow-deep in a sink full of soapy water, scrubbing the last bits of a Sunday roast off a baking sheet, when my plumber, Gary, started talking about pork chops. Not about a leaky pipe under the sink he’d just fixed, but about dinner. Gary is a man of few words—usually just grunts and a quick “all set”—so when he leaned against my counter and said, “You ever try coating ’em in that green can stuff?” I nearly dropped the sponge.
He was talking about the green can of grated Parmesan cheese. The kind you probably have in your fridge door right now, the one you might feel a little embarrassed to admit you use. Gary told me his wife makes these pork chops every Tuesday, and his three kids, who usually pick at anything green, actually ask for seconds. I laughed, thinking it was a joke. But the next week, with a pack of pork chops on sale and a picky six-year-old to feed, I gave it a shot. Honestly, I was skeptical. I mean, pork chops can be dry and tough, and Parmesan from a can? It felt a little… wrong.
But let me tell you—that first bite was a revelation. The crust was salty, crispy, and golden, clinging to a perfectly juicy chop. My kid, who had been pushing peas around her plate, looked up and said, “This is like a chicken nugget, but better.” That’s when I knew Gary was onto something special. This recipe has been in our Tuesday night rotation ever since. It’s the kind of cheap, clever trick you learn from the most unexpected source—a plumber with a secret weapon and a very happy family.
Why You’ll Love This Recipe
Let’s be real for a second. Feeding a family on a budget while trying to keep everyone happy is a constant juggling act. These Crispy Parmesan Crusted Pork Chops solve that problem without any fancy techniques or expensive ingredients. Here’s why they’ve become a staple in our home:
- Budget-Friendly: Pork chops are often one of the cheapest cuts of meat at the store. This recipe stretches that value even further by using pantry staples you probably already have.
- Quick & Easy: From start to finish, dinner is on the table in under 30 minutes. No marinating, no complicated steps—just mix, coat, and bake.
- Kid-Approved: That crispy, cheesy crust is pure magic for little taste buds. It has the same satisfying crunch as a chicken tender, but it’s a grown-up dinner. My kid licks the plate clean, and I’ve heard the same from friends who’ve tried it.
- Simple Ingredients: You don’t need to hunt down panko breadcrumbs or fresh Parm. The green can works perfectly, and the mayo (yes, mayo!) keeps the meat incredibly moist.
- Picky Eater Solution: This is the recipe I turn to when I need a guaranteed win. The texture is familiar, the flavor is mild and cheesy, and it pairs well with anything—from steamed broccoli to mashed potatoes.
What makes this recipe different from every other pork chop recipe out there? It’s the two-ingredient crust. By mixing grated Parmesan with a little garlic powder and paprika, you get a coating that bakes up shatteringly crisp without needing to deep-fry. The mayonnaise acts as the glue, locking in moisture so the chops stay tender instead of drying out. It’s a simple trick, but it works every single time. This isn’t just a recipe—it’s a stress-free solution to Tuesday night dinner.
What Ingredients You Will Need
This recipe uses simple, wholesome ingredients to deliver bold flavor and satisfying texture without the fuss. Most of these are pantry staples, so you probably won’t need a special trip to the store. Here’s what you’ll need:
- Pork Chops (4 pieces, about 1-inch thick): I prefer bone-in chops for extra flavor and juiciness, but boneless works great too. Look for chops that are evenly thick so they cook at the same rate. If you can, grab a family pack when they’re on sale—they freeze beautifully.
- Mayonnaise (¼ cup): This is the secret to juicy pork chops. Don’t skip it! The mayo acts as a binder for the crust and keeps the meat from drying out. You won’t taste it, I promise. Use full-fat for the best results, but light mayo works in a pinch.
- Grated Parmesan Cheese (½ cup): The star of the show. I use the shelf-stable kind from the green can—it’s affordable, has a great salty kick, and creates the crispiest crust. If you want to splurge, freshly grated Parm works too, but it won’t be quite as crunchy.
- Garlic Powder (1 teaspoon): Adds a savory depth without being overpowering. It’s a must for that “what’s in this?” flavor kids love.
- Paprika (1 teaspoon): For color and a tiny bit of smoky sweetness. Regular paprika is fine, but smoked paprika adds an extra layer of flavor if you have it.
- Salt and Black Pepper (to taste): I use about ½ teaspoon of salt and ¼ teaspoon of pepper. Go easy on the salt since the Parmesan is already salty.
- Optional: Fresh Parsley (for garnish): A sprinkle of green makes the dish look pretty, but it’s totally optional. My kid calls it “salad sprinkles” and picks it off!
Ingredient Selection Tip: For the best texture, look for pork chops that aren’t too thin—about 1-inch thick is ideal. Thinner chops will cook faster and might dry out before the crust gets golden. If you only have thin chops, reduce the cooking time by 3-4 minutes.
Substitution Guidance: If you’re out of mayo, Greek yogurt works as a binder, though the crust won’t be quite as crispy. For a dairy-free version, use a vegan Parmesan alternative and a dairy-free mayo. I’ve tried it with coconut-based yogurt, and it turned out fine, just a little different in texture.
Equipment Needed
You don’t need a fancy kitchen to pull this off. Here’s what you’ll need:
- Baking Sheet: A standard half-sheet pan works perfectly. Line it with parchment paper or aluminum foil for easy cleanup—trust me, the melted cheese can stick.
- Wire Rack: This is optional but highly recommended. Placing the pork chops on a wire rack set inside the baking sheet allows hot air to circulate all around, making the crust extra crispy on the bottom too. If you don’t have one, just flip the chops halfway through baking.
- Mixing Bowls: One small bowl for the mayo and one shallow dish for the Parmesan mixture. I use a pie plate for the coating—it’s the perfect size.
- Pastry Brush or Spatula: To spread the mayo evenly over the chops. A silicone brush works best, but a butter knife does the job too.
- Tongs: For flipping the chops without messing up the crust. Trust me, using a fork will tear the coating right off.
- Meat Thermometer: This is the best investment for any home cook. Pork is done at 145°F, and a thermometer takes the guesswork out of cooking. No more dry, overcooked chops!
Budget-Friendly Options: If you don’t have a wire rack, no worries. Just bake the chops directly on the lined baking sheet and carefully flip them halfway through. I’ve done it both ways, and while the rack gives you a better crust, the direct method still delivers a delicious dinner.
Preparation Method
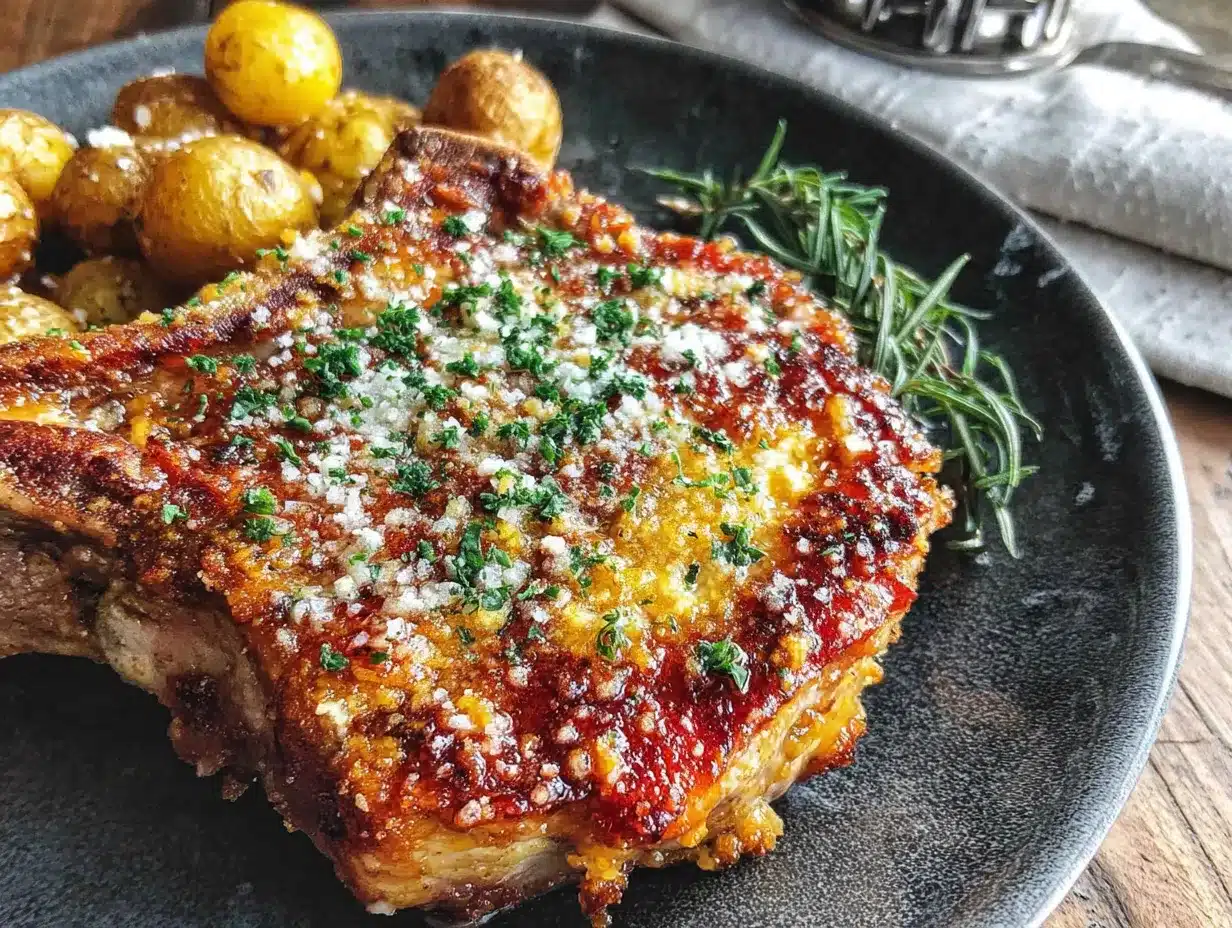
Let’s get cooking! This recipe comes together in about 25 minutes, so it’s perfect for a busy weeknight. I’ll walk you through each step with some tips I’ve learned from making these dozens of times.
- Preheat your oven to 400°F (200°C). Line a baking sheet with parchment paper or foil. If you’re using a wire rack, place it on the sheet now. Getting the oven hot is key—that high heat is what creates the crispy crust.
- Pat the pork chops dry. Use paper towels to remove any moisture from the surface of the meat. This helps the mayo stick better. Season both sides lightly with salt and pepper. Don’t go overboard—the Parmesan adds plenty of salt.
- Make the coating mixture. In a shallow dish (I use a pie plate), combine the grated Parmesan, garlic powder, and paprika. Stir it with a fork to break up any clumps. The smell at this point is amazing—cheesy and warm.
- Coat the chops with mayo. Using a pastry brush or a small spatula, spread a thin, even layer of mayonnaise over the entire surface of each pork chop—top, bottom, and sides. You don’t need a thick layer; just enough to make the coating stick. This step feels a little weird, I know, but trust the process.
- Press the chops into the Parmesan mixture. Place each mayo-coated chop into the dish and press firmly so the coating adheres. Flip and repeat on the other side. Make sure every bit of the surface is covered. If you have extra mixture, just spoon it on top and press it in.
- Place the chops on the prepared baking sheet. If using a wire rack, arrange them in a single layer with a little space between each chop. This ensures even browning. If not using a rack, place them directly on the lined sheet.
- Bake for 18-22 minutes. The exact time depends on the thickness of your chops. For 1-inch thick chops, start checking at 18 minutes. The crust should be deep golden brown and crispy. If you want it extra crunchy, you can broil for the last 1-2 minutes—just watch it closely so it doesn’t burn.
- Check the internal temperature. Insert a meat thermometer into the thickest part of a chop, avoiding the bone. You’re looking for 145°F (63°C). This is the USDA-recommended safe temperature for pork, and it guarantees a juicy chop. If you don’t have a thermometer, cut into the thickest part—the juices should run clear and the meat should be white with just a hint of pink.
- Let them rest. This is a step you don’t want to skip. Transfer the chops to a clean plate and let them rest for 5 minutes. This allows the juices to redistribute throughout the meat. If you cut into them right away, all that delicious moisture will end up on the cutting board instead of in your mouth.
- Garnish and serve. Sprinkle with fresh parsley if you’re feeling fancy, and serve hot. The crust will stay crispy for about 10 minutes, so eat up!
Visual Cue: At the 15-minute mark, your kitchen will smell like a cheesy, garlicky dream. The crust should be starting to turn golden around the edges. If it’s browning too fast, your oven might run hot—just tent the chops loosely with foil for the last few minutes.
Cooking Tips & Techniques
I’ve made these pork chops more times than I can count, and I’ve learned a few things along the way. Here are my best tips for guaranteed success:
Don’t skip the mayo. I know it sounds weird, but mayonnaise is just oil and eggs. It melts into the meat as it bakes, keeping the pork incredibly moist. I once tried using olive oil instead, and the crust slid right off. The mayo acts like glue—it’s non-negotiable.
Use the green can Parmesan. This is the hill I’ll die on. The shelf-stable grated Parmesan has a drier, powdery texture that creates a much crispier crust than fresh Parm. Freshly grated cheese has too much moisture and will turn soggy. Save the good stuff for pasta.
Flip halfway through (if not using a rack). If you’re baking the chops directly on the sheet, flip them carefully with tongs at the 10-minute mark. This ensures the bottom gets crispy too. I forgot to do this once, and the bottoms were pale and soft—still tasty, but not as good.
Watch the oven temperature. Every oven is different. If yours runs hot, check the chops at 16 minutes. If it runs cool, you might need the full 22 minutes. The golden-brown color is your best guide—go by look and temperature, not just the timer.
My biggest failure: The first time I made these, I used thin-cut boneless chops and baked them for 20 minutes. They came out dry as cardboard. Thin chops cook much faster, so I should have checked them at 12 minutes. Now I always buy thick chops, and I never skip the thermometer. Learn from my mistake!
Multitasking tip: While the chops are baking, you have plenty of time to make a quick veggie side. I usually steam some broccoli or toss a salad. You can also microwave some frozen green beans—easy and fast.
Variations & Adaptations
This recipe is super versatile, so don’t be afraid to play around with it. Here are some variations I’ve tried and loved:
- Gluten-Free Version: The Parmesan crust is naturally gluten-free! Just make sure your grated Parmesan doesn’t have any added fillers. Check the label—some brands add wheat starch. Serve with roasted potatoes or a simple salad to keep the meal gluten-free.
- Spicy Kick: Add ½ teaspoon of cayenne pepper or red pepper flakes to the Parmesan mixture. It gives the crust a subtle heat that adults love. My husband requests this version all the time. Just be careful if your kids are sensitive to spice—start with a pinch.
- Herb-Crusted Chops: Mix in 1 teaspoon of dried Italian seasoning or a tablespoon of fresh chopped rosemary with the Parmesan. The herbs add a lovely aromatic flavor that pairs beautifully with pork. I love this version in the fall with roasted apples on the side.
- Air Fryer Adaptation: These pork chops are amazing in the air fryer. Preheat the air fryer to 375°F (190°C). Cook the coated chops in a single layer for 10-12 minutes, flipping halfway through. The crust gets even crispier! You might need to work in batches depending on the size of your basket.
- Dairy-Free Option: Use a dairy-free Parmesan alternative (look for one made from nuts or soy) and a vegan mayo. I’ve tested this with a cashew-based Parm, and while the crust isn’t quite as crunchy, it’s still delicious and satisfying.
Personal Variation: My favorite twist is adding a tablespoon of Dijon mustard to the mayo before spreading it on the chops. It adds a tangy depth that cuts through the richness of the cheese. My kid doesn’t even notice the mustard—she just eats it faster!
Serving & Storage Suggestions
These pork chops are best served hot and fresh, but they’re pretty forgiving. Here’s how to make the most of them:
Serving Temperature: Serve the chops immediately after the 5-minute rest. The crust is at its crispiest right out of the oven. I like to plate them with a simple side like steamed green beans, mashed potatoes, or a bright, tangy coleslaw. The creaminess of mashed potatoes is a perfect match for the crispy crust.
Complementary Dishes: These chops go with just about anything. For a complete meal, try them with roasted carrots, a side of applesauce (the sweetness is a classic pairing with pork), or a simple garden salad with a lemon vinaigrette. I’ve also served them with mac and cheese for a kid-friendly feast—total comfort food!
Storage Instructions: Leftovers can be stored in an airtight container in the refrigerator for up to 3 days. The crust will soften over time, but the flavor stays great. To reheat, place the chops on a baking sheet in a 350°F oven for 8-10 minutes. This helps revive some of the crunch. Avoid the microwave—it will make the crust soggy.
Freezer Tips: You can freeze the cooked pork chops for up to 2 months. Wrap each chop individually in plastic wrap, then place them in a freezer bag. To reheat, thaw in the fridge overnight, then reheat in the oven as described above. I’ve also frozen the uncooked, coated chops with great success. Just assemble them on a baking sheet, freeze until solid, then transfer to a freezer bag. Bake from frozen, adding 5-7 minutes to the cooking time.
Flavor Development: Honestly, these chops are best the day they’re made. The crust loses its magic after a day in the fridge. But if you have leftovers, chop them up and toss them into a salad or a wrap for lunch the next day. The flavor is still fantastic—just don’t expect the same crunch.
Nutritional Information & Benefits
Here’s a rough estimate for one serving (one pork chop with crust):
- Calories: Approximately 380-420
- Protein: 35g
- Fat: 24g
- Carbohydrates: 3g
- Fiber: 0g
- Sugar: 1g
- Sodium: 650mg
Health Benefits: Pork is a great source of high-quality protein, which is essential for muscle growth and repair. It’s also rich in B vitamins, particularly B12 and B6, which support energy metabolism and brain function. The Parmesan adds a good dose of calcium for bone health. While this recipe isn’t low-fat, the fats from the mayo and cheese are mostly unsaturated and can be part of a balanced diet.
Dietary Considerations: This recipe is naturally low-carb and keto-friendly (about 3g net carbs per serving). It’s also gluten-free if you use a certified gluten-free Parmesan. If you’re watching your sodium, you can reduce the salt and use a low-sodium Parmesan, though the crust won’t be quite as flavorful.
Personal Wellness Perspective: I love that this recipe feels indulgent but uses real, whole ingredients. It’s a great way to get protein into picky eaters without a fight. I pair it with a big green salad or roasted veggies to balance the plate, and it always feels like a treat.
Conclusion
These Crispy Parmesan Crusted Pork Chops are proof that the best recipes often come from the most unexpected places. Who knew a plumber’s tip would become my go-to weeknight dinner? They’re quick, affordable, and absolutely irresistible to kids and adults alike. That golden, cheesy crust and juicy interior are a combination that never gets old.
I hope you give this recipe a try and make it your own. Maybe add a pinch of cayenne for heat, or double the batch for leftovers. The beauty of this dish is how forgiving and flexible it is. Don’t be afraid to experiment—cooking should be fun, not stressful!
When you make these pork chops, I’d love to hear about it. Drop a comment below and tell me how your family liked them. Did you add any twists? Did your picky eater ask for seconds? Share your stories and photos—I read every single comment. And if you loved this recipe, please share it with a friend who needs a quick dinner win. Happy cooking, friends!
Frequently Asked Questions
Can I use boneless pork chops for this recipe?
Absolutely! Boneless chops work great. Just keep an eye on the cooking time since they tend to be thinner. Start checking for doneness at 15 minutes, and use a meat thermometer to ensure they reach 145°F.
Why is my crust not getting crispy?
There are a few common culprits. First, make sure your oven is fully preheated to 400°F. Second, don’t skimp on the mayo—it needs to be a thin, even layer to help the cheese stick. Finally, avoid overcrowding the baking sheet. Give the chops some space so the hot air can circulate and crisp up the coating.
Can I make these ahead of time?
You can prepare the coated chops up to 4 hours in advance. Place them on the baking sheet, cover with plastic wrap, and refrigerate. When you’re ready to eat, just pop them in the oven. You might need to add 2-3 minutes to the cooking time since they’ll be cold.
What can I use instead of mayonnaise?
Greek yogurt is the best substitute. It has a similar thickness and tanginess. You can also use Dijon mustard for a different flavor profile, or even a thin layer of olive oil. Just know that the crust might not stick as well, and the texture will be slightly different.
How do I know when the pork chops are fully cooked?
The most reliable way is to use a meat thermometer. Insert it into the thickest part of the chop, away from the bone. The internal temperature should read 145°F (63°C). If you don’t have a thermometer, cut into the thickest part—the juices should run clear and the meat should be white with just a hint of pink.
Pin This Recipe!
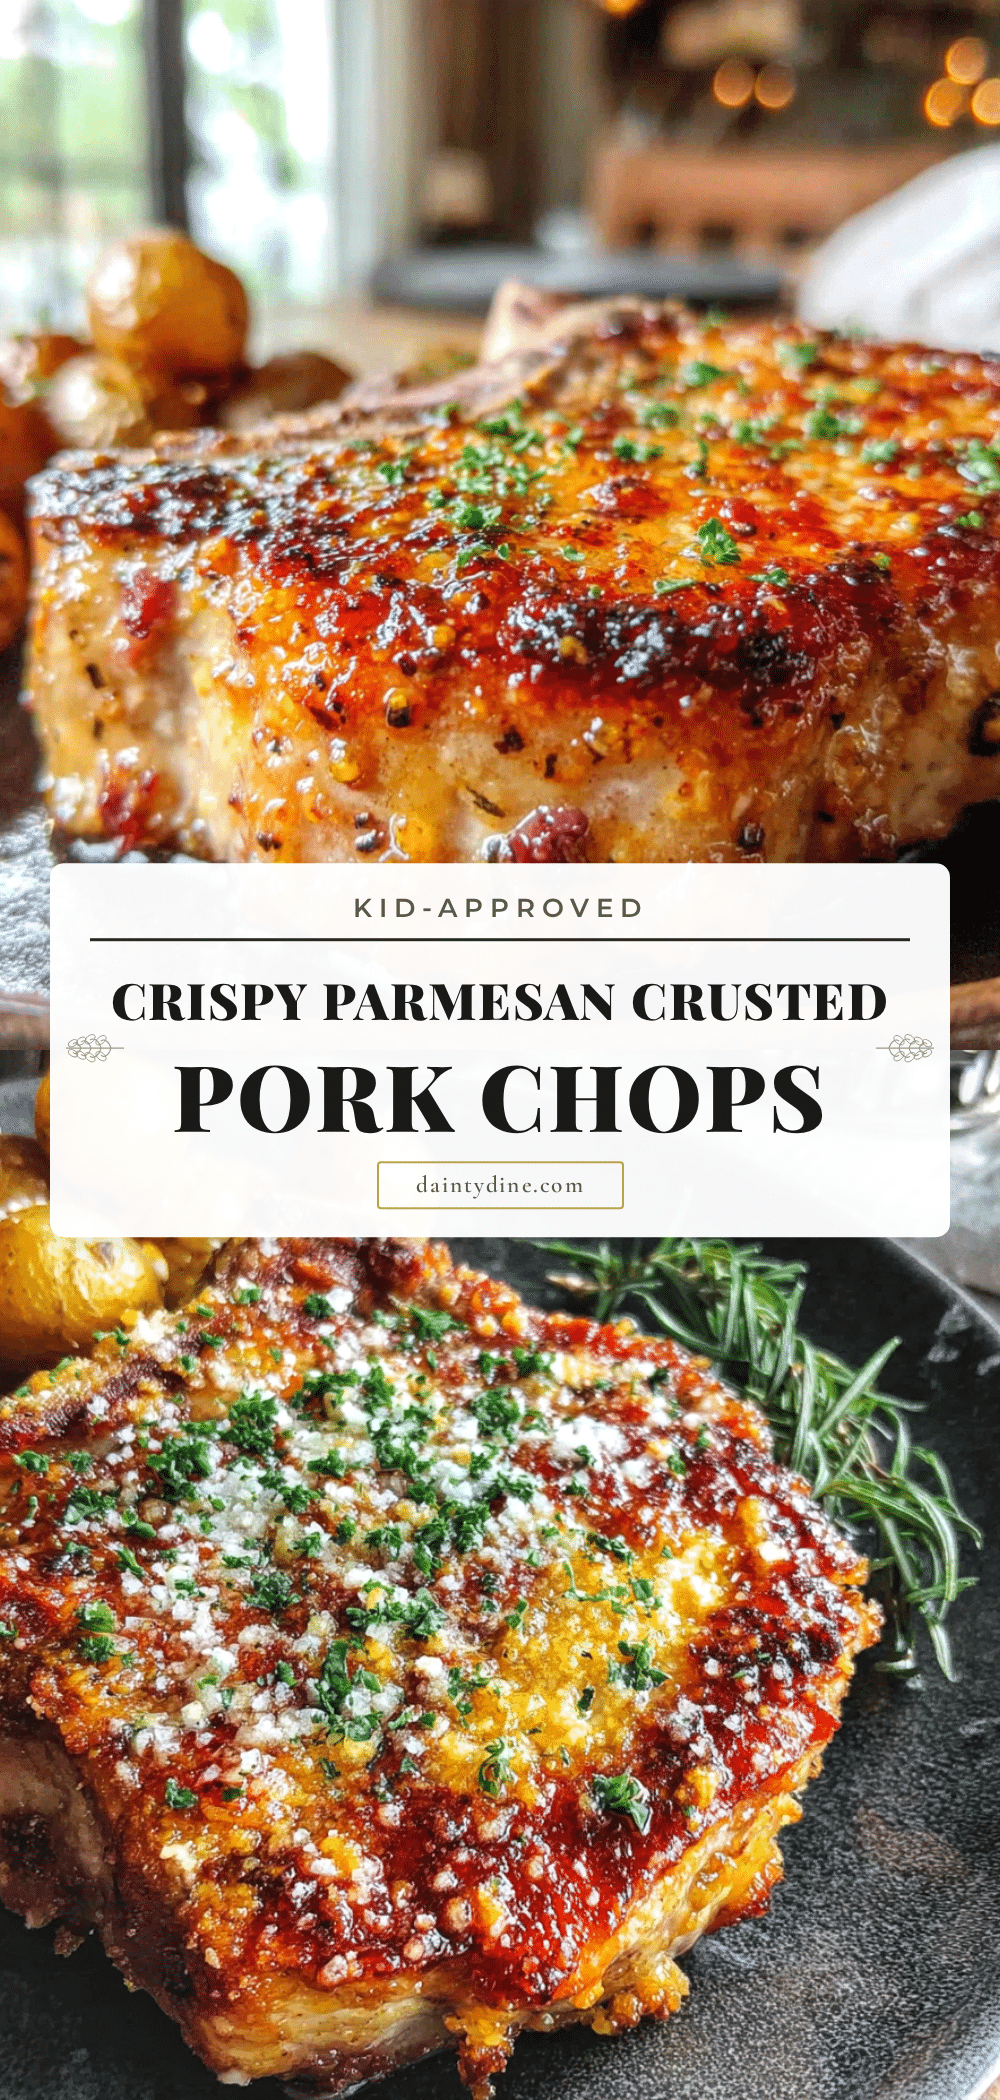
Crispy Parmesan Crusted Pork Chops: Easy Kid-Approved Recipe
These crispy Parmesan crusted pork chops are a quick, budget-friendly weeknight dinner that kids and adults love. The secret is a simple two-ingredient crust made with grated Parmesan and mayonnaise, baked to golden perfection in under 30 minutes.
- Prep Time: 10 minutes
- Cook Time: 20 minutes
- Total Time: 30 minutes
- Yield: 4 servings 1x
- Category: Main Course
- Cuisine: American
Ingredients
- 4 bone-in or boneless pork chops, about 1-inch thick
- 1/4 cup mayonnaise
- 1/2 cup grated Parmesan cheese (from the green can)
- 1 teaspoon garlic powder
- 1 teaspoon paprika
- Salt and black pepper to taste
- Fresh parsley for garnish (optional)
Instructions
- Preheat oven to 400°F (200°C). Line a baking sheet with parchment paper or foil. If using a wire rack, place it on the sheet.
- Pat pork chops dry with paper towels. Season both sides lightly with salt and pepper.
- In a shallow dish, combine grated Parmesan, garlic powder, and paprika. Stir to combine.
- Using a pastry brush or small spatula, spread a thin, even layer of mayonnaise over the entire surface of each pork chop (top, bottom, and sides).
- Press each mayo-coated chop into the Parmesan mixture, coating both sides evenly. Press firmly so the coating adheres.
- Place the coated chops on the prepared baking sheet in a single layer, leaving space between each chop.
- Bake for 18-22 minutes, until the crust is deep golden brown and crispy. For extra crunch, broil for the last 1-2 minutes, watching closely.
- Check internal temperature with a meat thermometer; it should read 145°F (63°C) in the thickest part.
- Let the chops rest for 5 minutes before serving.
- Garnish with fresh parsley if desired and serve hot.
Notes
For the crispiest crust, use the shelf-stable grated Parmesan from the green can. Don’t skip the mayo—it keeps the pork chops moist and helps the coating stick. If not using a wire rack, flip the chops halfway through baking. Let the chops rest for 5 minutes after baking to retain juices.
Nutrition
- Serving Size: 1 pork chop
- Calories: 400
- Sugar: 1
- Sodium: 650
- Fat: 24
- Saturated Fat: 6
- Carbohydrates: 3
- Protein: 35
Keywords: crispy parmesan crusted pork chops, easy pork chop recipe, kid-friendly dinner, budget-friendly dinner, weeknight dinner, baked pork chops