Love this? Save it for later!
Share the inspiration with your friends
The day the furnace broke was the day I learned how to make the perfect Thanksgiving sugar cookies. I was halfway through a frantic pre-holiday deep clean—dust bunnies everywhere, windows open to catch the freakish October heatwave—when my plumber, a guy named Leo who usually only grunted about pipe fittings, started talking about cookies. Not pipes. Cookies.
“You gotta let the dough rest overnight,” he said, wiping his hands on a rag that had seen better days. “My grandmother used to say the flour needs to make friends with the butter.” I honestly thought I was hallucinating from the heat. But there he was, this no-nonsense tradesman, giving me the secret to the softest, most stable sugar cookie base I’d ever tried. He even scribbled the royal icing recipe on the back of an invoice. The paper was crinkled and had a grease stain on it, but I tucked it into my recipe box like it was gold. That was three years ago, and I haven’t used another sugar cookie recipe since. Let me tell you, when you’re hosting a big Thanksgiving dinner, the last thing you need is a cookie that crumbles into a million pieces before your guests even take a bite. These hold up.
I’ve tweaked Leo’s grandmother’s recipe just a bit—added a touch more vanilla, played with the icing consistency—but the heart of it is still that unexpected conversation in a sweltering living room. Maybe you’ve had a moment like that, where the best advice comes from the most unlikely source. These cookies are my little nod to that day. They’re sturdy enough to stack, soft enough to melt, and the royal icing leaves? Honestly, they look so pretty on a dessert table, you’ll feel like a total pro. And they taste even better than they look, which is really saying something.
Why You’ll Love This Recipe
Let’s be real—hosting Thanksgiving is a marathon, not a sprint. You need desserts that look like you spent all day on them but don’t actually require a pastry chef’s diploma. These cookies are that secret weapon. I’ve tested this recipe for three different Thanksgiving dinners now, and it’s never let me down. Here’s why it’s a keeper for your holiday table:
- Stress-Free for Hosts: The dough can be made up to three days in advance. You can bake the cookies a week ahead and freeze them. The royal icing dries hard, so you can decorate days before the big meal. This is the definition of “prep ahead and relax.”
- Simple Ingredients: You probably have most of this in your pantry right now. No weird extracts, no hard-to-find flours. Just butter, sugar, eggs, and a little vanilla.
- Perfect for a Crowd: This recipe makes about 3-4 dozen cookies, depending on your cutter size. That’s plenty for a dessert table or to send home as favors with your guests.
- Crowd-Pleaser: I’ve served these to kids who only want the icing and adults who appreciate the soft, buttery base. They vanish every single time.
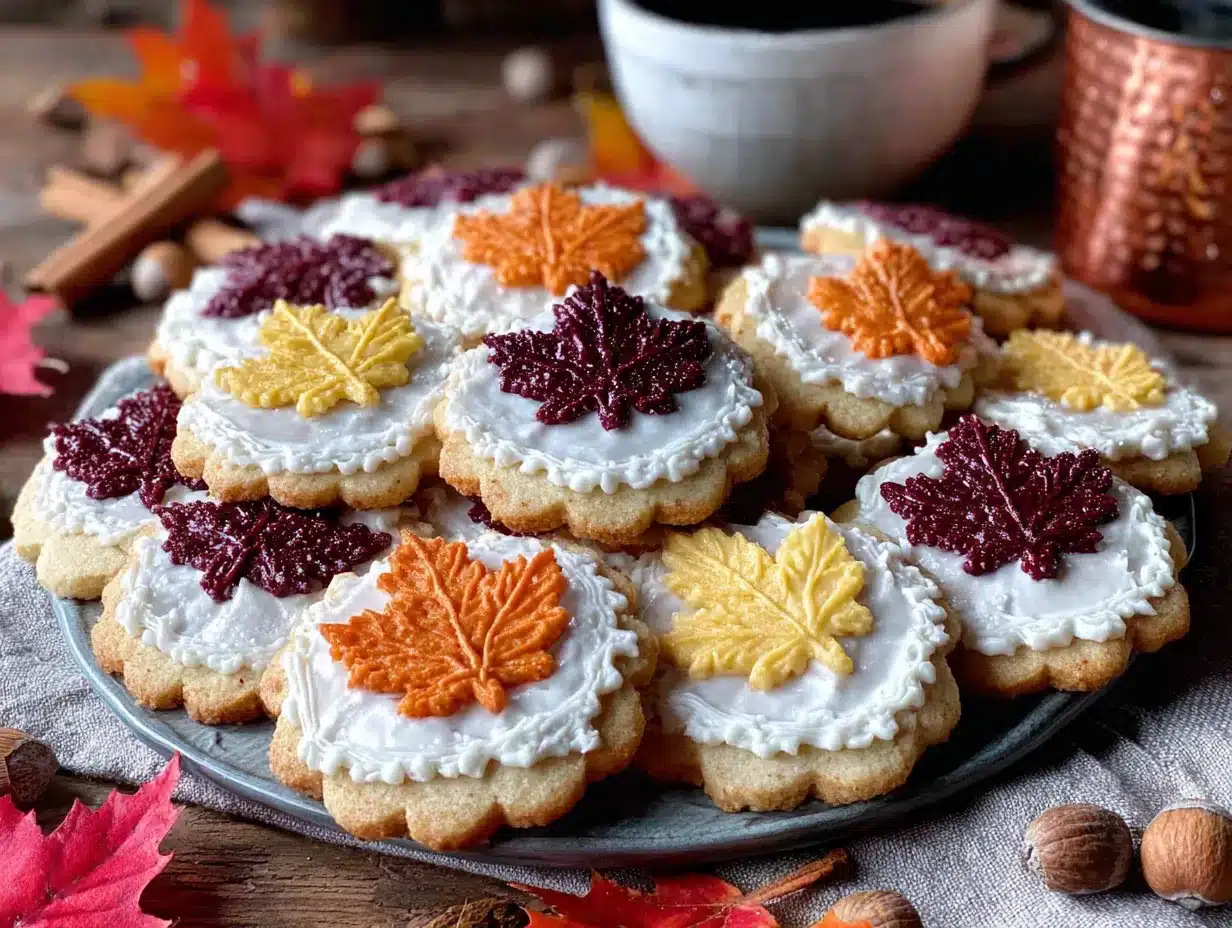
- Next-Level Pretty: The royal icing leaves are surprisingly easy to pipe, but they look incredibly elegant. They add that “wow” factor to your spread without the stress of a complicated layer cake.
What makes this version different from the other sugar cookie recipes out there? It’s the overnight rest. That little trick from Leo’s grandmother gives the dough a tenderness you just can’t get from a same-day bake. The cookies spread less, hold their shape perfectly for the leaf cutters, and have a melt-in-your-mouth texture that’s pure comfort. It’s the kind of cookie that makes you close your eyes after the first bite—especially when you’ve got a house full of people you love.
What Ingredients You Will Need
This recipe uses simple, wholesome ingredients to create a cookie that’s both sturdy for decorating and tender to eat. Most of these are pantry staples, which makes this a super accessible project even during the busy holiday season.
For the Sugar Cookies
- Unsalted butter, softened: 1 cup (2 sticks, 226g). I use Land O’Lakes for its consistent fat content. Make sure it’s truly at room temperature—soft but not melting.
- Granulated sugar: 1 cup (200g). Regular white sugar gives the cookies that classic sweetness and crisp edge.
- Large egg: 1, at room temperature. This helps the dough emulsify properly.
- Vanilla extract: 2 teaspoons. Pure vanilla, not imitation, makes a real difference in the flavor depth. I love Nielsen-Massey.
- Almond extract: 1/2 teaspoon. This is my secret touch. It doesn’t make the cookie taste like almonds; it just rounds out the vanilla and adds a little something special.
- All-purpose flour: 2 1/2 cups (312g). Spoon and level it—don’t scoop directly from the bag or you’ll pack in too much flour.
- Baking powder: 1/2 teaspoon. Just enough to give a slight puff without causing the cookies to spread.
- Salt: 1/2 teaspoon. Balances the sweetness.
For the Royal Icing
- Powdered sugar: 4 cups (480g), sifted. Sifting is non-negotiable here. Lumps will clog your piping tip.
- Meringue powder: 3 tablespoons. This is what gives royal icing its hard, glossy finish. I recommend Wilton brand for reliability.
- Warm water: 5-6 tablespoons. Start with 5 and add more a teaspoon at a time.
- Vanilla extract: 1/2 teaspoon. For flavor, though it will be subtle.
- Gel food coloring: Leaf green and a touch of warm brown (for the stems). Americolor makes great gels that don’t thin the icing.
Optional Decorations
- Edible luster dust: A little gold or pearl dust brushed on the leaves after they dry makes them look magical. Totally optional, but very pretty.
- Piping bags and tips: I use Wilton #2 and #3 tips for the leaves and stems.
Equipment Needed
You don’t need a professional bakery setup for these cookies, but a few specific tools will make your life a whole lot easier. Here’s what I use and what you can swap in a pinch.
- Stand mixer or hand mixer: A stand mixer with the paddle attachment is ideal for creaming the butter and sugar. A hand mixer works fine too, just be prepared to scrape the bowl a few times.
- Leaf-shaped cookie cutters: I have a set of three different sizes from a brand called Ateco. They’re metal and sharp, which gives clean edges. If you don’t have leaf cutters, you can use a paring knife to freehand simple leaf shapes—it’s actually kind of charming.
- Rolling pin with thickness guides: This is a game-changer for even baking. I use a wooden pin with removable rings. If you don’t have one, use two wooden dowels or even two thick books to guide your rolling.
- Parchment paper or silicone baking mats: Silpat mats are my go-to. They prevent sticking and help the cookies bake evenly. Parchment paper works perfectly too.
- Cooling racks: Essential for letting the cookies cool completely before icing. I have a set of simple wire racks from a kitchen supply store.
- Piping bags and small round tips: Wilton #2 for the fine leaf veins and #3 for the stems. If you don’t have tips, you can snip a tiny corner off a zip-top bag—just be careful to make the hole very small.
- Toothpicks or scribe tool: For popping air bubbles in the icing and guiding it into corners.
Preparation Method
Alright, let’s get into the nitty-gritty. This method is broken down into stages so you can tackle it without feeling overwhelmed. The key is patience—especially with the dough rest and the icing drying time.
Step 1: Make the Cookie Dough (Day Before or Up to 3 Days Ahead)
- In a stand mixer fitted with the paddle attachment, cream the softened butter and granulated sugar together on medium speed until light and fluffy. This takes about 3-4 minutes. Scrape the sides of the bowl halfway through. You want it to look pale and almost doubled in volume.
- Add the egg, vanilla extract, and almond extract. Mix on low until just combined. Don’t overmix here—you don’t want to incorporate too much air.
- In a separate bowl, whisk together the flour, baking powder, and salt.
- With the mixer on low, gradually add the dry ingredients to the wet ingredients. Mix until the dough just comes together. It will look a little crumbly at first, but it will form a cohesive ball. If it seems too dry, add a teaspoon of cold water. If it’s too sticky, add a tablespoon of flour.
- Divide the dough into two discs, wrap each tightly in plastic wrap, and refrigerate for at least 4 hours, but preferably overnight. This rest is non-negotiable. It allows the gluten to relax and the flour to fully hydrate, which means your cookies will be tender and won’t spread.
Step 2: Roll, Cut, and Bake (Day of Baking)
- Preheat your oven to 350°F (175°C). Line two baking sheets with parchment paper or silicone mats.
- Remove one disc of dough from the fridge. Let it sit at room temperature for about 5 minutes so it’s pliable enough to roll without cracking.
- On a lightly floured surface, roll the dough to about 1/4-inch (6mm) thickness. Use your thickness guides if you have them. Turn the dough a quarter turn after each roll to keep it even.
- Dip your leaf cutters in flour, then cut out your shapes. Re-roll the scraps once, and only once. Over-rolling will make the cookies tough.
- Place the cut cookies about 1 inch apart on the prepared baking sheets. Pop the sheet in the fridge for 10-15 minutes before baking. This is another trick for preventing spread—chilled dough holds its shape better.
- Bake for 10-12 minutes, rotating the pan halfway through. The cookies should be just set around the edges and very lightly golden on the bottom. They will not look “done” on top—that’s how you get a soft cookie. Let them cool on the baking sheet for 5 minutes, then transfer to a cooling rack to cool completely. Do not attempt to ice them while they are even slightly warm.
Step 3: Make the Royal Icing
- In a stand mixer fitted with the whisk attachment (or using a hand mixer), combine the sifted powdered sugar and meringue powder. Mix on low to combine.
- Add 5 tablespoons of warm water and the vanilla extract. Mix on low until combined, then increase to medium-high speed and beat for 5-7 minutes. The icing should be glossy and thick, and when you lift the whisk, the ribbon of icing that falls back into the bowl should hold its shape for a few seconds before sinking.
- If the icing is too thick, add water a teaspoon at a time. If it’s too thin, add more sifted powdered sugar a tablespoon at a time. You’re aiming for a “15-second” consistency for flooding—when you drizzle a ribbon of icing back into the bowl, it should take about 15 seconds for the surface to smooth out completely.
- Divide the icing into two bowls. Color one with leaf green gel and the other with a tiny bit of warm brown (for the stems). Transfer each color into separate piping bags fitted with a #2 tip.
Step 4: Decorate the Leaves
- Outline each leaf cookie with the green icing, then immediately flood the inside by piping more icing in a zigzag pattern. Use a toothpick to guide the icing into the corners and pop any air bubbles.
- While the green icing is still wet, pipe a thin line of brown icing down the center of the leaf to create the stem. Then, using the brown icing, pipe small vein lines branching out from the center stem. Don’t overthink it—leaves in nature are imperfect.
- Let the decorated cookies dry, uncovered, at room temperature for at least 8 hours, or overnight. The icing needs to be completely hard to the touch before you stack or store them.
- If you’re using luster dust, wait until the icing is fully dry, then use a small, clean brush to dust a little gold onto the leaves. It catches the light beautifully.
Cooking Tips & Techniques
I’ve made plenty of mistakes with sugar cookies over the years. Let me save you from the same heartache with a few hard-learned lessons.
The Biggest Mistake: Skipping the Chill. I know, I know—you’re in a hurry. But if you bake the dough immediately after mixing, the cookies will spread into sad, flat puddles. The overnight rest isn’t just about flavor; it’s about structure. The cold butter creates steam pockets that make the cookies tender, and the flour has time to absorb moisture. Trust the process.
My Personal Failure: I once tried to rush the royal icing by putting the cookies in front of a fan. Big mistake. The top crusted over, but the inside stayed wet. When I tried to stack them, they stuck together and the icing cracked. Now I just let them sit out on the counter overnight. The patience is worth the perfect, hard finish.
Timing and Multitasking: Here’s how I organize it for a Thanksgiving dinner. On Monday night, I make the dough. On Wednesday night, I bake the cookies and let them cool. On Thursday morning, I make the icing and decorate. By the time guests arrive at 2 PM, the icing is dry and the cookies are ready to arrange on a platter. No last-minute panic.
Consistency Tip: For perfectly even cookies, use a kitchen scale to weigh your dough portions. I weigh each disc to about 350g so I know I’ll get the same number of cookies every time. Also, always rotate your baking sheet halfway through the bake. Ovens have hot spots, and this ensures even browning.
Variations & Adaptations
One of the best things about this recipe is how flexible it is. You can tweak it to fit your dietary needs or just switch up the flavors for fun.
Dietary: Gluten-Free Version. I’ve tested this with a 1-to-1 gluten-free flour blend (like King Arthur Measure for Measure) and it worked beautifully. The texture is slightly more delicate, so handle the dough gently. Add an extra tablespoon of flour if the dough feels sticky. The overnight rest is even more important here to hydrate the gluten-free flours.
Flavor: Pumpkin Spice Twist. For a more autumnal flavor, add 1 teaspoon of pumpkin pie spice and 1/4 teaspoon of cinnamon to the dry ingredients. It gives the cookies a warm, cozy vibe that pairs perfectly with the royal icing leaves. I did this last year and my sister-in-law asked for the recipe three times.
Seasonal: Maple Glaze Instead of Royal Icing. If you’re short on time or don’t want to deal with piping, you can make a simple maple glaze. Whisk together 1 cup of powdered sugar, 2 tablespoons of maple syrup, and 1 tablespoon of milk. Drizzle it over the cooled cookies and sprinkle with a little flaky sea salt. It’s a completely different look but just as delicious.
Allergen: Dairy-Free. Swap the butter for a high-quality vegan butter stick (like Miyoko’s or Country Crock Plant Butter). Make sure it’s the stick form, not the spreadable tub, which has too much water. The dough will be a little softer, so chill it for an extra 30 minutes before rolling.
My Personal Variation: I once added a pinch of cardamom to the dough and used a touch of orange extract instead of almond. The cookies had this subtle floral, citrusy thing going on that was incredible with the vanilla icing. I’m definitely doing that again this year.
Serving & Storage Suggestions
These cookies are designed to be a showstopper on your Thanksgiving dessert table, but they’re also incredibly practical for a busy host.
Serving Temperature and Presentation: Serve the cookies at room temperature. Arrange them on a large wooden board or a white platter, overlapping the leaves slightly to create a “fall foliage” look. Scatter a few whole pecans or small cinnamon sticks around the platter for a rustic touch. If you have a cake stand, stack them in a pyramid—they’re sturdy enough to handle it.
What to Serve Alongside: These cookies are fantastic with a hot cup of apple cider, a spiced chai latte, or even a glass of bourbon for the adults. On the dessert table, they pair beautifully with a classic pumpkin pie or a pecan tart. They’re also perfect for guests who want a little something sweet without a heavy slice of pie.
Storage Instructions: Once the royal icing is completely dry (after 8-12 hours), you can store the cookies in an airtight container at room temperature. Place a sheet of parchment paper between each layer to prevent the icing from scratching. They will stay fresh for up to two weeks—though honestly, they never last that long in my house.
Freezer Instructions: You can freeze the undecorated baked cookies for up to three months. Wrap them tightly in plastic wrap and then in foil. When you’re ready to decorate, thaw them at room temperature, still wrapped, to prevent condensation from making them soggy. Then ice as usual. I do this every year—bake a big batch in early November and decorate the week of Thanksgiving.
Flavor Development: Here’s a little secret: these cookies actually taste better the day after they’re baked. The flavors meld together, and the texture softens just a touch. So don’t worry about making them too far in advance. They’re built to last.
Nutritional Information & Benefits
Let’s be honest—these are a treat, not a health food. But knowing what’s in them can help you plan your holiday indulgences. Here’s the estimated breakdown per cookie (based on a 3-inch leaf cookie with icing):
- Calories: 180-200
- Fat: 8g
- Carbohydrates: 28g
- Sugar: 18g
- Protein: 2g
- Sodium: 70mg
Health Benefits of Key Ingredients: The butter provides a small amount of vitamin A, and the egg adds a bit of protein. But honestly, the real benefit here is the joy of sharing something beautiful and delicious with people you love. That has its own kind of nutritional value, if you ask me.
Dietary Considerations: This recipe contains gluten, dairy, and eggs. It is not suitable for vegans or those with celiac disease without the substitutions mentioned in the variations section. The royal icing contains meringue powder, which is made from dried egg whites, so it’s not vegan in its standard form. You can find vegan royal icing recipes online that use aquafaba (chickpea water) instead.
My Wellness Perspective: I believe in balance. Thanksgiving is a day for celebration, not restriction. Make these cookies, enjoy a couple with your coffee, and don’t stress about the numbers. That’s my philosophy, anyway.
Conclusion
So there you have it—the perfect Thanksgiving sugar cookies that came to me from a plumber in a broken furnace moment. Life is funny like that, isn’t it? The best things often arrive when you least expect them. These cookies are more than just a recipe to me now. They’re a reminder to listen, to be open, and to never underestimate where good advice might come from.
I hope you make these for your own Thanksgiving table. I hope they bring you the same joy they’ve brought me. Play with the variations, make them your own, and don’t be afraid to get a little messy with the icing. The imperfections are what make them beautiful. And when your guests ask where you got the recipe, you can smile and say, “You wouldn’t believe me if I told you.”
I’d love to hear how they turn out for you! Leave a comment below and let me know if you tried any fun variations. Share a photo on Pinterest and tag me—I love seeing your creations. Happy baking, and happy Thanksgiving!
Frequently Asked Questions
Can I make the dough without an overnight rest?
Technically, yes, but I really don’t recommend it. The 4-hour minimum rest is crucial for preventing the cookies from spreading. If you’re in a huge rush, chill the dough for at least 2 hours, but expect slightly flatter cookies. The overnight rest is where the magic happens.
My royal icing is too runny. How do I fix it?
Don’t panic! Simply add more sifted powdered sugar, one tablespoon at a time, and mix well. You’re looking for that “15-second” consistency where the icing holds a ribbon for a moment before smoothing out. If it’s too thick, add water a drop at a time.
Can I use a different cookie cutter shape?
Absolutely! While leaf cutters are perfect for Thanksgiving, you can use any shape you like. Just adjust the baking time slightly for smaller or larger cookies. Keep an eye on them—they’re done when the edges are just set and the bottoms are lightly golden.
How far in advance can I decorate these cookies?
You can decorate them up to a week before your event. Once the royal icing is fully dry (after 8-12 hours), store them in an airtight container at room temperature with parchment paper between layers. They’ll stay beautiful and fresh for up to two weeks.
Can I freeze the decorated cookies?
I don’t recommend freezing them after they’re decorated. The royal icing can develop condensation when thawing, which will ruin the glossy finish. It’s much better to freeze the undecorated baked cookies and ice them after thawing. That way, they look perfect on the day you serve them.
Pin This Recipe!
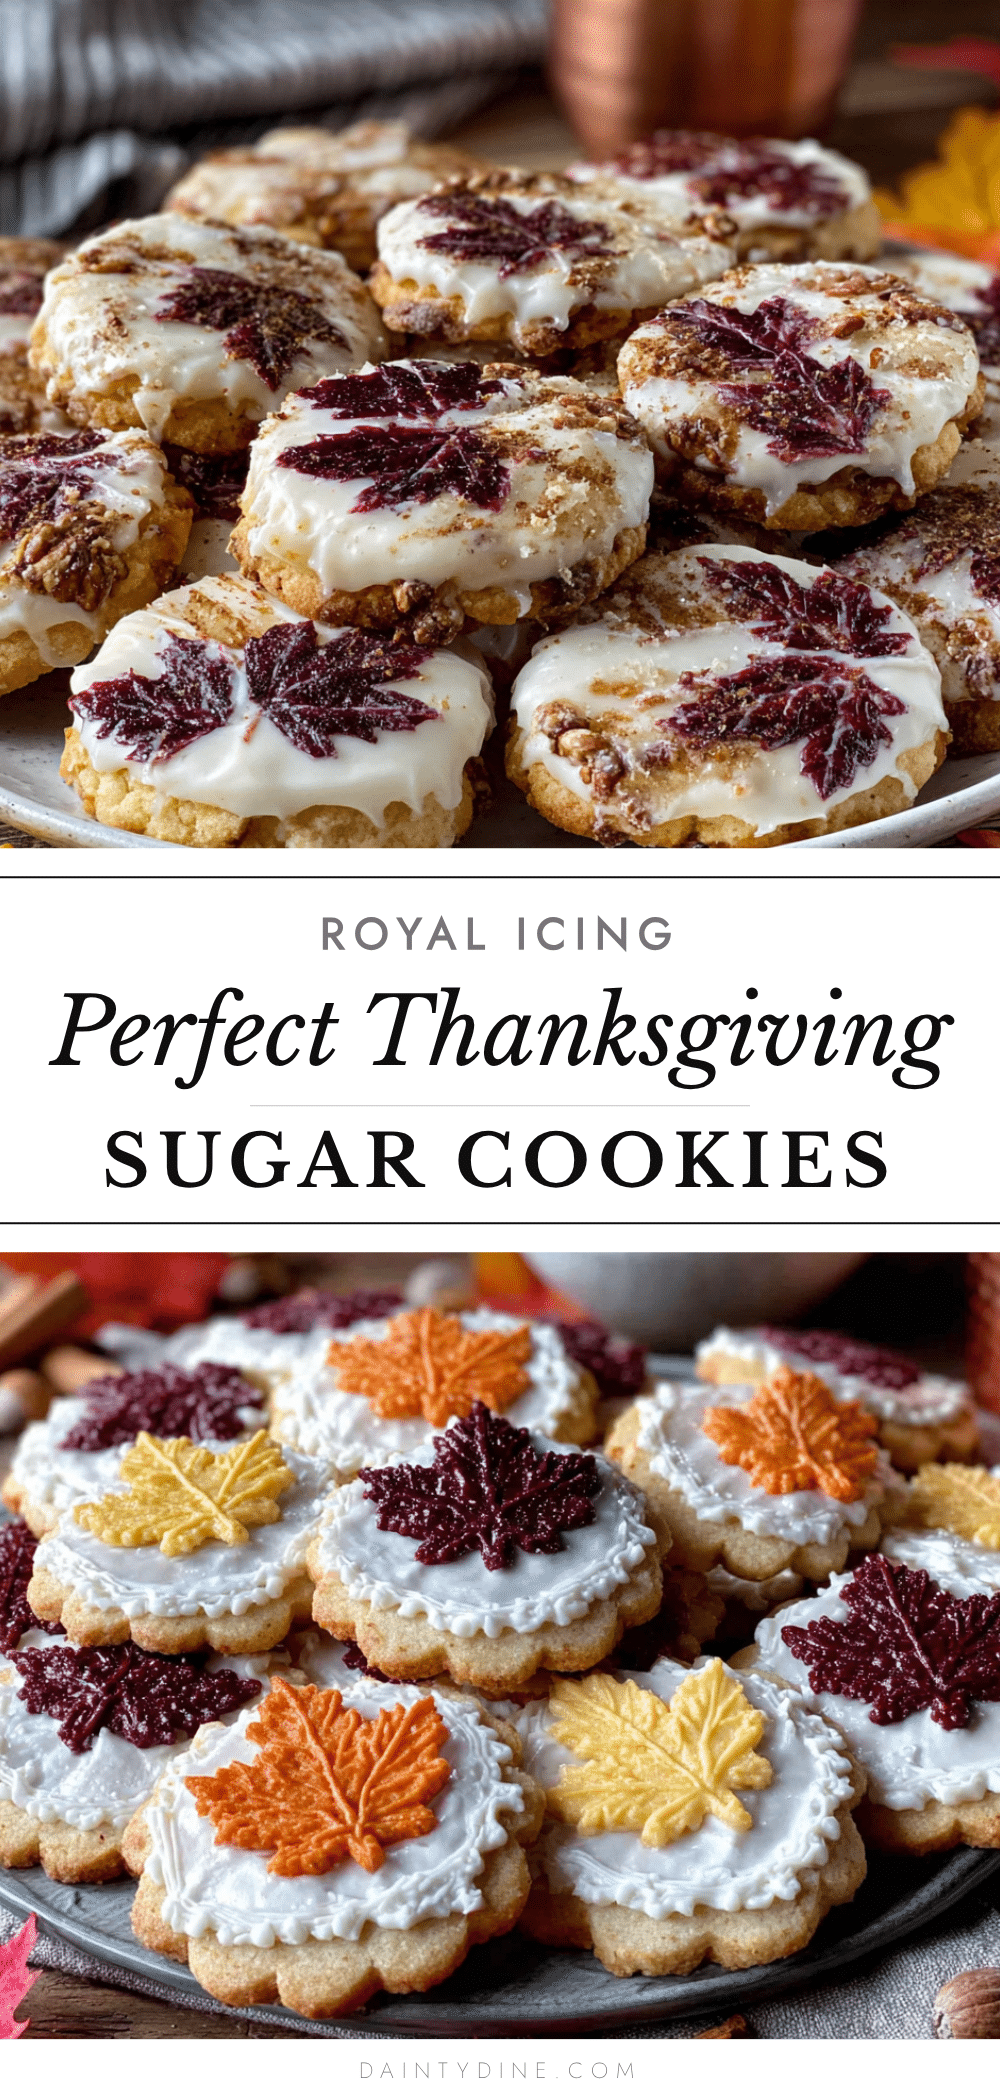
Perfect Thanksgiving Sugar Cookies Easy Royal Icing Leaves

These soft, buttery sugar cookies are sturdy enough to stack and melt in your mouth. Decorated with elegant royal icing leaves, they are the perfect make-ahead dessert for your Thanksgiving table.
- Prep Time: 30 minutes
- Cook Time: 12 minutes
- Total Time: 8 hours 42 minutes (includes overnight rest and drying time)
- Yield: 3-4 dozen cookies 1x
- Category: Dessert
- Cuisine: American
Ingredients
- 1 cup (2 sticks, 226g) unsalted butter, softened
- 1 cup (200g) granulated sugar
- 1 large egg, at room temperature
- 2 teaspoons pure vanilla extract
- 1/2 teaspoon almond extract
- 2 1/2 cups (312g) all-purpose flour, spooned and leveled
- 1/2 teaspoon baking powder
- 1/2 teaspoon salt
- 4 cups (480g) powdered sugar, sifted
- 3 tablespoons meringue powder
- 5–6 tablespoons warm water
- 1/2 teaspoon vanilla extract
- Gel food coloring: leaf green and warm brown
- Optional: edible luster dust (gold or pearl)
Instructions
- In a stand mixer fitted with the paddle attachment, cream the softened butter and granulated sugar together on medium speed until light and fluffy, about 3-4 minutes. Scrape the sides of the bowl halfway through.
- Add the egg, vanilla extract, and almond extract. Mix on low until just combined.
- In a separate bowl, whisk together the flour, baking powder, and salt.
- With the mixer on low, gradually add the dry ingredients to the wet ingredients. Mix until the dough just comes together. If it seems too dry, add a teaspoon of cold water. If it’s too sticky, add a tablespoon of flour.
- Divide the dough into two discs, wrap each tightly in plastic wrap, and refrigerate for at least 4 hours, but preferably overnight.
- Preheat your oven to 350°F (175°C). Line two baking sheets with parchment paper or silicone mats.
- Remove one disc of dough from the fridge. Let it sit at room temperature for about 5 minutes.
- On a lightly floured surface, roll the dough to about 1/4-inch (6mm) thickness. Use thickness guides if available.
- Dip leaf cutters in flour, then cut out shapes. Re-roll scraps once only.
- Place cut cookies about 1 inch apart on prepared baking sheets. Refrigerate for 10-15 minutes before baking.
- Bake for 10-12 minutes, rotating the pan halfway through. Cookies should be just set around the edges and lightly golden on the bottom. Cool on baking sheet for 5 minutes, then transfer to a cooling rack to cool completely.
- For the royal icing: In a stand mixer fitted with the whisk attachment, combine sifted powdered sugar and meringue powder. Mix on low.
- Add 5 tablespoons warm water and vanilla extract. Mix on low, then increase to medium-high and beat for 5-7 minutes until glossy and thick (15-second consistency). Adjust with water or powdered sugar as needed.
- Divide icing into two bowls. Color one with leaf green gel and the other with warm brown. Transfer to piping bags fitted with #2 tips.
- Outline each leaf cookie with green icing, then flood the inside. Use a toothpick to guide icing and pop air bubbles.
- While green icing is wet, pipe a thin line of brown icing down the center for the stem, then small vein lines branching out.
- Let decorated cookies dry, uncovered, at room temperature for at least 8 hours or overnight.
- Optional: Once dry, dust with edible luster dust using a small brush.
Notes
The overnight rest for the dough is crucial for preventing spread and achieving a tender texture. Royal icing must dry completely (8-12 hours) before stacking or storing. Cookies can be baked a week ahead and frozen undecorated; decorate after thawing.
Nutrition
- Serving Size: 1 cookie
- Calories: 180200
- Sugar: 18
- Sodium: 70
- Fat: 8
- Saturated Fat: 5
- Carbohydrates: 28
- Protein: 2
Keywords: Thanksgiving sugar cookies, royal icing leaves, soft sugar cookies, make-ahead cookies, holiday cookies


