Love this? Save it for later!
Share the inspiration with your friends
There used to be a tiny, dimly lit café on the corner of Elm and 4th called The Witching Hour that made the most incredible Halloween-themed finger food I have ever tasted. When they closed their doors three years ago after the owner retired, I honestly felt a little pang of grief. It wasn’t just the cozy, candlelit atmosphere or the fact that they played old horror movie soundtracks on vinyl—it was their deviled eggs. Specifically, the ones with the olive spiders perched right on top.
After at least six or seven attempts—some of which ended with me staring at a plate of sad, lumpy eggs and a bowl of broken olives—I finally cracked the code. Let me tell you, it was a journey. I mean, who knew that the perfect olive spider leg required such precision? The first batch I made looked more like mutant starfish than spiders. My neighbor, Gary, still brings that up every time I hand him a plate.
This recipe is the result of that obsession. It’s the exact recreation of that cozy, slightly spooky, deeply satisfying appetizer that made those autumn evenings at The Witching Hour so special. The creamy, tangy yolk filling paired with the briny pop of the olive spiders is a combination that just works. Maybe you’ve been there, chasing a memory of a dish from a place that no longer exists. If you have, you know exactly why I kept at it until I got it right.
The best part? These deviled eggs are actually easier to make than they look. They bring that perfect Halloween vibe to your table without requiring any crazy culinary skills. Honestly, the hardest part is convincing yourself not to eat all the olive spiders before they make it onto the eggs. I may or may not have a problem with that.
Why You’ll Love This Recipe
These cozy Halloween deviled eggs with olive spiders are more than just a spooky snack—they’re a conversation starter, a comfort food classic, and a total crowd-pleaser all rolled into one. I’ve tested this recipe more times than I care to admit, and each batch taught me something new about getting that perfect creamy filling and those creepy-crawly toppings just right.
- Quick & Easy: You can have these ready in under 30 minutes, making them perfect for last-minute Halloween parties or a cozy night in.
- Simple Ingredients: No fancy grocery trips here. Eggs, mayonnaise, mustard, black olives—you probably have most of this in your kitchen right now.
- Perfect for Halloween Gatherings: Whether it’s a costume party, a spooky movie marathon, or just a fun dinner with the kids, these eggs fit the bill.
- Crowd-Pleaser: I’ve served these at three different Halloween parties now, and they disappear every single time. Kids love the spiders, adults love the flavor.
- Unbelievably Delicious: The creamy yolk filling has just the right balance of tang and richness, and the briny olive spiders add that perfect salty pop.
What makes this version different from all the other deviled egg recipes out there? It’s the technique. I figured out that chilling the eggs properly before peeling makes all the difference, and that a tiny pinch of smoked paprika in the filling adds a warmth that regular paprika just can’t match. This isn’t just another Halloween appetizer—it’s the one that’ll have people asking for the recipe before the night is over.
There’s something deeply satisfying about biting into one of these. The creamy filling, the firm egg white, the unexpected crunch of the olive—it’s comfort food reimagined for the spookiest season of the year. Perfect for impressing guests without the stress, or turning a simple Halloween snack into something memorable.
What Ingredients You Will Need
This recipe uses simple, everyday ingredients to create something that looks way more impressive than it actually is. The magic is in how they come together, not in fancy or hard-to-find items.
For the Deviled Eggs:
- 6 large eggs – Use the freshest eggs you can find for the best flavor, but slightly older eggs are actually easier to peel after boiling. It’s a weird little egg paradox.
- 3 tablespoons mayonnaise – I prefer Duke’s or Hellmann’s for that perfect creamy texture. Avoid Miracle Whip here—it’s too tangy and sweet for this application.
- 1 teaspoon yellow mustard – Adds that classic deviled egg tang. You can use Dijon for a sharper flavor if you prefer.
- ½ teaspoon white vinegar – This little secret ingredient brightens up the filling without making it taste like vinegar.
- ¼ teaspoon salt – Fine sea salt works best here.
- ⅛ teaspoon black pepper – Freshly ground, if you have it.
- ⅛ teaspoon smoked paprika – Plus extra for garnish. The smoky flavor is what sets these apart from basic deviled eggs.
For the Olive Spiders:
- 12 pitted black olives – Look for large, firm olives. Lindsay brand works great, but any large pitted black olive will do.
- 1 tablespoon cream cheese – Softened to room temperature. This helps the olive “bodies” stick to the filling.
For Garnish:
- Fresh chives or parsley – Finely chopped, for a pop of green color. Completely optional but adds a nice touch.
- Extra smoked paprika – For dusting the tops before serving.
One thing I learned the hard way—don’t buy pre-sliced olives for the spiders. You need whole olives so you can slice them yourself into the right shapes. The pre-sliced ones are too thin and fall apart when you try to make the legs. Trust me on this one.
Equipment Needed
You don’t need any fancy equipment for these cozy Halloween deviled eggs, which is part of what makes them so great. Here’s what you’ll need:
- Medium saucepan – For boiling the eggs. Any pot will work, but one with a tight-fitting lid helps the water come to a boil faster.
- Mixing bowl – Medium-sized, for combining the filling ingredients.
- Fork or potato masher – For mashing the egg yolks. A fork works fine, but a potato masher makes the job quicker and gives you a smoother texture.
- Sharp paring knife – For slicing the olives into spider shapes. This is crucial—a dull knife will squish the olives.
- Cutting board – Small one is fine.
- Small piping bag or zip-top bag – For piping the filling into the egg whites. If you don’t have a piping bag, a zip-top bag with the corner snipped off works perfectly.
- Serving platter – Something Halloween-themed adds to the fun, but any plate works.
I’ve made these eggs with nothing but a fork and a butter knife before, and they turned out just fine. The piping bag makes them look prettier, but it’s not a deal-breaker if you don’t have one. A small spoon works in a pinch—just be patient and take your time.
Preparation Method
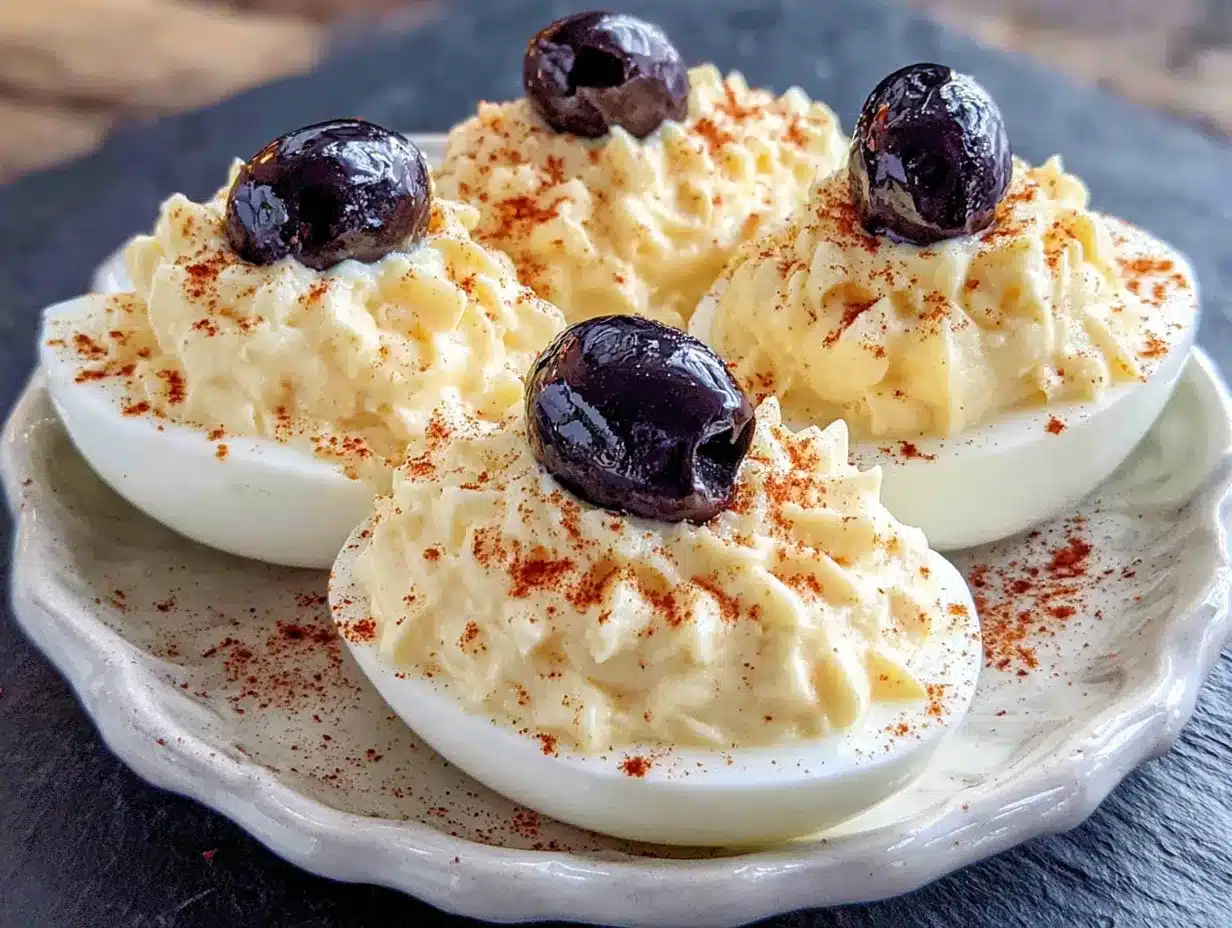
- Boil the eggs. Place the 6 large eggs in a single layer in your saucepan. Cover them with cold water by about an inch. Bring the water to a rolling boil over high heat. Once it’s boiling hard, cover the pot, turn off the heat, and let the eggs sit for exactly 12 minutes. This gives you hard-boiled eggs with firm whites and fully cooked yolks—no gray rings around the yolk.
- Ice bath time. While the eggs are sitting, fill a bowl with ice and cold water. After the 12 minutes are up, use a slotted spoon to transfer the eggs to the ice bath. Let them chill for at least 5 minutes. This stops the cooking process and makes the eggs much easier to peel. I’ve skipped this step before out of impatience, and I regretted it every single time.
- Peel the eggs. Gently tap each egg on the counter to crack the shell all over, then roll it between your palms to loosen the shell. Start peeling from the wider end where the air pocket is—it’s usually easier to get under the membrane there. Rinse the peeled eggs under cool water to remove any tiny shell fragments.
- Slice and separate. Using a sharp knife, slice each egg in half lengthwise. Carefully pop out the yolks into your mixing bowl. Arrange the egg white halves on your serving platter, cut side up.
- Make the filling. Add the 3 tablespoons mayonnaise, 1 teaspoon yellow mustard, ½ teaspoon white vinegar, ¼ teaspoon salt, ⅛ teaspoon black pepper, and ⅛ teaspoon smoked paprika to the bowl with the egg yolks. Mash everything together with a fork until the mixture is smooth and creamy. Taste it and adjust the seasoning if needed—I sometimes add an extra pinch of salt or another splash of vinegar.
- Pipe the filling. Spoon the yolk mixture into a piping bag fitted with a star tip, or into a zip-top bag with a small corner snipped off. Pipe the filling into each egg white half, dividing it evenly. You want a nice swirl on top—don’t just plop it in there. A little effort here makes them look professional.
- Make the olive spiders. This is the fun part. Take your 12 pitted black olives and pat them dry with a paper towel. For each spider, you’ll need one whole olive for the body and half of another olive sliced into thin strips for the legs. Slice 6 olives in half lengthwise, then cut each half into 4 thin strips to make the legs. You should get 8 legs per spider from one half olive.
- Assemble the spiders. Take a whole olive and use a tiny dab of cream cheese to attach it to the top of a deviled egg—this is the spider’s body. Then, arrange 4 olive leg strips on each side of the body, pressing them gently into the filling so they stay put. The cream cheese helps everything stick, but the filling itself is sticky enough to hold them if you’re careful.
- Garnish and serve. Sprinkle a little extra smoked paprika over the top of each deviled egg. If you’re using fresh chives or parsley, scatter a few pieces around the platter for color. Serve immediately or refrigerate until you’re ready.
A note on timing: The filling will be slightly soft at room temperature, which makes it easier to pipe. If you refrigerate the filling before piping, it firms up and holds its shape better but is harder to squeeze out. I usually pipe the filling while it’s still at room temperature, then refrigerate the finished eggs for 15 minutes before serving to let everything set.
Cooking Tips & Techniques
After making these cozy Halloween deviled eggs more times than I can count, I’ve picked up a few tricks that make the process smoother and the results better. Let me share what I’ve learned the hard way.
The perfect hard-boiled egg: The biggest mistake people make is overcooking the eggs. That greenish-gray ring around the yolk? That’s from cooking them too long or at too high a temperature. The 12-minute off-heat method I described above gives you perfectly cooked yolks every time. If you’re at high altitude, you might need to add a minute or two to the resting time.
Peeling without tears: Older eggs peel more easily than fresh ones, so if you can plan ahead, buy your eggs a week before you plan to make these. Adding a teaspoon of baking soda to the boiling water also helps loosen the shells. And please, please don’t try to peel hot eggs—the ice bath is non-negotiable here.
Olive spider assembly: The key to making spiders that actually look like spiders is using the right olive-to-leg ratio. Too many legs and they look like hairy monsters; too few and they look like sad little beetles. Eight legs per spider—four on each side—is the sweet spot. And make the legs thin but not paper-thin, or they’ll curl up and look weird.
Filling consistency: If your filling seems too dry, add another teaspoon of mayonnaise. If it’s too runny, add another yolk or a teaspoon of breadcrumbs. The perfect filling should be thick enough to hold its shape when piped but soft enough to squeeze easily through the piping tip.
Make-ahead strategy: You can boil and peel the eggs up to two days in advance. Store them in an airtight container in the refrigerator with a damp paper towel on top to keep them from drying out. You can also make the filling a day ahead and store it in a piping bag in the fridge. Just let it come to room temperature for 10 minutes before piping. Assemble the spiders right before serving—the olive legs tend to dry out and curl if they sit too long.
I once tried to make these for a party and forgot to buy olives. I ended up using sliced black olives from a can, and let me tell you, those spiders looked more like sad little blobs than creepy-crawlies. Learn from my mistakes—get the good whole olives.
Variations & Adaptations
One of the best things about this recipe is how easy it is to adapt. Here are some variations I’ve tried and loved.
Spicy Halloween Deviled Eggs: Add ½ teaspoon of sriracha or hot sauce to the yolk mixture for a spicy kick that cuts through the richness. The heat pairs surprisingly well with the briny olives. I made these for a Halloween party last year, and they were the first ones to disappear.
Avocado Deviled Eggs: Replace half the mayonnaise with mashed ripe avocado. This gives the filling a beautiful green color and a creamy, slightly nutty flavor. It’s a healthier option that still tastes indulgent. Just be aware that the filling will brown slightly if you make it too far in advance—a squeeze of lemon juice helps slow that down.
Bacon-Wrapped Deviled Eggs: For the ultimate indulgence, wrap each assembled deviled egg with a half-slice of crispy bacon before adding the olive spider. The salty, smoky bacon takes these to a whole new level. This version is not exactly healthy, but Halloween only comes once a year, right?
Vegan Option: Use firm tofu instead of eggs for the whites, and make the filling with silken tofu, vegan mayonnaise, and black salt (kala namak) for that eggy flavor. The olive spiders work exactly the same way. I tested this version for a vegan friend, and she said it was the closest thing to real deviled eggs she’d had in years.
Different Spider Designs: If black olives aren’t your thing, try using green olives stuffed with pimento for a different look. The red pimento adds a pop of color that’s very Halloween-appropriate. You can also use capers for tiny baby spiders, or sliced almonds for a more abstract spider look.
My personal favorite variation is the spicy one. There’s something about the heat from the sriracha combined with the cool, creamy filling and the salty olive that just works. I’ve started making a double batch—one regular and one spicy—so everyone can choose their adventure.
Serving & Storage Suggestions
These cozy Halloween deviled eggs with olive spiders are best served chilled, straight from the refrigerator. The cold temperature keeps the filling firm and the olive legs crisp. I like to arrange them on a black or dark-colored platter to make the spiders really pop—a Halloween-themed plate with bats or pumpkins adds to the fun.
What to serve with them: These eggs pair beautifully with other Halloween finger foods. Try them alongside a bowl of warm pumpkin soup, some crispy sweet potato fries, or a platter of spooky finger sandwiches. For drinks, a crisp apple cider or a dark stout beer complements the flavors perfectly. If you’re serving these at a party, set them out about 15 minutes before guests arrive so they’re not ice-cold.
Storage instructions: Store any leftover deviled eggs in an airtight container in the refrigerator for up to two days. The olive spiders might lose a leg or two during storage—just reattach them with a tiny dab of cream cheese before serving. I don’t recommend freezing these, as the texture of the egg whites becomes rubbery and unpleasant.
Reheating: Honestly, these are meant to be served cold, so reheating isn’t really a thing here. If you’ve refrigerated them and they’re too cold, let them sit at room temperature for 10 minutes before serving. The flavors actually develop and deepen after a few hours in the fridge, so these are one of those rare dishes that taste even better the next day.
One thing I’ve noticed is that the olive legs tend to absorb a bit of moisture from the filling if they sit overnight. They’ll still taste great, but they won’t have that same snappy texture. For the best presentation, assemble the spiders no more than a few hours before serving.
Nutritional Information & Benefits
Here’s the approximate nutritional breakdown for one deviled egg with an olive spider (based on the recipe as written):
- Calories: 85
- Protein: 6g
- Fat: 6g
- Carbohydrates: 1g
- Fiber: 0g
- Sugar: 0.5g
- Sodium: 180mg
Eggs are a fantastic source of high-quality protein and contain all nine essential amino acids. They’re also rich in choline, which supports brain health, and lutein, which is good for your eyes. The black olives provide healthy monounsaturated fats and a dose of vitamin E, an antioxidant that helps protect your cells from damage.
This recipe is naturally gluten-free and low-carb, making it a great option for those following a keto or paleo diet. If you’re watching your sodium intake, you can use low-sodium olives or reduce the added salt in the filling. The smoked paprika adds a touch of vitamin A and a nice dose of antioxidants without any extra calories.
From a wellness perspective, I love that these deviled eggs are a satisfying, protein-packed snack that doesn’t leave you feeling heavy or sluggish. They’re perfect for a Halloween party where you want to enjoy yourself without overindulging in sugary treats.
Conclusion
These cozy Halloween deviled eggs with olive spiders are more than just a spooky appetizer—they’re a little piece of my food memory that I’m so happy to share with you. Every time I make them, I think of that tiny café with the flickering candles and the old horror movie soundtrack, and I feel a little bit of that warmth come back.
I hope you’ll give these a try, whether it’s for a Halloween party, a cozy night in, or just because you’re craving something fun and delicious. Don’t be afraid to make them your own—add a little extra spice, swap in different olives, or get creative with the spider designs. The best recipes are the ones that evolve with each person who makes them.
If you do make these, I’d love to hear how they turned out. Drop a comment below and let me know if your olive spiders looked more like creepy-crawlies or cute little critters. And if you have any questions along the way, just ask—I’m always here to help.
Happy Halloween, and happy cooking! Here’s to cozy nights, spooky snacks, and the joy of recreating the flavors we love.
Frequently Asked Questions
Can I make these deviled eggs a day ahead?
Yes, absolutely. You can boil and peel the eggs up to two days in advance, and make the filling a day ahead. Just store them separately in airtight containers in the refrigerator. Assemble the olive spiders right before serving for the best presentation.
How do I get my eggs to peel perfectly every time?
The key is the ice bath. After boiling, transfer the eggs immediately to a bowl of ice water and let them sit for at least 5 minutes. This shocks the shells and makes them much easier to remove. Also, using slightly older eggs (a week old) helps—fresh eggs are notoriously hard to peel.
Can I use a different type of olive for the spiders?
Definitely. Green olives stuffed with pimento work great and add a pop of red color. Kalamata olives have a stronger flavor and a darker color. Just make sure whatever olives you use are firm enough to slice into thin strips without falling apart.
How long will these deviled eggs keep in the refrigerator?
Assembled deviled eggs will keep for up to two days in an airtight container in the refrigerator. The olive legs might soften a bit over time, but they’ll still taste great. I don’t recommend keeping them longer than that, as the texture starts to decline.
Can I freeze deviled eggs?
I really don’t recommend it. The egg whites become rubbery and watery when thawed, and the creamy filling separates and becomes grainy. These are best made fresh and enjoyed within a few days. If you need to prep ahead, just boil the eggs and make the filling separately, then assemble when you’re ready to serve.
Pin This Recipe!
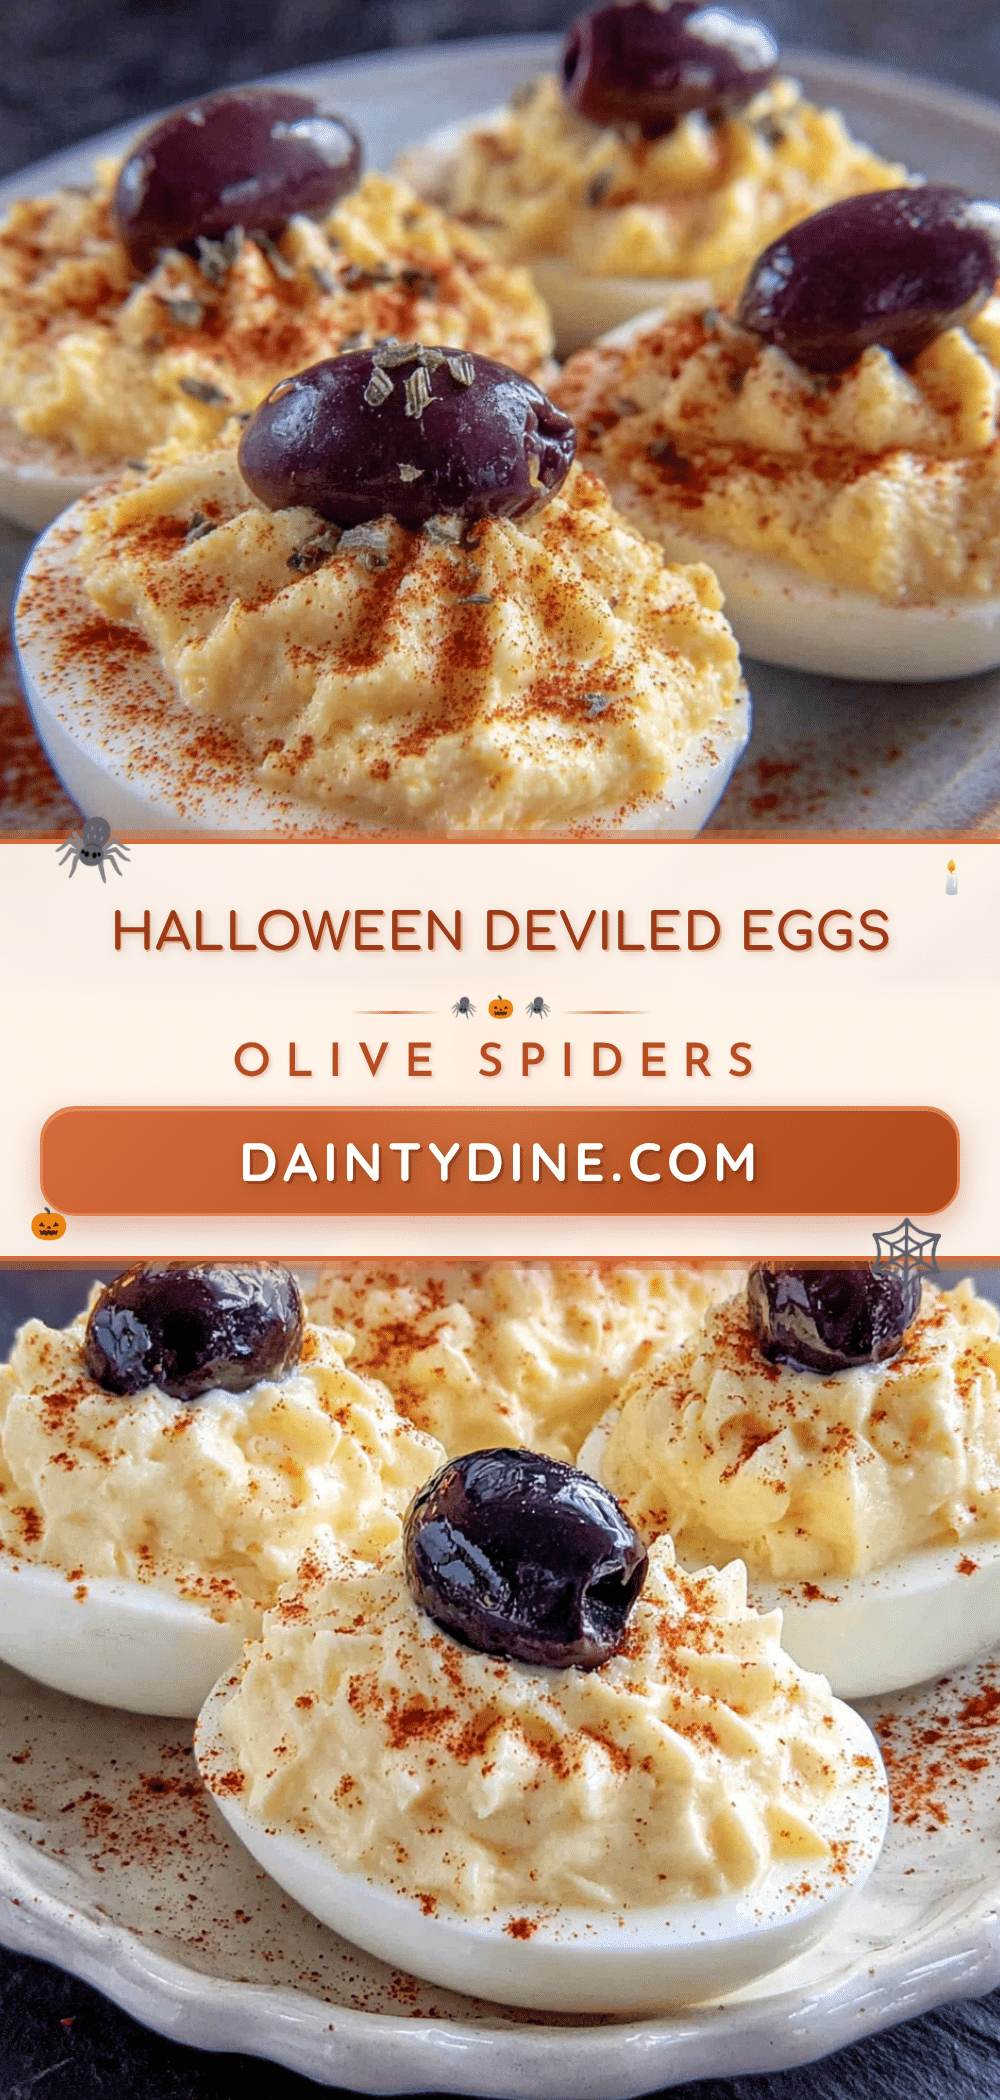
Cozy Halloween Deviled Eggs with Olive Spiders
These spooky deviled eggs feature a creamy, tangy yolk filling topped with creepy-crawly olive spiders. Perfect for Halloween parties, they’re quick to make and always a crowd-pleaser.
- Prep Time: 15 minutes
- Cook Time: 12 minutes
- Total Time: 27 minutes
- Yield: 12 deviled eggs (6 servings of 2 eggs each) 1x
- Category: Appetizer
- Cuisine: American
Ingredients
- 6 large eggs
- 3 tablespoons mayonnaise
- 1 teaspoon yellow mustard
- ½ teaspoon white vinegar
- ¼ teaspoon salt
- ⅛ teaspoon black pepper
- ⅛ teaspoon smoked paprika, plus extra for garnish
- 12 pitted black olives
- 1 tablespoon cream cheese, softened
- Fresh chives or parsley, finely chopped (optional)
Instructions
- Place the 6 large eggs in a single layer in a medium saucepan. Cover with cold water by about an inch. Bring to a rolling boil over high heat. Once boiling, cover the pot, turn off the heat, and let the eggs sit for exactly 12 minutes.
- While the eggs sit, fill a bowl with ice and cold water. After 12 minutes, transfer the eggs to the ice bath using a slotted spoon. Let them chill for at least 5 minutes.
- Gently tap each egg on the counter to crack the shell all over, then roll between your palms to loosen the shell. Peel starting from the wider end. Rinse peeled eggs under cool water to remove shell fragments.
- Slice each egg in half lengthwise. Pop out the yolks into a mixing bowl. Arrange the egg white halves on a serving platter, cut side up.
- Add 3 tablespoons mayonnaise, 1 teaspoon yellow mustard, ½ teaspoon white vinegar, ¼ teaspoon salt, ⅛ teaspoon black pepper, and ⅛ teaspoon smoked paprika to the bowl with the egg yolks. Mash together with a fork until smooth and creamy. Taste and adjust seasoning if needed.
- Spoon the yolk mixture into a piping bag fitted with a star tip, or into a zip-top bag with a small corner snipped off. Pipe the filling into each egg white half, dividing evenly.
- Pat 12 pitted black olives dry with a paper towel. For each spider, use one whole olive for the body and half of another olive sliced into thin strips for the legs. Slice 6 olives in half lengthwise, then cut each half into 4 thin strips to make 8 legs per spider.
- Take a whole olive and use a tiny dab of cream cheese to attach it to the top of a deviled egg (the spider’s body). Arrange 4 olive leg strips on each side of the body, pressing gently into the filling.
- Sprinkle extra smoked paprika over the top of each deviled egg. If using, scatter fresh chives or parsley around the platter for color. Serve immediately or refrigerate until ready.
Notes
For best results, use slightly older eggs (about a week old) for easier peeling. The ice bath is essential for perfect peeling. Pipe the filling at room temperature for easier handling, then refrigerate finished eggs for 15 minutes before serving to set. Olive spiders can be assembled up to a few hours ahead; store assembled eggs in an airtight container in the refrigerator for up to two days.
Nutrition
- Serving Size: 2 deviled eggs
- Calories: 170
- Sugar: 1
- Sodium: 360
- Fat: 12
- Saturated Fat: 3
- Carbohydrates: 2
- Protein: 12
Keywords: Halloween deviled eggs, olive spiders, spooky appetizer, Halloween party food, deviled eggs recipe


