Love this? Save it for later!
Share the inspiration with your friends
My neighbor wasn’t trying to impress anyone. I’d stopped by to borrow a ladder—our fence had taken a beating in a storm the night before—and the smell hit me before I even got to her back door. It was buttery, rich, and smelled like something you’d wait forty-five minutes for at a fancy restaurant. She was standing at the stove in sweatpants, spatula in one hand, phone wedged between her ear and shoulder, nodding along to what sounded like a work call. On the counter sat a single skillet and a pile of chicken thighs. That was it. No mise en place. No fancy ingredients scattered around. Just garlic, butter, cream, and chicken. She waved me in like it was nothing, pointed at the pan with her chin, and mouthed, “Grab a plate.”
Honestly, I thought she was joking. Chicken this creamy, this tender, this ridiculously good in under half an hour? I took a bite standing right there in her kitchen, and let me tell you—I nearly forgot about the ladder completely. The sauce clung to every piece of chicken like it was made for it. My kids were in the car waiting, and I knew in that moment I’d be making this for them the very next night. Maybe you’ve been there—staring at a fridge full of ingredients but no energy for a complicated recipe. This is the answer. No fancy techniques, no long marinating, no stress. Just pure, soul-warming comfort food that tastes like you fussed when you absolutely did not.
That night, I recreated it from memory. And honestly? It might have been even better the second time. This creamy garlic butter chicken has become our go-to Tuesday night dinner, the one my kids request when they’ve had a rough day at school. It’s the recipe I make when I want to feel like a hero without breaking a sweat. And now I’m sharing it with you, exactly the way I make it—imperfect, forgiving, and completely delicious.
Why You’ll Love This Recipe
- Quick & Easy : Comes together in just 20 minutes from start to finish. Perfect for those chaotic weeknights when you’re racing against the clock and hangry kids are circling the kitchen.
- Simple Ingredients : No fancy grocery trips needed. Chicken, butter, garlic, cream, and a few pantry staples—that’s it. You probably have everything right now.
- Kid-Approved : My own children, who once declared they “don’t like sauce,” cleaned their plates. The creamy garlic butter coating is mild, rich, and utterly irresistible to little taste buds.
- Crowd-Pleaser : Adults love it too. It’s fancy enough for company but easy enough for a regular Tuesday. I’ve served this to picky in-laws and hungry teenagers alike—empty plates every single time.
- One-Pan Wonder : Less cleanup means more time actually sitting down with your family. The whole thing happens in one skillet, start to finish.
- Unbelievably Delicious : The texture is what gets me every time. The chicken stays juicy on the inside while the outside gets this gorgeous, golden crust. And that sauce? Silky, garlicky, and absolutely dreamy over rice or pasta.
What makes this recipe different from every other creamy chicken recipe out there? It’s the method. Most recipes tell you to dump everything in at once and hope for the best. Not this one. By searing the chicken first and building the sauce in the same pan, you get layers of flavor that taste like you’ve been cooking all day. Plus, the garlic gets just enough time to mellow out and sweeten, so even the most garlic-skeptical kiddo will go back for seconds. This isn’t just another creamy chicken recipe—it’s the one you’ll actually make again and again.
What Ingredients You Will Need
This recipe uses simple, honest ingredients to create something genuinely special. Nothing weird, nothing hard to find—just good food that works together beautifully.
- Chicken Thighs (boneless, skinless), 1.5 pounds (about 680g) — I prefer thighs for this recipe because they stay juicy and tender even if you cook them a minute or two too long. If you only have chicken breasts, they’ll work too—just keep an eye on them so they don’t dry out. Pat them dry with paper towels before seasoning for the best sear.
- Butter, 3 tablespoons (42g) — Unsalted is best so you can control the salt level. Salted butter works in a pinch, just reduce the added salt slightly. This is where that rich, nutty flavor comes from.
- Garlic, 6 cloves, minced — Yes, six cloves. Trust me on this. The garlic mellows as it cooks, leaving behind a sweet, savory depth that even garlic-shy kids will love. I recommend using fresh garlic here—the jarred stuff just doesn’t deliver the same magic.
- Heavy Cream, 1 cup (240ml) — This is what makes the sauce so luscious and velvety. Half-and-half will work in a pinch, but the sauce won’t be quite as thick or luxurious. For a dairy-free option, full-fat canned coconut milk is surprisingly good here.
- Chicken Broth, 1/2 cup (120ml) — Low-sodium is my go-to so I can season to taste. The broth adds savory depth and helps deglaze the pan, picking up all those delicious browned bits from the chicken.
- Parmesan Cheese, 1/2 cup (50g), freshly grated — Pre-shredded Parmesan has anti-caking agents that prevent it from melting smoothly. Grate it yourself for a silky, lump-free sauce. It adds a salty, nutty finish that ties everything together.
- Italian Seasoning, 1 teaspoon — A simple blend of dried herbs that adds warmth and complexity. If you don’t have Italian seasoning, use 1/2 teaspoon dried oregano and 1/2 teaspoon dried basil instead.
- Paprika, 1/2 teaspoon — Just a little for color and a subtle smoky sweetness. Smoked paprika is lovely here if you have it.
- Salt, 1 teaspoon — Adjust to taste, especially if your broth or Parmesan is on the salty side.
- Black Pepper, 1/2 teaspoon — Freshly ground is always better, but pre-ground works fine.
- Fresh Parsley, for garnish (optional) — Not strictly necessary, but it makes the dish look pretty and adds a fresh pop of color.
Ingredient Note: I’ve tested this recipe with different brands, and I personally find that a good quality heavy cream—like the one from Organic Valley or Horizon—makes a noticeable difference in the sauce’s richness. For the Parmesan, BelGioioso is my go-to. But honestly, whatever you have on hand will work—this recipe is forgiving like that.
Equipment Needed
You don’t need a lot of fancy equipment for this one. Here’s what I use:
- Large Skillet or Frying Pan (12-inch) — A heavy-bottomed skillet works best for even heat distribution. Cast iron is my favorite because it holds heat beautifully and gives the chicken a gorgeous golden crust. A stainless steel or non-stick pan will work just fine too.
- Sharp Knife — For mincing garlic and chopping parsley. A dull knife makes everything harder and more frustrating.
- Cutting Board — Any stable surface will do.
- Measuring Spoons and Cups — For accurate ingredient measurements.
- Wooden Spoon or Silicone Spatula — For stirring the sauce and scraping up those flavorful browned bits from the pan bottom.
- Tongs — For flipping the chicken easily without piercing it and losing those precious juices.
- Microplane or Box Grater — For grating fresh Parmesan. A fine grater works beautifully too.
Budget-Friendly Tip: If you don’t own a cast iron skillet, don’t rush out to buy one. A good non-stick pan from a discount store will work perfectly for this recipe. I used a $15 pan for years before upgrading, and the chicken still came out great every time.
Preparation Method
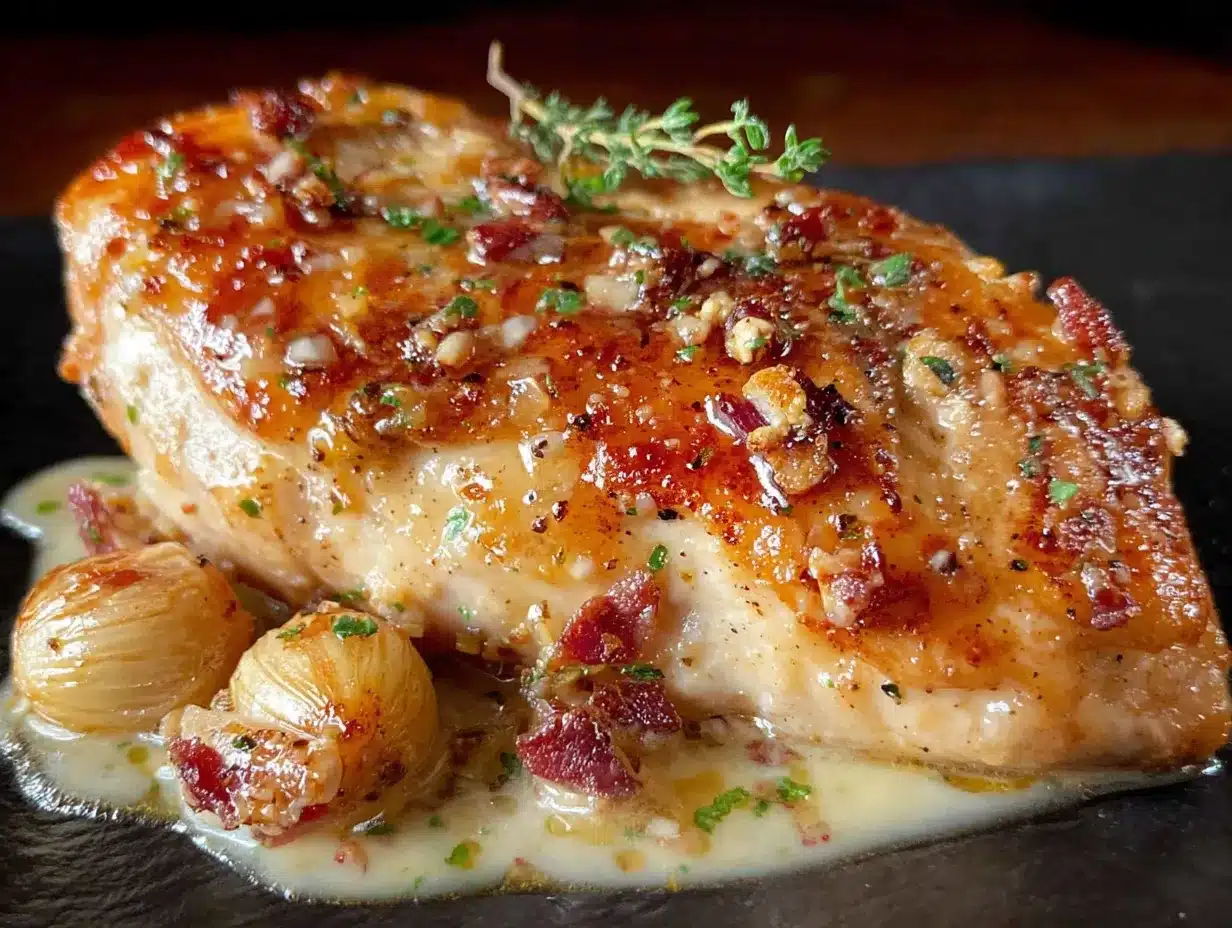
- Prep the Chicken (5 minutes): Pat the chicken thighs dry with paper towels. This step is more important than you think—dry chicken = better browning. Season both sides generously with salt, pepper, paprika, and Italian seasoning. Let them sit at room temperature while you get the pan ready. Don’t skip the resting time; it helps the seasoning adhere and the chicken cook more evenly.
- Heat the Pan (2 minutes): Place your skillet over medium-high heat and add 1 tablespoon of the butter. Let it melt and sizzle until it stops foaming—this means the pan is hot enough. The butter should be bubbly but not browning yet. If it starts smoking, your heat is too high.
- Sear the Chicken (6-8 minutes): Carefully place the chicken thighs in the skillet in a single layer. Don’t crowd the pan—if your skillet is small, cook in two batches. Let them cook undisturbed for 3-4 minutes until the bottom is deep golden brown. Flip using tongs and cook another 3-4 minutes on the other side. The chicken should be golden and crispy on the outside but not necessarily cooked through yet—it will finish in the sauce. Transfer the chicken to a clean plate and set aside.
- Build the Sauce Base (2 minutes): Reduce the heat to medium. Add the remaining 2 tablespoons of butter to the same skillet. Once melted, add the minced garlic and stir constantly for about 30-45 seconds until fragrant. Be careful not to burn the garlic—it goes from golden to bitter very quickly. If it starts browning too fast, take the pan off the heat for a few seconds.
- Deglaze the Pan (1 minute): Pour in the chicken broth and use your wooden spoon to scrape up all those browned bits from the bottom of the pan. This is where so much flavor lives—don’t leave it behind! Let the broth simmer for about a minute until it reduces slightly.
- Make the Cream Sauce (3 minutes): Reduce the heat to low and slowly pour in the heavy cream, stirring constantly. Let it come to a gentle simmer—not a rolling boil, or the cream might separate. Stir in the grated Parmesan cheese a little at a time, letting it melt completely before adding more. The sauce should be smooth, creamy, and slightly thickened. Taste it and adjust salt and pepper as needed.
- Finish the Chicken (3-5 minutes): Return the seared chicken thighs to the skillet, nestling them into the sauce. Spoon some of the sauce over the tops. Let them simmer gently in the sauce for 3-5 minutes until the chicken is cooked through (internal temperature of 165°F/74°C) and the sauce has thickened to your liking. The sauce should coat the back of a spoon—not too thin, not too thick.
- Rest and Serve (2 minutes): Remove the skillet from the heat. Let the chicken rest in the sauce for 2 minutes—this allows the juices to redistribute and the sauce to settle. Sprinkle with fresh parsley if using, and serve immediately over rice, pasta, or with crusty bread to soak up every last drop of that glorious sauce.
Sensory Cue: When the chicken is perfectly seared, it should release easily from the pan without sticking. If it resists, give it another 30 seconds—it’s telling you it’s not ready yet. The sauce should be silky and smooth, with tiny bubbles around the edges, not a vigorous boil. You’ll smell the garlic mellowing into something sweet and nutty, not sharp or pungent.
Cooking Tips & Techniques
Let me save you from the mistakes I made the first few times I made this. Because yes, I messed it up. More than once.
The Biggest Mistake: Overcrowding the Pan. I cannot stress this enough. If you cram too many chicken thighs into the skillet, they steam instead of sear. You end up with pale, sad chicken and no browned bits for the sauce. Cook in batches if you need to. It adds maybe three extra minutes and makes a world of difference.
The Second Biggest Mistake: Burning the Garlic. I did this on my third attempt. I got distracted by my kids arguing over a toy, and by the time I looked back, my garlic was dark brown and bitter. Had to start over. Garlic cooks fast—once it’s fragrant, it’s done. Add the broth immediately to stop the cooking process.
Timing Strategy: Start your rice or pasta before you begin the chicken. That way, everything finishes at the same time. I put my rice on, set a timer, and then start the chicken. By the time the rice is fluffy, the chicken is resting in the sauce. Perfect timing, zero stress.
Consistency Tip: If your sauce is too thin at the end, let it simmer for another minute or two without the chicken. It will thicken as it reduces. If it’s too thick, add a splash of chicken broth or milk and stir until it loosens up. You’re in control here—adjust it to your liking.
Don’t Skip the Rest: Letting the chicken rest in the sauce for those two minutes before serving makes a real difference. The juices redistribute, the sauce clings better, and every bite is more flavorful. I know you’re hungry, but trust me on this.
Variations & Adaptations
One of the reasons I love this recipe so much is how easy it is to adapt. Here are some ways I’ve changed it up depending on what’s in my fridge or who’s coming to dinner.
- Dairy-Free Version: Substitute the heavy cream with full-fat canned coconut milk and use a dairy-free butter alternative. The coconut flavor is subtle and actually works beautifully with the garlic and herbs. Omit the Parmesan or use a dairy-free Parmesan alternative.
- Chicken Breast Option: If you prefer chicken breasts, use 1.5 pounds of boneless, skinless breasts. Slice them in half horizontally to create thinner cutlets—they’ll cook faster and stay juicier. Reduce the searing time to 2-3 minutes per side.
- Add Vegetables: Toss in a handful of fresh spinach during the last 2 minutes of cooking—it wilts into the sauce beautifully. Sliced mushrooms, sautéed with the garlic, add an earthy depth that adults especially love. My kids actually enjoy the spinach version, so it’s a win-win.
- Spicy Kick: Add a pinch of red pepper flakes along with the garlic for a gentle heat that won’t overwhelm the kids but will satisfy adults who want a little zing. I do this when it’s just my husband and me.
- Herb Swap: Not a fan of Italian seasoning? Use fresh thyme or rosemary instead. Add a sprig while the sauce simmers and remove it before serving. Fresh herbs give the dish a slightly different but equally delicious character.
- Slow Cooker Adaptation: Sear the chicken as directed, then transfer everything to a slow cooker. Cook on low for 4-5 hours. Add the cream and Parmesan in the last 20 minutes to prevent curdling. This version is perfect for busy days when you want dinner ready the minute you walk in the door.
Serving & Storage Suggestions
This creamy garlic butter chicken is incredibly versatile when it comes to serving. Here’s how I like to do it:
Serving Suggestions: Serve the chicken hot, with plenty of sauce spooned over the top. I always serve it over a bed of fluffy white rice or egg noodles to soak up every bit of that creamy sauce. Mashed potatoes are another fantastic option—the sauce pools in the little wells and it’s pure comfort. A simple green salad or steamed green beans on the side adds a fresh contrast. For a low-carb option, serve over cauliflower rice or zucchini noodles.
Storage Instructions: Store leftovers in an airtight container in the refrigerator for up to 3 days. The flavors actually meld and deepen overnight, so leftovers might taste even better the next day. I’ve been known to make a double batch just for this reason.
Freezing Instructions: This recipe freezes beautifully. Let the chicken and sauce cool completely, then transfer to a freezer-safe container. It will keep for up to 3 months. Thaw overnight in the refrigerator before reheating.
Reheating Tips: Reheat gently on the stovetop over low heat, adding a splash of chicken broth or milk to loosen the sauce if needed. Avoid the microwave if possible—it can make the sauce grainy and the chicken rubbery. If you must use the microwave, do it in 30-second bursts at 50% power, stirring between each burst.
Flavor Development: Here’s a little secret—this dish is actually better the next day. The chicken absorbs more of the sauce overnight, and the garlic flavor mellows into something incredibly comforting. I sometimes make it a day ahead on purpose. Don’t tell anyone, but I think it’s the best way to enjoy it.
Nutritional Information & Benefits
While this is definitely a comfort food dish, it does have some redeeming nutritional qualities. Here’s a rough breakdown per serving (based on 4 servings):
- Calories: Approximately 520-580 calories per serving
- Protein: 35-40g (excellent for muscle repair and keeping kids full)
- Fat: 38-42g (mostly from healthy butter and cream)
- Carbohydrates: 5-8g (very low-carb friendly)
- Calcium: Good source from the Parmesan and cream
- Iron: Moderate amount from the chicken
Health Benefits: Chicken thighs are rich in B vitamins, particularly B6 and B12, which support energy metabolism and brain function. Garlic is known for its immune-boosting properties—a nice bonus during cold and flu season. The calcium from the dairy supports bone health, especially important for growing kids.
Dietary Considerations: This recipe is naturally gluten-free and low-carb. For a lower-fat version, you can substitute half-and-half for the heavy cream and reduce the butter to 2 tablespoons. The sauce won’t be quite as luxurious, but it will still be delicious.
Allergen Note: Contains dairy (butter, cream, Parmesan). Not suitable for those with dairy allergies unless adapted with the dairy-free options mentioned above.
Conclusion
This creamy garlic butter chicken has become a staple in our home for a reason. It’s the recipe I turn to when I need a win—when the kids are cranky, when I’m tired, when I want something that feels special without actually requiring much effort. It’s proof that you don’t need complicated techniques or exotic ingredients to create something genuinely memorable. Just a good pan, some patience, and a willingness to let simple ingredients shine.
I hope you’ll try this recipe and make it your own. Maybe you’ll add a little more garlic, or throw in some mushrooms, or serve it over your favorite pasta. That’s the beauty of a recipe like this—it’s forgiving, adaptable, and always, always delicious. My kids now ask for “that creamy chicken” by name, and honestly, it makes me feel like a rockstar every single time.
If you make this, I’d love to hear about it. Drop a comment below and tell me how it turned out, what you served it with, or how your family liked it. And if you have a picky eater at home who surprised you? I want to hear that most of all. Happy cooking, friends!
Frequently Asked Questions
Can I use chicken breasts instead of thighs?
Absolutely! Chicken breasts work perfectly in this recipe. Just slice them in half horizontally to create thinner cutlets so they cook evenly and quickly. Reduce the searing time to 2-3 minutes per side, and check for doneness a minute or two earlier than you would with thighs.
How do I prevent the sauce from curdling?
The key is to keep the heat low when you add the cream. Never let it come to a rolling boil—a gentle simmer is all you need. Also, make sure your cream is at room temperature before adding it to the pan. Cold cream hitting a hot pan is more likely to separate. If your sauce does start to look grainy, take it off the heat immediately and whisk in a tablespoon of cold cream or milk to help bring it back together.
Can I make this recipe dairy-free?
Yes, and it still turns out delicious! Substitute the heavy cream with full-fat canned coconut milk and use a dairy-free butter alternative like Miyoko’s or Earth Balance. Omit the Parmesan or use a dairy-free Parmesan alternative. The coconut flavor is subtle and complements the garlic and herbs beautifully.
What should I serve with this chicken?
The options are endless! I personally love it over white rice or egg noodles to soak up all that sauce. Mashed potatoes are another fantastic choice. For a lighter option, serve with steamed green beans, roasted broccoli, or a simple green salad. Crusty bread on the side is always a hit for sopping up every last drop.
How long do leftovers last, and what’s the best way to reheat them?
Leftovers will keep in the refrigerator for up to 3 days in an airtight container. The best way to reheat is on the stovetop over low heat, adding a splash of chicken broth or milk to loosen the sauce. Avoid the microwave if possible—it can make the sauce grainy. If you must use it, do 30-second bursts at 50% power. The flavors actually get better overnight, so don’t be shy about making extra!
Pin This Recipe!
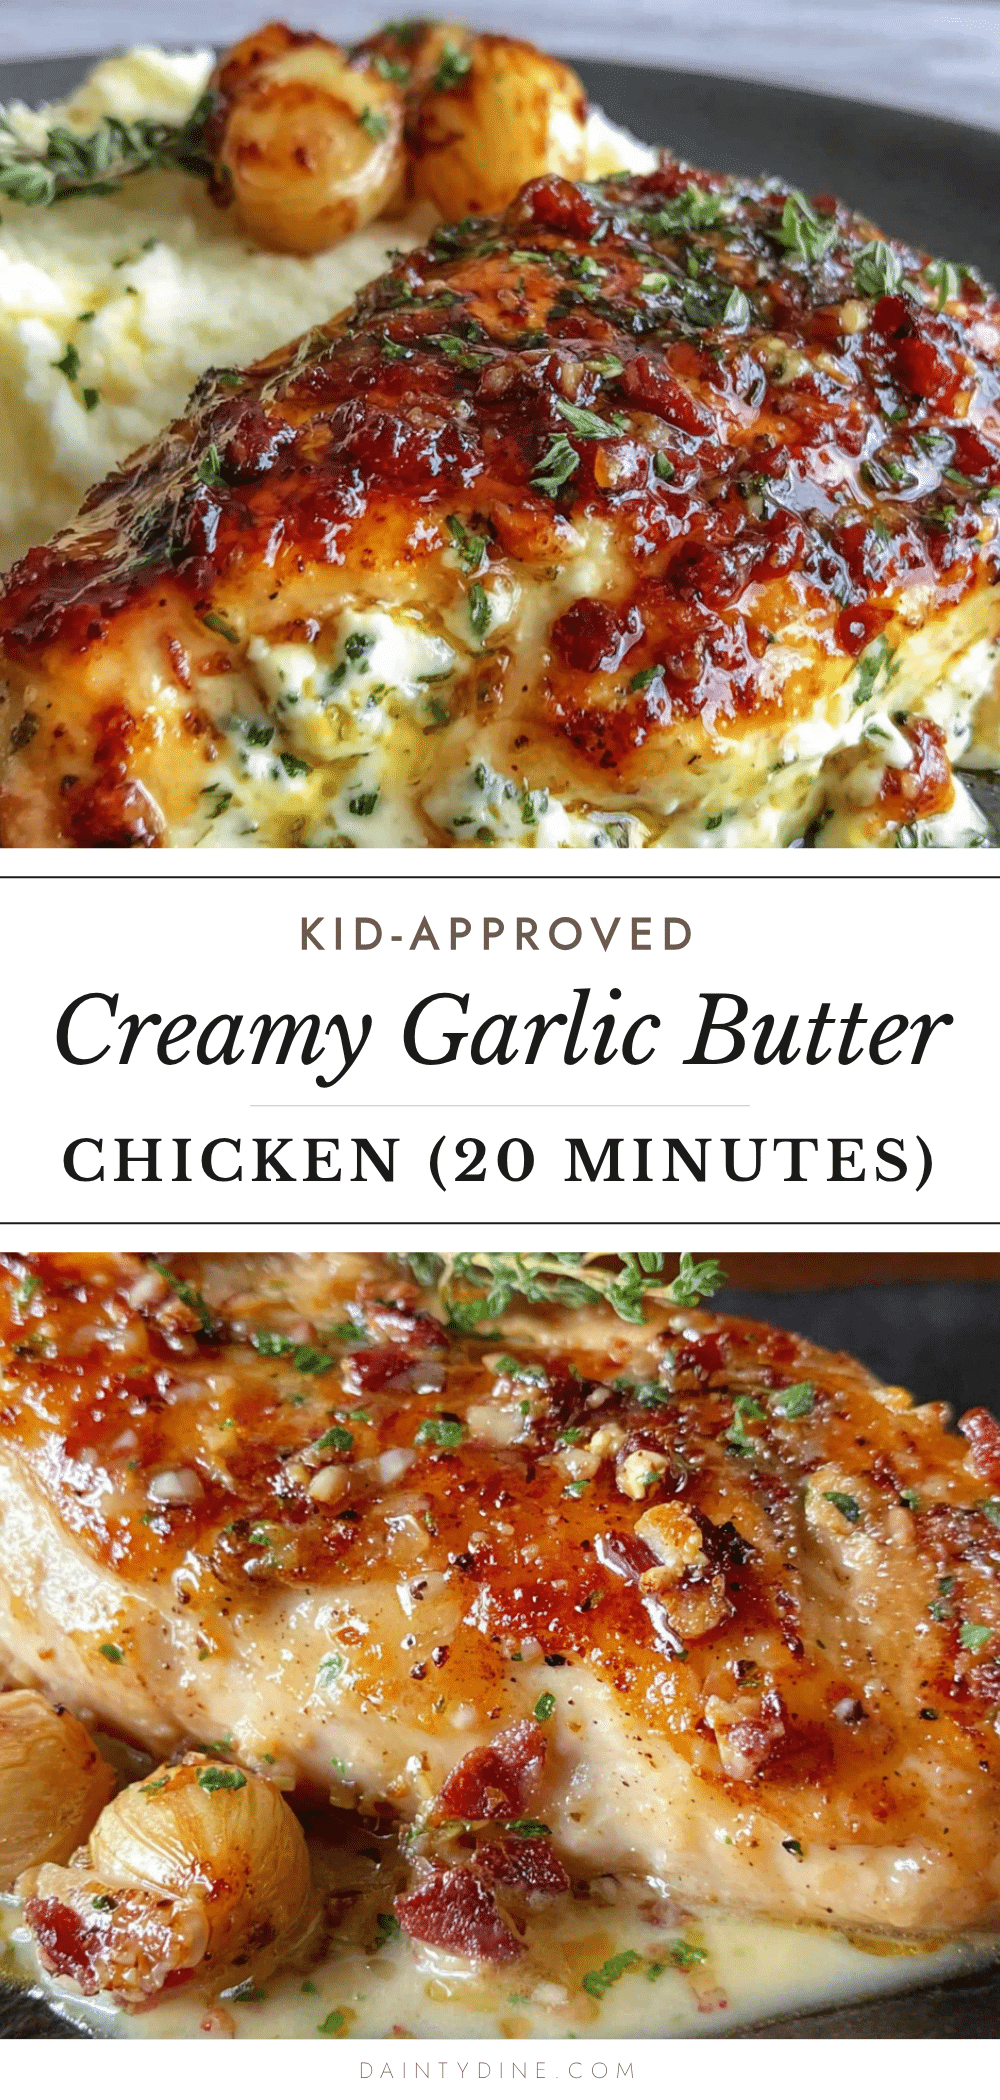
Kid-Approved Creamy Garlic Butter Chicken: Easy 20-Minute Dinner

This creamy garlic butter chicken is a quick and easy 20-minute dinner that’s kid-approved and perfect for busy weeknights. With simple ingredients and a one-pan method, it delivers rich, comforting flavor without the fuss.
- Prep Time: 5 minutes
- Cook Time: 15 minutes
- Total Time: 20 minutes
- Yield: 4 servings 1x
- Category: Main Course
- Cuisine: American
Ingredients
- 1.5 pounds (about 680g) boneless, skinless chicken thighs
- 3 tablespoons (42g) unsalted butter
- 6 cloves garlic, minced
- 1 cup (240ml) heavy cream
- 1/2 cup (120ml) low-sodium chicken broth
- 1/2 cup (50g) freshly grated Parmesan cheese
- 1 teaspoon Italian seasoning
- 1/2 teaspoon paprika
- 1 teaspoon salt
- 1/2 teaspoon black pepper
- Fresh parsley for garnish (optional)
Instructions
- Pat the chicken thighs dry with paper towels. Season both sides generously with salt, pepper, paprika, and Italian seasoning. Let them sit at room temperature while you prepare the pan.
- Place a large skillet over medium-high heat and add 1 tablespoon of butter. Let it melt and sizzle until it stops foaming.
- Carefully place the chicken thighs in the skillet in a single layer. Cook undisturbed for 3-4 minutes until deep golden brown. Flip and cook another 3-4 minutes. Transfer to a clean plate and set aside.
- Reduce heat to medium. Add remaining 2 tablespoons of butter to the skillet. Once melted, add minced garlic and stir constantly for 30-45 seconds until fragrant.
- Pour in the chicken broth and use a wooden spoon to scrape up browned bits from the pan bottom. Let simmer for about 1 minute until slightly reduced.
- Reduce heat to low and slowly pour in the heavy cream, stirring constantly. Let it come to a gentle simmer. Stir in the grated Parmesan cheese a little at a time until melted and smooth. Season with additional salt and pepper to taste.
- Return the seared chicken thighs to the skillet, nestling them into the sauce. Spoon some sauce over the tops. Let simmer gently for 3-5 minutes until chicken is cooked through (internal temperature of 165°F/74°C) and sauce has thickened.
- Remove from heat and let rest for 2 minutes. Sprinkle with fresh parsley if desired. Serve immediately over rice, pasta, or with crusty bread.
Notes
For best results, don’t overcrowd the pan—cook chicken in batches if needed. Avoid burning the garlic; once fragrant, add broth immediately. Let the chicken rest in the sauce for 2 minutes before serving. Leftovers can be stored in the refrigerator for up to 3 days or frozen for up to 3 months.
Nutrition
- Serving Size: 1 serving (about 1 c
- Calories: 550
- Sugar: 2
- Sodium: 780
- Fat: 40
- Saturated Fat: 22
- Carbohydrates: 6
- Protein: 38
Keywords: creamy garlic butter chicken, easy chicken dinner, 20-minute meal, kid-friendly, one-pan chicken, weeknight dinner


