Love this? Save it for later!
Share the inspiration with your friends
My husband swore he hated pumpkin. For years. Ten years, actually. He’d make this face whenever I mentioned anything pumpkin-spiced—like I’d suggested we wallpaper the kitchen with orange construction paper. Then last October, I made a batch of these Family-Favorite Pumpkin Bars with Cream Cheese Frosting for a neighborhood potluck, mostly because I had a can of pumpkin puree taking up space in the pantry. I set them on the counter to cool, stepped away to answer the phone, and came back to find him standing there with a guilty look and crumbs on his shirt. “These are pretty good,” he mumbled, reaching for a second piece before the frosting had even set.
Honestly, I wasn’t surprised. There’s something about this particular recipe that just works. It’s not too sweet, not too dense, and that cream cheese frosting—let me tell you—it’s the kind you want to eat with a spoon when nobody’s watching. I’d been tweaking pumpkin bar recipes for a while, trying to find one that didn’t turn out rubbery or bland or sopping with oil. This version? It’s the one. The bars come out perfectly moist, almost cake-like, with just enough spice to remind you of fall without overwhelming your taste buds.
I brought the leftovers to my neighbor Carol the next day. She texted me three hours later asking for the recipe, which she then made for her daughter’s birthday party. That’s how these things spread, you know? One good batch, one person who can’t stop thinking about them, and suddenly everyone’s baking them. Maybe you’ve been there—that moment when a recipe just clicks, and you know you’ll be making it for years. That’s what this one is for me. And for my pumpkin-hating husband, apparently.
Why You’ll Love This Recipe
These aren’t just any pumpkin bars. I’ve tested this recipe at least seven times to get the texture right—not too dense, not too fluffy, just that perfect in-between that holds up to a generous layer of cream cheese frosting. Here’s why they’ve become a staple in my kitchen:
- Quick & Easy: From mixing bowl to oven in under 15 minutes. The batter comes together with just one bowl and a whisk—no electric mixer needed for the bar portion.
- Simple Ingredients: Canned pumpkin, basic pantry staples, and a block of cream cheese. Nothing weird, nothing expensive. You probably have most of this already.
- Perfect for Fall Gatherings: These bars travel well, slice neatly, and feed a crowd. I’ve brought them to school events, church potlucks, and casual dinner parties. They disappear fast.
- Crowd-Pleaser: Even people who “don’t like pumpkin” (yes, I married one) end up reaching for seconds. The cream cheese frosting is a big part of that magic.
- Unbelievably Delicious: The texture is what gets me every time. Moist without being greasy, tender without being crumbly. And that tangy frosting against the warm spiced pumpkin? Pure comfort.
What makes these different from other pumpkin bar recipes is the technique. Most recipes overmix the batter, which makes the bars tough. I use a gentle hand and room-temperature ingredients for a smoother, more even crumb. Plus, I add a touch of cinnamon and nutmeg to the frosting itself—a little trick that ties everything together beautifully. It’s not just another version. It’s the version I keep coming back to.
These bars are the kind of dessert that makes you close your eyes after the first bite. The kind that turns a regular Tuesday into something worth looking forward to. For busy families, for budget-conscious home cooks, for anyone who wants a dessert that feels special without requiring a pastry degree—this is it.
What Ingredients You Will Need
This recipe uses simple, wholesome ingredients to deliver bold fall flavor without any fuss. Most of these are pantry staples, which means you can probably whip up a batch without a special grocery trip.
For the Pumpkin Bars
- Canned pumpkin puree (15 oz / 425g) – Make sure you grab 100% pure pumpkin, not pumpkin pie filling. I prefer Libby’s for consistent texture, but store brands work fine too.
- Granulated sugar (1 cup / 200g) – Adds sweetness and helps keep the bars tender.
- Brown sugar (½ cup / 100g, packed) – Adds depth and moisture. Dark or light brown sugar both work; dark gives a richer flavor.
- Vegetable oil (½ cup / 120ml) – Keeps the bars incredibly moist. Canola or any neutral oil works. I’ve used melted coconut oil in a pinch—just make sure it’s cooled slightly.
- Large eggs (2, room temperature) – Room-temperature eggs blend more evenly into the batter. If you forgot to set them out, place them in warm water for 5 minutes.
- All-purpose flour (1½ cups / 190g) – Spoon and level your flour for accurate measuring. Scooping directly can pack in too much.
- Baking powder (1½ teaspoons) – Gives the bars a gentle lift.
- Baking soda (½ teaspoon) – Helps with browning and texture.
- Salt (½ teaspoon) – Balances the sweetness and enhances the spices.
- Ground cinnamon (1½ teaspoons) – The backbone of the spice blend.
- Ground nutmeg (½ teaspoon) – Warm and slightly sweet. Freshly grated is amazing if you have it.
- Ground ginger (¼ teaspoon) – Adds a subtle kick. Optional but recommended.
- Ground cloves (¼ teaspoon) – A little goes a long way. Adds that classic pumpkin pie warmth.
For the Cream Cheese Frosting
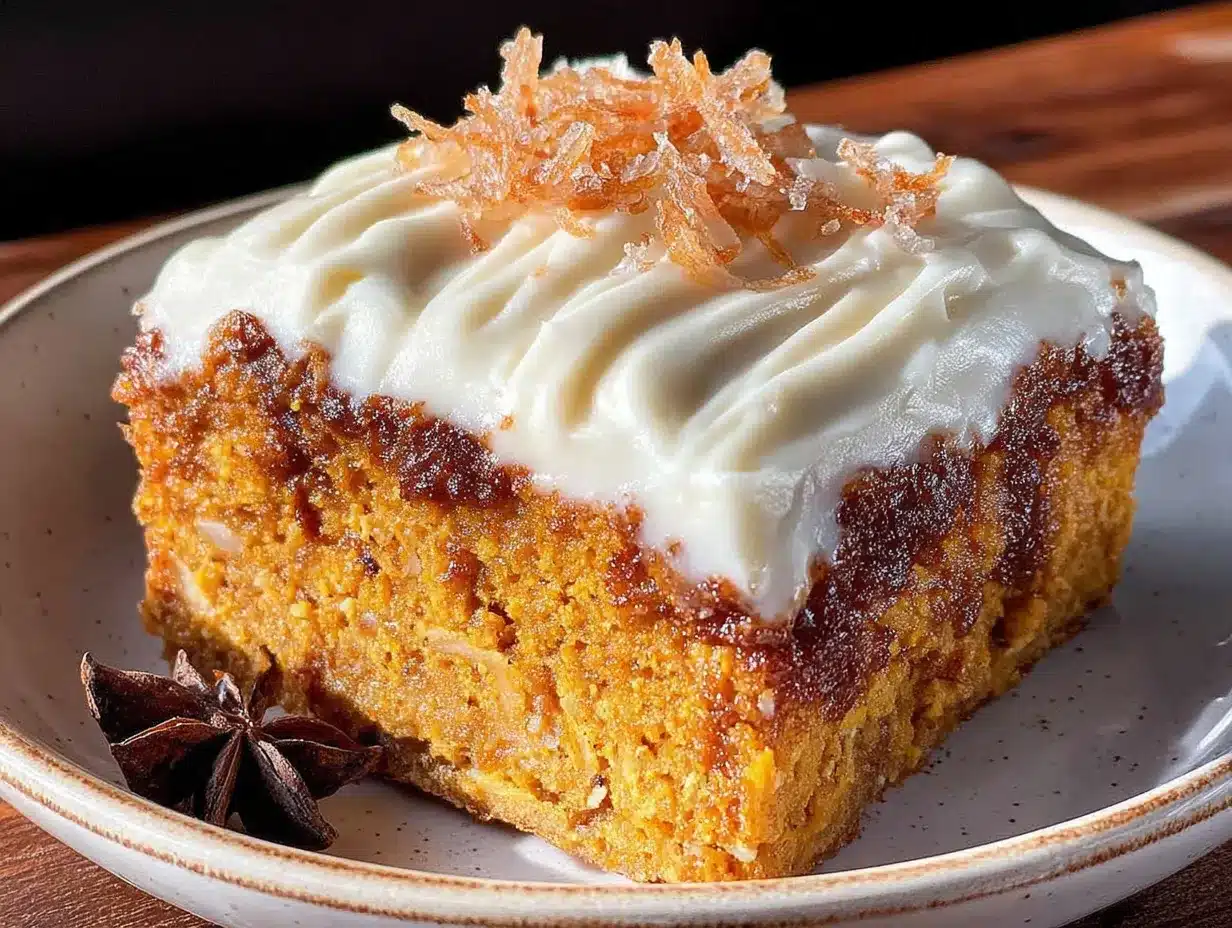
- Cream cheese (8 oz / 226g, softened) – Full-fat block cream cheese is non-negotiable here. Don’t use the spreadable kind in a tub—it’s too soft and will make runny frosting.
- Unsalted butter (¼ cup / 57g, softened) – Adds richness and helps the frosting hold its shape.
- Powdered sugar (2 cups / 240g, sifted) – Sifting prevents lumps. I know it’s an extra step, but it makes a difference.
- Vanilla extract (1 teaspoon) – Pure vanilla, not imitation, if you can swing it.
- Ground cinnamon (¼ teaspoon) – A subtle hint of spice in the frosting. Trust me on this.
- Ground nutmeg (⅛ teaspoon) – Just a pinch for warmth.
- Milk (1-2 tablespoons, as needed) – Adjust for consistency. Whole milk works best, but any kind will do.
Equipment Needed
You don’t need fancy tools for these bars, which is part of why I love them. Here’s what you’ll need:
- 9×13-inch baking pan – A metal pan gives more even browning, but glass works too. If using glass, reduce oven temperature by 25°F and expect slightly longer baking time.
- Mixing bowls – One large bowl for the wet ingredients, one medium for the dry. I use Pyrex glass bowls because they don’t hold onto odors.
- Whisk – For combining the dry ingredients and smoothing the wet mixture.
- Rubber spatula – For folding the batter and scraping every last bit of frosting into the bowl.
- Hand mixer or stand mixer – For the frosting. You can do it by hand with a wooden spoon, but your arm will thank you for using a mixer.
- Parchment paper – Not strictly necessary, but it makes lifting the bars out of the pan so much easier. Leave overhang on two sides for handles.
- Cooling rack – Lets air circulate so the bars cool evenly before frosting.
- Offset spatula – For spreading the frosting smoothly. A butter knife works in a pinch.
I bought my offset spatula for $3 at a restaurant supply store, and it’s one of my most-used tools. If you bake often, it’s worth the tiny investment. Otherwise, don’t stress—use what you have.
Preparation Method
Preheat your oven to 350°F (175°C). Line your 9×13-inch pan with parchment paper, leaving a couple inches of overhang on the long sides. Lightly grease the parchment and any exposed pan edges.
- Mix the wet ingredients. In a large bowl, whisk together the pumpkin puree, granulated sugar, brown sugar, and vegetable oil until smooth. Add the eggs one at a time, whisking well after each. The mixture should look glossy and uniform—no streaks of egg white.
- Combine the dry ingredients. In a separate medium bowl, whisk together the flour, baking powder, baking soda, salt, cinnamon, nutmeg, ginger, and cloves. Whisking aerates the flour and distributes the spices evenly, so don’t skip this step.
- Fold the dry into the wet. Add the dry ingredients to the wet mixture in two additions, folding gently with a rubber spatula. Stop as soon as the flour disappears—overmixing will make the bars tough. A few small lumps are totally fine. The batter will be thick and smell amazing.
- Spread the batter evenly. Pour the batter into the prepared pan and spread it to the edges. An offset spatula works great here, but the back of a spoon will do. The layer will be relatively thin—about ½ inch thick. That’s normal.
- Bake. Place the pan on the middle rack and bake for 22-28 minutes. Start checking at 22 minutes: the edges should be pulling away from the pan slightly, and the center should spring back when lightly touched. A toothpick inserted in the center should come out clean or with a few moist crumbs. Don’t overbake, or the bars will be dry.
- Cool completely. Transfer the pan to a wire rack and let the bars cool completely in the pan. This is crucial—warm bars will melt the frosting into a puddle. I usually let them cool for at least 1 hour, sometimes longer if I’m patient enough. If you’re in a hurry, pop the pan in the refrigerator for 30 minutes after they’ve come to room temperature.
- Make the frosting. While the bars cool, beat the softened cream cheese and butter together in a large bowl with a hand mixer until smooth and creamy—about 2 minutes. Scrape down the sides. Add the powdered sugar, vanilla, cinnamon, and nutmeg, and beat on low speed until combined, then increase to medium-high and beat for another 2 minutes until light and fluffy. If the frosting is too thick, add milk 1 tablespoon at a time until it reaches a spreadable consistency. If it’s too thin, add more powdered sugar, ¼ cup at a time.
- Frost the bars. Once the bars are completely cool, spread the frosting evenly over the top. I like a thick layer—about ¼ inch. Use an offset spatula or a butter knife to create swoops and swirls if you’re feeling fancy.
- Slice and serve. Lift the bars out of the pan using the parchment overhang. Place on a cutting board and slice into squares. I usually get 24 bars—6 rows by 4 rows. For cleaner cuts, wipe your knife clean between slices.
A note on timing: The bars themselves take about 10 minutes to prep and 25 minutes to bake. The cooling time is the real bottleneck, so plan ahead. I often make the bars in the evening, let them cool overnight, and frost them the next morning. That way, they’re ready to go whenever I need them.
Cooking Tips & Techniques
I’ve made these pumpkin bars more times than I can count, and I’ve learned a few things the hard way. Here’s what I wish someone had told me:
Don’t overmix the batter. This is the number one mistake I see. When you overmix, you develop too much gluten, and the bars turn out dense and tough. Mix just until the flour disappears—lumps are your friends here. I speak from experience: my first batch was so rubbery I could have used it as a doorstop.
Use room-temperature ingredients. Cold eggs and cold cream cheese don’t blend smoothly. Room-temperature ingredients emulsify better, giving you a smoother batter and a fluffier frosting. Set your eggs and cream cheese on the counter about 30 minutes before you start baking. If you forgot, place the eggs in warm water for 5 minutes and microwave the cream cheese in 10-second bursts until softened but not melted.
Check your pumpkin puree. Some brands are more watery than others. If your pumpkin puree looks thin or has liquid pooling on top, dump it onto a paper towel-lined plate for a few minutes to absorb excess moisture. This prevents soggy bars. I learned this after a particularly disappointing batch that never quite set up right.
Let the bars cool completely. I cannot stress this enough. Warm bars + cold frosting = melty disaster. The frosting will slide right off and pool around the edges. If you’re impatient like me, pop the bars in the fridge for 30 minutes after they’ve cooled to room temperature. They’ll be ready to frost much sooner.
Slice with a sharp knife. A dull knife will drag through the frosting and mess up your pretty swirls. Use a sharp chef’s knife and wipe it clean between cuts. For the neatest squares, refrigerate the frosted bars for 15-20 minutes before slicing.
Timing strategy: If you’re making these for a party, bake the bars a day ahead and refrigerate them unfrosted. The next day, bring them to room temperature, make the frosting, and assemble. This breaks up the work and ensures the bars are completely cool before frosting.
Variations & Adaptations
This recipe is flexible, which is one of the reasons I keep coming back to it. Here are some variations I’ve tried and loved:
Gluten-Free Version: Substitute the all-purpose flour with a 1:1 gluten-free baking flour blend that contains xanthan gum. I’ve used Bob’s Red Mill 1-to-1 Baking Flour with great results. The texture is slightly more tender, but the flavor is spot on. No other adjustments needed.
Dairy-Free Frosting: Use vegan cream cheese and vegan butter for the frosting. I’ve tried Kite Hill cream cheese and Miyoko’s butter—both work well. The frosting will be slightly softer, so chill the bars for 20 minutes after frosting to help it set.
Spice It Up: Add ¼ teaspoon of cardamom or allspice to the batter for a more complex flavor profile. I did this accidentally once when I grabbed the wrong jar, and it was a happy mistake. Cardamom adds a floral, slightly citrusy note that pairs beautifully with pumpkin.
Add Mix-Ins: Fold ½ cup of chopped pecans, walnuts, or chocolate chips into the batter before baking. I’ve done all three, and the chocolate chip version is dangerously good. White chocolate chips are especially nice—they add sweetness without overpowering the pumpkin.
Pumpkin Cheesecake Bars: For a fancier version, drop spoonfuls of a simple cheesecake mixture (8 oz cream cheese, ¼ cup sugar, 1 egg, ½ teaspoon vanilla) over the pumpkin batter before baking. Swirl with a knife for a marbled effect. Bake an extra 5-7 minutes. This is my go-to for holiday gatherings.
Lower Sugar Option: Reduce the granulated sugar to ¾ cup and the brown sugar to ¼ cup. The bars will be less sweet but still flavorful. The frosting will compensate for the reduced sweetness. I’ve made this version for my dad, who watches his sugar intake, and he said they were “perfect.”
Serving & Storage Suggestions
These pumpkin bars are versatile when it comes to serving. Here’s how I handle them:
Temperature: Serve at room temperature for the best texture and flavor. The frosting softens slightly, and the spices become more pronounced. If you’ve refrigerated them, let them sit on the counter for 15-20 minutes before serving.
Presentation: Arrange the bars on a platter or cake stand. For a touch of fall flair, dust the tops with a light sprinkle of cinnamon or add a few toasted pepitas (pumpkin seeds) on top. I sometimes drizzle a little caramel sauce over the frosting for special occasions—it’s over the top, but in the best way.
Pairings: These bars are wonderful with a cup of coffee, hot apple cider, or a glass of cold milk. For dessert, serve them alongside a scoop of vanilla ice cream or a dollop of whipped cream. They also pair nicely with a warm chai latte—the spices complement each other beautifully.
Storage: Store frosted bars in an airtight container in the refrigerator for up to 5 days. The bars themselves freeze beautifully, but the frosting doesn’t hold up as well. If you want to freeze them, freeze the unfrosted bars in a single layer on a baking sheet, then wrap tightly in plastic wrap and foil. They’ll keep for up to 3 months. Thaw overnight in the refrigerator, then bring to room temperature and frost before serving.
Reheating: If you prefer warm bars, microwave individual servings for 10-15 seconds. The frosting will soften but won’t melt completely. Don’t microwave the whole pan—the frosting will turn into a puddle.
Flavor development: These bars actually taste better the next day. The spices have time to meld and mellow, and the texture becomes even more moist. If you can resist eating them right away, you’ll be rewarded. I’ve made them up to two days ahead for parties, and they were always a hit.
Nutritional Information & Benefits
One bar (based on 24 servings) contains approximately:
- Calories: 210
- Total Fat: 10g
- Saturated Fat: 4g
- Cholesterol: 35mg
- Sodium: 150mg
- Total Carbohydrates: 29g
- Dietary Fiber: 1g
- Sugars: 21g
- Protein: 3g
These values are estimates and will vary based on specific ingredients and portion sizes. If you’re watching your sugar intake, the lower-sugar variation I mentioned earlier works well.
Health benefits: Pumpkin is packed with vitamin A (from beta-carotene), which supports eye health and immune function. It’s also a good source of fiber, which aids digestion. The cinnamon and ginger in this recipe have anti-inflammatory properties, and the eggs provide high-quality protein. Of course, these are still a treat—but it’s nice to know there’s some nutritional value hidden in that fluffy, frosted square.
Dietary considerations: This recipe contains gluten (from the flour), dairy (from the butter and cream cheese), and eggs. For gluten-free and dairy-free options, see the variations section above. This recipe is nut-free as written, making it a safe choice for school events where nut allergies are a concern.
I’m not a nutritionist, but I do believe in balance. These bars are a dessert, meant to be enjoyed in moderation. They’re the kind of treat that makes a regular meal feel special—and that’s worth something, don’t you think?
Conclusion
These Family-Favorite Pumpkin Bars with Cream Cheese Frosting have earned their spot in my permanent recipe collection. They’re the dessert I turn to when I need something reliable, something that will make people smile without making me stress. The batter comes together in minutes, the ingredients are affordable and accessible, and the result is consistently delicious. That’s a rare combination in the baking world, and I don’t take it for granted.
I love that these bars are forgiving. If you overmix a little, they’ll still be good. If you add an extra pinch of cinnamon, they’ll still be good. They’re the kind of recipe that builds confidence in the kitchen—especially for new bakers who might be intimidated by more complicated desserts. And honestly? They taste like fall in the best possible way. Warm spices, creamy frosting, and that tender, moist crumb that just begs for another bite.
I’d love to hear how these turn out for you. Do you add any special touches? Have you tried a variation I haven’t thought of? Drop a comment below and let me know—I read every single one, and I’m always looking for new ideas to try. And if you snap a photo of your bars, tag me on social media. There’s nothing that makes my day like seeing someone else enjoying a recipe that means so much to me. Happy baking, friends!
Frequently Asked Questions
Can I use fresh pumpkin instead of canned?
Yes, you can, but you’ll need to roast and puree it first. Fresh pumpkin has more water than canned, so you’ll want to strain the puree through a cheesecloth or paper towels to remove excess moisture. Start with about 1½ cups of fresh puree, then strain until you have 1 cup (the equivalent of a 15-ounce can). The flavor will be slightly milder, but it works beautifully.
Why did my pumpkin bars turn out dry?
Dry bars usually come from overbaking or overmixing. Check your oven temperature with an oven thermometer—many run hot. Also, make sure you’re measuring your flour correctly by spooning it into the measuring cup and leveling it off. Scooping directly from the bag can pack in too much flour, which leads to dry, dense bars. Finally, don’t skip the oil—it’s what keeps these bars moist.
Can I make these bars ahead of time?
Absolutely. In fact, they taste better the next day. You have two options: bake the bars a day ahead, cool them completely, and refrigerate them unfrosted. Frost them the day you plan to serve. Or, you can fully assemble them (frost and all) and refrigerate for up to 2 days before serving. Just let them sit at room temperature for 15-20 minutes before slicing and serving.
How do I get clean, neat slices?
For the cleanest cuts, refrigerate the frosted bars for at least 30 minutes before slicing. Use a sharp chef’s knife and wipe it clean with a damp paper towel between each cut. I like to mark my cuts first by scoring the frosting lightly with the back of the knife, then slicing through with confidence. A straight, even motion works better than sawing back and forth.
Can I freeze these pumpkin bars?
Yes, but with a caveat. The unfrosted bars freeze beautifully for up to 3 months. Wrap them tightly in plastic wrap, then foil, and place in a freezer bag. Thaw overnight in the refrigerator, bring to room temperature, then frost and serve. The frosted bars can also be frozen, but the texture of the frosting may change slightly—it can become a bit grainy upon thawing. If you’re planning to freeze, I recommend freezing unfrosted.
Pin This Recipe!
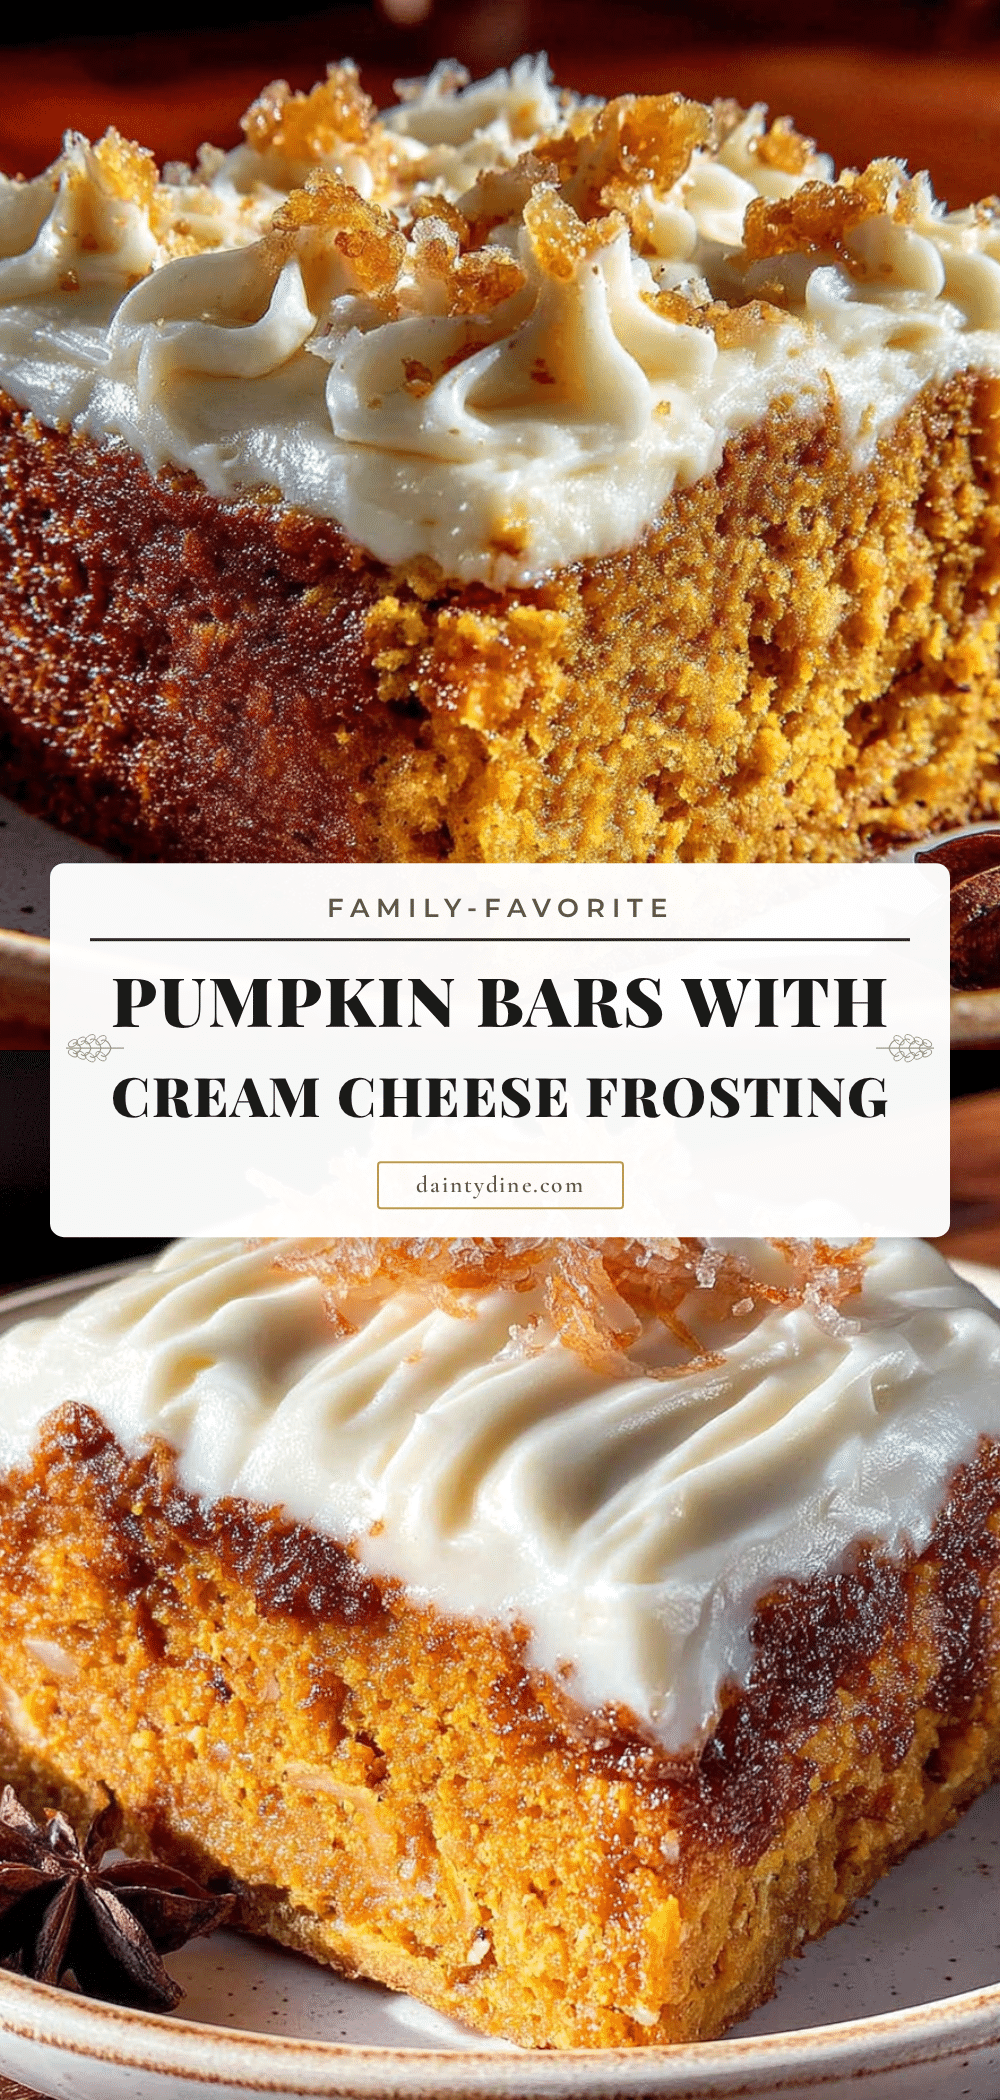
Easy Pumpkin Bars with Cream Cheese Frosting – Best Fall Recipe
These moist, cake-like pumpkin bars are topped with a tangy cream cheese frosting and packed with warm fall spices. They’re quick to make, use simple ingredients, and are perfect for fall gatherings.
- Prep Time: 15 minutes
- Cook Time: 25 minutes
- Total Time: 1 hour 40 minutes (including cooling)
- Yield: 24 servings
- Category: Dessert
- Cuisine: American
Ingredients
- Canned pumpkin puree (15 oz / 425g)
- Granulated sugar (1 cup / 200g)
- Brown sugar (½ cup / 100g, packed)
- Vegetable oil (½ cup / 120ml)
- Large eggs (2, room temperature)
- All-purpose flour (1½ cups / 190g)
- Baking powder (1½ teaspoons)
- Baking soda (½ teaspoon)
- Salt (½ teaspoon)
- Ground cinnamon (1½ teaspoons)
- Ground nutmeg (½ teaspoon)
- Ground ginger (¼ teaspoon)
- Ground cloves (¼ teaspoon)
- Cream cheese (8 oz / 226g, softened)
- Unsalted butter (¼ cup / 57g, softened)
- Powdered sugar (2 cups / 240g, sifted)
- Vanilla extract (1 teaspoon)
- Ground cinnamon (¼ teaspoon)
- Ground nutmeg (⅛ teaspoon)
- Milk (1-2 tablespoons, as needed)
Instructions
- Preheat oven to 350°F (175°C). Line a 9×13-inch pan with parchment paper, leaving overhang on long sides. Lightly grease parchment and exposed pan edges.
- In a large bowl, whisk together pumpkin puree, granulated sugar, brown sugar, and vegetable oil until smooth. Add eggs one at a time, whisking well after each.
- In a separate medium bowl, whisk together flour, baking powder, baking soda, salt, cinnamon, nutmeg, ginger, and cloves.
- Add dry ingredients to wet mixture in two additions, folding gently with a rubber spatula until just combined. Do not overmix.
- Pour batter into prepared pan and spread evenly to edges. Batter layer will be about ½ inch thick.
- Bake on middle rack for 22-28 minutes, until edges pull away from pan and center springs back when touched. Cool completely in pan on a wire rack.
- For frosting: Beat softened cream cheese and butter together until smooth and creamy. Add powdered sugar, vanilla, cinnamon, and nutmeg; beat until light and fluffy. Add milk as needed for spreadable consistency.
- Spread frosting evenly over cooled bars. Use an offset spatula or butter knife to create swirls if desired.
- Lift bars out of pan using parchment overhang. Slice into squares (6 rows by 4 rows for 24 bars). Wipe knife clean between cuts for neat slices.
Notes
Cool bars completely before frosting to prevent melting. For cleaner slices, refrigerate frosted bars for 15-20 minutes before cutting. Bars taste even better the next day.
Nutrition
- Serving Size: 1 bar
- Calories: 210
- Sugar: 21
- Sodium: 150
- Fat: 10
- Saturated Fat: 4
- Carbohydrates: 29
- Fiber: 1
- Protein: 3
Keywords: pumpkin bars, cream cheese frosting, fall dessert, easy pumpkin recipe, pumpkin bars with cream cheese frosting


