Love this? Save it for later!
Share the inspiration with your friends
Honestly, this is the pumpkin pie recipe that makes you feel like a baking genius, even on a Tuesday night after work. It’s not just another recipe—it’s the one that finally works for real life. Here’s why this one is different:
- Quick & Easy: From start to oven in about 30 minutes. The crust comes together in a food processor (no cold fingers!), and the filling is a one-bowl situation. We’re talking weeknight pie, people.
- Simple Ingredients: No hunting down fancy pastry flour or obscure spices. You probably have most of this in your pantry right now. The crust uses just butter, flour, salt, and water—that’s it.
- Perfect for Weeknights: Look, sometimes you just need pie on a Wednesday. This recipe respects that. It’s fast enough for a last-minute dessert but impressive enough for company.
- That Flaky Crust: The all-butter crust is the real star here. It shatters when you cut into it, flakes in beautiful layers, and tastes like pure butter heaven. No shortening, no weird ingredients—just honest, flaky goodness.
- Crowd-Pleaser: I’ve brought this to three different gatherings, and each time the pie plate came back empty. Kids love the creamy filling, adults fight over the crust edges.
- Unbelievably Delicious: The filling is perfectly spiced—not too sweet, with that warm, cozy pumpkin flavor that makes you close your eyes after the first bite. It’s comfort food, reimagined for real life.
What makes this recipe different from the rest? It’s the technique. We’re using a food processor for the crust (no pastry blender needed), and we’re blind-baking it just enough to keep it crisp. The filling uses a trick I learned from a pastry chef—a splash of heavy cream that makes it silky instead of dense. This isn’t just another pumpkin pie—it’s your new favorite pumpkin pie.
This is the recipe that saves you on busy nights. The one that makes you look like you spent hours in the kitchen when you really didn’t. And honestly? That’s the best kind of recipe to have in your back pocket.
What Ingredients You Will Need
This recipe keeps things simple. You’re not going to need a specialty grocery run or weird ingredients that you’ll use once and forget about. Let’s break down what you’ll need and why each ingredient matters.
For the Flaky All-Butter Crust
- All-purpose flour, 1 ¼ cups (156g) — I use Gold Medal or King Arthur for consistent results. Don’t use bread flour; it’ll make the crust tough.
- Unsalted butter, ½ cup (113g), very cold, cut into small cubes — This is non-negotiable. The butter needs to be straight from the fridge, even a little frozen if you can manage it. Cold butter = flaky layers. I prefer Land O’Lakes or Kerrygold for their butterfat content.
- Salt, ½ teaspoon — Just regular table salt. It balances the butter and brings out the flavor.
- Ice water, 3-4 tablespoons (45-60ml) — You want it really cold. I keep a glass of water with ice cubes in it while I’m measuring everything.
- Optional: 1 teaspoon sugar — I add this for a slightly sweet crust, but you can skip it if you prefer a more savory base.
For the Pumpkin Filling
- Pumpkin puree, 1 can (15 oz or 425g) — Not pumpkin pie filling! You want 100% pure pumpkin. I usually grab Libby’s, but store brands work fine too. Make sure it’s not seasoned.
- Heavy cream, ¾ cup (180ml) — This is the secret to a silky, not-dense filling. Don’t substitute with milk—you’ll lose that luxurious texture. If you’re in a pinch, half-and-half works okay.
- Large eggs, 2 — Room temperature, if you remember. If not, just run them under warm water for a minute—that’s what I do when I forget.
- Brown sugar, ½ cup (100g), packed — Light or dark brown sugar both work. Dark brown gives a deeper, molasses-y flavor. I usually use light brown because that’s what I always have.
- Granulated sugar, ¼ cup (50g) — Just regular white sugar. It helps balance the molasses notes from the brown sugar.
- Pumpkin pie spice, 2 teaspoons — Store-bought is fine, but if you want to make your own, mix 1 teaspoon cinnamon, ½ teaspoon ginger, ¼ teaspoon nutmeg, ¼ teaspoon cloves, and a pinch of allspice. That’s my go-to blend.
- Cinnamon, ½ teaspoon — Because you can never have too much cinnamon in pumpkin pie.
- Salt, ¼ teaspoon — A little salt makes the sweetness pop. Trust me on this.
- Vanilla extract, 1 teaspoon — Pure vanilla if you have it, imitation works in a pinch. It rounds out all the warm spices.
That’s it. Ten ingredients for the filling, five for the crust. Simple, right? The key is using cold butter for the crust and not overworking the dough. I’ve made this recipe dozens of times, and those two things are what separate a good pie from a great one.
Equipment Needed
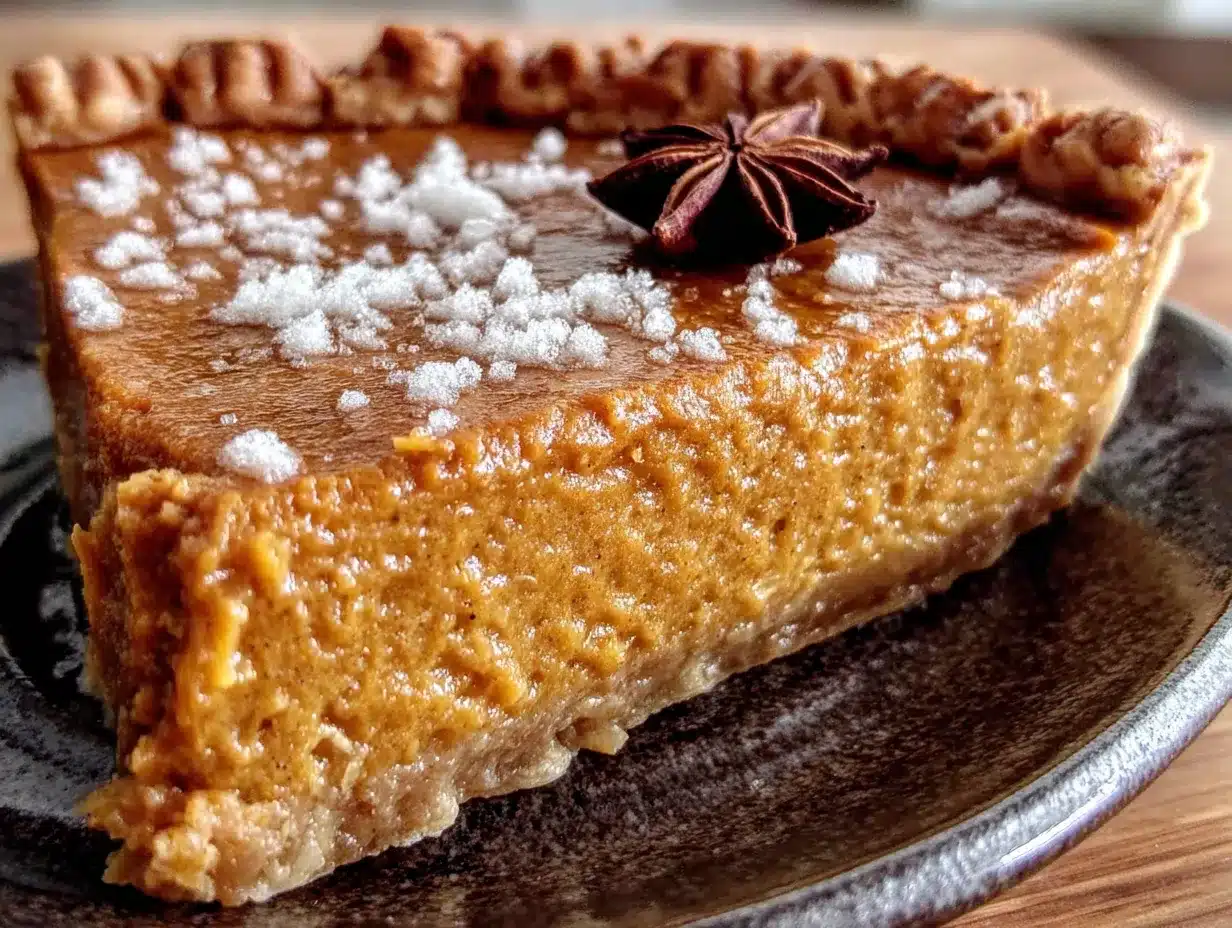
You don’t need a fancy kitchen to make this pie. Here’s what you’ll actually use:
- Food processor — This is my favorite shortcut for pie crust. It cuts the butter into the flour in seconds. No pastry blender, no cold fingers. If you don’t have one, a pastry blender or two forks work, but it’ll take a few more minutes.
- 9-inch pie dish — Glass or ceramic works best. I use a standard Pyrex dish. Avoid metal pans—they conduct heat differently and can make the crust tough.
- Rolling pin — A regular rolling pin is fine. If you don’t have one, a wine bottle works in a pinch (I’ve done it, no judgment).
- Mixing bowls — One large bowl for the filling, one medium for the crust ingredients.
- Whisk — For the filling. A fork works too, but a whisk gets it smoother.
- Plastic wrap — To wrap the dough while it chills.
- Parchment paper — For blind baking the crust. Aluminum foil works too, but parchment is easier.
- Pie weights or dried beans — To weigh down the crust while blind baking. I use dried kidney beans that I keep in a jar just for this purpose. They last forever.
- Measuring cups and spoons — Standard set. Nothing fancy.
Budget-friendly tip: If you don’t have a food processor, you can make the crust by hand. It takes about 5 minutes longer, but the result is just as good. And those dried beans for pie weights? You can use them again and again—just don’t try to cook and eat them afterward.
Preparation Method
Alright, let’s make some pie. I’ll walk you through this step by step, with all the little tricks I’ve learned from making this probably fifty times. Set a timer for 30 minutes—that’s about how long the active work takes.
Step 1: Make the Crust (10 minutes)
Take your cold butter out of the fridge and cut it into small cubes—about half-inch pieces. Put the flour, salt, and sugar (if using) into your food processor. Pulse a few times to combine.
Scatter the cold butter cubes over the flour mixture. Now here’s the trick: pulse in short bursts, about 5-6 times, for 1 second each. You want the butter to break down into pea-sized pieces with some smaller bits mixed in. It should look like coarse cornmeal with visible butter chunks. Do not over-process! I’ve ruined crusts by getting distracted and letting the food processor run. The butter pieces are what create the flaky layers.
Start adding the ice water, one tablespoon at a time, pulsing after each addition. After 3 tablespoons, pinch a bit of dough between your fingers. If it holds together without crumbling, you’re done. If it’s still dry, add that fourth tablespoon. The dough should look shaggy and barely holding together—that’s perfect.
Turn the dough out onto a piece of plastic wrap. Gather it into a disk (don’t knead it, just press it together), wrap it tightly, and flatten it into a 1-inch thick disk. Refrigerate for at least 30 minutes. Pro tip: While it chills, you can make the filling. Multitasking for the win.
Step 2: Make the Filling (5 minutes)
In a large bowl, whisk together the eggs, brown sugar, and granulated sugar until smooth. Add the pumpkin puree, heavy cream, pumpkin pie spice, cinnamon, salt, and vanilla extract. Whisk until everything is combined and silky smooth.
Here’s a thing I learned the hard way: taste the filling before you pour it into the crust. Dip a clean spoon in and try it. Does it need more spice? More salt? Adjust now. I once made a pie that was bland because I didn’t taste it first. Now I always do.
Set the filling aside while you roll out the crust.
Step 3: Roll and Blind Bake the Crust (15 minutes)
Preheat your oven to 375°F (190°C). Take the chilled dough out of the fridge and let it sit for 5 minutes—it’ll be easier to roll.
Lightly flour your work surface and rolling pin. Place the dough disk on the floured surface. Roll from the center outward, turning the dough a quarter turn after each roll to keep it round. Aim for a 12-inch circle, about ⅛-inch thick. Don’t worry if the edges are a little ragged—that’s character.
Carefully transfer the dough to your pie dish. I do this by rolling the dough around my rolling pin and unrolling it over the dish. Gently press the dough into the bottom and up the sides. Trim the excess dough, leaving about a 1-inch overhang. Fold that overhang under itself and crimp the edges however you like—I use my fingers to make a simple scalloped edge.
Prick the bottom of the crust all over with a fork (this prevents air bubbles). Line the crust with parchment paper and fill with pie weights or dried beans. Bake for 15 minutes, then remove the parchment and weights and bake for another 5-7 minutes, until the bottom looks dry and lightly golden.
Warning: Don’t skip the blind baking. If you pour the filling into an unbaked crust, you’ll end up with a soggy bottom. Nobody wants that.
Step 4: Bake the Pie (45-50 minutes)
Reduce the oven temperature to 350°F (175°C). Pour the filling into the partially baked crust. It should fill right up to the crimped edges.
Bake for 45-50 minutes. The pie is done when the edges are set and the center jiggles slightly when you gently shake the pan—like Jell-O, not like liquid. If the crust edges are browning too quickly (they might after about 30 minutes), tent them with aluminum foil.
Let the pie cool completely on a wire rack. This takes about 2-3 hours. I know it’s tempting to cut into it warm, but the filling needs time to set. Trust me, I’ve made that mistake, and the pie just slides everywhere.
Cooking Tips & Techniques
After making this pie more times than I can count, here are the things I wish someone had told me when I started:
Keep everything cold for the crust. I cannot stress this enough. Your butter needs to be straight from the fridge. Your water needs ice cubes in it. If your kitchen is warm (like mine in summer), pop the flour and bowl in the freezer for 10 minutes before you start. Cold ingredients = flaky crust. Warm ingredients = tough crust.
Don’t overwork the dough. This is the number one mistake I see. When you add the water, pulse just until it comes together. If you process it until it forms a ball, you’ve overworked it. The dough should look shaggy and a little rough. That’s what you want.
Blind bake like you mean it. I used to skip this step because I was impatient. Every single time, I regretted it. A soggy bottom crust is the saddest thing in pie-making. Take the extra 20 minutes to blind bake. Your future self will thank you.
Watch the edges. Pie crust edges brown faster than the rest of the pie. After 30 minutes of baking, check them. If they’re getting dark, cut a ring of aluminum foil and place it over the edges. I keep a stash of pre-cut foil rings just for this purpose.
The jiggle test is your friend. Don’t rely on a toothpick to test doneness—it’ll always come out clean even when the center isn’t set. Instead, gently shake the pie. The center should wobble slightly, like set Jell-O. It’ll continue to set as it cools.
Let it cool completely. I know, I know. But if you cut into a warm pie, the filling will be runny and the crust will be soft. Give it at least 2 hours on a wire rack. Overnight in the fridge is even better—the flavors meld and the texture becomes perfect.
Variations & Adaptations
This recipe is flexible. Here are some ways I’ve changed it up depending on what I had on hand or who I was feeding:
Gluten-Free Version: Swap the all-purpose flour for a 1:1 gluten-free flour blend (I like Bob’s Red Mill). The crust will be slightly more crumbly, but it still tastes amazing. Add an extra tablespoon of ice water if the dough feels too dry.
Dairy-Free Adaptation: Use coconut oil or a plant-based butter stick (like Earth Balance) in the crust. For the filling, substitute the heavy cream with full-fat coconut cream. The flavor changes slightly—more coconut-y—but it’s still delicious. I made this for a friend with dairy allergies, and she said it was the best pumpkin pie she’d had in years.
Spice It Up: Not a fan of store-bought pumpkin pie spice? Make your own. I sometimes add a pinch of cardamom or a dash of black pepper for a more complex flavor. My neighbor once added a teaspoon of bourbon to the filling, and honestly, it was genius. Try it if you’re feeling adventurous.
Mini Pies: Use a muffin tin to make individual pies. Roll the crust, cut circles, press into greased muffin cups, blind bake for 10 minutes, then fill and bake for 20-25 minutes. These are perfect for parties or portion control.
No-Fuss Topping: Skip the crust entirely and make a crustless pumpkin pie. Grease your pie dish, pour the filling directly in, and bake for 35-40 minutes. It’s basically pumpkin custard, and it’s incredible with a dollop of whipped cream.
Serving & Storage Suggestions
This pie is best served at room temperature or slightly chilled. I like to let it sit out for about 20 minutes after taking it from the fridge—it takes the chill off and lets the flavors come through.
What to serve with it: A generous dollop of lightly sweetened whipped cream is the classic choice. For something different, try a drizzle of caramel sauce or a sprinkle of toasted pecans. If you’re feeling fancy, a scoop of vanilla ice cream turns this into a next-level dessert.
Storage: Cover the pie loosely with plastic wrap or aluminum foil and store it in the refrigerator. It’ll keep for up to 4 days, though honestly, it never lasts that long in my house. The flavors actually get better after a day or two—the spices meld and the texture becomes even creamier.
Freezing: You can freeze the baked pie for up to 2 months. Wrap it tightly in plastic wrap, then a layer of aluminum foil. Thaw overnight in the refrigerator before serving. I’ve also frozen the unbaked crust for up to 3 months—just wrap it well and bake straight from frozen (add 5 minutes to the blind baking time).
Reheating: If you prefer warm pie, reheat individual slices in the microwave for 15-20 seconds. For a whole pie, pop it in a 300°F (150°C) oven for 10-15 minutes. Don’t overheat it, or the filling can separate.
Make-ahead tip: This pie is a dream for meal prep. Make the crust and filling the night before, then assemble and bake the next day. Or bake the whole pie a day ahead—it actually tastes better after resting overnight.
Nutritional Information & Benefits
Look, pie is pie. It’s a treat, and that’s okay. But here’s the thing: pumpkin is actually pretty good for you. It’s packed with vitamin A (great for your eyes and immune system), fiber, and antioxidants. The eggs add protein, and the spices—cinnamon, ginger, nutmeg—have anti-inflammatory properties.
Here’s the approximate nutritional breakdown for one slice (assuming 8 slices per pie):
| Nutrient | Amount per Slice |
|---|---|
| Calories | 320 |
| Total Fat | 18g |
| Saturated Fat | 11g |
| Carbohydrates | 36g |
| Fiber | 3g |
| Sugar | 22g |
| Protein | 5g |
| Vitamin A | 170% DV |
Dietary considerations: This recipe contains gluten (from the flour), dairy (butter and heavy cream), and eggs. For gluten-free and dairy-free options, check the variations section above. It’s naturally nut-free and can be made vegetarian (it already is).
My take? Enjoy the pie. It’s a seasonal treat made from real ingredients. One slice isn’t going to derail your health goals, and the comfort it brings is worth every bite. That’s my philosophy, anyway.
Conclusion
This easy homemade pumpkin pie with flaky all-butter crust is the recipe I turn to again and again. It’s simple enough for a weeknight, impressive enough for Thanksgiving, and forgiving enough for beginner bakers. The crust is buttery and flaky, the filling is creamy and perfectly spiced, and the whole thing comes together without any fancy techniques or hard-to-find ingredients.
I love this recipe because it feels like a hug in pie form. It’s the dessert that makes people close their eyes after the first bite, the one that gets requested for every holiday gathering. And knowing that I made it from scratch—that I created those flaky layers and that silky filling—never gets old.
Now I want to hear from you. Did you try this recipe? Did you add your own twist? Did you find a new favorite way to crimp your crust? Drop a comment below and let me know. I read every single one, and I love seeing your creations. Tag me in your photos if you share them—I’m always looking for pie inspiration.
Go make some pie. You deserve it.
Frequently Asked Questions
Can I use a store-bought crust instead of making my own?
Absolutely. If you’re short on time or just not in the mood to make crust, a high-quality store-bought pie crust works fine. Just blind bake it according to the package directions before adding the filling. I won’t tell anyone.
Why is my pumpkin pie filling watery?
This usually happens for one of two reasons: either the pie wasn’t baked long enough, or it was cut into while still warm. Make sure you bake until the center jiggles like set Jell-O, and let it cool completely (at least 2 hours) before slicing. Patience pays off here.
Can I use fresh pumpkin instead of canned?
You can, but it’s more work. If you use fresh pumpkin, make sure to roast it until very soft, then puree it and drain off any excess liquid in a cheesecloth-lined strainer. Fresh pumpkin has more water than canned, so you need to remove that moisture or your pie will be runny. I usually stick with canned for convenience.
How do I prevent the crust from shrinking?
Crust shrinkage happens when the gluten is overworked. Handle the dough as little as possible, and make sure to chill it thoroughly before rolling. Also, when you place the dough in the pie dish, don’t stretch it—just gently press it into place. Stretching causes it to snap back during baking.
Can I make this pie ahead of time?
Yes! This pie is actually better made a day ahead. The flavors meld and the texture becomes even creamier. Bake it the day before, let it cool completely, then cover and refrigerate. Serve at room temperature or slightly chilled. It’s a lifesaver for holiday meal prep.
Pin This Recipe!
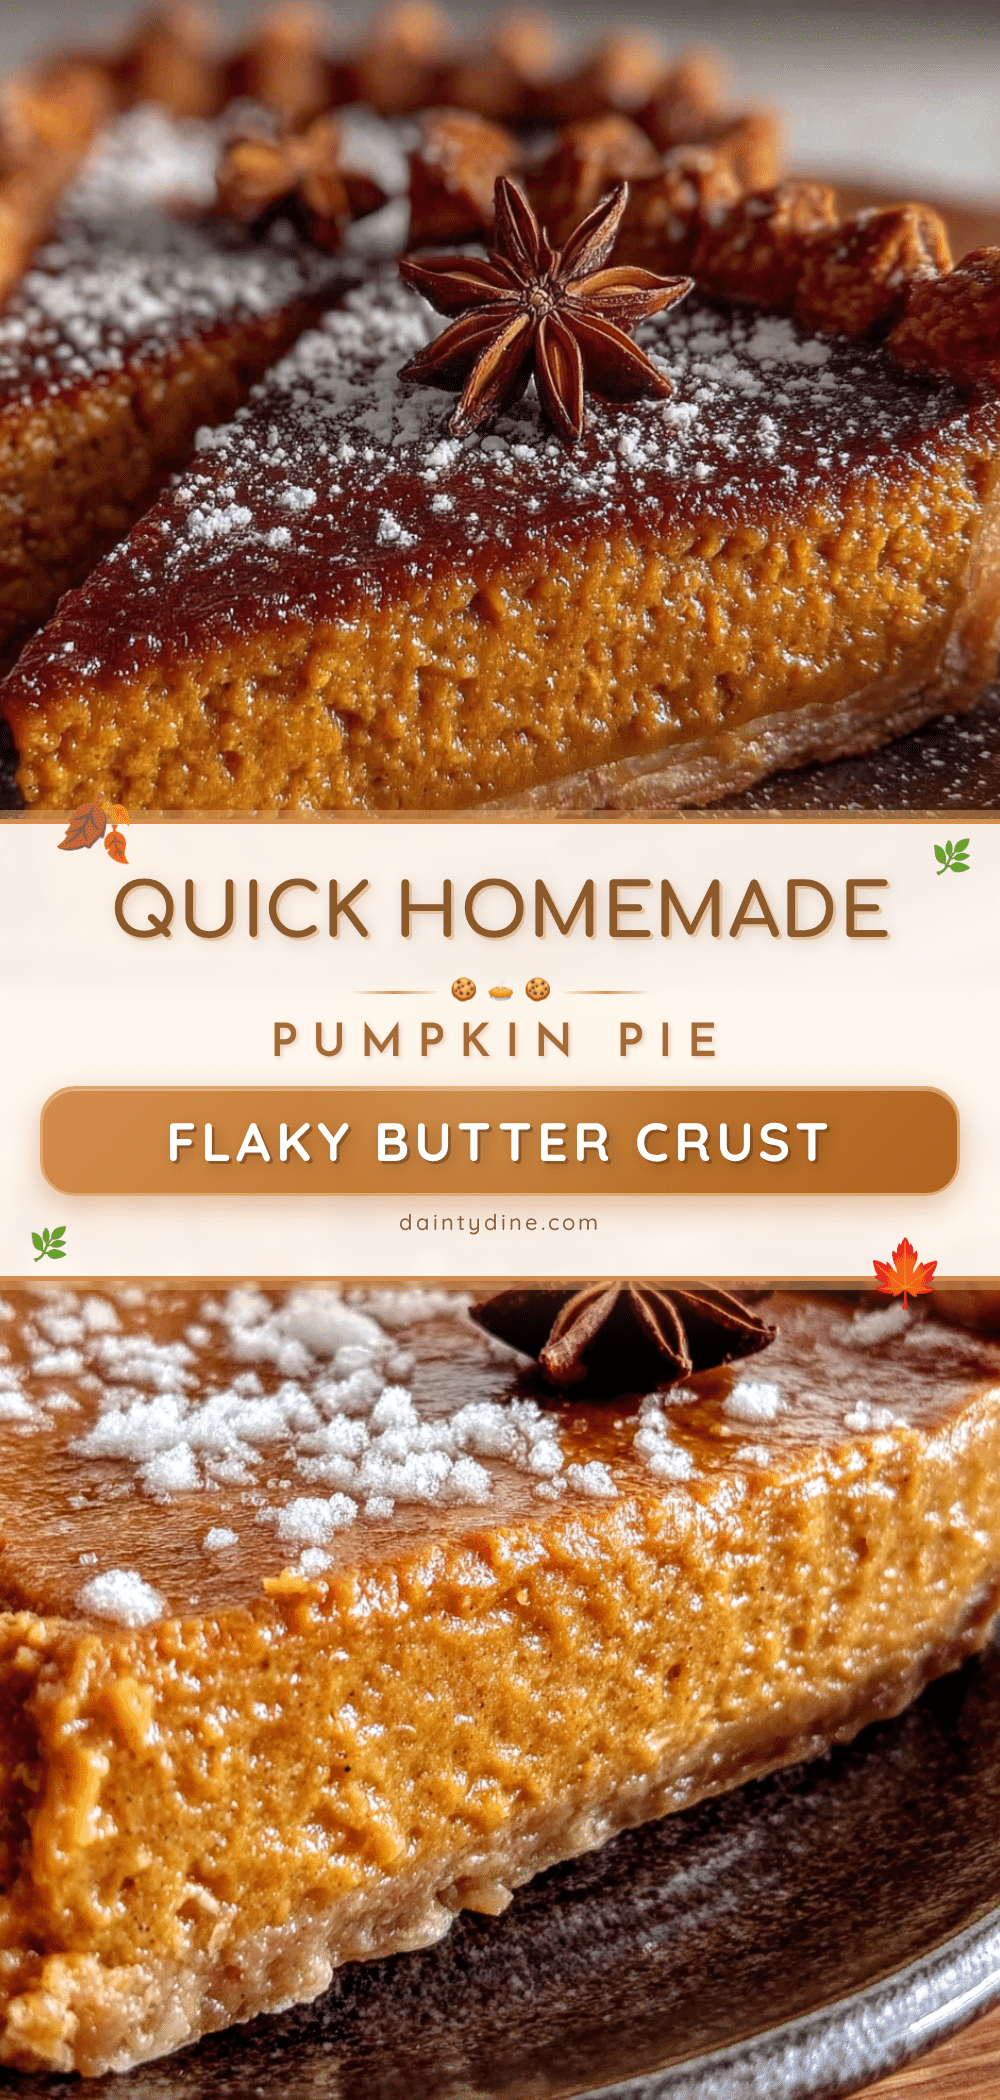
Easy Homemade Pumpkin Pie with Flaky Buttery Crust
This easy homemade pumpkin pie features a flaky all-butter crust and a perfectly spiced, silky filling. It’s quick enough for a weeknight yet impressive enough for any gathering.
- Prep Time: 30 minutes
- Cook Time: 50 minutes
- Total Time: 1 hour 20 minutes
- Yield: 8 servings
- Category: Dessert
- Cuisine: American
Ingredients
- All-purpose flour, 1 ¼ cups (156g)
- Unsalted butter, ½ cup (113g), very cold, cut into small cubes
- Salt, ½ teaspoon
- Ice water, 3-4 tablespoons (45-60ml)
- Optional: 1 teaspoon sugar
- Pumpkin puree, 1 can (15 oz or 425g)
- Heavy cream, ¾ cup (180ml)
- Large eggs, 2
- Brown sugar, ½ cup (100g), packed
- Granulated sugar, ¼ cup (50g)
- Pumpkin pie spice, 2 teaspoons
- Cinnamon, ½ teaspoon
- Salt, ¼ teaspoon
- Vanilla extract, 1 teaspoon
Instructions
- Make the crust: In a food processor, pulse flour, salt, and sugar (if using) to combine. Add cold butter cubes and pulse in short bursts until mixture resembles coarse cornmeal with pea-sized butter pieces. Add ice water, 1 tablespoon at a time, pulsing after each addition until dough holds together when pinched. Turn dough onto plastic wrap, form into a disk, wrap, and refrigerate for at least 30 minutes.
- Make the filling: In a large bowl, whisk together eggs, brown sugar, and granulated sugar until smooth. Add pumpkin puree, heavy cream, pumpkin pie spice, cinnamon, salt, and vanilla extract. Whisk until smooth. Taste and adjust spices if needed.
- Roll and blind bake the crust: Preheat oven to 375°F (190°C). On a floured surface, roll chilled dough into a 12-inch circle. Transfer to a 9-inch pie dish, trim and crimp edges. Prick bottom with a fork. Line with parchment paper and fill with pie weights or dried beans. Bake for 15 minutes, then remove parchment and weights and bake for 5-7 minutes more until lightly golden.
- Bake the pie: Reduce oven temperature to 350°F (175°C). Pour filling into partially baked crust. Bake for 45-50 minutes, until edges are set and center jiggles slightly like Jell-O. If crust edges brown too quickly, tent with foil after 30 minutes.
- Cool completely on a wire rack for at least 2 hours before slicing. Serve at room temperature or slightly chilled.
Notes
Keep all crust ingredients cold for flakiness. Do not overwork the dough. Blind baking is essential to avoid a soggy bottom. Let pie cool completely before slicing. For best flavor, make a day ahead.
Nutrition
- Serving Size: 1 slice
- Calories: 320
- Sugar: 22
- Sodium: 250
- Fat: 18
- Saturated Fat: 11
- Carbohydrates: 36
- Fiber: 3
- Protein: 5
Keywords: pumpkin pie, easy pumpkin pie, homemade pumpkin pie, flaky crust, all-butter crust, Thanksgiving dessert, fall dessert


