Love this? Save it for later!
Share the inspiration with your friends
It was 10:47 PM on a random Wednesday in October, and I had a desperate, undeniable craving for pumpkin pie. The kind of craving that makes you rummage through cabinets like a woman possessed. I didn’t have a pre-made pie crust, and I definitely didn’t have the energy for a fancy, from-scratch pastry that would take an hour. But I had a can of pumpkin puree, some evaporated milk I bought on a whim, and a crazy idea that maybe, just maybe, I could throw together a decent pie without the usual fuss. Honestly, I was tired. The kids were finally asleep, the dishes were done, and I just wanted a slice of fall comfort without a trip to the store.
So I grabbed my go-to mixing bowl—the one with the tiny chip in the rim—and started winging it. I used a store-bought crust I had stashed in the freezer for emergencies (we all have one, right?), and I swapped the heavy cream for that can of evaporated milk because, let’s face it, that’s what I had. I didn’t even pre-bake the crust. I just poured the filling straight in and hoped for the best. The kitchen smelled like autumn magic by the time I slid it into the oven. I sat on the counter, watching it through the glass door, feeling a little ridiculous but also weirdly proud. When I finally took a bite the next morning (cold, straight from the fridge, like a true rebel), I knew I had stumbled onto something special. It was creamy, perfectly spiced, and didn’t taste like a compromise at all. Maybe you’ve been there—late at night, craving something specific, and you just make it work with what you’ve got. That’s how this budget-friendly, kid-approved pumpkin pie was born.
Why You’ll Love This Recipe
This isn’t just another pumpkin pie recipe. After years of testing—and, I’ll admit, a few soggy-bottom disasters—I’ve landed on a version that’s practically foolproof. It’s the one I bring to every family gathering and the one my kids actually ask for by name. Here’s why it works so well for real families like yours.
- Quick & Easy: You can have this pie in the oven in under 15 minutes. No complicated steps, no fancy techniques. Just mix, pour, and bake. It’s perfect for those busy weeknights when you still want a homemade dessert.
- Simple Ingredients: You probably already have most of these in your pantry. Canned pumpkin, eggs, sugar, and spices. No need for a special trip to the store or expensive specialty items. This is cooking smart, not hard.
- Perfect for Family Dinners: Whether it’s a regular Tuesday or Thanksgiving dinner, this pie fits right in. It’s comforting, familiar, and always feels like a treat without breaking the bank.
- Crowd-Pleaser: I’ve served this to picky eaters, pumpkin skeptics, and pie purists. It gets rave reviews every single time. The texture is silky, the spice blend is just right, and it’s not overly sweet.
- Unbelievably Delicious: The secret is in the evaporated milk. It gives the filling a rich, creamy texture without the cost of heavy cream. Trust me, no one will ever guess your secret.
What makes this recipe different is that it’s been tested by real families, not just in a test kitchen. I’ve made it with my kids helping (hello, extra flour on the counter), and I’ve made it at 11 PM when I was running on fumes. It works every time. This is the kind of pie that makes you close your eyes after the first bite—not because it’s fancy, but because it’s exactly what comfort food should be. It’s affordable, it’s easy, and it brings everyone to the table.
What Ingredients You Will Need
This recipe uses simple, everyday ingredients to create a pie that tastes like you spent hours in the kitchen. No weird stuff here—just honest, affordable staples that work together beautifully.
- 1 (15-ounce) can of pumpkin puree (not pumpkin pie filling—make sure it’s 100% pumpkin. I like Libby’s for consistent texture.)
- 3/4 cup (150g) granulated sugar (regular white sugar works perfectly. You can reduce to 2/3 cup if you prefer a less sweet pie.)
- 1 teaspoon ground cinnamon (the backbone of pumpkin pie spice. Use good quality for the best flavor.)
- 1/2 teaspoon ground ginger (adds warmth without being overpowering)
- 1/4 teaspoon ground cloves (just a pinch—these are strong)
- 1/2 teaspoon salt (don’t skip this—it balances the sweetness and enhances the spices)
- 2 large eggs (room temperature is best for a smooth filling)
- 1 (12-ounce) can of evaporated milk (this is the budget-friendly hero. It’s cheaper than heavy cream but gives the same silky texture. I use Carnation.)
- 1 unbaked 9-inch pie crust (store-bought is fine! I use Pillsbury refrigerated crusts. If you want to make your own, go for it, but this recipe is designed to work with the shortcut.)
Ingredient Tips & Substitutions:
- If you don’t have evaporated milk, you can substitute with 1 1/2 cups of whole milk mixed with 1 tablespoon of cornstarch. It’s not quite as rich, but it works in a pinch.
- For a dairy-free version, use full-fat canned coconut milk instead of evaporated milk. The texture will be slightly different but still delicious.
- Feel free to use a pre-made gluten-free pie crust if needed. Just check the baking instructions on the package.
- I’ve also tried this with homemade pumpkin puree from a sugar pumpkin. It works, but the texture is a bit more watery. If you go that route, cook the puree down on the stove for 10 minutes to thicken it before using.
Equipment Needed
You don’t need a fancy kitchen to make this pie. Here’s what you’ll need:
- Large mixing bowl (any size will do, but bigger is better for whisking without splashing)
- Whisk (a fork works in a pinch, but a whisk makes the filling smoother)
- 9-inch pie dish (glass or ceramic is best for even baking. I use a standard Pyrex dish.)
- Measuring cups and spoons (for accuracy, especially with the spices)
- Rubber spatula (to scrape every last bit of filling into the crust)
- Baking sheet (optional but recommended—place the pie dish on it to catch any spills and make it easier to handle)
If you don’t have a pie dish, you can use a 9-inch round cake pan or even a cast-iron skillet. Just adjust the baking time slightly—the filling might cook a few minutes faster. I’ve also used disposable aluminum pie pans in a pinch, and they work fine. Just be careful not to overbake the crust.
Preparation Method
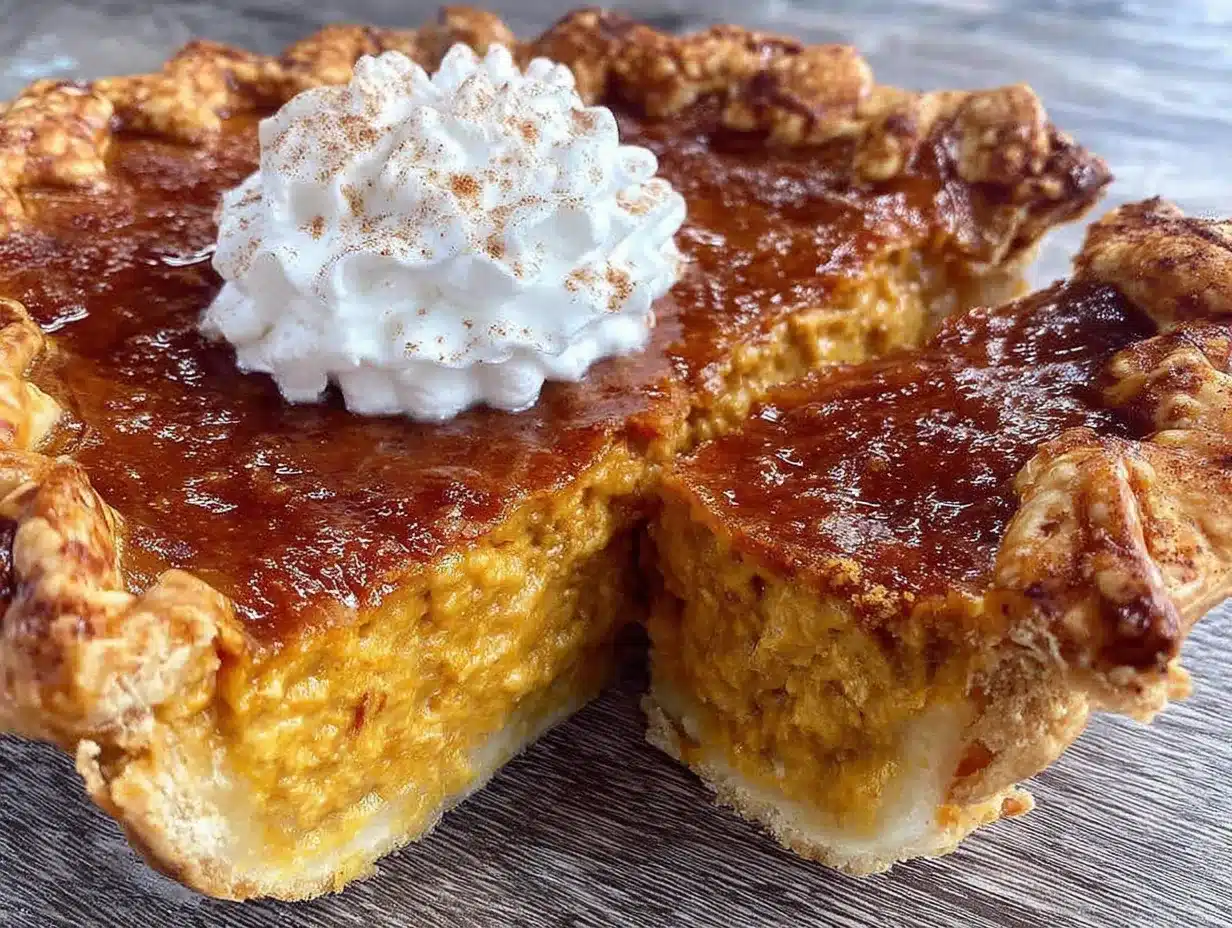
Let’s get to the good part. Follow these steps, and you’ll have a pie that looks and tastes like you spent all day in the kitchen. I promise it’s easier than it sounds.
- Preheat your oven to 425°F (220°C). Place a baking sheet on the middle rack to preheat as well. This helps the bottom crust cook evenly and prevents that dreaded soggy bottom.
- In your large mixing bowl, whisk together the sugar, cinnamon, ginger, cloves, and salt. Make sure there are no lumps. I like to use a fork first to break up any clumps of brown sugar if I’m using it, but granulated sugar is usually fine.
- Crack the eggs into the bowl and whisk until the mixture is smooth and pale yellow. This takes about 30 seconds. The mixture will look a bit thick and pasty—that’s normal. Don’t overmix, or you’ll incorporate too much air.
- Add the pumpkin puree and whisk until fully combined. Scrape the bottom and sides of the bowl with your spatula to make sure everything is incorporated. The mixture should be a uniform orange color.
- Slowly pour in the evaporated milk while whisking constantly. This step is important—if you dump it all in at once, you might end up with lumps. Go slow and steady. The filling will become thin and silky. Give it one final whisk to make sure it’s smooth.
- Place your unbaked pie crust on the preheated baking sheet. Carefully pour the filling into the crust. It will fill the crust almost to the top—that’s okay. Use your spatula to scrape every last drop out of the bowl.
- Bake at 425°F (220°C) for 15 minutes. This high heat sets the crust and gives the filling a nice rise. After 15 minutes, reduce the oven temperature to 350°F (175°C) without opening the door. Bake for another 40-50 minutes.
- Check for doneness. The pie is done when the edges are set and slightly puffed, but the center still jiggles like Jell-O when you gently shake the pan. A knife inserted about 2 inches from the edge should come out clean. The center will continue to set as it cools, so don’t overbake it.
- Cool completely on a wire rack. This takes about 2 hours. Don’t rush this step—if you cut into it while it’s warm, the filling will be runny. I know it’s tempting, but patience pays off here.
- Refrigerate for at least 4 hours before serving. Overnight is even better. The flavors meld together and the texture becomes perfectly sliceable. Serve cold or at room temperature.
Pro tip from my own kitchen: I always set a timer for the first 15 minutes of baking. I’ve definitely gotten distracted and forgotten to lower the temperature before. If that happens, the crust might burn slightly, but the filling usually survives. Just keep an eye on it!
Cooking Tips & Techniques
Over the years, I’ve made every mistake in the book with pumpkin pie. Here’s what I’ve learned so you don’t have to repeat my failures.
- Don’t overmix the filling. I know it’s tempting to whisk vigorously, but too much air can cause cracks on the surface. Mix just until everything is combined. A few tiny lumps will disappear during baking.
- Room temperature eggs matter. Cold eggs can make the filling lumpy. If you forgot to take them out of the fridge, place them in a bowl of warm water for 5 minutes before using. It makes a real difference in the texture.
- Watch the crust edges. If they start browning too quickly, cover them with aluminum foil or a pie shield. I usually check at the 30-minute mark and add foil if needed. Better safe than sorry.
- The jiggle test is your friend. I used to rely on the knife test, but a jiggly center is actually the best indicator. If the center wobbles like a firm custard, it’s done. If it sloshes like soup, give it more time.
- Cool slowly to prevent cracks. Sudden temperature changes can cause the filling to crack. Let the pie cool on the counter for at least an hour before moving it to the fridge. If it does crack, don’t worry—a dollop of whipped cream covers everything.
One of my biggest failures? I once forgot to add the sugar. Yes, the whole cup of sugar. I realized it when I took the first bite and it tasted like spiced cardboard. My kids were not impressed. Now I always do a quick taste test of the raw filling (it’s safe with pasteurized eggs) before pouring it into the crust. Learn from my mistake!
Variations & Adaptations
This recipe is a great starting point, but feel free to make it your own. Here are some variations I’ve tried and loved.
- Dairy-Free Version: Substitute the evaporated milk with a can of full-fat coconut milk. The pie will have a slight coconut flavor, but it’s surprisingly good. I’ve also used oat milk mixed with a tablespoon of cornstarch, and it worked okay.
- Gluten-Free Option: Use a gluten-free pie crust. I like the ones from Whole Foods or Trader Joe’s. Just follow the package instructions for pre-baking if needed.
- Spice It Up: Add 1/4 teaspoon of nutmeg or allspice for a warmer flavor profile. I sometimes add a pinch of black pepper for a subtle kick—it sounds weird, but it really enhances the other spices.
- Less Sugar: Reduce the sugar to 1/2 cup for a less sweet pie. You can also use a sugar substitute like monk fruit sweetener, but the texture might be slightly different. I’ve tried it with coconut sugar, and it worked well but made the pie darker.
- Pumpkin Cheesecake Hybrid: For a richer version, replace one of the eggs with 4 ounces of softened cream cheese. Whisk it into the sugar mixture before adding the pumpkin. It’s decadent and amazing.
My kids love when I add a handful of chocolate chips to the filling before baking. It’s not traditional, but it makes them actually excited for pumpkin pie. Sometimes you just have to meet them where they are, right?
Serving & Storage Suggestions
This pie is best served cold, straight from the fridge. The filling firms up beautifully and slices cleanly. Here’s how to make it shine.
- Serving Temperature: Serve chilled or at room temperature. I prefer it cold because the texture is more custard-like. If you want it at room temp, let it sit out for about 20 minutes before serving.
- Presentation: Top each slice with a generous dollop of whipped cream (store-bought is fine—I use Reddi-wip for convenience). A sprinkle of cinnamon or nutmeg on top looks pretty and adds flavor.
- Pairings: This pie goes beautifully with a cup of hot coffee or spiced apple cider. For a special treat, serve it with a scoop of vanilla ice cream. The warm-cold contrast is heavenly.
- Storage: Cover the pie loosely with plastic wrap or aluminum foil and store in the refrigerator for up to 5 days. The flavor actually improves after a day or two as the spices meld.
- Freezing: You can freeze the baked, cooled pie for up to 3 months. Wrap it tightly in plastic wrap, then foil. Thaw in the refrigerator overnight before serving. Don’t freeze an unbaked pie—the texture will be off.
- Reheating: If you prefer warm pie, place individual slices in a 350°F (175°C) oven for 5-7 minutes. Microwaving works too, but it can make the crust soggy. I don’t recommend it.
One thing I love about this pie is that it’s even better the next day. The spices settle, the texture becomes perfectly smooth, and it’s just… more cohesive. I often make it a day ahead for holidays, and it’s always a hit.
Nutritional Information & Benefits
This pie is a treat, but it also has some surprising nutritional perks. Here’s the breakdown per slice (assuming 8 slices):
- Calories: Approximately 280 per slice
- Fat: 10g (mostly from the crust and eggs)
- Carbohydrates: 42g
- Protein: 6g
- Fiber: 3g
- Vitamin A: 200% of the daily value (thanks to the pumpkin!)
Pumpkin is packed with vitamin A, which is great for eye health and immune function. It’s also a good source of fiber, which helps with digestion. The eggs provide high-quality protein, and the spices like cinnamon have anti-inflammatory properties. Is it a health food? No. But it’s a dessert that offers more than just empty calories. I feel good about serving it to my family because I know exactly what’s in it, and it’s made with real, whole ingredients.
If you’re watching your sugar intake, you can easily reduce the sugar by a third without sacrificing much flavor. The natural sweetness of the pumpkin helps carry the dessert. For a lower-fat option, use a graham cracker crust instead of a traditional pastry crust.
Conclusion
This homemade pumpkin pie has become a staple in my kitchen for one simple reason: it works. It’s affordable, it’s easy, and it makes everyone happy. Whether you’re feeding a crowd on Thanksgiving or just satisfying a late-night craving on a random Wednesday, this pie delivers. I love that I can throw it together with ingredients I already have, and it turns out perfect every time. No stress, no fuss, just pure comfort.
I encourage you to make this recipe your own. Add a little extra cinnamon if that’s your thing. Use a different crust. Top it with chocolate chips if your kids demand it. The beauty of this pie is that it’s forgiving and adaptable. Don’t be afraid to experiment—that’s how the best recipes are born.
If you try this recipe, I’d love to hear about it. Leave a comment below and let me know how it turned out. Did your kids love it? Did you make any fun substitutions? Share your photos and tag me on social media—I’m always looking for inspiration. And if you have a favorite pumpkin pie memory, I’d love to hear that too. Happy baking, friends. You’ve got this.
Frequently Asked Questions
Can I use pumpkin pie filling instead of pumpkin puree?
No, I wouldn’t recommend it. Pumpkin pie filling is already sweetened and spiced, so it will throw off the balance of the recipe. Stick with 100% pumpkin puree for the best results. If you only have pie filling, reduce the sugar and spices by half, but the texture might be different.
Why did my pumpkin pie crack on top?
Cracks usually happen from overbaking or sudden temperature changes. Make sure you don’t bake it too long—remember, the center should still jiggle slightly when you take it out. Also, let it cool gradually on the counter before moving it to the fridge. If it does crack, just cover it with whipped cream. No one will ever know!
Can I make this pie ahead of time?
Absolutely! In fact, I recommend it. This pie tastes even better after a day in the fridge because the flavors have time to meld. You can bake it up to two days in advance. Just cover it tightly and store it in the refrigerator. Add the whipped cream right before serving.
How do I know when the pie is done?
Use the jiggle test. Gently shake the pie pan—the edges should be set and slightly puffed, but the center should wobble like firm Jell-O. If the center sloshes like liquid, it needs more time. A knife inserted about 2 inches from the edge should come out clean. The center will continue to set as it cools.
Can I freeze leftover pumpkin pie?
Yes, you can freeze baked pumpkin pie for up to 3 months. Wrap it tightly in plastic wrap, then a layer of aluminum foil. Thaw it in the refrigerator overnight before serving. The texture might be slightly softer after freezing, but it’s still delicious. I don’t recommend freezing an unbaked pie, as the filling can become grainy.
Pin This Recipe!
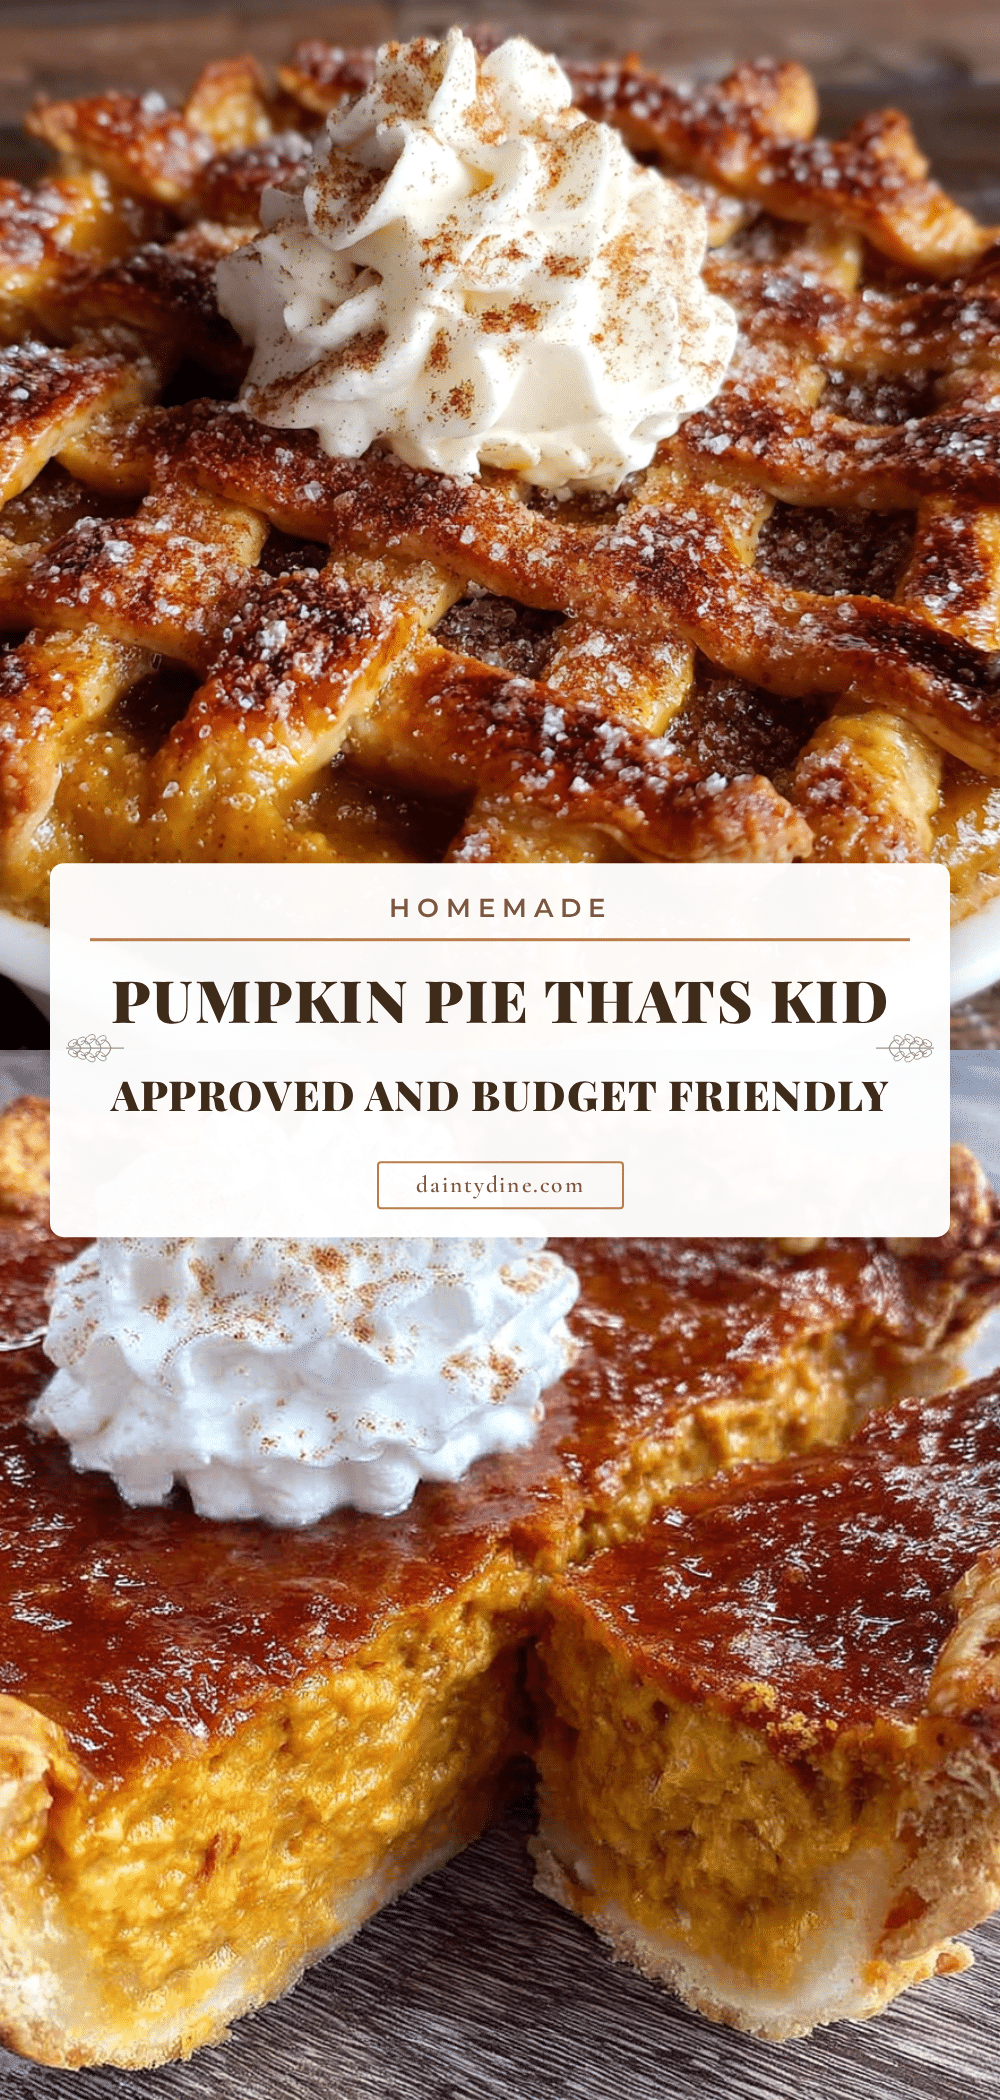
Easy Homemade Pumpkin Pie: Best Budget-Friendly Recipe

This budget-friendly pumpkin pie is creamy, perfectly spiced, and made with simple ingredients. It’s a foolproof recipe that’s perfect for family dinners and holiday gatherings.
- Prep Time: 15 minutes
- Cook Time: 55-65 minutes
- Total Time: 1 hour 10-20 minutes (plus cooling and chilling time)
- Yield: 8 servings 1x
- Category: Dessert
- Cuisine: American
Ingredients
- 1 (15-ounce) can of pumpkin puree (not pumpkin pie filling)
- 3/4 cup (150g) granulated sugar
- 1 teaspoon ground cinnamon
- 1/2 teaspoon ground ginger
- 1/4 teaspoon ground cloves
- 1/2 teaspoon salt
- 2 large eggs (room temperature)
- 1 (12-ounce) can of evaporated milk
- 1 unbaked 9-inch pie crust
Instructions
- Preheat your oven to 425°F (220°C). Place a baking sheet on the middle rack to preheat as well.
- In your large mixing bowl, whisk together the sugar, cinnamon, ginger, cloves, and salt.
- Crack the eggs into the bowl and whisk until the mixture is smooth and pale yellow, about 30 seconds.
- Add the pumpkin puree and whisk until fully combined. Scrape the bottom and sides of the bowl with your spatula.
- Slowly pour in the evaporated milk while whisking constantly until the filling is thin and silky.
- Place your unbaked pie crust on the preheated baking sheet. Carefully pour the filling into the crust.
- Bake at 425°F (220°C) for 15 minutes. Then reduce the oven temperature to 350°F (175°C) without opening the door and bake for another 40-50 minutes.
- Check for doneness: the edges should be set and slightly puffed, but the center should still jiggle like Jell-O when gently shaken.
- Cool completely on a wire rack for about 2 hours.
- Refrigerate for at least 4 hours before serving. Overnight is even better.
Notes
Don’t overmix the filling to avoid cracks. Room temperature eggs help prevent lumps. If the crust edges brown too quickly, cover them with foil. The jiggle test is the best indicator of doneness. Cool slowly to prevent cracks. The pie tastes even better the next day.
Nutrition
- Serving Size: 1 slice
- Calories: 280
- Fat: 10
- Carbohydrates: 42
- Fiber: 3
- Protein: 6
Keywords: pumpkin pie, easy pumpkin pie, budget-friendly pumpkin pie, homemade pumpkin pie, Thanksgiving dessert


