Love this? Save it for later!
Share the inspiration with your friends
The neighborhood fall block party was in three hours and I’d completely forgotten. Everyone else would be bringing those elaborate Pinterest-perfect desserts—the kind with hand-piped frosting and edible glitter. I had a pumpkin, a bag of sugar, and a rapidly sinking feeling. I’d promised to bring a snack, and now I was staring at the stringy, slimy mess of pumpkin guts I’d just scooped out for my kid’s craft project. Honestly, I almost just grabbed a bag of chips from the pantry. But then I looked at those seeds—slick and covered in orange pulp—and I remembered my grandma’s old trick. She never wasted a single part of anything. I rinsed them, tossed them in butter and cinnamon sugar, and threw them in the oven, praying for a miracle. I didn’t even have time to test them before I ran out the door.
Let me tell you, I was the hero of that block party. Not because I planned it, but because I had no other option. Those crispy, sweet, slightly spicy seeds were gone in twenty minutes. People kept asking for the recipe, and I had to scribble it down on a napkin. It was one of those happy accidents where the simplest thing—a byproduct of a craft project, really—steals the whole show. Maybe you’ve been there, scrambling at the last minute, only to stumble onto something that becomes your signature dish. That’s this recipe for me. It’s the one I make every fall now, not because I have to, but because it’s the thing people ask for. It’s proof that you don’t need a fancy plan to make something unforgettable. You just need a little heat, a little sugar, and a little bit of luck.
Why You’ll Love This Recipe
I’ve tested this recipe about a dozen times—some batches came out burnt, some were too soggy, and one memorable disaster ended up with the smoke alarm going off right as my mother-in-law walked in. But this version? This is the one that works every single time. It’s the result of trial, error, and a few very honest friends who told me when my seeds tasted like burnt toast. Let me tell you why it’s worth making:
- Quick & Easy: From start to finish, these seeds take about 30 minutes. Most of that is hands-off baking time. Perfect for that last-minute party panic.
- Simple Ingredients: You need pumpkin seeds, butter, sugar, cinnamon, and salt. That’s it. No weird extracts or specialty flours.
- Perfect for Hosting: This is the snack that disappears from the bowl before the main course even hits the table. Your guests will hover around it.
- Crowd-Pleaser: Kids love the sweet crunch. Adults love the nostalgic fall flavor. Everyone wins.
- Unbelievably Delicious: The texture is what gets people—crispy on the outside, with a faint chewiness inside, and that cinnamon sugar coating that sticks to your fingers.
What makes this recipe different from the dozens of other pumpkin seed recipes out there? It’s the double-crisp method. Most recipes just toss the seeds and bake them, which leaves them a little chewy. I parboil mine first, then dry them thoroughly before coating. It sounds like an extra step, but it’s the secret to that shattering crunch. I promise you, once you try it this way, you won’t go back. And honestly, it’s the kind of recipe that makes you feel like a kitchen genius without actually working that hard. Perfect for when you want to impress your guests but still have time to actually enjoy the party.
What Ingredients You Will Need
This recipe uses humble, everyday ingredients to create something that tastes far more special than it should. You probably have most of these in your pantry right now, which is exactly the point. Here’s what you’ll need and why each one matters:
- Fresh Pumpkin Seeds (1 cup / 120g): These come straight from your carving pumpkin. Rinse them well in a colander to remove the stringy pulp. I like to pick out the really tiny, flat seeds—they tend to burn faster. Look for plump, white seeds for the best texture. If you’re using store-bought raw pumpkin seeds (pepitas), they work too, but the texture is slightly different—more delicate and less chewy.
- Unsalted Butter (2 tablespoons / 28g), melted: Butter gives these seeds that rich, toasty flavor that oil just can’t match. I use unsalted so I can control the salt level myself. If you only have salted butter, just skip the extra pinch of salt at the end. I prefer Kerrygold for baking, but any good unsalted butter works.
- Granulated Sugar (3 tablespoons / 36g): This is the backbone of the sweet coating. Regular white sugar melts and caramelizes beautifully in the oven. Don’t substitute with brown sugar here—it has too much moisture and can make the seeds sticky instead of crispy.
- Ground Cinnamon (1½ teaspoons / 3g): The star of the show. Use a fresh, fragrant cinnamon for the best flavor. I like Saigon cinnamon for its bold, slightly spicy kick. If your cinnamon has been sitting in the back of the cupboard for two years, buy a new bottle. Trust me on this.
- Fine Sea Salt (¼ teaspoon / 1.5g): Salt is crucial here—it balances the sweetness and makes the cinnamon flavor pop. Don’t skip it. I use fine sea salt because it dissolves evenly. Kosher salt works too, but you might need a tiny bit more.
- Optional: Pinch of Nutmeg (⅛ teaspoon): This is my little secret. A whisper of nutmeg adds a warm, almost floral note that makes the cinnamon taste more complex. It’s not essential, but it’s the kind of detail that makes people say, “What’s in this? It’s amazing.”
One thing I’ve learned the hard way: don’t use pre-shelled pumpkin seeds from the store for this recipe. They’re too thin and they burn before the coating has a chance to set. You want the whole seed, shell and all. The shell is what gives you that satisfying crunch. And if you’re carving pumpkins with kids, get them involved in the seed-cleaning process. It’s messy, it’s fun, and it makes them actually want to eat the final product.
Equipment Needed
You don’t need any fancy gadgets for this recipe, which is part of its charm. Here’s what you’ll need:
- Colander: For rinsing the seeds. A fine-mesh one is best so the tiny seeds don’t escape.
- Kitchen Towel or Paper Towels: For drying the seeds thoroughly. This step is more important than you think—wet seeds won’t crisp up properly.
- Small Saucepan: For parboiling the seeds. Any small pot will do.
- Mixing Bowl: For tossing the seeds with butter and the cinnamon sugar mixture.
- Baking Sheet: A rimmed baking sheet works best. The rim keeps the seeds from sliding off. I use a half-sheet pan (18×13 inches) for even heat distribution.
- Parchment Paper or Silicone Baking Mat: This prevents sticking and makes cleanup a breeze. Trust me, you don’t want to scrub caramelized sugar off a baking sheet.
- Spatula or Wooden Spoon: For stirring the seeds during baking.
If you don’t have a silicone baking mat, parchment paper is your next best friend. I’ve used both, and they work equally well. Just don’t use aluminum foil without greasing it—the sugar will stick and you’ll be picking seeds off the foil for ten minutes. I learned that one the hard way during a particularly frustrating batch.
Preparation Method
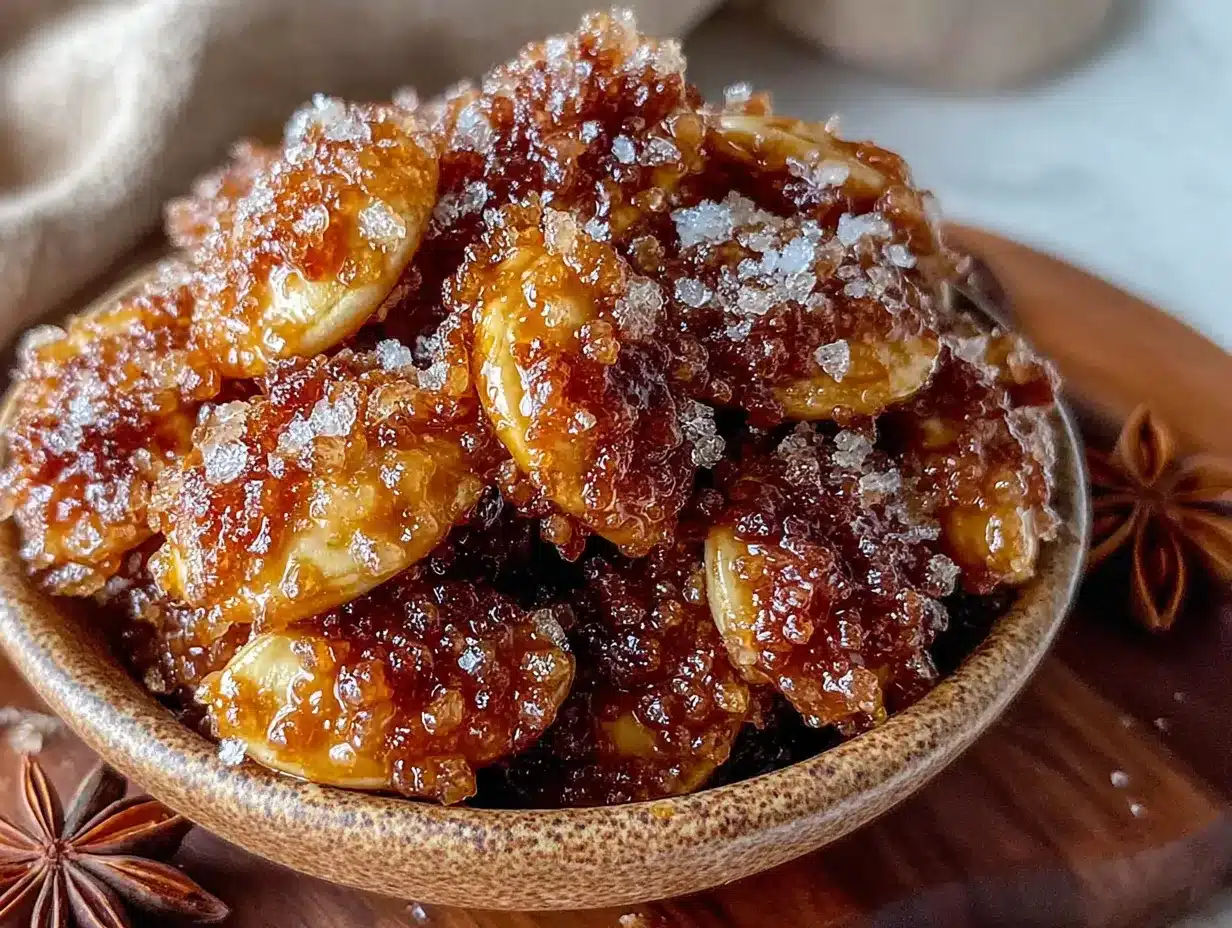
Alright, let’s get cooking. This process is straightforward, but there are a few little tricks that make the difference between good seeds and show-stopping seeds. Follow these steps and you’ll be golden.
- Preheat your oven to 350°F (175°C). Line a rimmed baking sheet with parchment paper or a silicone mat. Getting the oven hot beforehand ensures even cooking from the start.
- Clean the seeds. Place your fresh pumpkin seeds in a colander and rinse them under cool running water. Use your fingers to gently rub off the stringy pumpkin pulp. It’s okay if a little bit remains—it adds flavor. But you want most of the slime gone. This usually takes about 2-3 minutes of rinsing and rubbing.
- Parboil the seeds. Bring a small saucepan of water to a boil. Add the cleaned seeds and let them boil for exactly 5 minutes. This step is non-negotiable—it helps loosen the outer shell and ensures that the inside of the seed gets crispy, not chewy. Drain the seeds in the colander.
- Dry the seeds thoroughly. This is the most important step. Spread the boiled seeds on a clean kitchen towel or a double layer of paper towels. Pat them dry as much as you can. Let them sit for 5 minutes to air-dry. If they’re still damp, the sugar coating will slide right off. You want them tacky but not wet.
- Make the coating. In a small bowl, whisk together the granulated sugar, ground cinnamon, salt, and optional nutmeg. Make sure there are no lumps. The mixture should look like a uniform, sandy powder.
- Coat the seeds. Place the dried seeds in a mixing bowl. Drizzle the melted butter over them and toss to coat evenly. Then sprinkle the cinnamon sugar mixture over the seeds and toss again until every seed is coated. I use my hands for this—it’s quicker and more thorough than a spoon. The mixture will look a little clumpy, and that’s exactly what you want.
- Spread on the baking sheet. Pour the coated seeds onto the prepared baking sheet. Spread them into a single, even layer. Don’t overcrowd—if they’re piled on top of each other, they’ll steam instead of crisp. If you have a lot of seeds, use two baking sheets.
- Bake for 20-25 minutes, stirring halfway through. After 10 minutes, pull the baking sheet out and give the seeds a good stir with a spatula. This ensures even toasting. Watch them closely in the last 5 minutes—sugar can go from golden to burnt very quickly. The seeds are done when they’re golden brown and smell incredibly toasty.
- Cool completely. Let the seeds cool on the baking sheet for at least 15 minutes. They will continue to crisp up as they cool. Don’t skip this step—if you try to move them while they’re still warm, they’ll be soft and sticky. Patience pays off here.
- Break apart any clumps. Once completely cool, use your fingers to gently break apart any seeds that stuck together during baking. They should separate easily.
One thing I always do: I taste a seed right when they come out of the oven, just to check the seasoning. If they need a tiny pinch more salt, I sprinkle it on while they’re still warm. It sticks better that way. Also, don’t worry if a few seeds look a little darker than others—that’s just the sugar caramelizing unevenly. It adds character.
Cooking Tips & Techniques
I’ve made this recipe enough times to know exactly where things can go wrong. Let me save you the trouble of my mistakes.
The biggest mistake is not drying the seeds enough. I cannot stress this enough. Water is the enemy of crispiness. After parboiling, I spread my seeds on a towel and let them sit for a full ten minutes. If I’m in a hurry, I’ll even pat them with a second towel. Wet seeds = soggy seeds. Period.
Another common issue is uneven coating. I used to just dump the sugar mixture on top of the seeds and stir, but that left half the seeds bare and the other half clumpy. Now I toss the seeds in melted butter first, then add the sugar mixture in two batches, tossing between each. It takes an extra thirty seconds and makes a huge difference.
Watch your oven temperature. Every oven runs a little differently. My old apartment oven ran hot, and I had to pull the seeds out at 18 minutes. My current oven is more accurate, and 22 minutes is the sweet spot. Start checking at 18 minutes the first time you make these. Look for a deep golden color and listen for a faint sizzling sound—that’s the sugar caramelizing.
Here’s a lesson I learned from a particularly sad batch: I tried to double the recipe and cram all the seeds onto one baking sheet. They came out chewy and unevenly toasted. Now I always use two sheets if I’m making a big batch, and I rotate them halfway through baking. It’s worth the extra minute of effort.
One pro tip for hosting: Make these seeds the morning of your party. They stay perfectly crispy for about 6-8 hours at room temperature. If you make them the night before, store them in an airtight container with the lid slightly cracked—otherwise, they can soften from trapped moisture. I learned that when I sealed a warm batch in a container and found sad, limp seeds the next morning.
Variations & Adaptations
This basic recipe is a great starting point, but once you’ve mastered it, feel free to play around. Here are some variations I’ve tried and loved:
- Spicy-Sweet Version: Add ¼ teaspoon of cayenne pepper to the sugar mixture. The heat sneaks up on you after the initial sweetness. I made this for a game night once and it was the first bowl emptied. Just be careful—a little cayenne goes a long way.
- Maple-Pecan Twist: Replace the granulated sugar with 2 tablespoons of maple syrup and add ¼ cup of chopped pecans. Toss the seeds with the maple syrup and butter before baking, then sprinkle with cinnamon and salt. The pecans toast alongside the seeds and add a lovely crunch. Note: maple syrup seeds won’t be quite as crispy as the sugar version, but the flavor is incredible.
- Pumpkin Spice Version: Replace the cinnamon with 2 teaspoons of pumpkin pie spice (or make your own with cinnamon, nutmeg, ginger, and cloves). This is perfect for fall gatherings where you want that classic pumpkin spice flavor without the calories of a latte.
- Vegan Adaptation: Substitute the butter with coconut oil (refined, for a neutral flavor) or a vegan butter stick. The texture will be slightly different—coconut oil gives a lighter crunch—but it’s still delicious. I’ve tested this for a vegan friend’s party and nobody noticed the difference.
- Gluten-Free Note: This recipe is naturally gluten-free, as long as your cinnamon and other spices are certified gluten-free (some spice blends can contain trace amounts of wheat). Always check labels if you’re cooking for someone with celiac disease.
My personal favorite variation is the spicy-sweet one. I made it for a Halloween party last year, and a guy who claimed he “didn’t like pumpkin seeds” ate half the bowl. There’s something about that sweet-heat combo that just works.
Serving & Storage Suggestions
These seeds are best served at room temperature, right after they’ve cooled. I like to pile them into a nice wooden bowl or a ceramic dish—something that shows off their golden color. For parties, I set them out about 30 minutes before guests arrive, so they’re ready to grab as people walk in.
What to serve alongside: These seeds pair beautifully with other savory snacks. I often put them next to a bowl of salted nuts or some herbed popcorn. They also work great as a topping for salads—sprinkle them over a simple arugula salad with dried cranberries and goat cheese for a fancy fall starter. And honestly, they’re amazing crushed over vanilla ice cream. Don’t judge me until you’ve tried it.
Storage: Store completely cooled seeds in an airtight container at room temperature. They will stay crispy for up to 5 days, though honestly, they never last that long in my house. If you live in a humid climate, add a silica gel packet (the kind that comes in shoe boxes) to the container to absorb excess moisture. It sounds weird, but it works.
Reheating: If your seeds lose their crunch after a day or two, spread them on a baking sheet and pop them in a 300°F (150°C) oven for 3-4 minutes. Let them cool completely before storing again. This restores the crispiness beautifully. Do not microwave them—microwaving makes them chewy and sad.
Freezing: You can freeze these seeds for up to 3 months. Place them in a freezer-safe bag, squeeze out as much air as possible, and seal. Thaw at room temperature for about 30 minutes before serving. They might lose a tiny bit of crunch, but they’re still delicious.
One thing I’ve noticed: the flavors actually deepen after a day. The cinnamon and sugar meld together, and the seeds become even more addictive. So if you can resist eating them all immediately, they’re even better the next day.
Nutritional Information & Benefits
Here’s the approximate nutritional breakdown for a ¼-cup serving (about 30g) of these crispy seeds:
| Nutrient | Amount |
|---|---|
| Calories | 180 |
| Total Fat | 12g |
| Saturated Fat | 4g |
| Carbohydrates | 14g |
| Fiber | 2g |
| Sugar | 10g |
| Protein | 7g |
| Sodium | 150mg |
Pumpkin seeds are actually pretty good for you. They’re packed with magnesium, zinc, and healthy fats. The magnesium is great for muscle recovery and sleep quality—perfect for after a long day of hosting. The zinc supports your immune system, which is especially nice during cold and flu season. And the fiber helps keep you full, so you’re less likely to overeat the less healthy snacks at your party.
That said, let’s be real—this is a treat. The butter and sugar add calories and saturated fat, so these aren’t exactly a health food. But as far as party snacks go, they’re a much better choice than a bag of processed chips or cookies. You’re getting real, whole-food ingredients with some actual nutritional value. I call that a win-win.
If you’re watching your sugar intake, you can reduce the sugar to 2 tablespoons without sacrificing too much crunch. The coating will be thinner, but the cinnamon flavor will still shine through.
Conclusion
I know I’m biased, but this recipe is one of those rare things that’s both incredibly simple and genuinely impressive. It takes something you might normally throw away—pumpkin seeds—and turns it into the snack everyone fights over at a party. That’s the kind of cooking I love: resourceful, delicious, and a little bit surprising.
What I love most about this recipe is how adaptable it is. You can make it your own by adjusting the spice level, swapping in different sweeteners, or adding nuts and dried fruit. It’s a canvas, not a rigid formula. So please, take this base recipe and run with it. Make it for your next get-together, your kid’s classroom party, or just for a cozy night in with a movie. And when you do, I’d love to hear how it turned out.
Drop a comment below and let me know if you tried any variations. Did you go spicy? Did you add pecans? Did your guests fight over the last handful? Share your stories—I genuinely read every single one. And if you loved this recipe, share it with a friend who loves fall as much as you do. Let’s spread the crispy, cinnamon-sugar love.
Happy hosting, and happy crunching!
Frequently Asked Questions
Can I use store-bought raw pumpkin seeds instead of fresh ones?
Yes, you can. Store-bought raw pumpkin seeds (pepitas) work, but they’re thinner and will bake faster. Reduce the baking time by about 5 minutes and watch them closely. The texture will be more delicate and less chewy than fresh seeds. I actually prefer fresh seeds for this recipe because the shell gives a better crunch, but store-bought works in a pinch.
Why are my pumpkin seeds chewy instead of crispy?
This usually happens for one of three reasons: they weren’t dried thoroughly before coating, they were overcrowded on the baking sheet, or they weren’t baked long enough. Make sure you pat the seeds completely dry after parboiling, spread them in a single layer, and bake until they’re deep golden brown. Also, let them cool completely before storing—they crisp up as they cool.
Can I make these in an air fryer?
Absolutely. Preheat your air fryer to 300°F (150°C). Spread the coated seeds in the basket in a single layer. Cook for 10-12 minutes, shaking the basket halfway through. Check them at 10 minutes—air fryers run hot and the sugar can burn quickly. The texture will be even crispier than oven-baked seeds. I’ve tested this method and it works beautifully.
How do I prevent the sugar coating from burning?
Watch the seeds closely in the last 5 minutes of baking. Sugar can go from perfectly caramelized to burnt very quickly. If your oven runs hot, reduce the temperature to 325°F (160°C) and bake for a few extra minutes. Also, make sure your seeds are in a single layer—piled-up seeds can trap heat and cause uneven burning.
Can I use brown sugar instead of granulated sugar?
I don’t recommend it. Brown sugar has more moisture than white sugar, which can make the seeds sticky instead of crispy. If you really want that molasses flavor, use a mixture of 2 tablespoons granulated sugar and 1 tablespoon brown sugar. The white sugar will still give you the crunch, while the brown sugar adds a hint of caramel.
Pin This Recipe!
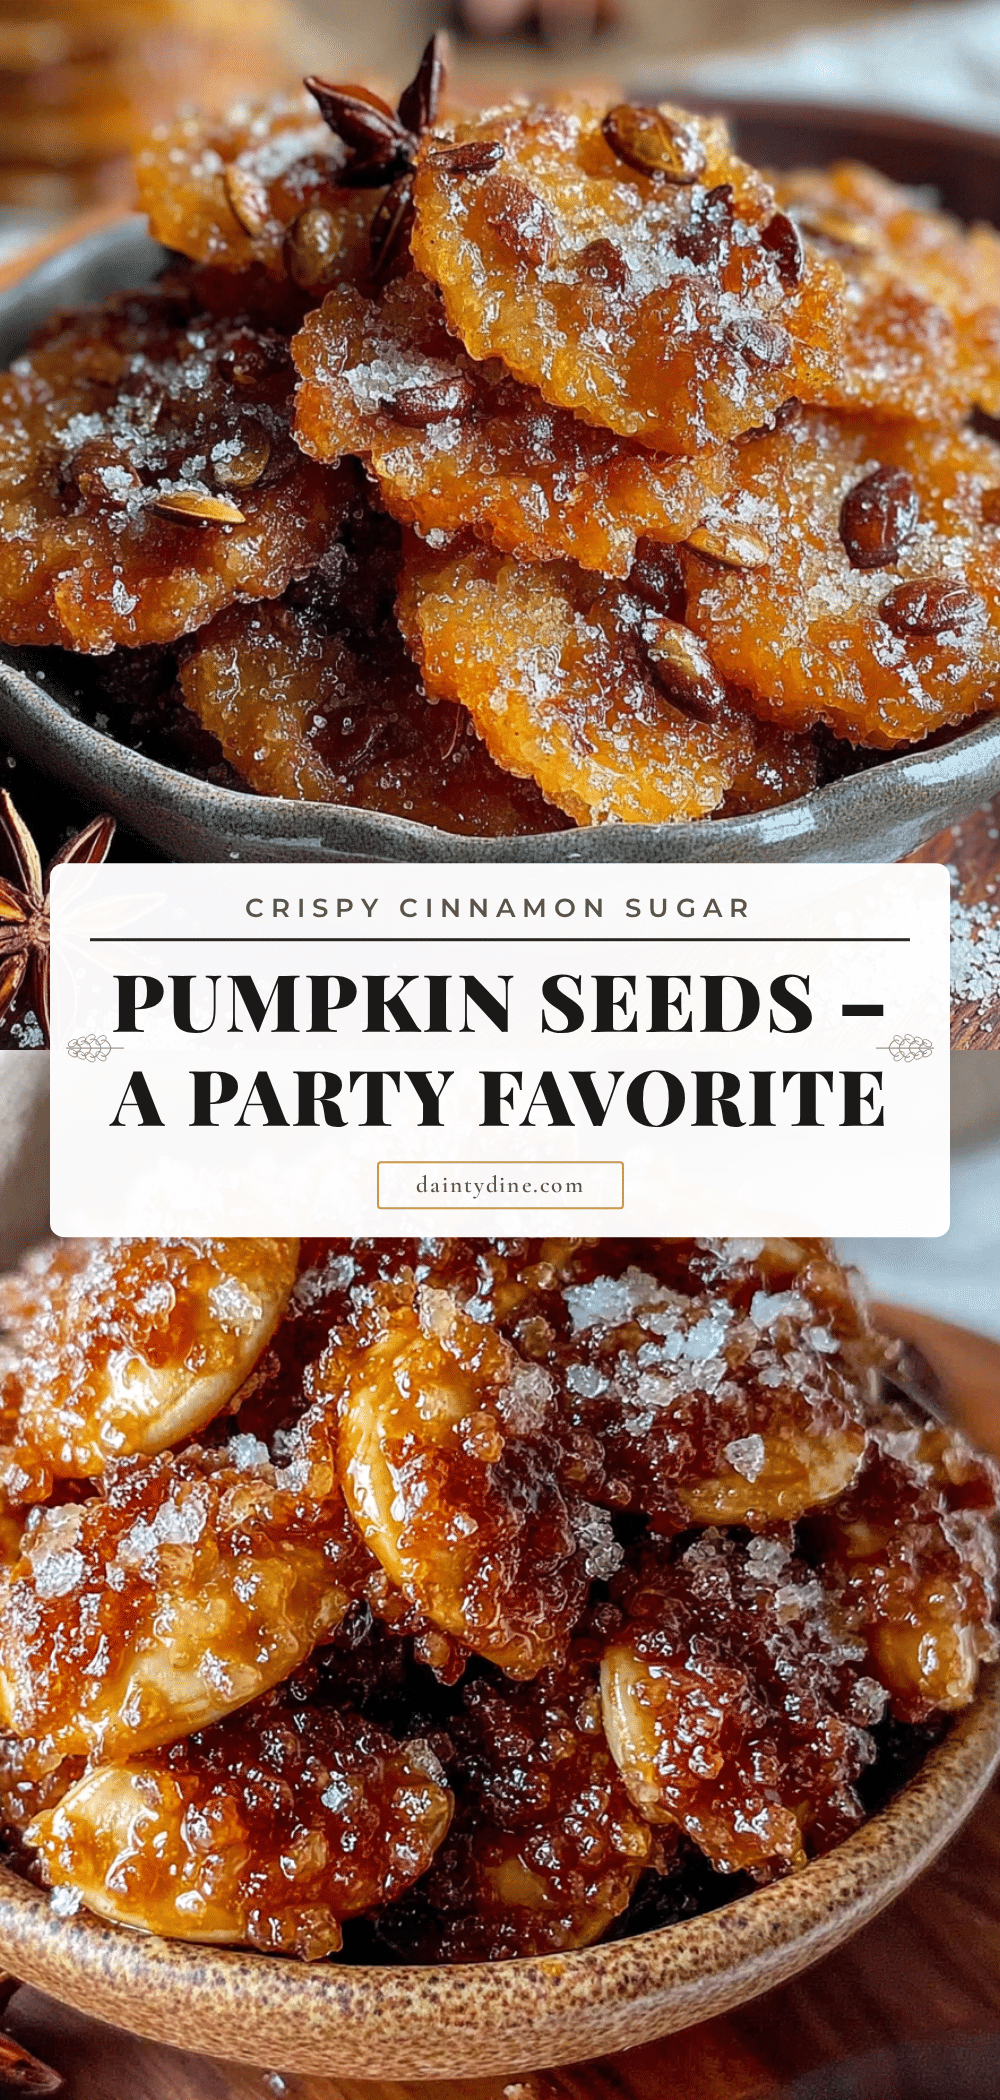
Best Easy Crispy Cinnamon Sugar Pumpkin Seeds
These crispy, sweet, and slightly spicy pumpkin seeds are the perfect last-minute snack for any fall gathering. Made with simple ingredients and a double-crisp method, they’re guaranteed to disappear fast.
- Prep Time: 15 minutes
- Cook Time: 25 minutes
- Total Time: 40 minutes
- Yield: 4 servings 1x
- Category: Snack
- Cuisine: American
Ingredients
- 1 cup (120g) fresh pumpkin seeds
- 2 tablespoons (28g) unsalted butter, melted
- 3 tablespoons (36g) granulated sugar
- 1½ teaspoons (3g) ground cinnamon
- ¼ teaspoon (1.5g) fine sea salt
- ⅛ teaspoon nutmeg (optional)
Instructions
- Preheat your oven to 350°F (175°C). Line a rimmed baking sheet with parchment paper or a silicone mat.
- Clean the seeds: Place fresh pumpkin seeds in a colander and rinse under cool running water, rubbing off the stringy pulp. This takes about 2-3 minutes.
- Parboil the seeds: Bring a small saucepan of water to a boil. Add the cleaned seeds and boil for exactly 5 minutes. Drain in the colander.
- Dry the seeds thoroughly: Spread the boiled seeds on a clean kitchen towel or double layer of paper towels. Pat dry and let sit for 5 minutes to air-dry.
- Make the coating: In a small bowl, whisk together the granulated sugar, ground cinnamon, salt, and optional nutmeg until uniform.
- Coat the seeds: Place the dried seeds in a mixing bowl. Drizzle melted butter over them and toss to coat evenly. Sprinkle the cinnamon sugar mixture over the seeds and toss again until every seed is coated.
- Spread on the baking sheet: Pour the coated seeds onto the prepared baking sheet in a single, even layer. Do not overcrowd.
- Bake for 20-25 minutes, stirring halfway through. After 10 minutes, stir the seeds with a spatula. Watch closely in the last 5 minutes to prevent burning. Seeds are done when golden brown and fragrant.
- Cool completely: Let the seeds cool on the baking sheet for at least 15 minutes. They will continue to crisp up as they cool.
- Break apart any clumps: Once completely cool, gently break apart any seeds that stuck together during baking.
Notes
For the crispiest seeds, dry them thoroughly after parboiling. Watch the seeds closely in the last 5 minutes of baking to prevent burning. Store in an airtight container at room temperature for up to 5 days. To restore crispiness, reheat in a 300°F oven for 3-4 minutes.
Nutrition
- Serving Size: 1/4 cup (about 30g)
- Calories: 180
- Sugar: 10
- Sodium: 150
- Fat: 12
- Saturated Fat: 4
- Carbohydrates: 14
- Fiber: 2
- Protein: 7
Keywords: pumpkin seeds, cinnamon sugar, fall snack, crispy, easy, party snack


