Love this? Save it for later!
Share the inspiration with your friends
My neighbor asked why I couldn’t just dump everything into one bowl and stir. I started to explain why that wouldn’t work — then stopped. I mean, I had spent years believing that proper banana bread required a separate bowl for dry ingredients, another for wet, and a whole production of sifting and folding. I was the neighborhood “baking person,” the one who always had a mixer going on Saturday mornings. And here was Sarah, a woman who openly admitted she once used a wrench to open a pickle jar, questioning my entire process.
Honestly, I almost laughed. But then I looked at my counter, piled high with three bowls, a sifter, and a whisk I’d already used twice. The kids were getting restless, and honestly? I was tired. So I shrugged and said, “Fine. Let’s try it your way.” I grabbed the biggest mixing bowl I owned — a chipped ceramic one I’d had since college — and started tossing things in. Butter, sugar, eggs, those sad, spotty bananas that had been sitting on the counter for days. Then I just dumped the flour right on top. I didn’t sift it. I didn’t whisk it separately. I just stirred.
The batter looked wrong. I was sure of it. There were lumps, and I kept finding little pockets of flour. I started to second-guess myself, but Sarah just said, “Keep going.” So I did. I poured it into a loaf pan, slid it into the oven, and waited for the worst. Forty-five minutes later, I pulled out the most tender, perfectly domed banana bread I had ever made. The top was a deep, glossy brown, and the inside was so moist it practically melted. I stood there, spatula in hand, genuinely confused. How did this work? Maybe you’ve been there — you’re so sure you know the “right” way to do something that you can’t see the simpler path right in front of you.
That was two years ago. I haven’t used a separate bowl for banana bread since. This cozy one-bowl banana bread (no mixer needed) has become my go-to, the recipe I make when I need something quick, something forgiving, something that feels like a hug. It’s the recipe that taught me that sometimes the best things come from letting go of the rules.
Why You’ll Love This Recipe
This isn’t just another banana bread recipe. This is the one I’ve tested a dozen times, tweaking the ratios, trying different fats, and even messing up a batch or two so you don’t have to. It’s built on real experience and a little bit of stubbornness. Here’s why it works so well:
- One Bowl, No Mixer: Seriously, you only need one bowl and a spatula. No hauling out the stand mixer or washing extra dishes. It’s the definition of low-effort, high-reward baking.
- Simple Pantry Ingredients: You probably have everything you need right now. Butter, sugar, eggs, flour, baking soda, salt, and those overripe bananas you were about to toss. No fancy extracts or specialty flours required.
- Perfect for Cozy Evenings: This is the recipe for a rainy Sunday, a cold Tuesday night, or any day that just needs a little warmth. The smell alone will make your whole house feel like a sanctuary.
- Crowd-Pleaser: I’ve brought this to potlucks, book clubs, and family gatherings. It disappears every single time. Kids love it, adults love it, and nobody ever guesses it came together in under ten minutes.
- Unbelievably Moist and Tender: The texture is what gets people. It’s not dry or crumbly. It’s soft, almost velvety, with a perfectly crisp crust. The secret is in how you mix the ingredients — or rather, how you don’t overmix them.
- Foolproof Method: Because everything goes into one bowl, there’s less room for error. No worrying about over-mixing the flour or under-creaming the butter. It’s a forgiving recipe that works even when you’re distracted.
This recipe is comfort food at its finest. It’s the kind of bread that makes you close your eyes after the first bite, the kind that reminds you of simpler times. It’s perfect for impressing guests without any stress, or for turning a quiet evening into something memorable.
What Ingredients You Will Need
This recipe uses simple, wholesome ingredients to deliver a bold, comforting flavor and a satisfyingly tender texture. Most of these are pantry staples, so you can whip this up on a whim.
- Unsalted butter, melted (½ cup or 113g): I prefer unsalted so I can control the salt level. Melt it gently — you don’t want it hot, just liquid. (Adds richness and moisture.)
- Granulated sugar (¾ cup or 150g): Just standard white sugar. It sweetens the bread and helps create that lovely golden crust.
- Large eggs, room temperature (2): Room temperature eggs blend more smoothly into the batter. If you’re in a rush, place them in a bowl of warm water for 5 minutes.
- Ripe bananas, mashed (3 medium or about 1½ cups): The riper, the better. Look for bananas with plenty of brown spots — that’s where the natural sweetness and moisture live. Mash them with a fork until mostly smooth, leaving a few small chunks for texture.
- Vanilla extract (1 teaspoon): Pure vanilla adds a warm, aromatic depth. I always use pure extract, not imitation, for the best flavor.
- All-purpose flour (1½ cups or 180g): Standard all-purpose flour works perfectly. Spoon it into your measuring cup and level it off with a knife — don’t scoop directly from the bag, or you’ll pack in too much flour.
- Baking soda (1 teaspoon): This is the leavening agent. Make sure it’s fresh — if it’s been sitting in your pantry for over a year, it might not work as well.
- Salt (½ teaspoon): Salt balances the sweetness and enhances all the other flavors. I use fine sea salt.
- Optional: Mix-ins (½ cup total): Chocolate chips, chopped walnuts, or dried cranberries are all excellent. I personally love semi-sweet chocolate chips — they create little pockets of melted goodness.
Substitution Guidance: If you need a dairy-free option, you can use melted coconut oil or a neutral vegetable oil instead of butter. For a gluten-free version, swap the all-purpose flour for a good 1:1 gluten-free baking blend. I’ve tried this with King Arthur’s Measure for Measure flour, and it works beautifully — just don’t overmix the batter. You can also reduce the sugar to ½ cup if you prefer a less sweet loaf, though the texture may be slightly less tender.
Equipment Needed
You don’t need a fancy kitchen to make this bread. Here’s what you’ll need:
- One large mixing bowl: Any bowl will do, but a wide, deep one makes mixing easier. My favorite is a simple ceramic bowl, but glass or stainless steel work just as well.
- A wooden spoon or rubber spatula: A spatula is my preference — it scrapes the sides of the bowl clean and folds the batter gently.
- A 9×5-inch loaf pan: This is the standard size. If you use an 8×4-inch pan, your bread will be taller and may need a few extra minutes to bake. If you use a larger pan, it will be shorter and bake faster.
- Parchment paper (optional but helpful): Lining the pan with parchment paper makes lifting the bread out a breeze. Just leave a little overhang on the long sides.
- Cooling rack: A wire rack lets air circulate around the bread, preventing a soggy bottom.
- Measuring cups and spoons: For accuracy. A kitchen scale is even better, especially for the flour.
If you don’t have a loaf pan, you can use an 8×8-inch square pan and bake for about 25-30 minutes. Just keep an eye on it. And honestly? I’ve made this in a disposable aluminum pan before when I was traveling, and it turned out just fine.
Preparation Method
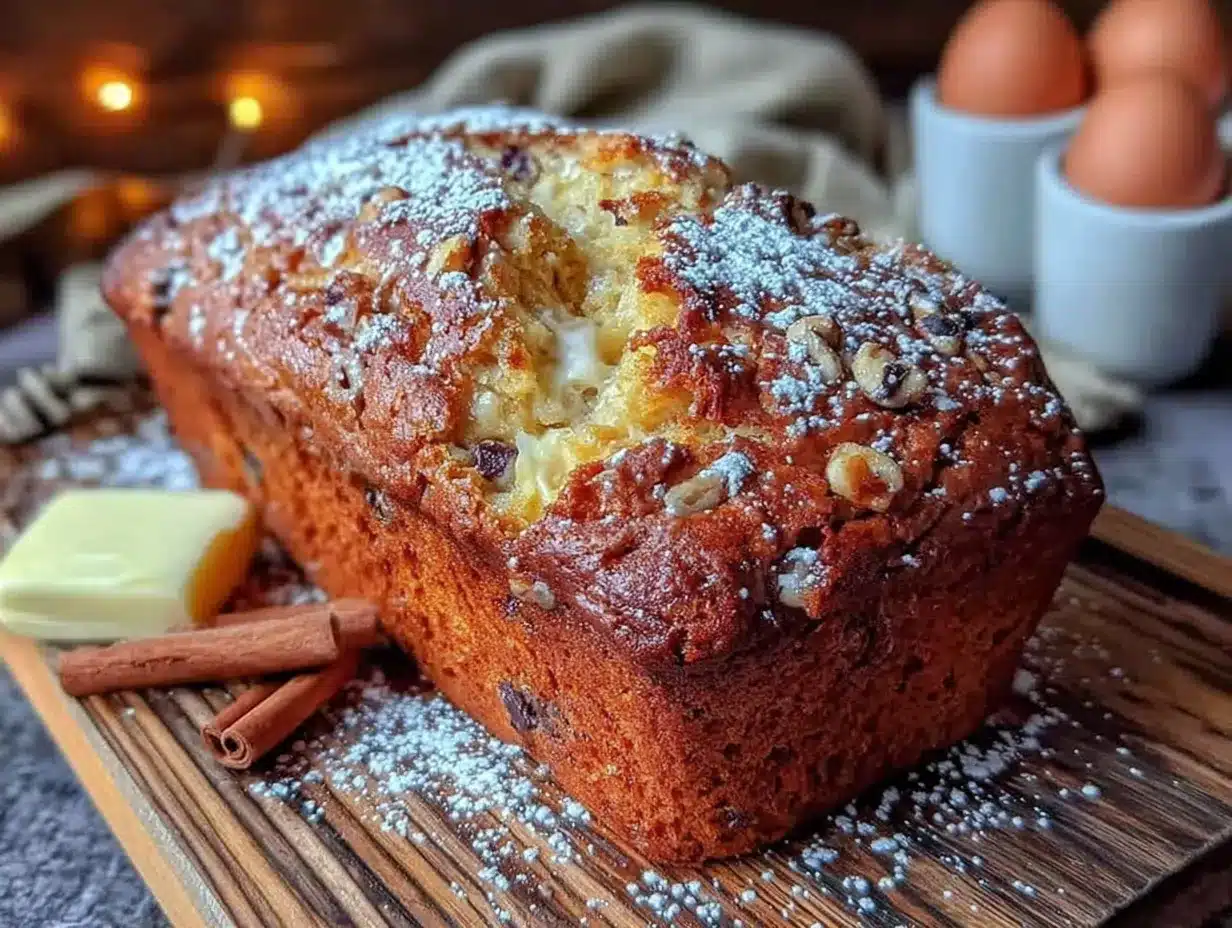
Let’s get to the good part. This method is straightforward, but I’ll share the little tricks I’ve learned along the way.
- Preheat your oven to 350°F (175°C). Place the rack in the center position. While it’s heating, line your loaf pan with parchment paper or grease it well with butter.
- Melt the butter. In your large mixing bowl, melt ½ cup of unsalted butter. You can do this in the microwave in 20-second bursts, or on the stovetop. Let it cool for a minute — it shouldn’t be hot enough to cook the eggs.
- Add the sugar and eggs. Pour in ¾ cup of granulated sugar and crack in the 2 room-temperature eggs. Whisk or stir vigorously until the mixture is smooth, pale, and slightly thickened. This should take about a minute. The mixture will look a bit like thin caramel.
- Mash and add the bananas. Mash your 3 ripe bananas in a separate small bowl (or just in the center of your mixing bowl if you’re brave). Add them to the wet mixture along with 1 teaspoon of vanilla extract. Stir until just combined. The batter will look a little lumpy — that’s fine.
- Add the dry ingredients. Sprinkle 1½ cups of all-purpose flour, 1 teaspoon of baking soda, and ½ teaspoon of salt directly over the wet mixture. Do NOT stir yet. This is the crucial moment.
- Fold gently. Using your spatula, fold the flour into the wet ingredients with a gentle, sweeping motion. Scrape from the bottom of the bowl and turn the batter over itself. Stop as soon as you no longer see streaks of flour. A few small lumps are perfectly okay — overmixing will make the bread tough. This whole step should take less than 30 seconds.
- Fold in your mix-ins (optional). If you’re adding chocolate chips or nuts, sprinkle them over the batter and fold them in with just two or three strokes. Don’t overdo it.
- Pour and spread. Scrape the batter into your prepared loaf pan. Use the spatula to spread it into an even layer. The batter will be thick — that’s normal.
- Bake. Place the pan in the preheated oven and bake for 50-60 minutes. Start checking at 50 minutes. The bread is done when a toothpick inserted into the center comes out clean or with just a few moist crumbs. If the top is browning too quickly, tent it loosely with aluminum foil after 40 minutes.
- Cool. Let the bread cool in the pan for 10 minutes. Then, using the parchment paper, lift it out and transfer it to a wire rack to cool completely. I know it’s tempting, but slicing into it while it’s warm will make it crumble. Patience, friend.
Cooking Tips & Techniques
I’ve made this recipe more times than I can count, and I’ve learned a few things the hard way. Here are my best tips:
- Don’t overmix the batter. This is the single most important tip. Overmixing develops the gluten in the flour, which makes the bread dense and rubbery. Stir just until the flour disappears. Lumps are your friends.
- Use a kitchen scale for the flour. If you have one, it’s the most accurate way to measure. A cup of flour can weigh anywhere from 120g to 150g depending on how you scoop it. For this recipe, 180g is the sweet spot.
- Check your baking soda. If your bread doesn’t rise well, the baking soda might be old. Test it by dropping a little into vinegar — if it fizzes vigorously, it’s good. If not, buy a new box.
- Don’t skip the salt. I know it sounds counterintuitive in a sweet bread, but salt enhances the banana flavor and balances the sweetness. Without it, the bread tastes flat.
- Let the bananas get ugly. I mean it. The best banana bread comes from bananas that are practically black. They’re sweeter, softer, and more aromatic. If your bananas aren’t ripe enough, place them (unpeeled) on a baking sheet in a 300°F oven for 15-20 minutes until they’re soft and dark.
- Use room temperature eggs. Cold eggs can seize the melted butter, creating a lumpy batter. If you forgot to take them out of the fridge, place them in a bowl of warm water for 5 minutes.
- Let it cool completely. I know, I know. But the bread continues to set as it cools. Cutting it too early will give you a gummy, crumbly mess. Trust the process.
Variations & Adaptations
This recipe is a fantastic base for experimentation. Here are a few of my favorite twists:
- Chocolate Chip Banana Bread: Fold in ½ cup of semi-sweet chocolate chips. I recommend tossing them in a teaspoon of flour first to prevent them from sinking to the bottom. This is my personal favorite — the melted chocolate pockets are pure bliss.
- Vegan Banana Bread: Replace the butter with melted coconut oil or a neutral vegetable oil. Use 2 flax eggs (2 tablespoons ground flaxseed mixed with 6 tablespoons water, let sit for 5 minutes) instead of the eggs. The texture will be slightly denser but still delicious.
- Gluten-Free Banana Bread: Swap the all-purpose flour for a high-quality 1:1 gluten-free baking blend. I’ve had great results with Bob’s Red Mill and King Arthur brands. Add 1 teaspoon of xanthan gum if your blend doesn’t include it. The bread might be a bit more crumbly, so handle it gently.
- Spiced Banana Bread: Add 1 teaspoon of ground cinnamon, ½ teaspoon of ground nutmeg, and ¼ teaspoon of ground ginger to the dry ingredients. It gives the bread a warm, chai-like flavor that’s perfect for fall.
- Nutty Banana Bread: Fold in ½ cup of toasted walnuts or pecans. Toast them in a dry skillet over medium heat for 3-4 minutes until fragrant — it really brings out their flavor. I’ve also used chopped almonds, which add a nice crunch.
- Streusel Topped Banana Bread: Before baking, mix together ¼ cup of flour, ¼ cup of brown sugar, 2 tablespoons of cold butter, and a pinch of cinnamon. Sprinkle this over the batter. It creates a crispy, buttery topping that’s absolutely irresistible.
One time, I tried a savory version with cheddar cheese and chives. It was… interesting. Let’s just say some experiments are best left in the kitchen. Stick to the sweet variations, and you’ll be golden.
Serving & Storage Suggestions
This banana bread is incredibly versatile when it comes to serving. Here’s how I like to enjoy it:
- Serving Temperature: It’s delicious at room temperature, but I actually prefer it slightly warm. Pop a slice in the microwave for 10-15 seconds, or toast it in a skillet with a little butter for a crispy exterior.
- Perfect Pairings: A slice of this bread is wonderful with a cup of coffee or tea in the morning. For dessert, try it with a scoop of vanilla ice cream and a drizzle of caramel sauce. It also makes a great base for a simple bread pudding.
- Storage: Store the bread tightly wrapped in plastic wrap or in an airtight container at room temperature for up to 4 days. Do not refrigerate it — the cold air will dry it out. If you live in a humid climate, you can store it in the fridge, but let it come to room temperature before serving.
- Freezing: This bread freezes beautifully. Let it cool completely, then wrap it tightly in plastic wrap, followed by a layer of aluminum foil. Freeze for up to 3 months. To thaw, leave it on the counter overnight, or unwrap and microwave individual slices for 30-40 seconds.
- Flavor Development: Honestly, this bread tastes even better on the second day. The flavors meld together, and the texture becomes even more moist. So if you can resist eating it all on day one, you’re in for a treat.
Nutritional Information & Benefits
While this is a treat, it also has some redeeming qualities. Here’s a rough estimate per slice (based on 10 slices, without mix-ins):
| Nutrient | Amount per Slice |
|---|---|
| Calories | ~280 |
| Total Fat | 12g |
| Saturated Fat | 7g |
| Carbohydrates | 40g |
| Sugar | 20g |
| Fiber | 2g |
| Protein | 4g |
| Sodium | 280mg |
Health Benefits: Bananas are a great source of potassium, which supports heart health and muscle function. They also contain vitamin B6 and vitamin C. Using whole ingredients means you’re avoiding the preservatives and additives found in many store-bought baked goods. For a slightly healthier version, you can reduce the sugar to ½ cup or swap half the all-purpose flour for whole wheat pastry flour. This recipe is vegetarian-friendly, but it does contain gluten, dairy, and eggs. If you need to avoid those, see the variations section above.
Conclusion
This cozy one-bowl banana bread (no mixer needed) has become a staple in my kitchen for a reason. It’s the recipe I turn to when I need something comforting, something simple, something that feels like a warm hug on a cold day. It’s proof that you don’t need fancy equipment or complicated techniques to create something truly delicious. You just need a few simple ingredients, one bowl, and a little bit of trust.
I hope you give this recipe a try. Customize it with your favorite mix-ins, make it your own, and don’t be afraid to mess it up a little — that’s how you learn. And when you do make it, I’d love to hear about it. Leave a comment below and tell me how it turned out, or share a photo on social media and tag me. Let’s spread a little cozy baking joy, one loaf at a time. Happy baking, friend!
Frequently Asked Questions
Can I use frozen bananas for this recipe?
Absolutely! Frozen bananas are actually perfect for banana bread. Thaw them completely, then drain off any excess liquid before mashing. The thawed bananas will be very soft and almost liquid, which works great in this one-bowl method.
Why did my banana bread sink in the middle?
A sunken center usually means the bread was underbaked. Make sure your oven is at the correct temperature (an oven thermometer helps), and don’t open the oven door during the first 40 minutes of baking. Also, make sure your baking soda is fresh.
Can I make this into muffins instead of a loaf?
Yes! This batter works perfectly for muffins. Divide the batter among a greased or lined 12-cup muffin tin. Bake at 350°F (175°C) for 18-22 minutes, or until a toothpick inserted into the center comes out clean. You’ll get about 12 muffins.
How do I know when the banana bread is done?
Insert a toothpick or a thin skewer into the center of the loaf. If it comes out clean or with just a few moist crumbs clinging to it, it’s done. If it comes out with wet batter, it needs more time. The top should also be a deep golden brown and feel firm to the touch.
Can I add sour cream or yogurt to make it even more moist?
You can, but it will change the texture and sweetness. If you want to try it, replace ¼ cup of the butter with ¼ cup of plain Greek yogurt or sour cream. The bread will be slightly tangier and very moist. Just be sure to mix it in gently.
Pin This Recipe!
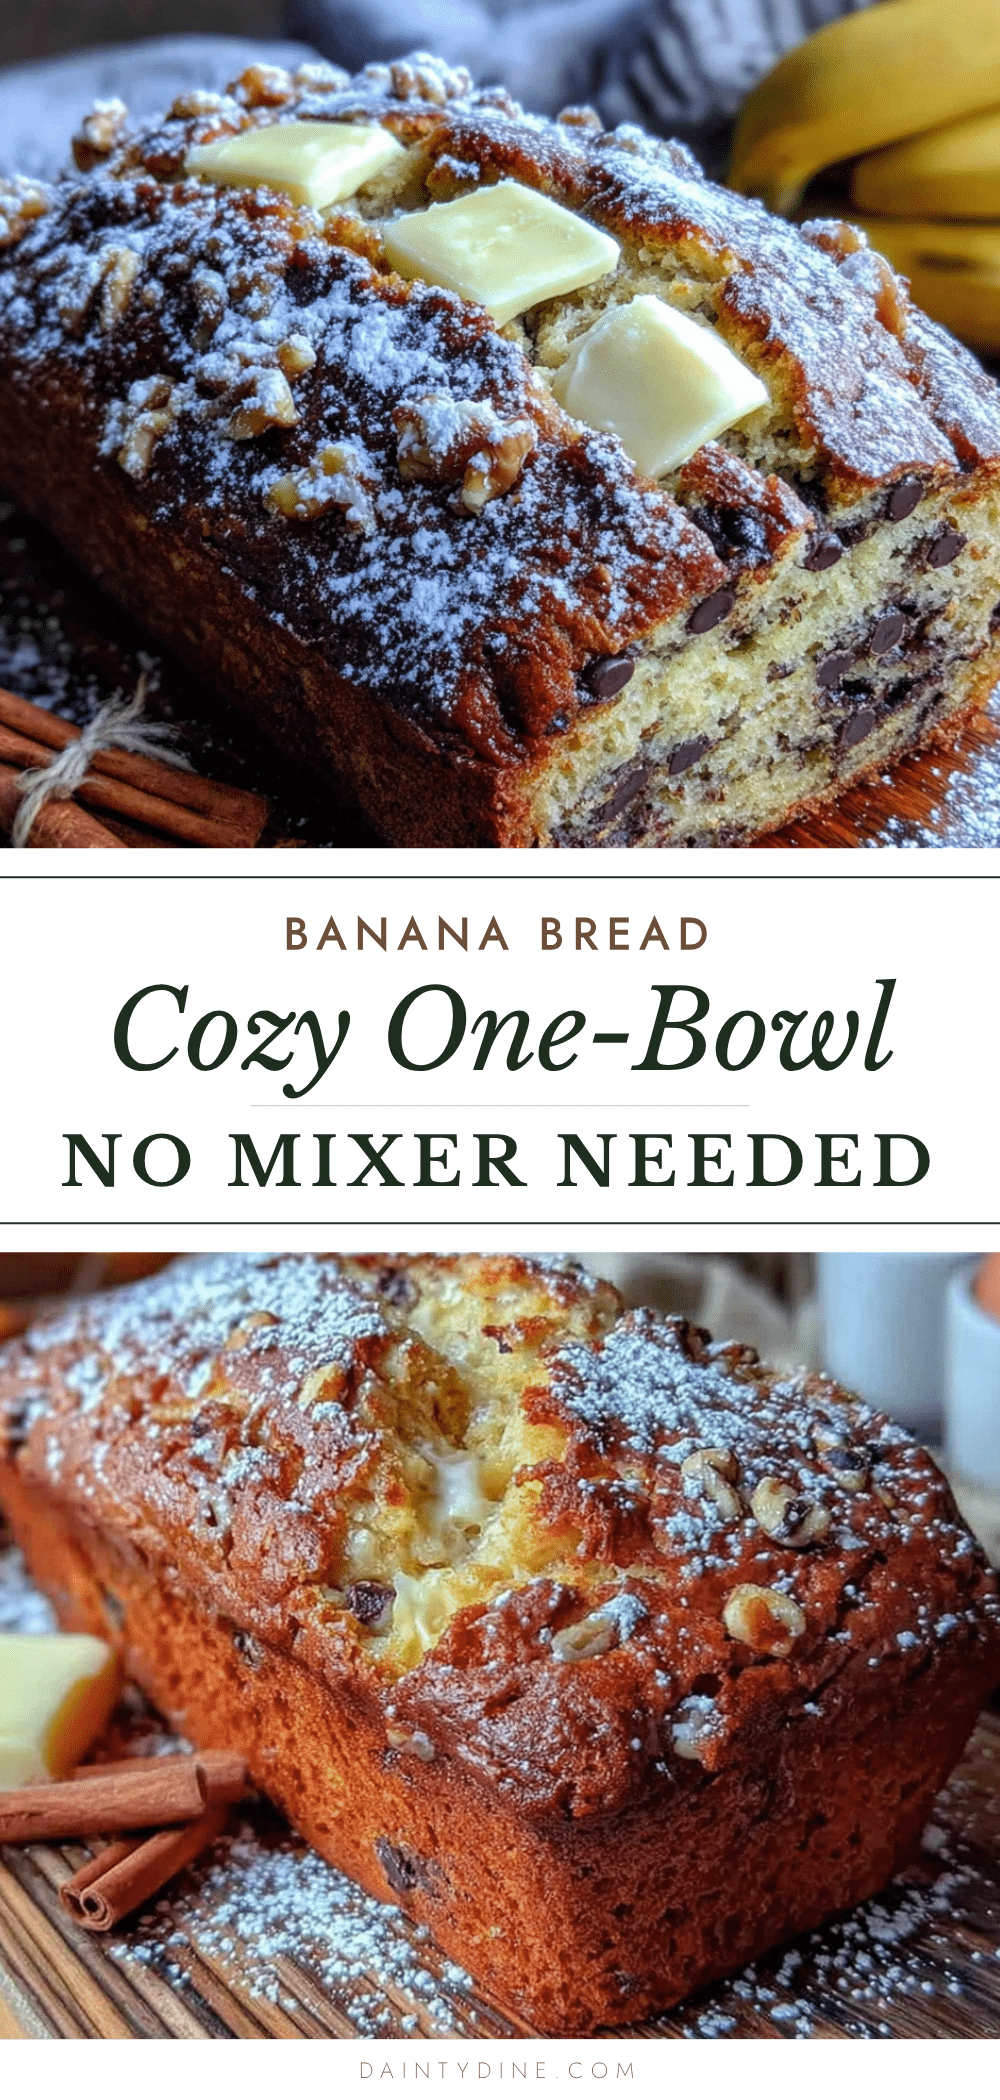
Cozy One-Bowl Banana Bread (No Mixer Needed)
This incredibly moist and tender banana bread comes together in just one bowl with no mixer required. It’s the perfect low-effort, high-reward recipe for cozy evenings, using simple pantry ingredients for a foolproof, crowd-pleasing treat.
- Prep Time: 10 minutes
- Cook Time: 55 minutes
- Total Time: 1 hour 5 minutes
- Yield: 10 servings 1x
- Category: Dessert
- Cuisine: American
Ingredients
- ½ cup (113g) unsalted butter, melted
- ¾ cup (150g) granulated sugar
- 2 large eggs, room temperature
- 3 medium ripe bananas, mashed (about 1½ cups)
- 1 teaspoon vanilla extract
- 1½ cups (180g) all-purpose flour
- 1 teaspoon baking soda
- ½ teaspoon salt
- ½ cup mix-ins (optional): chocolate chips, chopped walnuts, or dried cranberries
Instructions
- Preheat your oven to 350°F (175°C). Place the rack in the center position. Line a 9×5-inch loaf pan with parchment paper or grease it well with butter.
- In a large mixing bowl, melt ½ cup of unsalted butter. Let it cool for a minute.
- Add ¾ cup of granulated sugar and 2 room-temperature eggs. Whisk or stir vigorously until the mixture is smooth, pale, and slightly thickened (about 1 minute).
- Mash 3 ripe bananas and add them to the wet mixture along with 1 teaspoon of vanilla extract. Stir until just combined.
- Sprinkle 1½ cups of all-purpose flour, 1 teaspoon of baking soda, and ½ teaspoon of salt directly over the wet mixture. Do NOT stir yet.
- Using a spatula, fold the flour into the wet ingredients with a gentle, sweeping motion. Stop as soon as you no longer see streaks of flour. A few small lumps are okay.
- If using mix-ins, sprinkle them over the batter and fold in with just two or three strokes.
- Scrape the batter into the prepared loaf pan and spread it into an even layer.
- Bake for 50-60 minutes, starting to check at 50 minutes. The bread is done when a toothpick inserted into the center comes out clean or with just a few moist crumbs. If the top is browning too quickly, tent loosely with aluminum foil after 40 minutes.
- Let the bread cool in the pan for 10 minutes. Then, using the parchment paper, lift it out and transfer to a wire rack to cool completely before slicing.
Notes
Don’t overmix the batter – stir just until flour disappears. Use very ripe (almost black) bananas for best flavor and sweetness. Room temperature eggs blend more smoothly. Let bread cool completely before slicing to prevent crumbling. Bread tastes even better on the second day.
Nutrition
- Serving Size: 1 slice
- Calories: 280
- Sugar: 20
- Sodium: 280
- Fat: 12
- Saturated Fat: 7
- Carbohydrates: 40
- Fiber: 2
- Protein: 4
Keywords: banana bread, one bowl, no mixer, easy banana bread, moist banana bread, quick bread, comfort food


