Love this? Save it for later!
Share the inspiration with your friends
My sister asked why I couldn’t just skip the flipping. We were standing in my kitchen last Tuesday, and she was watching me carefully turn each chicken thigh halfway through the air fryer cycle. “Why not just cook them longer on one side?” she asked. “Less work, same result.” I started to explain why that wouldn’t work — something about even browning and rendering fat properly. Then I stopped. Honestly, I had no good reason. I’d just always done it that way because that’s how the recipe said to do it. So I let her talk me into trying it her way. I set the air fryer to 400°F, arranged the thighs skin-side down, and walked away for a full 18 minutes without touching them once.
The result was humbling. Those chicken thighs came out with skin so crispy it shattered when I bit into it, and the meat underneath was somehow juicier than usual. I mean, I was genuinely annoyed at how good they were. There I was, the one who usually gives cooking advice, getting schooled by someone who thought “air fryer” was a brand name. The golden-brown crust had these little bubbled pockets of pure crunch, and the seasoning had concentrated perfectly on the surface. I actually stood there eating one straight from the basket, burning my fingers and not caring one bit. Maybe you’ve been there — that moment when a recipe you’ve made a hundred times suddenly gets better because someone challenged your assumptions. These crispy golden air fryer chicken thighs have become my weeknight dinner hero, and I keep making them because they prove that sometimes the simplest approach wins every time.
Why You’ll Love This Recipe
Let me tell you why these crispy air fryer chicken thighs have completely replaced my old oven-baked method. I’ve tested this recipe at least a dozen times, tweaking temperatures and timing, and this version is the one I keep coming back to. Here’s what makes it stand out:
- Ready in Under 30 Minutes : From fridge to plate in about 25 minutes, which is faster than preheating your oven. Perfect for those nights when you walk in the door hungry and need dinner on the table yesterday.
- Pantry-Friendly Ingredients : You probably have everything already. Salt, pepper, garlic powder, maybe some paprika. No fancy marinades or hard-to-find spices required.
- Perfect for Busy Weeknights : This is the kind of dinner that saves you on a Tuesday when you’ve got nothing planned and the kids are asking what’s for dinner every five minutes.
- Guaranteed Crowd-Pleaser : I’ve served these to picky eaters, foodie friends, and my dad who claims he doesn’t like chicken thighs. Everyone goes back for seconds.
- That Unbelievably Crispy Skin : The air fryer does something magical here — it renders the fat while crisping the skin to a texture that rivals deep-fried chicken, but with way less mess and oil.
What makes this recipe different from all the other air fryer chicken recipes out there? It’s the no-flip method and the specific temperature timing that gives you that perfect crust without drying out the meat. I’ve tried the lower-and-slower approach, the flip-every-five-minutes method, and the brine-before-cooking technique. This version beats them all for simplicity and results. It’s comfort food reimagined — faster, easier, but with the same soul-soothing satisfaction that makes chicken thighs so beloved. Perfect for impressing your family on a random Wednesday or turning a simple meal into something memorable without breaking a sweat.
What Ingredients You Will Need
This recipe uses simple, everyday ingredients to deliver bold flavor and that irresistible crispy texture. The beauty is in the seasoning balance and the quality of the chicken itself.
- Bone-in, skin-on chicken thighs (4-6 thighs, about 2 pounds / 900g) : This is non-negotiable for maximum crispiness. The skin protects the meat and crisps up beautifully in the air fryer. I prefer thighs from Bell & Evans or Mary’s Free Range Chicken for the best texture and flavor. Look for thighs with the skin still attached and intact — torn skin won’t crisp as evenly.
- Olive oil (1 tablespoon / 15ml) : Just enough to help the seasoning stick and encourage browning. You can use avocado oil if you prefer a higher smoke point, but olive oil works perfectly here.
- Garlic powder (1 teaspoon) : Adds that savory depth without burning in the air fryer. Fresh garlic would burn at this temperature, so stick with the powdered stuff for this recipe.
- Onion powder (1 teaspoon) : Complements the garlic and adds a subtle sweetness that balances the savory notes.
- Smoked paprika (1 teaspoon) : This is my secret weapon. Smoked paprika gives the chicken a beautiful color and a hint of smokiness that makes it taste like you grilled it. Sweet paprika works too, but you’ll lose that smoky depth.
- Salt (1 teaspoon / 5g) : I use fine sea salt for even distribution. Kosher salt works too, but you might need a bit more since the flakes are larger.
- Black pepper (½ teaspoon) : Freshly ground is always better, but pre-ground works in a pinch.
- Optional: Dried thyme or rosemary (½ teaspoon) : Adds an herby note that pairs beautifully with chicken. I add this when I’m feeling fancy or when I want a more complex flavor profile.
Pro tip from my kitchen: Pat the chicken thighs completely dry with paper towels before seasoning. This is the single most important step for crispy skin. Moisture is the enemy of crispiness, and the air fryer needs dry skin to work its magic. I learned this the hard way after a batch of soggy-skinned chicken that made me want to cry.
Substitution guidance: If you’re out of smoked paprika, use regular paprika and add a pinch of cayenne for heat. No garlic powder? Use granulated garlic — just note it’s a bit more potent, so use about ¾ teaspoon. For a gluten-free option, you’re already good since this recipe uses no flour. If you need to reduce sodium, cut the salt to ½ teaspoon and add extra herbs for flavor.
Equipment Needed
You don’t need much for this recipe, which is part of why I love it so much.
- Air fryer (5.8-quart / 5.5-liter or larger) : I use the Cosori Pro II and it works beautifully. A basket-style air fryer is ideal, but oven-style works too — just adjust the cooking time slightly. If your air fryer is smaller, cook the thighs in batches to avoid overcrowding.
- Tongs : For handling hot chicken. I prefer silicone-tipped tongs that won’t scratch the air fryer basket.
- Paper towels : For drying the chicken thoroughly. This is not optional — please don’t skip this step.
- Small bowl : For mixing the seasoning blend.
- Meat thermometer : This is my non-negotiable tool. An instant-read thermometer takes the guesswork out of cooking and ensures your chicken is perfectly cooked every time. I use the Thermapen One, but any reliable instant-read thermometer works.
- Cutting board : For resting and slicing the chicken after cooking.
Budget-friendly tip: You don’t need an expensive air fryer for this recipe. I’ve made these chicken thighs in a $40 air fryer from a discount store and they turned out just as crispy. The key is knowing your specific air fryer’s quirks — some run hotter than others, so adjust accordingly.
Preparation Method
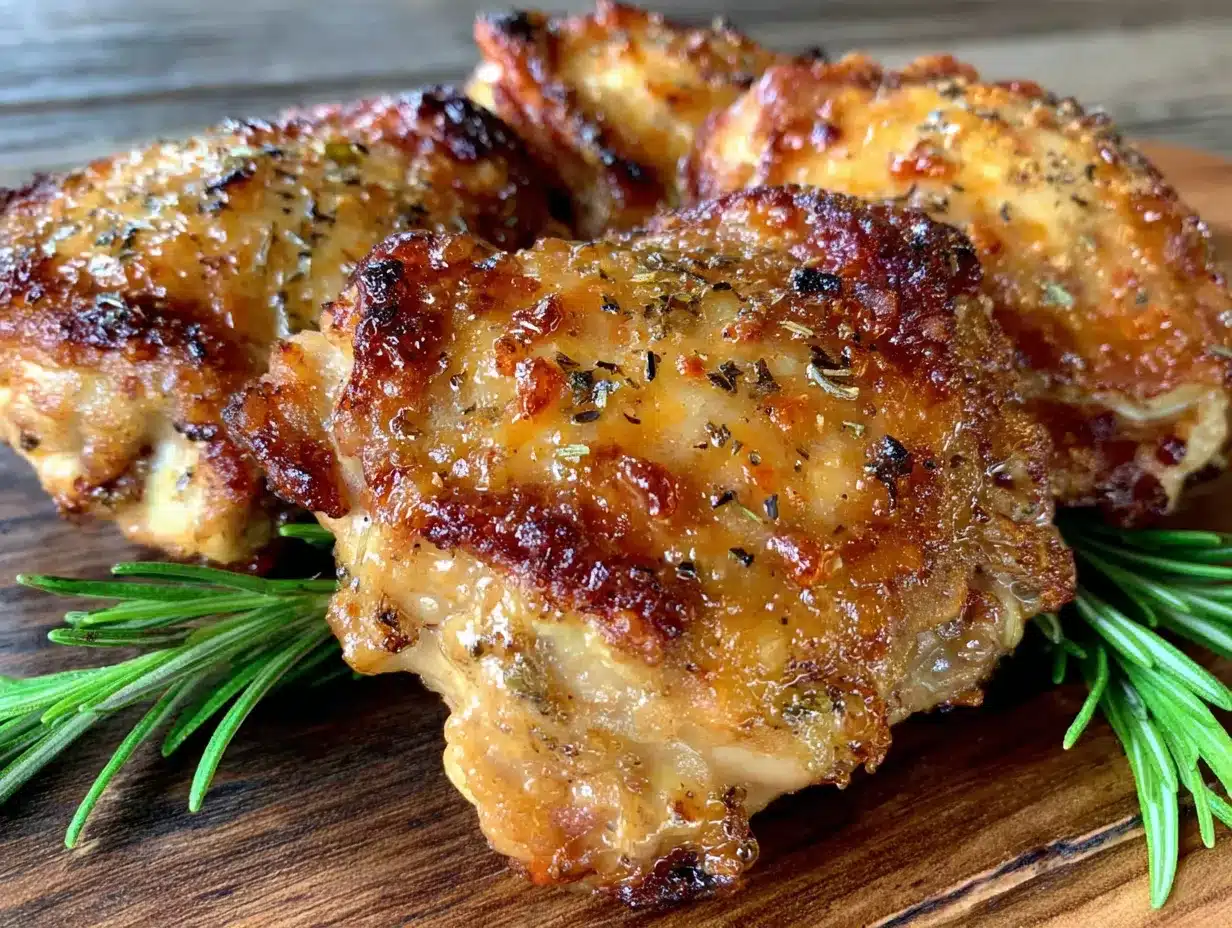
Let me walk you through this step by step. I’ve included all the little details that make the difference between good chicken and unforgettable chicken.
- Preheat your air fryer to 400°F (200°C) for 3-5 minutes. Most air fryers recommend preheating, and this helps ensure even cooking from the start. While it’s preheating, move on to the next steps.
- Pat the chicken thighs completely dry with paper towels. This is the most important step. I mean it — take your time here. Use multiple paper towels and press firmly to absorb as much moisture as possible from the skin and the underside. Wet skin will steam instead of crisp, and nobody wants steamed chicken skin. I usually go through 3-4 paper towels for a batch of 6 thighs.
- In a small bowl, combine the seasoning. Mix together 1 teaspoon garlic powder, 1 teaspoon onion powder, 1 teaspoon smoked paprika, 1 teaspoon salt, ½ teaspoon black pepper, and optional ½ teaspoon dried thyme or rosemary. Stir until everything is evenly distributed.
- Season the chicken thighs. Drizzle the 1 tablespoon of olive oil over the chicken and use your hands to rub it evenly over each thigh, making sure to coat both sides. Then sprinkle the seasoning mixture over the chicken, turning to coat all sides. Don’t forget the underside — even though it won’t get as crispy, the flavor matters. I like to season the chicken on a plate so I can catch any excess seasoning and press it onto the skin.
- Arrange the chicken in the air fryer basket. Place the thighs skin-side down in a single layer. This is crucial — do not overlap them. If your air fryer is small, cook in batches. Overcrowding traps steam and prevents crisping. Leave a little space between each thigh for air circulation. I can fit 4-5 thighs in my 5.8-quart air fryer comfortably.
- Cook at 400°F (200°C) for 18 minutes without flipping. Yes, you read that right — no flipping. This is the method my sister suggested, and it works perfectly. The skin gets direct heat the entire time, allowing the fat to render and the skin to crisp up beautifully. Don’t open the basket to check on them — resist the urge. Let the air fryer do its thing.
- Check the internal temperature. After 18 minutes, use your meat thermometer to check the thickest part of the largest thigh. You’re looking for 175-185°F (80-85°C) for dark meat. Chicken thighs are more forgiving than breasts and actually taste better when cooked to a slightly higher temperature — the collagen breaks down and the meat becomes incredibly tender. If they haven’t reached temperature, cook for 2-3 more minutes and check again.
- Optional: Crisp the other side. If you want the presentation side to be extra crispy, carefully flip the thighs skin-side up and cook for an additional 2-3 minutes. I usually skip this step because the skin is already perfectly crispy, but it’s an option if you’re serving guests and want that picture-perfect look.
- Rest before serving. Remove the chicken from the air fryer and let it rest on a cutting board for 5 minutes. This allows the juices to redistribute throughout the meat. If you cut into it immediately, those beautiful juices will run out onto the board instead of staying in the chicken. Trust me on this one — I’ve made that mistake more times than I’d like to admit.
Cooking Tips & Techniques
After making these crispy air fryer chicken thighs more times than I can count, I’ve collected some tips that will save you from my early mistakes.
Don’t skip the drying step. I cannot emphasize this enough. The first time I made air fryer chicken, I was in a hurry and patted the skin quickly with one paper towel. The skin came out chewy and sad. Now I take a full minute to thoroughly dry each thigh. The drier the skin, the crispier the result. It’s that simple.
Let the chicken come to room temperature. If you have time, take the chicken out of the fridge 15-20 minutes before cooking. Cold chicken going into a hot air fryer can cause uneven cooking. The thighs will cook more evenly and the skin will crisp better if they’re not straight from the refrigerator.
Watch your air fryer’s hot spots. Every air fryer has them — spots that cook faster than others. In my Cosori, the back right corner runs hotter. I’ve learned to arrange the thicker thighs there and the thinner ones toward the front. Get to know your air fryer’s personality and adjust accordingly.
My biggest failure: I once tried to cook frozen chicken thighs in the air fryer without thawing them first. Don’t do this. The outside cooked while the inside stayed frozen, and I ended up with a disaster that took 45 minutes and still wasn’t right. Always thaw your chicken completely before cooking.
Timing strategy: While the chicken is cooking, I prepare a quick side dish — maybe a simple salad or some roasted vegetables. The 18-minute cook time is perfect for throwing together a complete meal. I’ll toss some broccoli with olive oil and salt, pop it in the air fryer with the chicken for the last 10 minutes, and dinner is ready all at once.
For consistently perfect results: Use that meat thermometer every single time. Chicken thighs can vary in size and thickness, and air fryer temperatures can fluctuate. The thermometer takes the guesswork out and guarantees perfectly cooked chicken every time.
Variations & Adaptations
This recipe is wonderfully adaptable. Here are some variations I’ve tried and loved:
- Spicy Buffalo Version : After cooking, toss the hot chicken thighs in a mixture of ¼ cup melted butter and ¼ cup hot sauce (Frank’s RedHot is my go-to). The crispy skin soaks up the sauce while staying crunchy. Serve with blue cheese dressing and celery sticks for the full experience.
- Lemon Herb Adaptation : Add the zest of one lemon to the seasoning mix and squeeze fresh lemon juice over the chicken after cooking. Throw in some fresh thyme or oregano leaves before serving. This version feels brighter and more summery — perfect for those warmer evenings.
- Honey Garlic Glaze : In the last 3 minutes of cooking, brush the chicken with a mixture of 2 tablespoons honey, 1 tablespoon soy sauce, and 2 minced garlic cloves. The honey caramelizes in the air fryer and creates a sticky, sweet-savory crust that’s absolutely addictive.
- Low-Carb/Keto Friendly : This recipe is already naturally low-carb and keto-friendly as written. The high fat content from the skin and olive oil makes it perfect for low-carb lifestyles. Serve with cauliflower rice or a big green salad.
- Dairy-Free Note : This recipe is naturally dairy-free, so no substitutions needed. Just double-check your seasoning blends for any hidden dairy ingredients — some spice mixes contain whey or milk powder.
Personal variation I love: I sometimes add a teaspoon of curry powder to the seasoning mix for a warm, aromatic twist. The curry powder pairs beautifully with the smoky paprika and creates a completely different flavor profile. My husband requests this version regularly now.
Serving & Storage Suggestions
These crispy air fryer chicken thighs are best served immediately while the skin is still crackling hot. But here’s how to handle leftovers and make the most of them.
Serving temperature and presentation: Serve the chicken hot, straight from the air fryer. Arrange the thighs on a platter with the crispy skin facing up. Garnish with fresh parsley or thyme sprigs for a pop of color. I like to serve them with lemon wedges on the side so everyone can add a squeeze of fresh lemon juice at the table.
What to serve alongside: These chicken thighs pair beautifully with almost any side dish. My favorites include a simple arugula salad with lemon vinaigrette, roasted asparagus or green beans, mashed potatoes or cauliflower mash, or a simple rice pilaf. The chicken is flavorful enough to stand alone, so keep the sides simple.
Storage instructions: Store leftover chicken thighs in an airtight container in the refrigerator for up to 4 days. The skin will lose its crispiness in the fridge, but don’t worry — you can revive it. I’ve found that the meat actually becomes more tender and flavorful the next day as the seasonings continue to meld.
Reheating methods: The air fryer is your best friend for reheating. Preheat to 375°F (190°C) and reheat the thighs for 3-5 minutes until the skin crisps back up and the meat is hot throughout. The microwave will make the skin soggy, so avoid it if possible. If you’re in a rush, a hot skillet with a little oil works in a pinch — just sear the skin side for 2-3 minutes.
Freezer-friendly: Cooked chicken thighs freeze beautifully for up to 3 months. Let them cool completely, then wrap individually in plastic wrap and place in a freezer bag. To reheat, thaw in the refrigerator overnight and reheat in the air fryer at 375°F for 5-7 minutes. The flavor stays remarkably good.
Flavor development note: Something interesting happens with these chicken thighs after a day in the fridge — the seasoning penetrates deeper into the meat, and the flavor becomes more rounded and complex. I sometimes make a double batch just so I can enjoy the leftovers the next day. The texture won’t be quite as crispy, but the flavor trade-off is worth it.
Nutritional Information & Benefits
Here’s a rough nutritional breakdown per serving (based on 4 servings, using bone-in skin-on chicken thighs):
- Calories: Approximately 350-400 per serving
- Protein: 28-32g
- Fat: 25-30g (including healthy monounsaturated fats from olive oil)
- Carbohydrates: 1-2g
- Fiber: 0g
- Sodium: 600-700mg (can be reduced with less salt)
Health benefits: Chicken thighs are rich in B vitamins, particularly B6 and B12, which support energy metabolism and brain function. They also provide selenium, an important antioxidant mineral, and zinc for immune health. The olive oil adds heart-healthy monounsaturated fats. Compared to deep-fried chicken, this air fryer version uses significantly less oil — just one tablespoon for the entire batch — making it a lighter option without sacrificing flavor or texture.
Dietary considerations: This recipe is naturally gluten-free, dairy-free, low-carb, and keto-friendly. It’s also Whole30-compliant if you use a compliant seasoning blend. The only potential allergen is the chicken itself, so it’s suitable for most dietary needs.
My perspective: I love that this recipe lets me enjoy crispy, satisfying chicken without the guilt of deep frying. It feels indulgent, but it’s actually a balanced meal option. Pair it with vegetables, and you’ve got a dinner that’s both delicious and nutritious.
Conclusion
These crispy golden air fryer chicken thighs have become a staple in my kitchen for good reason. They’re fast, foolproof, and deliver that satisfying crunch we all crave without the mess of deep frying. The best part? You can customize them endlessly based on what you have in your pantry and what your family loves.
I hope you give this recipe a try — and maybe let someone talk you into trying something unconventional, like skipping the flip. Sometimes the best cooking discoveries come from being wrong. I’d love to hear how yours turn out. Did you try a different seasoning blend? Did your kids go back for seconds? Drop a comment below and let me know. And if you share your creation on social media, tag me so I can see your beautiful crispy chicken!
Remember, cooking doesn’t have to be complicated to be amazing. Sometimes the simplest methods — like letting the air fryer do its thing without interference — produce the most memorable meals. Happy cooking, friends!
Frequently Asked Questions
Can I use boneless, skinless chicken thighs instead?
You can, but the results will be different. Boneless, skinless thighs cook faster (about 12-15 minutes at 400°F) and won’t have that crispy skin we’re aiming for here. The meat will still be juicy and flavorful, but you’ll miss out on the crunchy texture that makes this recipe special. If you go this route, consider adding a light coating of oil and seasoning to help with browning.
Why is my chicken skin not getting crispy?
This usually happens for one of three reasons: the skin wasn’t dried thoroughly before cooking, the air fryer basket was overcrowded, or the temperature was too low. Make sure you pat the skin completely dry with paper towels, leave space between each thigh in the basket, and cook at 400°F. If you’re still having trouble, try cooking for an additional 2-3 minutes at 400°F.
Can I cook frozen chicken thighs in the air fryer?
I don’t recommend it. Frozen chicken thighs will cook unevenly — the outside may burn while the inside remains undercooked. Always thaw your chicken completely in the refrigerator before cooking. If you’re in a rush, you can thaw them in cold water (change the water every 30 minutes), but never use hot water as it can promote bacterial growth.
How do I know when the chicken is fully cooked?
Use a meat thermometer! Chicken thighs should reach an internal temperature of 175-185°F (80-85°C) for the best texture. Unlike chicken breasts, thighs benefit from cooking to a slightly higher temperature because the extra heat breaks down collagen and makes the meat more tender. The juices should run clear when you pierce the thickest part of the thigh.
Can I meal prep these chicken thighs for the week?
Absolutely! Cook a batch on Sunday and store them in the refrigerator for up to 4 days. They’re great for meal prep bowls, salads, or quick lunches. Just remember that the skin will soften during storage, so reheat them in the air fryer for 3-5 minutes at 375°F to bring back some of that crispiness. I often make a double batch on Sunday and use the leftovers for chicken salads or wraps during the week.
Pin This Recipe!
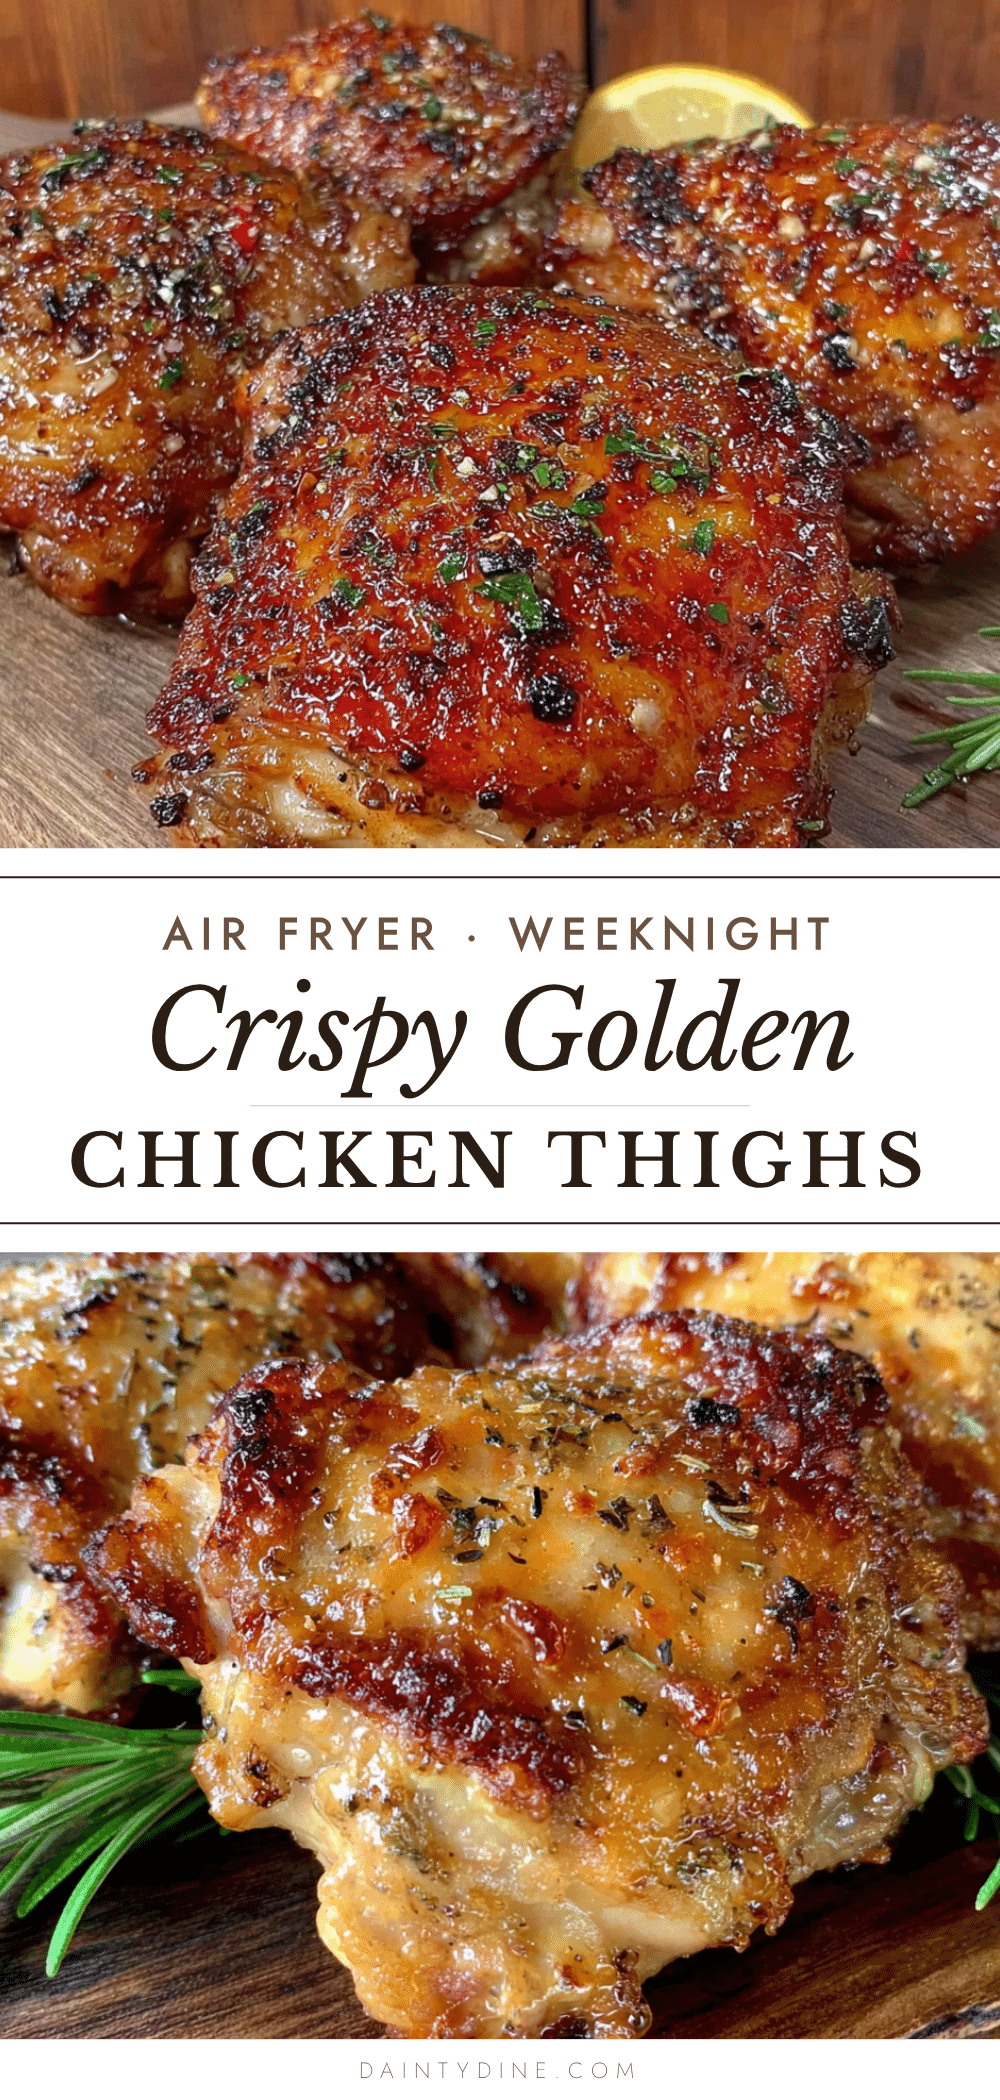
Crispy Air Fryer Chicken Thighs: The Best Easy Weeknight Dinner

These crispy golden air fryer chicken thighs are ready in under 30 minutes with simple pantry ingredients. The no-flip method delivers unbelievably crispy skin and juicy meat every time.
- Prep Time: 10 minutes
- Cook Time: 18 minutes
- Total Time: 28 minutes
- Yield: 4 servings 1x
- Category: Main Course
- Cuisine: American
Ingredients
- 4–6 bone-in, skin-on chicken thighs (about 2 pounds / 900g)
- 1 tablespoon olive oil (15ml)
- 1 teaspoon garlic powder
- 1 teaspoon onion powder
- 1 teaspoon smoked paprika
- 1 teaspoon fine sea salt (5g)
- ½ teaspoon black pepper
- ½ teaspoon dried thyme or rosemary (optional)
Instructions
- Preheat your air fryer to 400°F (200°C) for 3-5 minutes.
- Pat the chicken thighs completely dry with paper towels, using multiple towels to absorb as much moisture as possible.
- In a small bowl, combine garlic powder, onion powder, smoked paprika, salt, black pepper, and optional dried thyme or rosemary.
- Drizzle olive oil over the chicken and rub evenly over each thigh. Sprinkle the seasoning mixture over the chicken, turning to coat all sides.
- Arrange the chicken skin-side down in a single layer in the air fryer basket, leaving space between each thigh. Do not overlap.
- Cook at 400°F (200°C) for 18 minutes without flipping.
- Check the internal temperature with a meat thermometer; it should reach 175-185°F (80-85°C) in the thickest part. If not, cook 2-3 more minutes.
- Optional: Flip thighs skin-side up and cook 2-3 more minutes for extra crispiness.
- Remove chicken from air fryer and let rest on a cutting board for 5 minutes before serving.
Notes
Pat the chicken completely dry for crispiest skin. Let chicken come to room temperature 15-20 minutes before cooking for even results. Adjust cooking time based on your air fryer’s hot spots. For meal prep, store in refrigerator up to 4 days and reheat in air fryer at 375°F for 3-5 minutes.
Nutrition
- Serving Size: 1 chicken thigh
- Calories: 375
- Sodium: 650
- Fat: 28
- Saturated Fat: 8
- Carbohydrates: 1
- Protein: 30
Keywords: air fryer chicken thighs, crispy chicken thighs, easy weeknight dinner, no-flip chicken, gluten-free chicken, keto chicken


