Love this? Save it for later!
Share the inspiration with your friends
This was supposed to be a pecan pie. A classic, no-fuss, straight-from-my-grandma’s-recipe-box pecan pie for our annual neighborhood potluck. I had everything laid out on the counter—the corn syrup, the sugar, the vanilla—ready to go. But somewhere between answering the door for a package and trying to help my kid find his lost shoe, I grabbed the wrong bottle. Instead of vanilla extract, my hand closed around a bottle of bourbon that my husband had left out after making himself a drink the night before. The bottle was already half-empty, and in my distracted state, I just poured. A generous glug, maybe more than a tablespoon, went straight into the filling before I even realized what I’d done.
I stood there, staring at the mixing bowl, and honestly, my first instinct was to dump it. I mean, who puts bourbon in a pecan pie meant for a family gathering? But the filling was already whisked together, and I was already running late. So I just kept going. I poured it into the crust, slid it into the oven, and braced myself for a dessert that would taste like a bar fight. When I pulled it out, the smell was… different. Warm, smoky, sweet in a way that felt deeper than usual. The bars came out of the pan a little too easily, and the filling set up with this gorgeous, almost glassy sheen. I cut them into squares, threw them on a platter, and hoped for the best.
At the potluck, I watched people take a bite. You know that moment when someone’s eyes go wide and they stop mid-conversation? That happened. Three times. By the end of the night, the platter was empty, and three different people asked for the recipe. I had to admit it was a happy accident—one that I’ve now recreated on purpose more times than I can count. These Maple Bourbon Pecan Pie Bars are better than the original pie ever was. The bourbon doesn’t overpower; it just makes everything taste richer, warmer, and more grown-up. And the maple syrup? That was a last-minute swap when I realized I was out of corn syrup. Let me tell you, it was the best mistake I ever made in the kitchen.
Why You’ll Love This Recipe
These bars aren’t just another dessert. They’re the kind of thing that makes people close their eyes after the first bite. I’ve tested this recipe at three different dinner parties, one backyard barbecue, and a holiday cookie swap, and it has never let me down. Here’s why you’re going to love making them:
- Perfect for a Crowd: Unlike a traditional pie that gives you eight slices, these bars cut into 24 generous squares. They’re ideal for potlucks, holiday parties, or any gathering where you want to feed a lot of people without standing over a hot stove all day.
- Simple Ingredients: You probably have most of these in your pantry already. The maple syrup and bourbon are the only “special” items, and they’re easy to find at any grocery store.
- Make-Ahead Friendly: These bars actually taste better the next day. The flavors meld together overnight, and the crust gets even more buttery. You can bake them two days ahead and still serve them at room temperature with zero stress.
- No-Fuss Technique: The crust is a simple press-in situation—no rolling, no chilling, no pie weights. The filling comes together in one bowl with a whisk. If you can stir, you can make these bars.
- Impressive Presentation: That glossy, crackly top with perfectly toasted pecans? It looks like you spent hours. But between us, it takes about 20 minutes of active work.
What makes these bars different from every other pecan bar recipe out there is the double hit of maple and bourbon. The maple syrup adds a floral, woodsy sweetness that corn syrup just can’t match. The bourbon brings a warmth that cuts through the richness without making it taste boozy. It’s the kind of flavor that makes people ask, “What’s in this?” and then nod approvingly when you tell them.
Let’s be real—hosting is stressful enough without worrying about dessert. These bars are your secret weapon. They come together fast, they travel well, and they make you look like a hero. I’ve brought them to everything from casual game nights to formal Thanksgiving dinners, and they’ve never failed me.
What Ingredients You Will Need
This recipe uses simple, wholesome ingredients to deliver that rich, nutty, buttery flavor without any fuss. Most of these are pantry staples, and the ones that aren’t are worth the trip to the store.
For the Crust:
- 2 cups all-purpose flour (spooned and leveled—don’t pack it)
- 1/2 cup granulated sugar (adds just enough sweetness to balance the rich filling)
- 3/4 cup unsalted butter, cold and cubed (I use Kerrygold for the best flavor, but any good-quality butter works)
- 1/4 teaspoon salt (a pinch of fine sea salt brings out the butter flavor)
For the Filling:
- 3 large eggs, room temperature (cold eggs can make the filling seize up)
- 1 cup pure maple syrup (not pancake syrup—look for Grade A Dark Amber for the strongest flavor)
- 1/2 cup packed light brown sugar (adds depth and moisture)
- 1/4 cup unsalted butter, melted and cooled
- 2 tablespoons bourbon (I prefer Bulleit or Maker’s Mark for their smooth, oaky notes)
- 1 teaspoon vanilla extract (yes, even with the bourbon—it rounds out the flavor)
- 1/2 teaspoon salt
- 2 cups pecan halves (you can chop them if you prefer, but I love the look of whole halves on top)
Ingredient Tips from My Kitchen:
For the maple syrup, don’t skimp. I learned this the hard way when I used a cheap “maple-flavored” syrup once, and the bars came out tasting artificial and thin. Real maple syrup is non-negotiable here—it’s the backbone of the whole recipe. For the bourbon, any good-quality bourbon will work. I’ve used everything from a pricey small-batch bottle to a budget-friendly option, and they all worked fine. Just avoid anything flavored or spiced.
The pecans are another place where quality matters. Look for fresh pecans that smell nutty, not rancid. I buy mine from the bulk bin at my local co-op, but pre-packaged ones from the baking aisle work too. If you’re feeling fancy, you can toast the pecans lightly before adding them—just spread them on a baking sheet at 350°F for 5-7 minutes until they smell fragrant. It adds an extra layer of flavor, but it’s totally optional.
Substitution Guidance:
- For a non-alcoholic version, replace the bourbon with 2 tablespoons of apple cider or strong brewed coffee. The flavor won’t be identical, but you’ll still get that depth.
- For a gluten-free crust, use a 1:1 gluten-free flour blend. I’ve tested this with Bob’s Red Mill, and it worked beautifully.
- For a dairy-free option, use vegan butter in the crust and filling. Miyoko’s is my go-to for baking.
- If you can’t find maple syrup, you can use honey or agave, but the flavor profile will change significantly.
Equipment Needed
You don’t need a fancy kitchen to make these bars. Here’s what you’ll need:
- 9×13-inch baking pan (metal or glass both work, but metal gives a crisper crust)
- Parchment paper (for easy lifting—don’t skip this!)
- Large mixing bowl (for the crust)
- Medium mixing bowl (for the filling)
- Pastry cutter or fork (for cutting butter into the flour)
- Whisk
- Measuring cups and spoons
- Sharp knife (for clean cuts—a dull knife will ruin the bars)
If you don’t have a pastry cutter, you can use two forks or even your hands. I’ve done it all three ways, and honestly, using your hands works best because you can feel the texture of the dough. Just make sure your hands are cold—run them under cold water first if your kitchen is warm.
One tip: invest in good parchment paper. The cheap stuff can curl up and burn at the edges. I use Reynolds Kitchens, and it’s never let me down.
Preparation Method
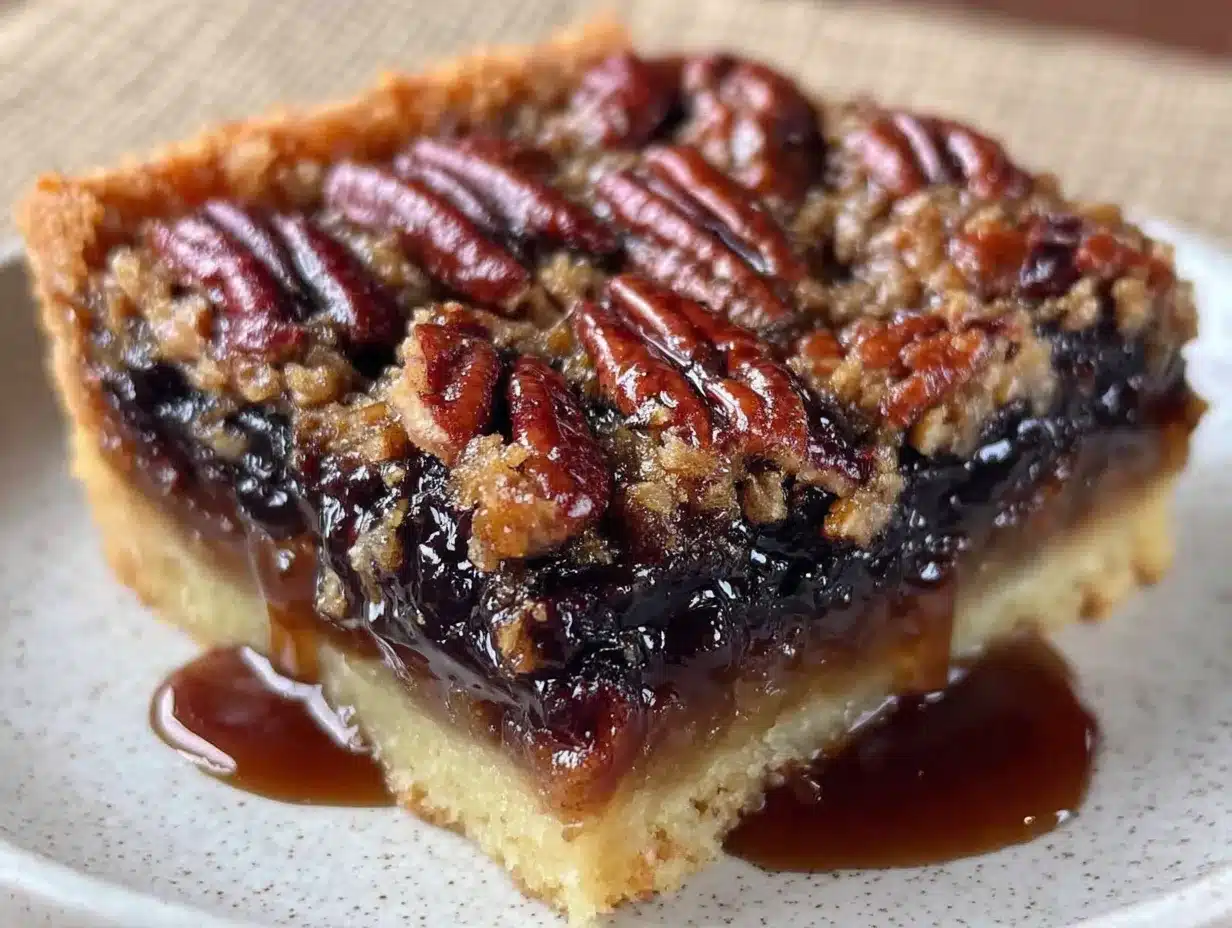
Let’s get baking. This recipe is straightforward, but I’ll walk you through every step so you get perfect results every time.
- Preheat and Prep: Preheat your oven to 350°F (175°C). Line your 9×13-inch baking pan with parchment paper, leaving an overhang on two opposite sides. This is your “handle” for lifting the bars out later. Lightly spray the parchment with non-stick spray.
- Make the Crust: In a large bowl, whisk together the flour, sugar, and salt. Add the cold, cubed butter. Use a pastry cutter or your fingers to work the butter into the flour until the mixture looks like coarse meal with some pea-sized butter pieces still visible. Don’t overwork it—those little butter pockets create flakiness. Press the mixture evenly into the bottom of the prepared pan. I use the bottom of a measuring cup to get it flat and even. Bake for 18-20 minutes, until the edges are just starting to turn golden. Set aside to cool slightly while you make the filling.
- Mix the Filling: In a medium bowl, whisk the eggs until they’re frothy and light yellow. Add the maple syrup, brown sugar, melted butter, bourbon, vanilla, and salt. Whisk until everything is smooth and well combined. Don’t overwhisk—you don’t want to incorporate too much air. Just until it’s unified.
- Assemble the Bars: Spread the pecan halves evenly over the warm crust. Pour the filling over the pecans, making sure it seeps down around them. Give the pan a gentle shake to distribute everything evenly. The pecans will float to the top—that’s exactly what you want.
- Bake: Place the pan on the middle rack of your oven. Bake for 25-30 minutes, until the filling is set around the edges but still has a slight jiggle in the center. The top should be golden brown and slightly crackly. If you tap the pan, the center should wobble just a little—it will continue setting as it cools.
- Cool Completely: This is the hardest part. Let the bars cool in the pan on a wire rack for at least 2 hours. Don’t rush this—if you cut them while they’re warm, the filling will run everywhere. I know it’s tempting, but trust me. After they’re completely cool, use the parchment overhang to lift the whole block out of the pan. Place it on a cutting board.
- Cut and Serve: Use a sharp knife to cut into squares. For clean cuts, wipe the knife clean between each slice. I usually get 24 bars (4 rows by 6 rows), but you can cut them smaller or larger depending on your crowd.
Sensory Cues to Watch For: When you whisk the eggs and maple syrup together, you should see a smooth, amber-colored liquid that smells sweet and slightly woodsy. When the bars are done, the top will look glossy and crackled, like a stained glass window. The pecans will be toasted and fragrant, and the edges will be a deep golden brown. If you gently press the center, it should feel firm but give slightly—like a firm pillow.
Cooking Tips & Techniques
I’ve made these bars at least a dozen times, and I’ve learned a few things the hard way. Here’s what I wish someone had told me:
Don’t Overbake: This is the number one mistake. Pecan pie filling can go from perfectly set to rubbery in about two minutes. The bars are done when the edges are set and the center has a slight jiggle. They will continue to set as they cool. If you bake until the center is completely firm, you’ll end up with a texture closer to hard candy than soft, gooey filling.
Room Temperature Eggs Matter: I learned this lesson after making a batch where the filling came out lumpy. Cold eggs can cause the butter to seize up, creating an uneven texture. Leave your eggs on the counter for 30 minutes before you start, or place them in a bowl of warm water for 5 minutes.
The Crust is Your Friend: The press-in crust is forgiving, but don’t press it too thin. You want it to be about 1/4-inch thick. If it’s too thin, it can get soggy from the filling. If it’s too thick, it won’t bake through properly. Use the bottom of a measuring cup to get an even layer.
Timing Strategy: Here’s how I handle this recipe when I’m hosting. I make the crust and bake it while I’m prepping other dishes. Then I mix the filling, pour it over the crust, and pop it in the oven while I’m setting the table. By the time dinner is over, the bars have cooled enough to cut. It’s the perfect timeline.
Clean Cuts: For those beautiful, bakery-style squares, use a long, sharp knife. Run it under hot water, dry it off, and then make one clean cut. Wipe the knife clean between each cut. This prevents the filling from dragging and smearing.
Variations & Adaptations
One of the best things about this recipe is how versatile it is. Here are some variations I’ve tried and loved:
Chocolate Maple Bourbon Bars: Add 1/2 cup of dark chocolate chips to the filling along with the pecans. The chocolate melts into the filling and creates little pockets of richness. I made this version for a friend’s birthday, and she said it was the best thing I’ve ever baked.
Spiced Maple Bourbon Bars: Add 1 teaspoon of pumpkin pie spice or a mix of cinnamon, nutmeg, and cloves to the filling. This version is perfect for fall gatherings. I brought these to a Friendsgiving, and they disappeared faster than the turkey.
Salty Sweet Version: Sprinkle a little flaky sea salt (like Maldon) over the top of the bars right after they come out of the oven. The salt crystals contrast beautifully with the sweet, sticky filling. This is my personal favorite—I love that salty-sweet combo.
Nut-Free Option: Replace the pecans with pumpkin seeds or sunflower seeds. The texture will be different, but the flavor is still delicious. I made this for a school bake sale where nuts weren’t allowed, and it was a hit.
Bourbon-Free Version: As I mentioned earlier, you can replace the bourbon with apple cider or strong coffee. The apple cider version has a subtle fruitiness that pairs beautifully with the maple. The coffee version adds a deep, roasted note that makes the bars taste even more complex.
Serving & Storage Suggestions
These bars are incredibly versatile when it comes to serving. Here’s how to make them shine:
Serving Temperature: I prefer these bars at room temperature. The filling is soft and gooey, and the crust stays crisp. If you refrigerate them, let them sit out for 15-20 minutes before serving. You can also serve them warm with a scoop of vanilla ice cream—the contrast of warm, sticky filling and cold, creamy ice cream is heavenly.
Presentation Tips: For a dinner party, arrange the bars on a beautiful platter and dust them with a little powdered sugar. For a casual gathering, just pile them on a plate. I like to cut them into smaller bites for cocktail parties so people can eat them in one or two bites.
What to Serve Alongside: These bars pair beautifully with a cup of black coffee or a glass of bourbon, obviously. For a dessert spread, serve them alongside fresh berries and whipped cream. They also go great with a cheese board—the sweetness of the bars balances the saltiness of aged cheddar or blue cheese.
Storage: Store the bars in an airtight container at room temperature for up to 3 days. If you need to keep them longer, refrigerate them for up to a week. They also freeze beautifully. Wrap individual bars in plastic wrap, then place them in a freezer-safe bag. They’ll keep for up to 3 months. To thaw, just leave them at room temperature for an hour.
Flavor Development: Here’s a secret—these bars taste even better the next day. The flavors meld together overnight, and the filling gets even more gooey and rich. If you’re planning ahead, make them a day in advance. Your future self will thank you.
Nutritional Information & Benefits
Let’s be honest—these are a treat, not a health food. But that doesn’t mean they don’t have some redeeming qualities. Here’s a rough breakdown per bar (based on 24 servings):
| Nutrient | Amount Per Bar |
|---|---|
| Calories | 220 |
| Total Fat | 14g |
| Saturated Fat | 6g |
| Cholesterol | 45mg |
| Sodium | 95mg |
| Total Carbohydrates | 23g |
| Dietary Fiber | 1g |
| Sugars | 16g |
| Protein | 3g |
Pecans are a good source of healthy fats, fiber, and antioxidants. Maple syrup contains minerals like zinc and manganese, and it has a lower glycemic index than regular sugar. The bourbon adds flavor without any significant nutritional impact (the alcohol cooks off during baking).
Dietary Considerations: This recipe is vegetarian. For gluten-free or dairy-free options, see the substitutions above. It contains nuts (pecans), eggs, and dairy. If you have allergies, please adjust accordingly.
Conclusion
These Maple Bourbon Pecan Pie Bars are more than just a dessert—they’re a conversation starter. Every time I bring them somewhere, someone asks for the recipe. And I love telling the story of how they came to be: a distracted moment, a wrong bottle, and a happy accident that turned into something unforgettable.
What I love most about this recipe is how forgiving it is. You don’t need to be a pastry chef to nail it. You don’t need special equipment or hard-to-find ingredients. You just need good butter, real maple syrup, and a little bit of bourbon. The rest takes care of itself.
I hope you make these bars for your next gathering. I hope they bring you the same joy they’ve brought me. And if you accidentally grab the wrong bottle one day, don’t panic. You might just discover something amazing.
I’d love to hear how they turn out for you! Leave a comment below and let me know if you tried any variations. Did you add chocolate? Salt? Something totally unexpected? Share your stories—I read every single one.
Happy baking, friends. Your next potluck just got a whole lot sweeter.
Frequently Asked Questions
Can I make these bars without bourbon?
Absolutely! Replace the bourbon with 2 tablespoons of apple cider or strong brewed coffee. The flavor will be slightly different, but you’ll still get that depth and complexity. For a non-alcoholic version that keeps the warm flavor, try using 1 teaspoon of vanilla extract plus 1 tablespoon of apple juice.
How do I get clean cuts without the filling sticking to the knife?
Use a long, sharp knife and run it under hot water before each cut. Dry the knife with a clean towel, then make one smooth cut. Wipe the blade clean between each slice. This technique gives you those beautiful, bakery-style squares every time.
Can I use a different type of nut?
Yes! Walnuts are a great substitute for pecans. They have a slightly more bitter flavor, which can actually balance the sweetness of the filling nicely. You can also use a mix of pecans and walnuts for a more complex texture. For a nut-free version, try pumpkin seeds or sunflower seeds.
How far in advance can I make these bars?
You can make them up to 2 days ahead. Store them in an airtight container at room temperature. The flavors actually develop and deepen over time, so they might taste even better on day two. If you need to make them further in advance, freeze them for up to 3 months.
Why did my filling turn out runny?
Runny filling usually means the bars were underbaked. Make sure you bake them until the edges are set and the center has a slight jiggle. Another common cause is not letting them cool completely before cutting. The filling needs at least 2 hours to set properly. If you’re in a hurry, you can refrigerate them for 30 minutes to speed up the process.
Pin This Recipe!
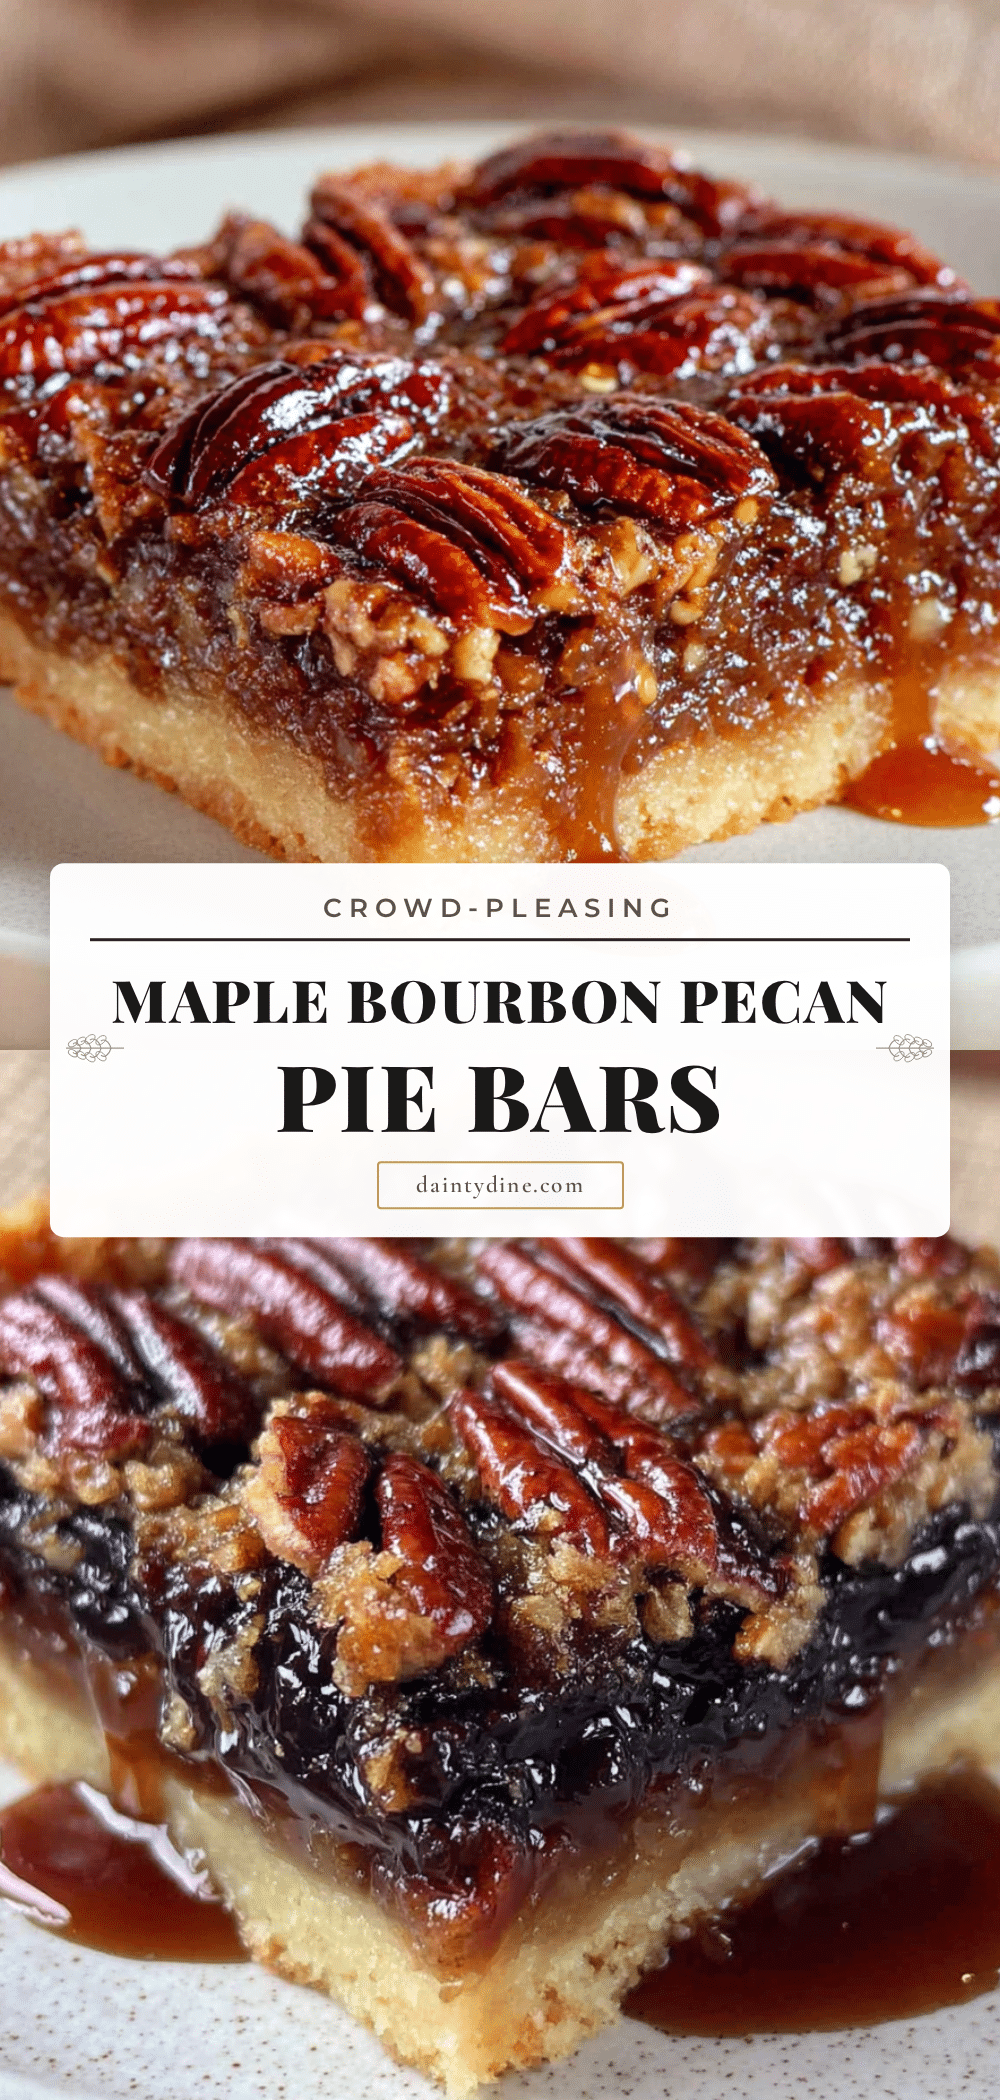
Perfect Crowd-Pleasing Maple Bourbon Pecan Pie Bars
These Maple Bourbon Pecan Pie Bars are a happy accident turned into a crowd-pleasing dessert. With a buttery press-in crust, a rich maple-bourbon filling, and toasted pecans, they’re perfect for potlucks, holidays, and any gathering where you want to impress without the fuss.
- Prep Time: 20 minutes
- Cook Time: 30 minutes
- Total Time: 2 hours 50 minutes (includes cooling)
- Yield: 24 bars 1x
- Category: Dessert
- Cuisine: American
Ingredients
- 2 cups all-purpose flour (spooned and leveled)
- 1/2 cup granulated sugar
- 3/4 cup unsalted butter, cold and cubed
- 1/4 teaspoon salt
- 3 large eggs, room temperature
- 1 cup pure maple syrup (Grade A Dark Amber preferred)
- 1/2 cup packed light brown sugar
- 1/4 cup unsalted butter, melted and cooled
- 2 tablespoons bourbon (such as Bulleit or Maker’s Mark)
- 1 teaspoon vanilla extract
- 1/2 teaspoon salt
- 2 cups pecan halves
Instructions
- Preheat oven to 350°F (175°C). Line a 9×13-inch baking pan with parchment paper, leaving an overhang on two opposite sides. Lightly spray the parchment with non-stick spray.
- Make the crust: In a large bowl, whisk together flour, sugar, and salt. Add cold, cubed butter. Use a pastry cutter or your fingers to work the butter into the flour until the mixture resembles coarse meal with some pea-sized butter pieces. Press evenly into the bottom of the prepared pan. Bake for 18-20 minutes, until edges are just golden. Set aside to cool slightly.
- Mix the filling: In a medium bowl, whisk eggs until frothy and light yellow. Add maple syrup, brown sugar, melted butter, bourbon, vanilla, and salt. Whisk until smooth and well combined.
- Assemble the bars: Spread pecan halves evenly over the warm crust. Pour the filling over the pecans, ensuring it seeps down around them. Gently shake the pan to distribute evenly.
- Bake on the middle rack for 25-30 minutes, until the filling is set around the edges but still has a slight jiggle in the center. The top should be golden brown and slightly crackly.
- Cool completely in the pan on a wire rack for at least 2 hours. Do not cut while warm.
- Use the parchment overhang to lift the block out of the pan. Place on a cutting board. Use a sharp knife to cut into squares (4 rows by 6 rows for 24 bars). Wipe the knife clean between cuts.
Notes
For clean cuts, run a sharp knife under hot water and wipe clean between each slice. The bars taste even better the next day as flavors meld. For a non-alcoholic version, replace bourbon with 2 tablespoons apple cider or strong brewed coffee. For gluten-free, use a 1:1 gluten-free flour blend. For dairy-free, use vegan butter.
Nutrition
- Serving Size: 1 bar
- Calories: 220
- Sugar: 16
- Sodium: 95
- Fat: 14
- Saturated Fat: 6
- Carbohydrates: 23
- Fiber: 1
- Protein: 3
Keywords: maple bourbon pecan pie bars, pecan pie bars, maple bourbon dessert, crowd-pleasing dessert, potluck dessert, holiday bars, pecan bars


