Love this? Save it for later!
Share the inspiration with your friends
Jenny wasn’t trying to impress anyone. I’d stopped by her place on a random Tuesday to drop off a book I’d borrowed, and the smell hit me before I even got through the door. It was warm, a little sweet, and honestly, smelled like someone was making a really cozy hug. I stood there in her entryway, trying to place it, while she just waved me in with a spatula in her hand. “Oh, that’s just dinner,” she said, like it was nothing. But it wasn’t nothing. It was the kind of smell that makes you suddenly realize you’re starving, even if you ate an hour ago.
I followed her into the kitchen, and there on the counter were these beautiful little golden-orange bowls—acorn squash halves, perfectly roasted, stuffed with a savory mix that had her three kids circling like little sharks. Her youngest, maybe four years old, was already pulling up his stool, asking if it was ready. Jenny just laughed and told him to wash his hands. No fuss, no stress. She wasn’t hosting a dinner party; she was just feeding her family on a Tuesday. And let me tell you, that’s a whole different kind of impressive.
I watched her plate them up, and I had to ask for the recipe. She shrugged and rattled it off between helping with milk cups and finding a missing toy. The whole thing felt so effortless. That’s the kind of cooking I want to do, you know? The kind that fills your house with an amazing smell and gets everyone to the table without a fight. I’ve made her Kid-Friendly Cheesy Stuffed Acorn Squash with Sausage at least a dozen times since that Tuesday, and it’s become a regular in my own kitchen. It’s honestly the best way I’ve found to get a vegetable on the table that everyone actually wants to eat. Maybe you’ve been there, staring at a squash and wondering how to make it exciting for little ones? This is your answer.
Why You’ll Love This Recipe
I’ve tested this recipe more times than I can count, tweaking the seasoning, swapping the cheese, and even trying it with different kinds of sausage. I can tell you with full confidence that this version is the winner. It’s the one that disappears fastest and gets the most requests. Here’s why you’re going to love it too:
- Quick & Easy: This comes together in about 45 minutes, and most of that is hands-off oven time. Perfect for those crazy weeknights when you need something hearty but don’t have hours to spend.
- Simple Ingredients: No fancy grocery trips needed. You’ll find everything at your regular store—acorn squash, sausage, cheese, and a few pantry staples. I bet you already have most of it.
- Perfect for Family Dinners: This is the kind of meal that pleases everyone, from your pickiest eater to your partner who claims they don’t like squash. The cheese and sausage do all the heavy lifting.
- Crowd-Pleaser: I’ve brought this to a potluck and to a casual family dinner, and it gets rave reviews every single time. Kids especially love the individual serving size—it feels like their own little bowl.
- Unbelievably Delicious: The combination of sweet, roasted squash with savory, seasoned sausage and gooey, melted cheese is pure comfort food magic. It’s the kind of meal that makes you close your eyes after the first bite.
What makes this recipe different from all the other stuffed squash recipes out there? It’s the balance. The sausage is seasoned just right, not too spicy for little mouths, but with enough flavor to keep adults happy. The cheese is melty and binds everything together. And the squash itself gets perfectly tender and caramelized. I’ve tried versions that were too dry or too bland, and this one hits the sweet spot. It’s not just another stuffed squash recipe—it’s the one you’ll come back to again and again.
This recipe is honestly comfort food reimagined. It’s healthier than a lot of weeknight dinners, but it has the same soul-soothing satisfaction as a big bowl of mac and cheese. It’s perfect for impressing guests without any stress, or for turning a simple Tuesday meal into something memorable. And the best part? The leftovers reheat beautifully, so you can even have it for lunch the next day.
What Ingredients You Will Need
This recipe uses simple, wholesome ingredients to deliver big flavor and satisfying texture without any fuss. Most of these are pantry staples or easy to find at any grocery store. I’ve included a few notes from my own experience to help you pick the best ones.
- For the Squash:
- 2 medium acorn squash: Look for squash that feels heavy for its size and has a deep green color with some orange patches. That orange means it’s ripe and will be sweeter. I usually pick ones that are roughly the same size so they cook evenly.
- 1 tablespoon olive oil: For brushing the cut sides of the squash. It helps them caramelize and get those lovely golden edges.
- Salt and black pepper: A good pinch of each for seasoning the squash halves before roasting.
- For the Filling:
- 1 pound ground sausage: I recommend a mild or sweet Italian sausage for this. It has great flavor without being too spicy for kids. If you can find it in bulk (not in casings), that’s easiest. My personal favorite is Johnsonville’s mild Italian sausage, but any good-quality brand works. For a leaner option, you can use ground turkey sausage.
- 1/2 cup chopped onion: About half a medium onion. Yellow or white onion works best. It adds a savory depth to the filling.
- 2 cloves garlic, minced: Fresh garlic is always best, but in a pinch, you can use 1/2 teaspoon of garlic powder.
- 1/2 cup cooked rice or quinoa: This helps stretch the filling and adds a nice texture. Leftover rice from takeout works perfectly here. You can also use cauliflower rice for a lower-carb option.
- 1/4 cup grated Parmesan cheese: This adds a salty, nutty flavor that really elevates the filling. The kind in the green can works fine, but freshly grated is even better.
- 1 teaspoon dried oregano: Or 1 tablespoon fresh, chopped. It adds a lovely Italian note.
- 1/2 teaspoon dried thyme: This pairs beautifully with both the squash and the sausage.
- 1/4 teaspoon red pepper flakes (optional): For a tiny bit of heat. I leave this out when cooking for very young kids, but add it when it’s just for adults.
- For the Topping:
- 1 cup shredded mozzarella cheese: This is the star of the show for the kids. It gets all bubbly and golden and makes the whole dish feel like a treat. I use whole-milk mozzarella for the best melt, but part-skim works too.
- 2 tablespoons fresh parsley, chopped (optional): For a pop of color at the end. It’s not essential, but it makes the dish look pretty on the plate.
Substitution Guidance: If you need a dairy-free option, use a dairy-free mozzarella shreds and omit the Parmesan. For a gluten-free version, make sure your sausage and rice are certified gluten-free. If you don’t have rice, cooked farro, barley, or even leftover cooked lentils work great. You can also swap the sausage for ground beef or a plant-based crumble.
Equipment Needed
You don’t need any fancy gadgets for this recipe, which is part of why I love it. Here’s what you’ll need to have on hand:
- Sharp chef’s knife: Acorn squash can be tough to cut. A sharp, heavy knife makes the job much safer and easier. I learned this the hard way after struggling with a dull knife and nearly losing a finger.
- Cutting board: A sturdy one that won’t slide around.
- Large spoon or ice cream scoop: For scooping out the seeds and strings from the squash. An ice cream scoop works surprisingly well for this.
- Baking sheet or roasting pan: Large enough to hold the squash halves in a single layer. I like to line mine with parchment paper for easy cleanup.
- Large skillet: For cooking the sausage and onion mixture. A 12-inch skillet is perfect.
- Small bowl: For mixing the filling ingredients.
- Pastry brush (optional): For brushing the olive oil onto the squash. You can also just use your fingers or a paper towel.
If you don’t have a pastry brush, don’t worry. Just drizzle the oil over the cut sides of the squash and rub it in with your clean hands. It works just as well. And if you don’t have a baking sheet, a cast-iron skillet or any oven-safe dish will do the job. I’ve even used a 9×13 inch baking dish in a pinch. The key is just to give the squash enough room to roast without steaming each other.
Preparation Method
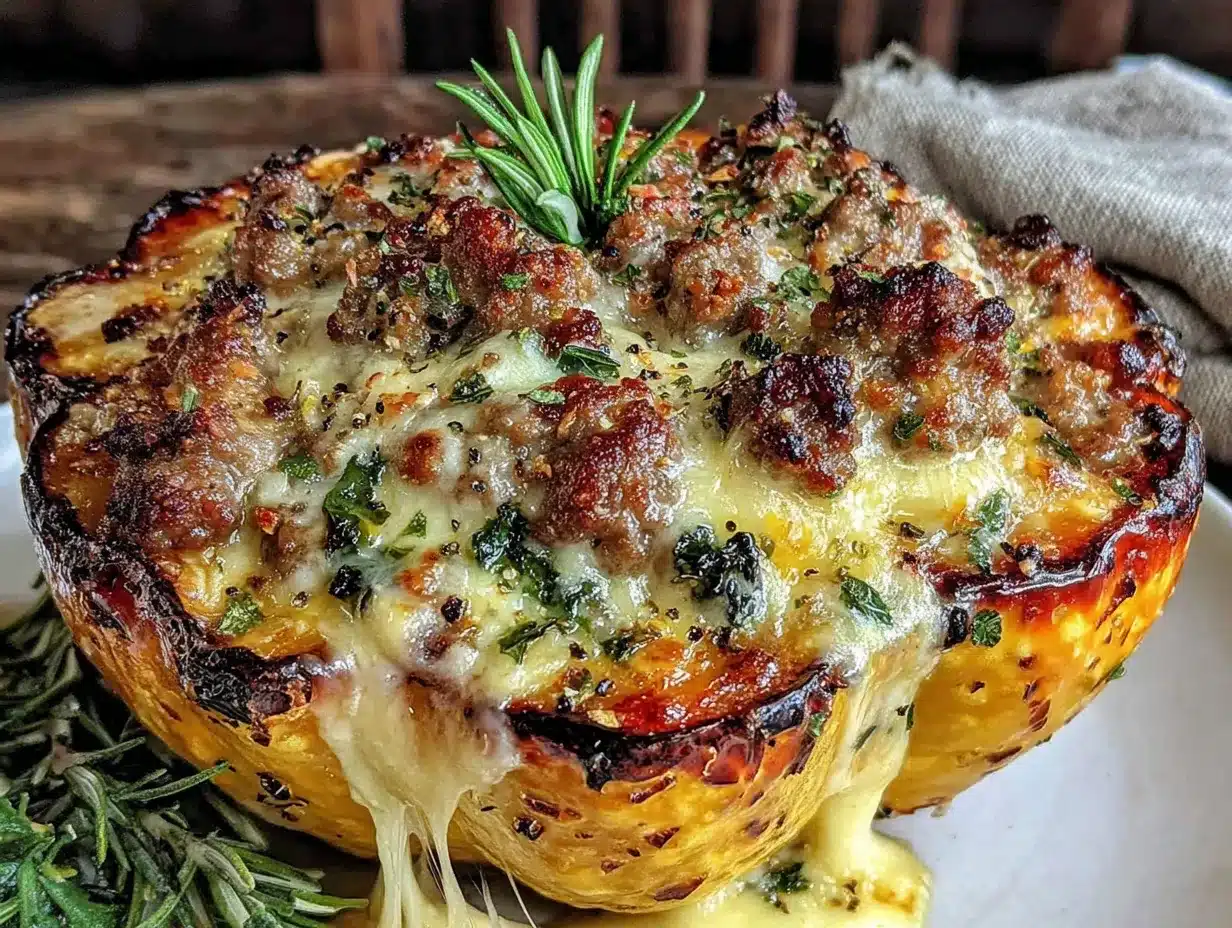
Let’s get cooking! This recipe is straightforward, but I’ll walk you through every step with some tips I’ve picked up along the way. The total time is about 45 minutes, with about 30 minutes of that being hands-off roasting time.
- Preheat your oven to 400°F (200°C). This is important because you want the oven nice and hot when the squash goes in. While it’s heating up, you can prep the squash.
- Prepare the acorn squash. Using your sharp chef’s knife, carefully cut each acorn squash in half from stem to tip. Be careful—they can be tough! If you’re struggling, you can microwave the whole squash for 2 minutes to soften it slightly. Scoop out the seeds and stringy pulp with your spoon or ice cream scoop. Discard the seeds or save them to roast later (they make a great snack!).
- Season the squash. Place the squash halves cut-side up on your lined baking sheet. Brush or rub the cut sides with the olive oil. Season generously with salt and black pepper. I like to get a little salt inside the cavity too, not just on the flat cut surface.
- Roast the squash. Place the baking sheet in the preheated oven and roast for 20-25 minutes, or until the squash is just tender when pierced with a fork. You want it to be cooked through but still hold its shape, since it will bake again with the filling. The edges should be starting to caramelize and turn golden.
- While the squash roasts, make the filling. Heat your large skillet over medium-high heat. Add the ground sausage and cook, breaking it up with a wooden spoon, until it’s browned and cooked through. This usually takes about 5-7 minutes. Don’t drain all the fat—a little bit adds flavor to the filling.
- Add the aromatics. Add the chopped onion to the skillet with the sausage. Cook for 3-4 minutes, until the onion is softened and translucent. Then add the minced garlic and cook for another 30 seconds, until fragrant. Your kitchen should smell amazing at this point.
- Combine the filling. Remove the skillet from the heat. Stir in the cooked rice or quinoa, grated Parmesan cheese, dried oregano, dried thyme, and red pepper flakes (if using). Mix everything together until well combined. Taste the filling and adjust seasoning with salt and pepper if needed. Remember, the sausage and Parmesan are already salty, so go easy on the extra salt.
- Stuff the squash. Once the squash halves are done roasting, remove them from the oven. Be careful—they’ll be hot! Using a spoon, divide the sausage filling evenly among the four squash halves. Press the filling down gently to pack it in. Don’t worry if it mounds up a little on top.
- Add the cheese. Sprinkle the shredded mozzarella cheese evenly over the top of each stuffed squash half. Really pile it on—this is the part the kids will love.
- Final bake. Return the stuffed squash to the oven and bake for another 10-12 minutes, until the cheese is melted, bubbly, and starting to turn golden brown in spots. If you want a deeper golden crust, you can switch the oven to broil for the last 1-2 minutes. Keep a close eye on it so it doesn’t burn!
- Rest and serve. Remove from the oven and let the squash rest for 5 minutes. This allows the filling to set slightly, making it easier to serve. Garnish with fresh chopped parsley if you’re using it, and serve warm.
Sensory Cues: At step 4, the squash should be easy to pierce with a fork but not mushy. The cut edges will look slightly caramelized and golden. At step 10, the cheese should be fully melted and bubbling, with some brown spots if you broiled it. The whole dish should smell savory and slightly sweet from the roasted squash.
Cooking Tips & Techniques
I’ve made this recipe enough times to learn a few things the hard way. Here are my best tips to make sure yours turns out perfectly every time.
Don’t Overcook the Squash in the First Roast. This is the most common mistake I see. You want the squash to be just tender when you pierce it with a fork, not completely soft. It will continue to cook when you bake it again with the filling. If you overcook it at the start, the squash will fall apart when you try to stuff it. I learned this when I got distracted by my kids and left the squash in for 35 minutes. It was a sad, mushy mess.
Use Room Temperature Ingredients. This is a small thing that makes a big difference. If your sausage and cheese are cold from the fridge, they won’t mix together as well. Let them sit on the counter for 15 minutes before you start cooking. The filling will come together much more smoothly.
Don’t Skip the Resting Time. I know it’s tempting to dig in right away, but letting the stuffed squash rest for 5 minutes is crucial. It allows the filling to set and the cheese to firm up slightly. If you serve it immediately, the filling might fall out when you try to pick up the squash. Trust me, I’ve made this mistake more than once, and it’s worth the wait.
Make It a Complete Meal. This stuffed squash is pretty hearty on its own, but if you want to round it out, serve it with a simple green salad or some steamed broccoli. The brightness of the greens balances the richness of the cheese and sausage. My kids like it with a side of apple slices—the sweetness works really well.
Double the Batch. If you’re feeding a crowd or want leftovers, this recipe doubles beautifully. Just use a larger baking sheet or two pans, and make sure the squash halves aren’t touching. They need space to roast properly. Leftovers reheat wonderfully in the oven or microwave, so it’s great for meal prep.
Variations & Adaptations
One of the best things about this recipe is how flexible it is. I’ve tried several variations over the years, and they’ve all been hits. Here are some ideas to make it your own.
Dietary Variation: Make It Vegetarian. Simply swap the ground sausage for a plant-based crumble or use a mix of finely chopped mushrooms and walnuts. Cook them the same way you would the sausage, adding a little extra olive oil if needed. The mushrooms add a meaty texture that’s really satisfying. I tried this version when my sister came to visit, and she couldn’t tell the difference.
Seasonal Variation: Add Fall Fruits. In the autumn, I love adding 1/2 cup of diced apple or dried cranberries to the filling. The sweetness pairs beautifully with the squash and sausage. Just stir them in with the rice. It adds a lovely pop of color and a hint of tartness that cuts through the richness. This version is especially good for Thanksgiving or a fall dinner party.
Flavor Variation: Go Southwestern. For a completely different flavor profile, swap the Italian seasonings for cumin, chili powder, and a little smoked paprika. Use Mexican-style chorizo instead of Italian sausage. Top with Monterey Jack cheese instead of mozzarella. Serve with a dollop of sour cream and some chopped cilantro. This is my husband’s favorite version—he says it reminds him of his grandmother’s cooking.
Allergen-Friendly Adaptations: To make this dairy-free, use a dairy-free mozzarella shreds and omit the Parmesan. For a gluten-free version, ensure your sausage and rice are certified gluten-free. For a nut-free version, just avoid any nut-based cheese alternatives. The recipe is naturally egg-free and soy-free, which is great for many families with allergies.
Personal Variation: The “Everything” Stuffed Squash. One night I had leftover roasted vegetables in the fridge—some zucchini, bell peppers, and mushrooms. I chopped them up and added them to the filling. It was a total game-changer. Now I often add whatever vegetables I have on hand. It’s a great way to use up leftovers and add extra nutrition. The kids didn’t even notice the extra veggies!
Serving & Storage Suggestions
This dish is best served warm, straight from the oven. The contrast between the tender, sweet squash and the savory, cheesy filling is at its peak when it’s hot. Here’s how to serve and store it for the best experience.
Serving Temperature: Serve the stuffed squash warm, but not piping hot. Let it rest for 5 minutes after it comes out of the oven. This allows the cheese to set slightly and the flavors to meld. The squash will still be warm enough to melt the butter, but cool enough to eat without burning your mouth.
Presentation: Place each stuffed squash half on a plate, cut-side up. If you want to get fancy, you can drizzle a little balsamic glaze over the top or sprinkle with fresh parsley. For a family dinner, I just put the whole baking sheet on the table and let everyone grab their own. It’s casual and fun.
Complementary Dishes: This dish is quite rich and filling, so I like to serve it with something light on the side. A simple arugula salad with lemon vinaigrette is perfect. The peppery arugula and bright dressing cut through the richness of the cheese and sausage. Roasted Brussels sprouts or green beans also work well. For a beverage, a crisp white wine like Sauvignon Blanc or a light beer pairs nicely for the adults, while apple juice or milk is great for the kids.
Storage Instructions: Store any leftovers in an airtight container in the refrigerator for up to 4 days. The flavors actually get even better as they meld overnight. To reheat, place the stuffed squash in a 350°F (175°C) oven for 10-15 minutes, until heated through. You can also microwave individual servings for 1-2 minutes, but the squash will be softer. For best results, I recommend the oven.
Freezing Instructions: This recipe freezes well, which is great for meal prep. Let the stuffed squash cool completely, then wrap each half individually in plastic wrap and place in a freezer-safe bag or container. Freeze for up to 3 months. To reheat, thaw in the refrigerator overnight, then bake in a 350°F (175°C) oven for 15-20 minutes, until heated through.
Flavor Development: I’ve noticed that the flavors in this dish are even better the next day. The squash absorbs some of the savory juices from the filling, and the cheese continues to meld with the other ingredients. If you have the time, making this a day ahead and reheating it is a great strategy for a busy weeknight.
Nutritional Information & Benefits
While this is definitely a comfort food, it also has some surprising nutritional benefits. Here’s a quick breakdown of what you’re getting in each serving (based on one stuffed squash half).
Estimated Nutritional Values (per serving):
Calories: ~450 | Fat: 28g | Carbohydrates: 35g | Fiber: 5g | Protein: 22g | Sugar: 8g | Sodium: 750mg
Health Benefits of Key Ingredients:
- Acorn Squash: This is a nutritional powerhouse. It’s packed with vitamin A (great for eye health), vitamin C (for immunity), and fiber (for digestion). The deep orange color means it’s rich in beta-carotene, an antioxidant that supports overall health.
- Lean Protein from Sausage: The sausage provides a good amount of protein, which helps keep you full and satisfied. Choose a leaner sausage if you’re watching your fat intake.
- Calcium from Cheese: The mozzarella and Parmesan add calcium for strong bones and teeth. They also make the dish feel indulgent, so you get the satisfaction without the guilt.
- Fiber from Rice and Squash: The combination of rice and squash provides a good amount of dietary fiber, which supports healthy digestion and helps regulate blood sugar levels.
Dietary Considerations: This recipe can be made gluten-free by using certified gluten-free sausage and rice. It can be made dairy-free by using dairy-free cheese alternatives. It’s naturally egg-free and soy-free. For a lower-carb option, swap the rice for cauliflower rice. For a lower-fat option, use lean ground turkey or chicken sausage and reduce the cheese slightly.
Personal Wellness Perspective: I love that this recipe feels like a treat but actually has some real nutritional value. It’s the kind of meal that makes me feel good about feeding my family—it’s satisfying, delicious, and packed with veggies. The kids get their vegetables without any complaints, and I get a meal that feels balanced and nourishing. It’s a win-win in my book.
Conclusion
This Kid-Friendly Cheesy Stuffed Acorn Squash with Sausage is the kind of recipe that becomes a staple in your kitchen. It’s the one you turn to on busy weeknights when you need something hearty and delicious, but you don’t have hours to spend. It’s the one that gets your kids to eat their vegetables without a fight. And it’s the one that makes you feel like a kitchen rockstar, even on a random Tuesday.
I love this recipe because it’s proof that you don’t need complicated techniques or fancy ingredients to make something truly special. It’s simple, honest food that tastes amazing. And honestly, that’s the best kind of cooking, isn’t it? It’s the kind that fills your house with a warm, inviting smell and brings everyone to the table.
I’d love to hear how this turns out for you! Did your kids gobble it up? Did you try any fun variations? Drop a comment below and let me know. And if you loved it, please share this recipe with a friend who needs a new weeknight dinner idea. Happy cooking, friends!
Frequently Asked Questions
Can I use a different type of squash for this recipe?
Absolutely! Butternut squash or delicata squash work great. Just adjust the roasting time based on the size and density of the squash. Butternut may need a few extra minutes, while delicata cooks faster. The flavor will be slightly different, but still delicious.
Can I make this recipe ahead of time?
Yes! You can prepare the filling and roast the squash up to a day in advance. Store them separately in the refrigerator. When you’re ready to eat, stuff the squash and bake with the cheese as directed. You may need to add 5-10 minutes to the final bake time since the ingredients will be cold.
How do I get my kids to eat the squash?
This recipe is designed to be kid-friendly! The cheese and sausage are the stars, and the squash is just the vessel. If your kids are really hesitant, you can try serving the filling on the side with a piece of roasted squash. Or let them help stuff the squash—kids are more likely to eat something they helped make.
Can I use leftover cooked sausage?
Definitely! If you have leftover cooked sausage from breakfast or another meal, this is a great way to use it up. Just crumble it and add it to the filling mixture. You may need to add a little extra olive oil to the skillet when cooking the onion and garlic since you won’t have the rendered fat from the raw sausage.
What can I serve with this to make it a complete meal?
This stuffed squash is quite filling on its own, but a simple green salad with a tangy vinaigrette is a perfect complement. Roasted green beans, steamed broccoli, or a side of apple slices also work well. For a heartier meal, serve it with a bowl of soup, like a simple tomato or butternut squash soup.
Pin This Recipe!
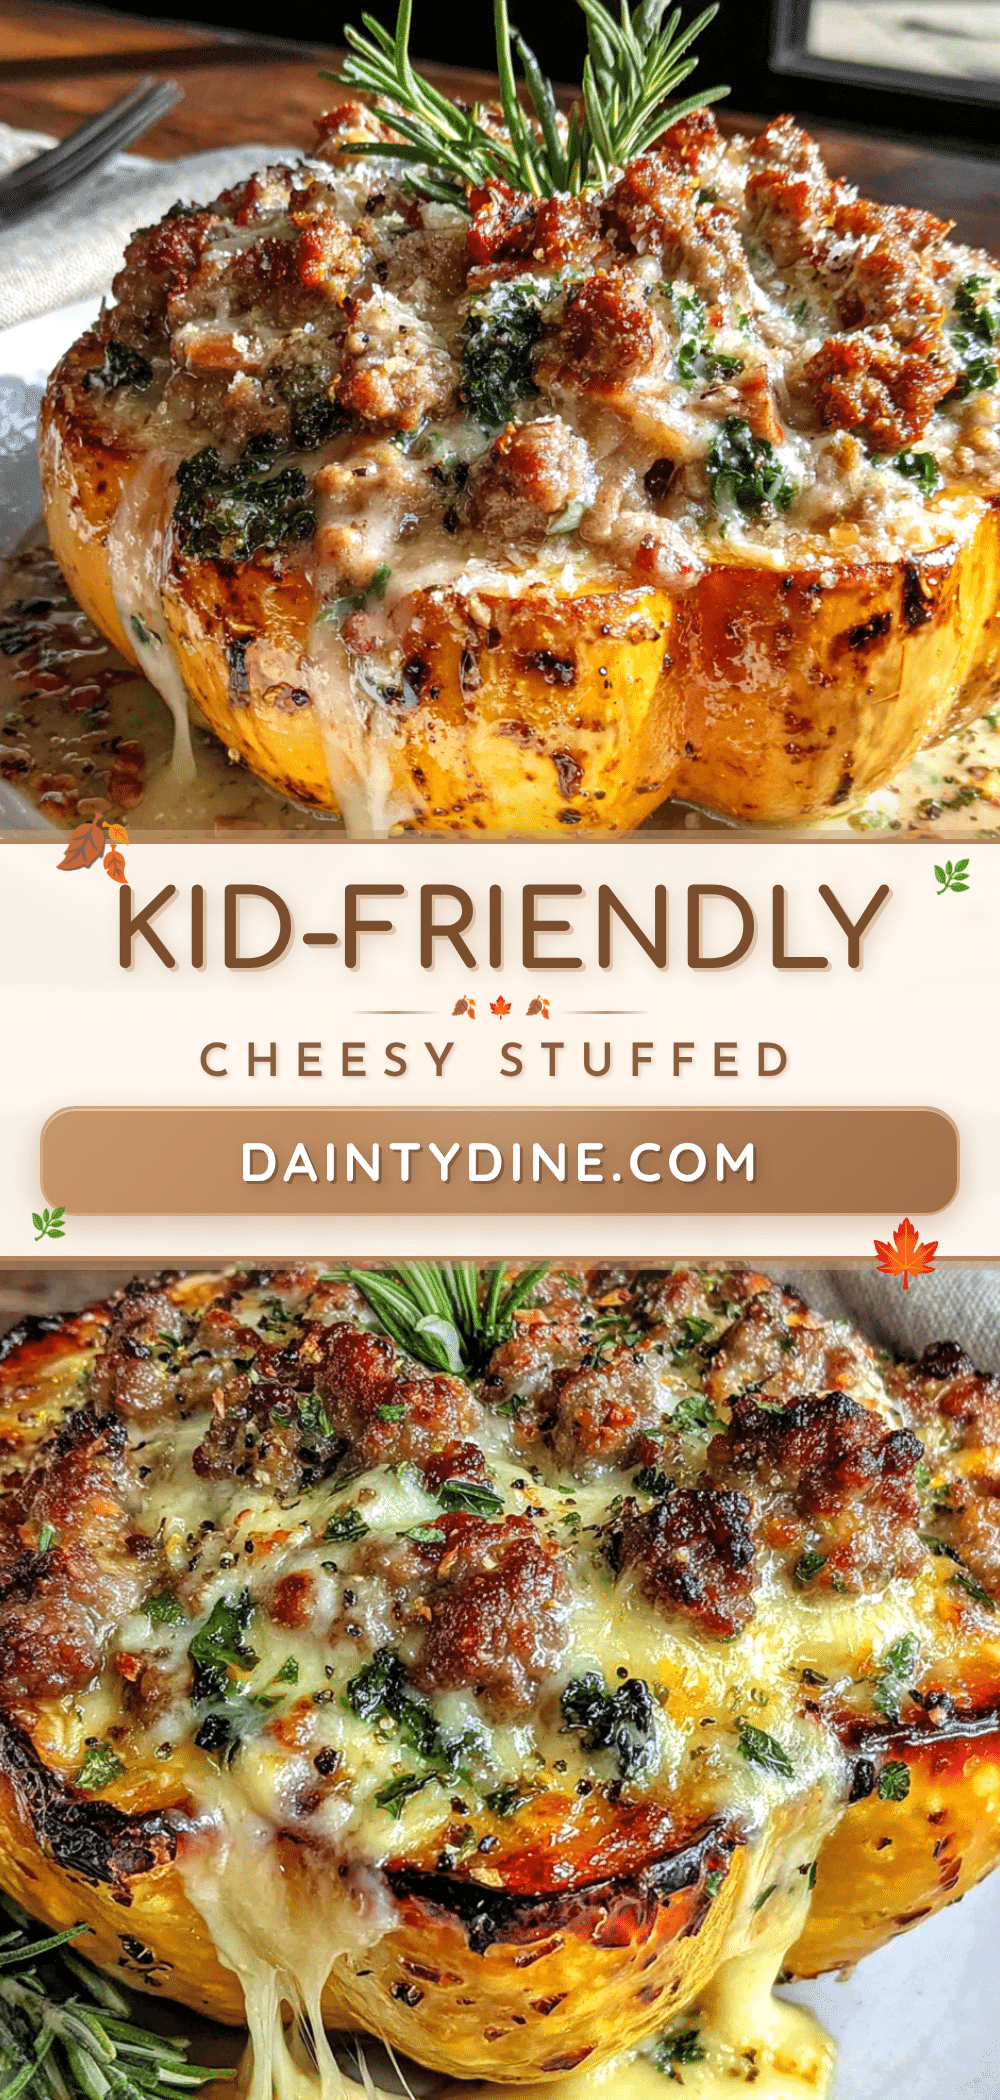
Kid-Friendly Cheesy Stuffed Acorn Squash with Sausage

A hearty and delicious weeknight dinner featuring roasted acorn squash halves stuffed with savory sausage, rice, and melted cheese. This kid-friendly recipe is quick, easy, and a guaranteed crowd-pleaser.
- Prep Time: 15 minutes
- Cook Time: 30 minutes
- Total Time: 45 minutes
- Yield: 4 servings 1x
- Category: Main Course
- Cuisine: American
Ingredients
- 2 medium acorn squash
- 1 tablespoon olive oil
- Salt and black pepper to taste
- 1 pound ground mild or sweet Italian sausage
- 1/2 cup chopped onion
- 2 cloves garlic, minced
- 1/2 cup cooked rice or quinoa
- 1/4 cup grated Parmesan cheese
- 1 teaspoon dried oregano
- 1/2 teaspoon dried thyme
- 1/4 teaspoon red pepper flakes (optional)
- 1 cup shredded mozzarella cheese
- 2 tablespoons fresh parsley, chopped (optional)
Instructions
- Preheat oven to 400°F (200°C).
- Cut each acorn squash in half from stem to tip. Scoop out seeds and stringy pulp.
- Place squash halves cut-side up on a lined baking sheet. Brush or rub cut sides with olive oil. Season generously with salt and black pepper.
- Roast squash for 20-25 minutes, until just tender when pierced with a fork.
- While squash roasts, heat a large skillet over medium-high heat. Cook ground sausage, breaking it up, until browned and cooked through (5-7 minutes).
- Add chopped onion to skillet; cook 3-4 minutes until softened. Add minced garlic; cook 30 seconds until fragrant.
- Remove skillet from heat. Stir in cooked rice or quinoa, Parmesan cheese, oregano, thyme, and red pepper flakes (if using). Mix well. Adjust seasoning with salt and pepper if needed.
- Remove roasted squash from oven. Divide sausage filling evenly among the four squash halves, pressing down gently.
- Sprinkle shredded mozzarella cheese evenly over each stuffed squash half.
- Return to oven and bake for 10-12 minutes, until cheese is melted, bubbly, and starting to turn golden. Optionally, broil for 1-2 minutes for a deeper golden crust.
- Remove from oven and let rest for 5 minutes. Garnish with fresh parsley if desired. Serve warm.
Notes
Don’t overcook the squash in the first roast; it should be just tender. Let the stuffed squash rest for 5 minutes before serving to allow the filling to set. For a dairy-free version, use dairy-free mozzarella and omit Parmesan. For a vegetarian version, substitute plant-based crumble or mushrooms and walnuts for the sausage.
Nutrition
- Serving Size: 1 stuffed squash hal
- Calories: 450
- Sugar: 8
- Sodium: 750
- Fat: 28
- Saturated Fat: 10
- Carbohydrates: 35
- Fiber: 5
- Protein: 22
Keywords: stuffed acorn squash, cheesy squash, kid-friendly dinner, sausage and squash, weeknight dinner, fall recipe


