Love this? Save it for later!
Share the inspiration with your friends
The neighborhood Halloween block party was in six hours and I’d completely forgotten. I mean, completely. I was standing in my kitchen at 2 PM, staring at a pumpkin I’d bought for decoration and a block of cheddar that was definitely not going to impress anyone. Everyone else would be bringing elaborate themed desserts—witch-hat cupcakes, graveyard brownies, those little mummy hot dogs that actually look adorable. I had a carving pumpkin, some salami, and honestly, a growing sense of panic. My phone buzzed with a text from my neighbor Maria: “What are you bringing? I made caramel apples from scratch!” I wanted to crawl under my kitchen table.
But here’s the thing about panic—it sometimes makes you creative. Or maybe just desperate. I grabbed that pumpkin, sliced off the top, and started scooping. Not for a jack-o’-lantern, but for a bowl. A big, ridiculous, edible bowl. Then I raided my fridge like a contestant on a cooking show with a timer ticking down. Cheese cubes, grapes, crackers, a random bag of pretzels, some olives I’d bought for a salad I never made. I arranged everything in that hollowed-out pumpkin, threw in some candy corn for color, and called it dinner.
Let me tell you, I walked into that party feeling like I’d brought a cardboard box of store-bought cookies. Maria’s caramel apples looked like they belonged in a magazine. But then people started gathering around my pumpkin. And then they started eating. And then—I swear this happened—someone actually said “This is genius” with a mouthful of cheese. By the end of the night, the pumpkin was scraped clean and three people asked for the recipe. The recipe that didn’t really exist until two hours earlier. That’s the thing about an easy Halloween pumpkin charcuterie board for fall gatherings—it looks like you planned it for weeks when really, you just didn’t want to show up empty-handed. And honestly? That might be my favorite kind of cooking.
Why You’ll Love This Recipe
Let me be straight with you—I’ve tested this pumpkin charcuterie board at three different fall gatherings now, and it never fails. Not once. There’s something about food served inside a pumpkin that makes people lose their minds. Maybe it’s the visual wow factor. Maybe it’s the novelty. Or maybe it’s just that cheese tastes better when it’s surrounded by something festive. Whatever the reason, this recipe delivers every single time.
- Quick & Easy: You can put this together in under 20 minutes. No cooking, no baking, no complicated steps. Just chop, arrange, and go. Perfect for those days when you realize at 4 PM that you’re hosting a party at 6.
- Simple Ingredients: Here’s the best part—you probably already have most of these items in your fridge. Cheese, crackers, cured meats, fruit, nuts. The pumpkin is really the only special purchase, and they’re everywhere in October.
- Perfect for Fall Gatherings: Halloween parties, Thanksgiving appetizers, football watch parties, pumpkin carving nights—this board fits every autumn occasion. It’s seasonal without being cheesy (well, except for all the actual cheese).
- Crowd-Pleaser: I’ve watched picky eaters, health-conscious friends, and kids all happily graze around this board. There’s something for everyone, and the interactive element makes people linger and chat.
- Unbelievably Delicious: The combination of salty, sweet, savory, and crunchy is basically perfect. Plus, the pumpkin itself adds a subtle earthy note that ties everything together.
What makes this different from every other charcuterie board you’ve seen? It’s the vessel. Using a real pumpkin as your serving bowl transforms a standard snack spread into a centerpiece. It’s not just another cheese plate—it’s a conversation starter, a photo op, and a delicious experience all in one. And honestly, it’s the kind of recipe that makes you look like a culinary genius with almost zero effort. That’s my favorite kind of cooking, and I think it’ll become yours too.
What Ingredients You Will Need
This recipe is wonderfully flexible, which is honestly why I love it so much. You can use whatever cheeses, meats, and snacks you have on hand or prefer. But if you want to recreate the board that got me out of my Halloween party panic, here’s exactly what I used.
For the Pumpkin Base
- 1 medium sugar pumpkin or carving pumpkin (about 4-5 pounds) — Look for one that sits flat and has a nice shape. Sugar pumpkins are smaller and sweeter, but any pumpkin works.
- Paper towels or clean kitchen towel — For drying the inside after scooping.
For the Cheese Selection
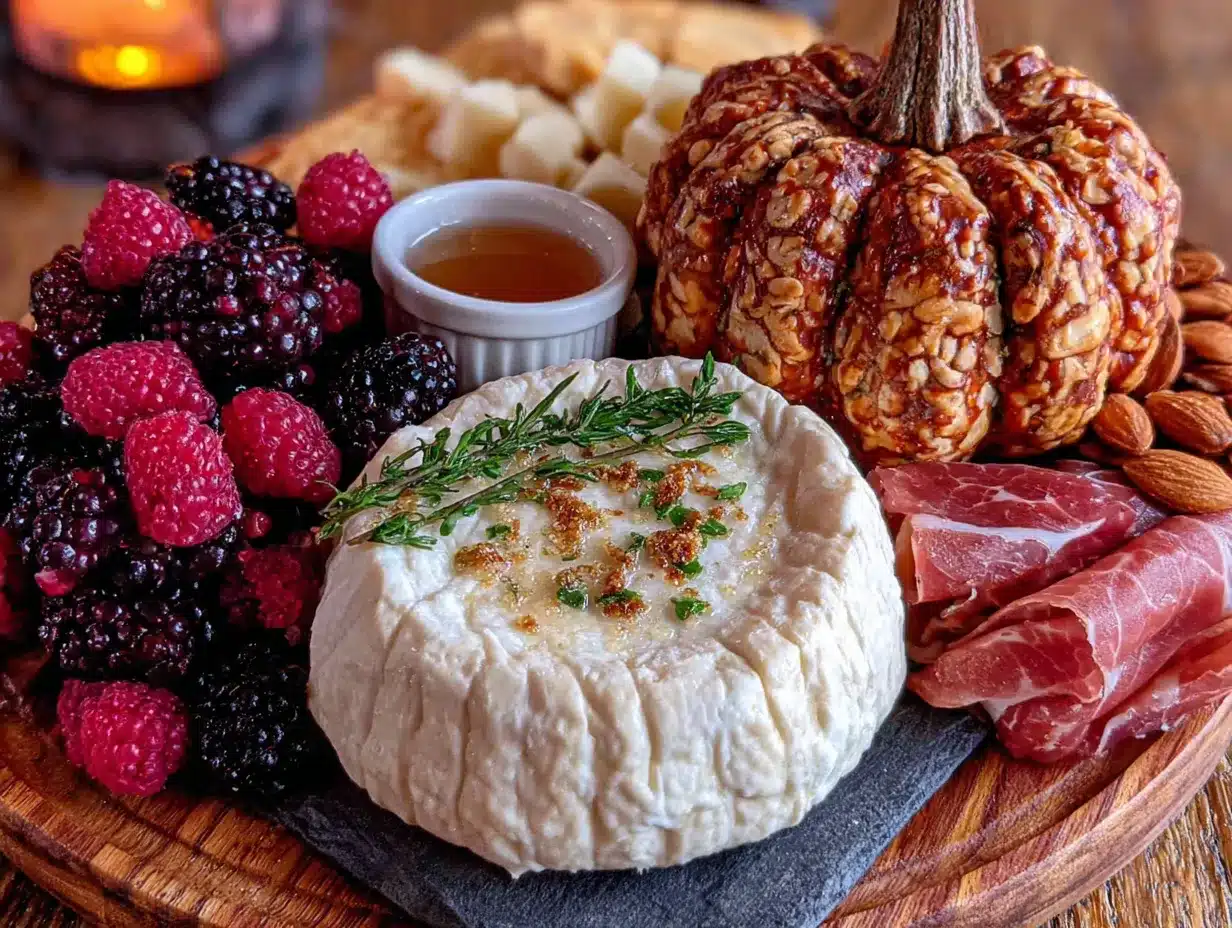
- 8 ounces sharp cheddar cheese, cubed — I prefer Cabot or Tillamook for their consistent quality and sharp flavor.
- 8 ounces brie or camembert — The creamy texture contrasts beautifully with the crunchy elements. Leave it whole or cut into wedges.
- 4 ounces goat cheese log — Adds tanginess and a lovely spreadable option. I like the one from Vermont Creamery.
- 4 ounces gouda or smoked gouda, cubed — The smoky flavor is perfect for fall.
For the Cured Meats
- 4 ounces prosciutto, torn into ribbons — The salty, delicate texture is a crowd favorite.
- 4 ounces salami, sliced — Genoa or hard salami works great. Fold the slices for visual interest.
For the Fruits and Vegetables
- 1 cup red or green grapes, washed and pulled into small clusters — They add sweetness and a pop of color.
- 1 apple or pear, sliced — Toss with a little lemon juice to prevent browning.
- 1/2 cup dried apricots or figs — Chewy sweetness that pairs beautifully with cheese.
- 1/2 cup pitted olives — Kalamata or Castelvetrano add a briny contrast.
For the Crunchy Elements
- 1 cup assorted crackers — I like a mix of water crackers, whole wheat, and something buttery like Ritz.
- 1/2 cup pretzels or breadsticks — Adds height and crunch.
- 1/2 cup nuts — Almonds, pecans, or walnuts work well. Toasted pecans are especially fall-appropriate.
For the Halloween Touch (Optional but Fun)
- Candy corn or candy pumpkins — A handful scattered around for festive color.
- Black sesame seeds or poppy seeds — Sprinkle on the brie for a spooky look.
- Fresh rosemary or sage sprigs — For garnish and a hint of autumn aroma.
You can absolutely swap things based on what you have or what your guests like. Don’t have prosciutto? Use ham or turkey slices. Not a fan of goat cheese? Double up on the cheddar. The beauty of this easy Halloween pumpkin charcuterie board for fall gatherings is its flexibility. The pumpkin is really the star—everything else is just supporting cast.
Equipment Needed
You don’t need much for this recipe, which is part of its charm. Here’s what you’ll want to have on hand.
- Sharp chef’s knife — For cutting the top off the pumpkin. A serrated knife also works well for this.
- Large metal spoon or ice cream scoop — For scooping out the pumpkin seeds and stringy insides. An ice cream scoop makes this job much faster.
- Cutting board — For chopping cheese, fruits, and vegetables. Use one for the pumpkin prep and another for the ingredients to avoid cross-contamination.
- Serving platter or large wooden board — To place the pumpkin on. A rimmed platter is ideal to catch any drips or crumbs.
- Small bowls or ramekins — Optional, for holding olives, nuts, or spreads inside the pumpkin. They keep things organized and prevent sogginess.
- Cheese knife or small spreaders — For serving. Guests will need something to cut and spread the cheese.
- Paper towels — For drying the pumpkin interior thoroughly.
If you don’t have a large wooden board, a baking sheet lined with a clean kitchen towel works perfectly. I’ve also used a large pizza pan in a pinch. Don’t overthink the equipment—the recipe is forgiving and so should you be. My first attempt involved a butter knife and a soup spoon because all my good knives were in the dishwasher. It worked out fine. Honestly, the messier the process, the better the story later.
Preparation Method
Alright, let’s get to the fun part. Here’s how to build this showstopping board step by step.
- Prep the pumpkin (5 minutes): Wash the outside of your pumpkin thoroughly with water and a scrub brush. Pat it dry. Using a sharp knife, carefully cut a circle around the stem, about 2-3 inches in diameter. Angle the knife slightly inward so the lid doesn’t fall inside. Remove the top and set it aside. If you want to use the lid as decoration, you can carve a small design or just leave it plain.
- Scoop out the insides (5 minutes): Using a large metal spoon or ice cream scoop, scrape out all the seeds and stringy pulp. Be thorough—you want a clean, smooth interior surface. Discard the pulp or save the seeds for roasting later. Rinse the inside of the pumpkin with cold water and dry it completely with paper towels. This step is crucial because moisture will make your crackers and pretzels soggy.
- Create a stable base (2 minutes): If your pumpkin wobbles, slice a thin piece off the bottom to create a flat surface. Be careful not to cut too much—you don’t want to create a hole. Place the pumpkin on your serving platter or board.
- Prepare the cheeses (10 minutes): Cut the cheddar and gouda into 1-inch cubes. Leave the brie whole or cut it into wedges. Slice the goat cheese log into rounds. Arrange the cheeses in small piles or clusters inside the pumpkin. Place the brie near the edge so guests can easily access it. The goat cheese rounds look lovely layered with a slice of pear or apple on top.
- Add the meats (5 minutes): Tear the prosciutto into ribbons and loosely fold the salami slices. Tuck the meats around and between the cheese piles. Don’t overthink the placement—a natural, slightly messy look is actually more appealing.
- Fill in with fruits and vegetables (5 minutes): Scatter the grape clusters, apple slices, dried apricots, and olives around the cheese and meats. Try to distribute colors evenly for visual appeal. The red grapes against the orange pumpkin make a gorgeous contrast.
- Add crunchy elements (5 minutes): Tuck crackers, pretzels, and nuts into any remaining spaces. Stand some crackers upright for height variation. Place a few crackers around the outside of the pumpkin on the platter for easy grabbing.
- Add Halloween touches (3 minutes): Sprinkle candy corn or candy pumpkins around the board for festive flair. If you’re using black sesame seeds, lightly press them into the top of the brie for a spooky look. Garnish with fresh rosemary or sage sprigs tucked between the ingredients.
- Final check (2 minutes): Step back and look at your board from different angles. Fill in any empty spots with extra crackers or nuts. Make sure everything is accessible—guests shouldn’t have to dig or rearrange things to reach what they want. Adjust any items that look crowded or lonely.
- Serve immediately or refrigerate: This board is best served at room temperature, so if you’re making it ahead, remove it from the fridge 30 minutes before serving. Cover loosely with plastic wrap if refrigerating.
A few notes from my trials: Don’t overfill the pumpkin. You want it to look abundant but not overflowing. Leave some items on the platter around the pumpkin to create visual flow. And taste as you go—if something doesn’t seem right, adjust. I once added too many olives and the whole board tasted briny. Learn from my mistakes.
Cooking Tips & Techniques
After making this board more times than I care to count, I’ve picked up a few tricks that make the process smoother and the results better.
Choose the right pumpkin: Not all pumpkins are created equal for this project. Look for one that’s squat and wide rather than tall and narrow. A wider opening gives you more surface area for arranging ingredients. Sugar pumpkins are ideal because they’re smaller, sweeter, and have thinner walls. Carving pumpkins work too, but their walls are thicker and the flavor is milder. Either way, make sure it sits flat. I learned this the hard way after chasing a rolling pumpkin around my counter for five minutes.
Dry the inside thoroughly: This is the most important step, and I cannot emphasize it enough. Any moisture left inside the pumpkin will turn your crackers and pretzels into sad, soggy messes within an hour. Use paper towels and really press them into the walls. If you have time, let the hollowed pumpkin sit open-side-down on a towel for 30 minutes before filling it.
Layer strategically: Start with the heaviest items (cheese cubes, meat folds) at the bottom and work your way up to lighter items (crackers, nuts). This prevents delicate items from getting crushed. Think of it like building a pyramid—sturdy base, delicate top.
Keep it cool: If you’re serving this at a party that lasts several hours, consider placing the pumpkin on a bed of ice or using a chilled serving platter. Cheese and meat shouldn’t sit out for more than two hours at room temperature. I’ve used a large baking dish filled with ice underneath the platter, and it worked beautifully.
Prep ahead, assemble later: You can cut all your cheeses, wash your fruits, and arrange your meats on a tray up to 24 hours in advance. Just cover and refrigerate. Then all you have to do on party day is hollow the pumpkin and assemble. This makes the process feel much less stressful.
Embrace imperfection: Here’s the truth—your first attempt might look a little chaotic. That’s okay. Actually, it’s better than okay. A perfectly arranged charcuterie board can feel stiff and unapproachable. A slightly messy, abundant-looking board invites people to dig in. Trust me, nobody is judging your cracker placement when they’re eating cheese out of a pumpkin.
Variations & Adaptations
One of the best things about this recipe is how easily it adapts to different tastes, diets, and occasions. Here are some variations I’ve tried and loved.
Dietary Adaptations: For a vegetarian version, simply skip the cured meats and add more cheese varieties, marinated artichoke hearts, roasted red peppers, or grilled vegetables. For a dairy-free option, use plant-based cheeses (many brands now make excellent options) and load up on nuts, fruits, and vegetables. For a gluten-free board, choose gluten-free crackers and pretzels. Most cheeses, meats, fruits, and vegetables are naturally gluten-free.
Seasonal Twists: In early fall, add sliced figs and pomegranate seeds for a burst of color and sweetness. In late fall, incorporate roasted chestnuts, candied pecans, or slices of persimmon. For a Thanksgiving version, add cranberry sauce, sliced turkey, and a small dish of honey or maple syrup for drizzling over the brie.
Flavor Variations: For a spicy kick, add pepper jack cheese, jalapeño-stuffed olives, and spicy salami. For a sweet-and-savory combo, drizzle honey over the goat cheese and add chocolate-covered almonds or dark chocolate squares. For a Mediterranean twist, use feta cheese, kalamata olives, sun-dried tomatoes, and pita chips instead of crackers.
Mini Pumpkin Boards: For a party where everyone gets their own, use small sugar pumpkins or even mini pie pumpkins. Fill each with a personal assortment of cheeses, meats, and snacks. They make adorable place settings and eliminate any concerns about sharing.
Dessert Pumpkin Board: Yes, you can do a sweet version too! Fill the pumpkin with chocolate-covered strawberries, brownie bites, mini cookies, marshmallows, and caramel sauce for dipping. It’s a Halloween dessert board that feels totally indulgent.
I once made a breakfast version for a Halloween morning gathering—filled the pumpkin with mini muffins, cheese cubes, grapes, and yogurt dip. It was a hit with both kids and adults. Don’t be afraid to experiment. The pumpkin is just a vessel; what you fill it with is entirely up to you.
Serving & Storage Suggestions
This board is best enjoyed within a few hours of assembly, but there are ways to make it work for different timelines.
Serving Temperature: Serve the board at room temperature for the best flavor. Cheese in particular tastes much better when it’s not straight from the fridge. If you’ve refrigerated the assembled board, let it sit out for 20-30 minutes before serving. The pumpkin itself will help keep things cool, so don’t worry about it getting too warm too quickly.
Presentation Ideas: Place the pumpkin board in the center of a larger table surrounded by smaller plates, napkins, and cheese knives. You can also scatter extra crackers and nuts around the base of the pumpkin on the platter for easy grabbing. For a spooky touch, add a few fake spider webs or plastic spiders around the board. Just make sure they’re clearly not food—I’ve had guests almost eat a decorative spider before.
Complementary Dishes: This board pairs beautifully with warm apple cider, mulled wine, or a crisp white wine like Sauvignon Blanc. For a heartier spread, serve alongside a bowl of pumpkin soup or a simple autumn salad with vinaigrette. The board works as an appetizer, a snack, or even a light meal depending on what else you’re serving.
Storage Instructions: Leftover cheese, meats, and crackers can be stored separately in airtight containers in the refrigerator for 3-5 days. The pumpkin itself will last about 1-2 days at room temperature before it starts to soften. If you want to keep the pumpkin longer, you can clean it out thoroughly and use it as decoration (without food inside). Don’t try to eat the pumpkin after it’s been sitting out with food—it absorbs moisture and can spoil.
Reheating: There’s nothing to reheat here, which is part of the beauty. If your cheese has been refrigerated, just let it come to room temperature before serving. The only thing you might want to refresh is the crackers if they’ve gotten soft—just swap them out for fresh ones.
Flavor Development: Interestingly, the flavors of the cheese and meats don’t really change much over time, but the pumpkin itself will start to impart a subtle earthy flavor to the items sitting directly against it. Some people love this; others prefer to keep the ingredients separate. If you’re not sure, use small bowls or ramekins inside the pumpkin for items you don’t want touching the pumpkin walls.
Nutritional Information & Benefits
While this is definitely an indulgent appetizer, it does offer some nutritional benefits worth noting. The exact values depend on what you choose to include, but here’s a general estimate for a typical serving (about 1/8 of the board).
- Calories: 350-450 per serving
- Protein: 15-20 grams (from cheese and meats)
- Fat: 25-30 grams (mostly from cheese and nuts)
- Carbohydrates: 20-25 grams (from crackers, fruit, and pumpkin)
- Fiber: 3-5 grams (from nuts, fruit, and pumpkin)
Health Benefits of Key Ingredients: Cheese provides calcium and protein, which are essential for bone health and muscle function. Nuts offer healthy fats, vitamin E, and magnesium. Grapes and apples contribute antioxidants and fiber. And the pumpkin itself? It’s packed with vitamin A, which supports eye health and immune function. So while this board isn’t exactly health food, it’s not empty calories either.
Dietary Considerations: This recipe contains dairy (cheese), gluten (crackers), and common allergens (nuts). For a dairy-free version, use plant-based cheeses. For gluten-free, choose gluten-free crackers. For nut-free, skip the nuts and add extra seeds or dried fruit. Always check labels if you’re serving guests with specific dietary needs.
Allergen Notes: Common allergens in this board include milk (cheese), wheat (crackers), tree nuts (almonds, pecans), and potentially sulfites (dried fruit). Label your board clearly if you’re serving a mixed group, or ask guests about allergies beforehand.
My personal take? This board is about joy, not nutrition. It’s a treat for a special occasion, and that’s perfectly okay. Balance it with lighter meals throughout the day and enjoy every bite without guilt.
Conclusion
Look, I’m not going to tell you this easy Halloween pumpkin charcuterie board for fall gatherings will change your life. But I will tell you it’ll change your party. There’s something about serving food from inside a pumpkin that makes people smile in a way that a regular platter just doesn’t. It’s fun, it’s festive, and it’s honestly so simple that you’ll wonder why you haven’t been doing it for years.
This recipe started as a panic move and became one of my most-requested party ideas. That’s the thing about cooking under pressure—sometimes it forces you to be creative in ways you wouldn’t be otherwise. And the best part? You can make it your own. Use your favorite cheeses, skip what you don’t like, add what you love. The pumpkin is just the starting point.
I’d love to hear how yours turns out. Did you add something unexpected? Did your guests love it? Did you forget an ingredient and improvise? Those are the best stories. Drop a comment below and share your pumpkin board creation. And if you’re looking for more fall entertaining ideas, check out my easy pumpkin dessert recipes or my guide to fall appetizer ideas for more seasonal inspiration. Happy Halloween, and happy snacking!
Frequently Asked Questions
Can I use a fake pumpkin instead of a real one?
You can definitely use a hollowed-out fake pumpkin if you prefer. It’s reusable and won’t spoil. Just make sure it’s food-safe and clean. The visual effect is similar, though you’ll miss that subtle pumpkin aroma that a real one provides.
How far in advance can I make this board?
You can prep all the ingredients up to 24 hours in advance and store them separately in the fridge. Assemble the board no more than 2-3 hours before serving to keep everything fresh and prevent the pumpkin from getting soggy.
What if I can’t find a sugar pumpkin?
Any pumpkin will work, including standard carving pumpkins. They’re just larger and have thicker walls. You might need more ingredients to fill them. You can also use butternut squash or even a large acorn squash for a similar effect.
How do I keep the crackers from getting soft?
Dry the pumpkin interior thoroughly, add crackers just before serving, and consider placing a layer of parchment paper or small bowls inside the pumpkin to create a barrier between the pumpkin flesh and the crackers. You can also serve extra crackers on the side.
Can I make this vegetarian or vegan?
Absolutely! For vegetarian, skip the meats and add more cheese varieties, roasted vegetables, or marinated artichokes. For vegan, use plant-based cheeses and skip all animal products. Load up on nuts, fruits, vegetables, and vegan-friendly crackers for a satisfying board.
Pin This Recipe!
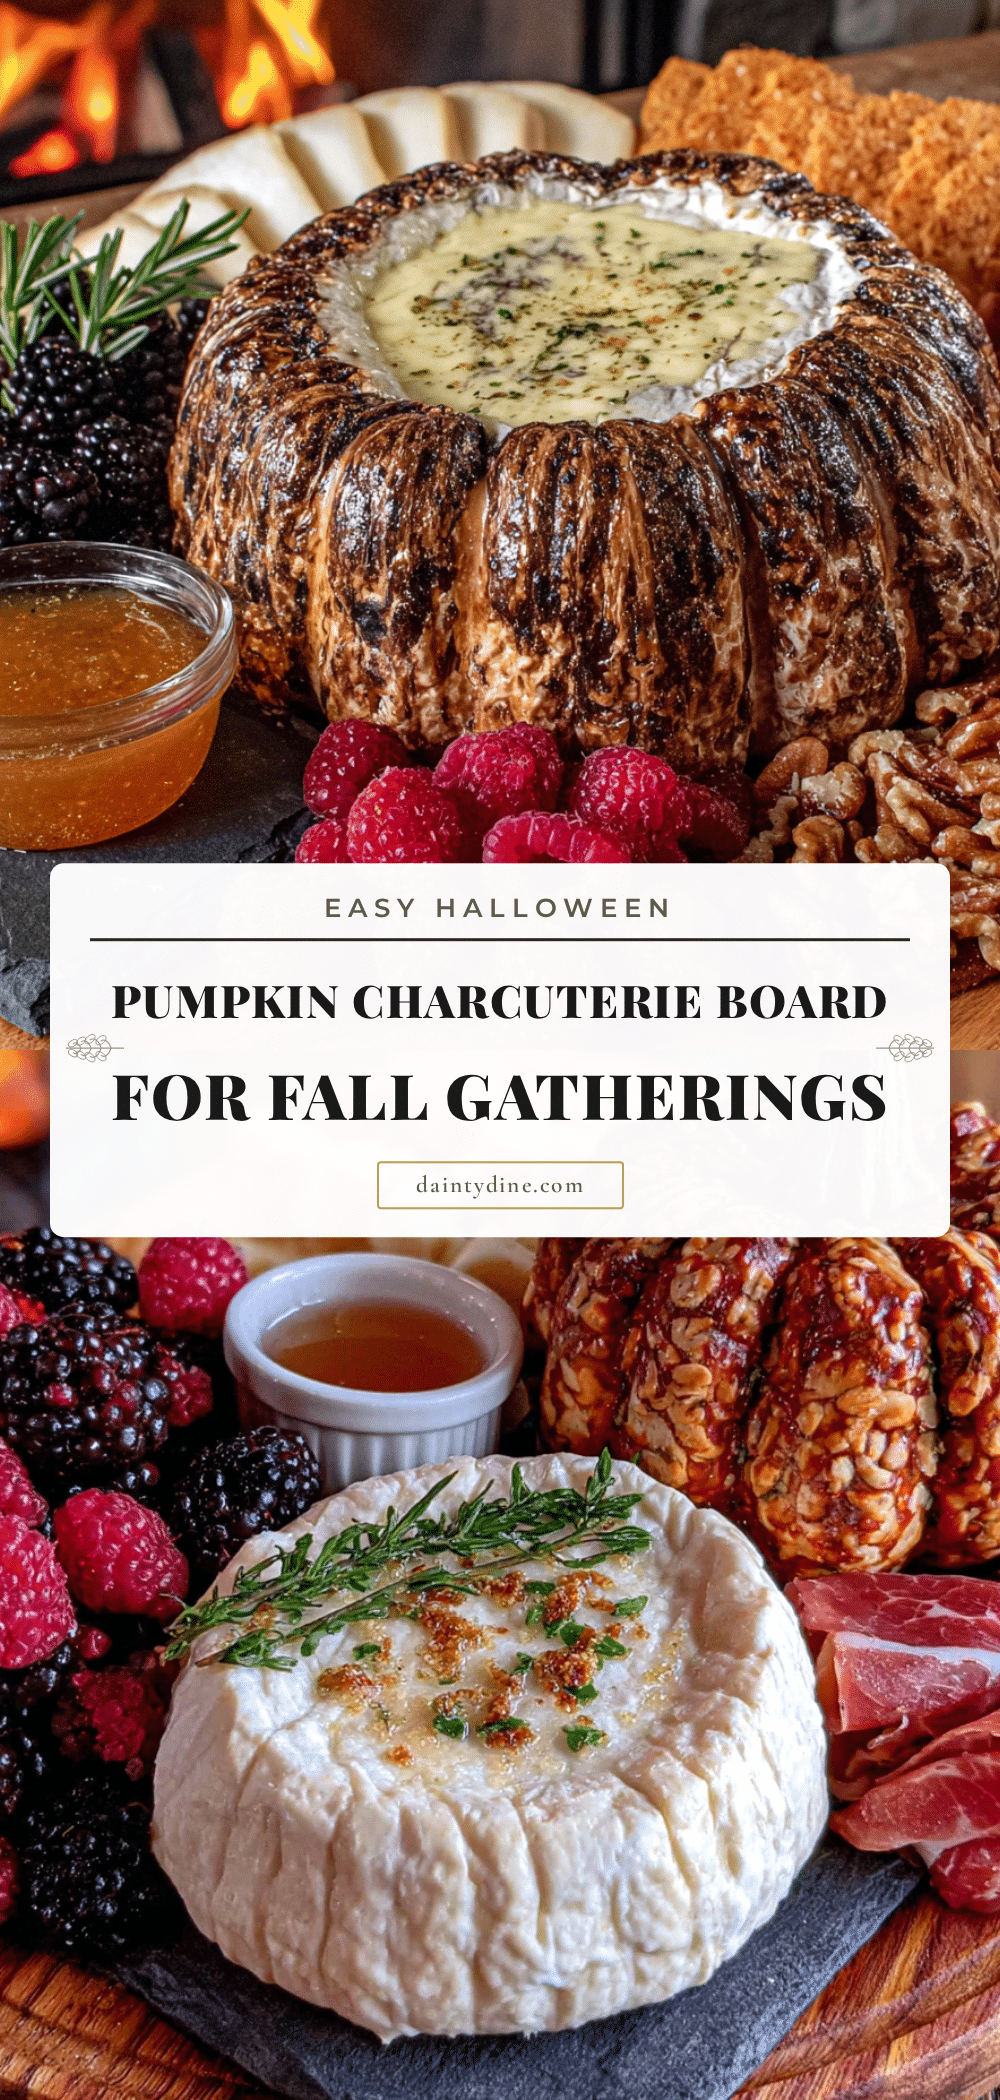
Easy Halloween Pumpkin Charcuterie Board for Fall
A festive and easy Halloween pumpkin charcuterie board for fall gatherings, featuring cheese, cured meats, fruits, and crunchy elements served inside a hollowed-out pumpkin. Perfect for parties, it looks impressive but comes together in under 20 minutes.
- Prep Time: 20 minutes
- Cook Time: 0 minutes
- Total Time: 20 minutes
- Yield: 8 servings 1x
- Category: Appetizer
- Cuisine: American
Ingredients
- 1 medium sugar pumpkin or carving pumpkin (about 4–5 pounds)
- Paper towels or clean kitchen towel
- 8 ounces sharp cheddar cheese, cubed
- 8 ounces brie or camembert
- 4 ounces goat cheese log
- 4 ounces gouda or smoked gouda, cubed
- 4 ounces prosciutto, torn into ribbons
- 4 ounces salami, sliced
- 1 cup red or green grapes, washed and pulled into small clusters
- 1 apple or pear, sliced (tossed with lemon juice to prevent browning)
- 1/2 cup dried apricots or figs
- 1/2 cup pitted olives (Kalamata or Castelvetrano)
- 1 cup assorted crackers
- 1/2 cup pretzels or breadsticks
- 1/2 cup nuts (almonds, pecans, or walnuts)
- Candy corn or candy pumpkins (optional, for Halloween touch)
- Black sesame seeds or poppy seeds (optional, for spooky look)
- Fresh rosemary or sage sprigs (optional, for garnish)
Instructions
- Prep the pumpkin (5 minutes): Wash the outside of your pumpkin thoroughly with water and a scrub brush. Pat it dry. Using a sharp knife, carefully cut a circle around the stem, about 2-3 inches in diameter. Angle the knife slightly inward so the lid doesn’t fall inside. Remove the top and set it aside.
- Scoop out the insides (5 minutes): Using a large metal spoon or ice cream scoop, scrape out all the seeds and stringy pulp. Be thorough—you want a clean, smooth interior surface. Discard the pulp or save the seeds for roasting later. Rinse the inside of the pumpkin with cold water and dry it completely with paper towels.
- Create a stable base (2 minutes): If your pumpkin wobbles, slice a thin piece off the bottom to create a flat surface. Be careful not to cut too much—you don’t want to create a hole. Place the pumpkin on your serving platter or board.
- Prepare the cheeses (10 minutes): Cut the cheddar and gouda into 1-inch cubes. Leave the brie whole or cut it into wedges. Slice the goat cheese log into rounds. Arrange the cheeses in small piles or clusters inside the pumpkin.
- Add the meats (5 minutes): Tear the prosciutto into ribbons and loosely fold the salami slices. Tuck the meats around and between the cheese piles.
- Fill in with fruits and vegetables (5 minutes): Scatter the grape clusters, apple slices, dried apricots, and olives around the cheese and meats. Try to distribute colors evenly for visual appeal.
- Add crunchy elements (5 minutes): Tuck crackers, pretzels, and nuts into any remaining spaces. Stand some crackers upright for height variation. Place a few crackers around the outside of the pumpkin on the platter for easy grabbing.
- Add Halloween touches (3 minutes): Sprinkle candy corn or candy pumpkins around the board for festive flair. If using black sesame seeds, lightly press them into the top of the brie for a spooky look. Garnish with fresh rosemary or sage sprigs.
- Final check (2 minutes): Step back and look at your board from different angles. Fill in any empty spots with extra crackers or nuts. Make sure everything is accessible.
- Serve immediately or refrigerate: This board is best served at room temperature. If making ahead, remove from the fridge 30 minutes before serving. Cover loosely with plastic wrap if refrigerating.
Notes
Dry the pumpkin interior thoroughly to prevent soggy crackers. Choose a squat, wide pumpkin for more surface area. Prep ingredients up to 24 hours in advance and assemble just before serving. For a vegetarian version, skip the meats and add more cheese or roasted vegetables. For a dairy-free version, use plant-based cheeses.
Nutrition
- Serving Size: 1/8 of the board
- Calories: 350450
- Sugar: 1015
- Sodium: 600800
- Fat: 2530
- Saturated Fat: 1015
- Carbohydrates: 2025
- Fiber: 35
- Protein: 1520
Keywords: Halloween charcuterie board, pumpkin charcuterie board, fall appetizer, easy Halloween recipe, pumpkin cheese board, party snack, no-cook appetizer


