Love this? Save it for later!
Share the inspiration with your friends
I was standing in the baking aisle of our local grocery store last October, staring at a row of black food coloring bottles, when the smell of buttercream hit me. Not real buttercream, of course — it was the artificial vanilla scent wafting from the cake mix display. But suddenly I was seven years old, sitting on a metal stool in my Aunt Clara’s tiny kitchen, watching her stir a bowl of frosting so dark it looked like midnight. She was making her famous Black Velvet cake for a Halloween party, and I remember thinking she was the coolest person alive. She passed away a few years ago, and honestly, I haven’t thought about that kitchen in forever. But there I was, in the middle of a fluorescent-lit aisle, absolutely desperate to recreate that feeling.
So I grabbed the food coloring, a box of cake mix (because let’s be real, I’m a busy person with zero time for from-scratch anything on a Tuesday night), and headed home. The result? These Quick Black Velvet Halloween Cupcakes with Orange Buttercream. They’re not fancy, and they’re not complicated. But that first bite — the soft, dark crumb against that bright, citrusy frosting — it brought me right back. Maybe you’ve been there, chasing a taste from your past that you can’t quite name.
These cupcakes are my little tribute to Aunt Clara, and honestly, they’ve become my go-to for Halloween parties, school bake sales, and random weeknights when I need a little color in my life. I mean, who says you need a special occasion to eat black cupcakes with orange frosting? Not me. Let’s make some.
Why You’ll Love This Recipe
Let me tell you why these cupcakes have earned a permanent spot in my recipe rotation. I’ve tested this one multiple times — tweaking the amount of cocoa powder, adjusting the buttercream consistency — and this version is the one that finally clicked. It’s the kind of recipe that makes you look like a Halloween hero without actually working like one.
- Quick & Easy: From start to finish, these are on your table in about 45 minutes. No complicated steps, no fancy techniques. Perfect for those “I need a dessert for the school party tomorrow” moments.
- Simple Ingredients: You probably already have most of this stuff in your pantry. Black food coloring is the only “special” ingredient, and you can find it at any grocery store.
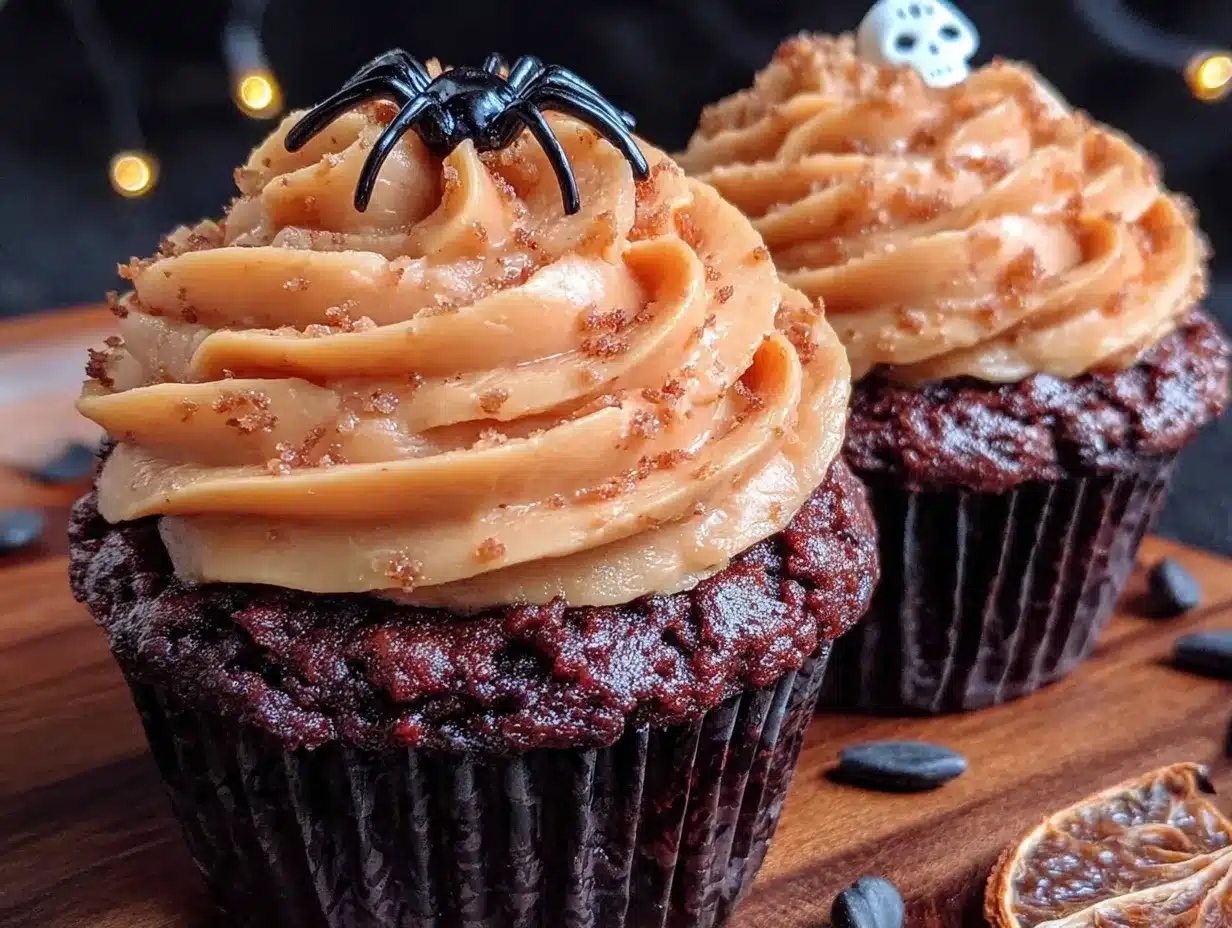
- Perfect for Halloween: The black velvet cake with orange buttercream is a total showstopper. It screams Halloween without being too over-the-top.
- Crowd-Pleaser: Kids love the color, adults love the flavor. I’ve brought these to three different parties and they vanished every single time.
- Unbelievably Delicious: The combo of rich, dark chocolate cake with bright, tangy orange buttercream is next-level. It’s not just a gimmick — it actually tastes amazing.
What makes this recipe different from all the other Halloween cupcakes out there? It’s the balance. The black velvet cake is moist and tender, not dry or crumbly. And the orange buttercream is perfectly sweet with just enough citrus to cut through the richness. I’ve tried versions that were too sweet, too artificial, or just plain boring. This one hits all the right notes.
This recipe is comfort food with a costume on. It’s familiar enough to feel safe, but different enough to be exciting. And honestly, that’s the best kind of Halloween treat.
What Ingredients You Will Need
This recipe uses simple, everyday ingredients to create something that looks and tastes like it came from a bakery. Most of these are pantry staples, so you probably won’t need a special shopping trip.
For the Black Velvet Cupcakes
- 1 box (15.25 oz) chocolate cake mix (I recommend Duncan Hines or Betty Crocker for consistent results)
- 1 cup water
- 1/2 cup vegetable oil
- 3 large eggs (room temperature for best texture)
- 2 tablespoons unsweetened cocoa powder (adds depth to the black color)
- 1 tablespoon black gel food coloring (I use Wilton brand — liquid coloring won’t give you the same intensity)
- 1 teaspoon vanilla extract (enhances the chocolate flavor)
For the Orange Buttercream
- 1 cup (2 sticks) unsalted butter (softened to room temperature)
- 3-4 cups powdered sugar (adjust for desired consistency)
- 2-3 tablespoons heavy cream (or milk if that’s what you have)
- 1 teaspoon vanilla extract
- 1-2 teaspoons orange extract (start with 1 and taste — it’s potent!)
- Orange gel food coloring (a few drops to get that Halloween orange)
- Pinch of salt (balances the sweetness)
For Decoration (Optional but Fun)
- Halloween sprinkles (candy eyeballs, pumpkins, bats — whatever you find)
- Mini chocolate chips (for texture)
- Orange sanding sugar (for sparkle)
A few notes on ingredients: For the black food coloring, gel is non-negotiable. Liquid coloring will give you a sad grayish-brown color, and nobody wants that. I’ve tried both, and gel is the only way to get that deep, dramatic black. Also, don’t skip the extra cocoa powder in the cake mix — it helps darken the color and adds a richer chocolate flavor that stands up to the orange buttercream.
If you’re dairy-free, you can substitute the butter with a good vegan butter stick (I like Earth Balance) and use almond milk instead of heavy cream. The texture might be slightly different, but the flavor will still be fantastic.
Equipment Needed
You don’t need a professional bakery setup for these. Here’s what you’ll need:
- Muffin tin (standard 12-cup) — I’ve used both metal and non-stick, both work fine
- Cupcake liners — orange or black ones make it extra festive
- Large mixing bowl (for the cake batter)
- Medium mixing bowl (for the buttercream)
- Electric hand mixer or stand mixer — you can whisk by hand, but your arm will thank you for using a mixer
- Measuring cups and spoons
- Rubber spatula (for scraping the bowl clean)
- Cooling rack (a wire rack works best, but a plate will do in a pinch)
- Piping bag with a star tip (or a zip-top bag with the corner snipped off)
If you don’t have a piping bag, don’t stress. A zip-top bag works perfectly — just fill it, snip off a corner, and pipe away. I’ve done it a hundred times, and nobody has ever complained about the presentation. For the muffin tin, I recommend greasing the liners lightly with cooking spray if you’re using paper ones. The black cake can stick a little, and that’s just annoying.
Preparation Method
Alright, let’s get into the good stuff. Here’s how to make these beauties, step by step.
- Preheat your oven to 350°F (175°C). Line your muffin tin with cupcake liners. This is a good time to take the butter out for the frosting so it can soften while you work.
- Make the cake batter. In a large bowl, combine the chocolate cake mix, water, vegetable oil, eggs, cocoa powder, black gel food coloring, and vanilla extract. Mix on low speed for about 30 seconds, then increase to medium for 2 minutes. Scrape the sides of the bowl halfway through. The batter should be thick, dark, and velvety — almost like black paint. If it looks more gray than black, add another 1/2 teaspoon of food coloring.
- Fill the liners. Divide the batter evenly among the 12 cupcake liners. I use a cookie scoop for this — it’s less messy and gives you consistent sizes. Fill each liner about 2/3 full. Don’t overfill, or you’ll get mushroom tops that are hard to frost.
- Bake. Place the pan in the preheated oven and bake for 18-22 minutes. Start checking at 18 minutes — a toothpick inserted into the center should come out clean or with just a few moist crumbs. The tops should spring back when lightly touched. Let them cool in the pan for 5 minutes, then transfer to a wire rack to cool completely. This is crucial — if you frost them while they’re warm, the buttercream will melt into a sad puddle.
- Make the orange buttercream. While the cupcakes are cooling, beat the softened butter in a medium bowl with an electric mixer until it’s light and fluffy — about 2 minutes. Gradually add the powdered sugar, one cup at a time, mixing on low speed. Add the heavy cream, vanilla extract, orange extract, and a pinch of salt. Beat on medium-high for 3-4 minutes until the frosting is light, fluffy, and spreadable. Add the orange gel food coloring a drop at a time until you reach your desired shade. I like a bright, almost neon orange for Halloween.
- Frost the cupcakes. Once the cupcakes are completely cool, it’s time to decorate. Fill your piping bag with the orange buttercream. Pipe a swirl on each cupcake — start from the outside and work your way in, lifting up at the end to create a little peak. If you’re using a zip-top bag, just pipe a simple dollop and swirl it with a knife.
- Add decorations. While the frosting is still soft, sprinkle on your Halloween sprinkles, candy eyeballs, or whatever you’re using. Press them in gently so they stick.
- Serve or store. These are best eaten within 24 hours, but they’ll keep in an airtight container in the fridge for up to 3 days. Let them come to room temperature before serving for the best texture.
A quick note on timing: The whole process takes about 45 minutes from start to finish. If you’re making these for a party, you can bake the cupcakes a day ahead and frost them the day of. Just store the unfrosted cupcakes in an airtight container at room temperature.
Cooking Tips & Techniques
I’ve made these cupcakes probably a dozen times, and I’ve learned a few things the hard way. Here are my best tips:
Don’t overmix the batter. I know it’s tempting to keep stirring until it’s perfectly smooth, but overmixing develops the gluten and makes the cupcakes tough. Mix just until the ingredients are combined, then stop. A few lumps are totally fine — they’ll bake out.
Use a light hand with the orange extract. That stuff is potent. I once added a full tablespoon thinking “more is better,” and the frosting tasted like orange cleaner. Start with 1 teaspoon, taste it, and add more if you want. You can always add, but you can’t take away.
Room temperature ingredients matter. I know, it’s annoying to wait for eggs and butter to come to room temperature. But it makes a real difference in the texture. Cold eggs can make the batter curdle, and cold butter won’t cream properly with the sugar. If you’re in a hurry, put the eggs in a bowl of warm water for 5 minutes, and cut the butter into small cubes to speed up softening.
My biggest failure: The first time I made these, I used liquid food coloring because that’s what I had. The cupcakes came out a sad, muddy gray. I tried to cover it up with a thick layer of frosting, but you could still see the gray peeking through. It was a lesson learned — gel coloring is worth the extra dollar.
For consistent sizing: Use a cookie scoop to fill the liners. It’s faster, cleaner, and ensures all your cupcakes are the same size, which means they’ll bake evenly. I use a #20 scoop (about 3 tablespoons) for standard cupcakes.
Multitasking tip: While the cupcakes are baking, make your buttercream. That way, by the time the cupcakes are cool, your frosting is ready to go. It saves you about 10 minutes of waiting around.
Variations & Adaptations
One of the best things about this recipe is how easy it is to change up. Here are some variations I’ve tried and loved:
Gluten-Free Version
Use a gluten-free chocolate cake mix (King Arthur makes a great one). Everything else stays the same. The texture might be slightly more delicate, so handle the cupcakes gently. I’ve made this for a friend with celiac disease, and she said they were the best gluten-free cupcakes she’d ever had.
Vegan Version
Substitute the eggs with flax eggs (1 tablespoon ground flaxseed + 3 tablespoons water per egg, let sit for 5 minutes). Use a vegan cake mix (most are accidentally vegan) and replace the butter with vegan butter sticks. Use almond milk instead of heavy cream in the frosting. The cupcakes will be a bit denser, but still delicious.
Spooky Spiderweb Design
Instead of piping a swirl, spread a thin layer of white buttercream over the orange frosting, then drag a toothpick from the center outward to create a web pattern. It looks amazing and takes about 30 seconds per cupcake.
Chocolate Orange Combo
Add 1/2 cup mini chocolate chips to the cake batter before baking. The little pockets of melted chocolate are incredible with the orange buttercream. I tried this on a whim and it’s now my favorite version.
Mini Cupcakes
Use a mini muffin tin and bake for 10-12 minutes instead of 18-22. You’ll get about 36 mini cupcakes — perfect for parties where people want to try a little bit of everything. The frosting-to-cake ratio is also better on minis, in my opinion.
I’ve also tried swapping the orange extract for peppermint extract to make “Ghostly Chocolate Mint” cupcakes. They were good, but honestly, the orange version is better. There’s something about that citrus-chocolate combo that just works.
Serving & Storage Suggestions
These cupcakes are best served at room temperature. The cake is more tender and the buttercream is softer and creamier. If you’ve stored them in the fridge, let them sit out for about 30 minutes before serving.
For presentation, I like to arrange them on a black or white cake stand. The contrast makes the orange frosting pop. Add a few fake spiderwebs or plastic spiders around the base for extra Halloween flair. If you’re bringing them to a party, a simple platter works just fine.
Storage: Keep unfrosted cupcakes in an airtight container at room temperature for up to 2 days. Frosted cupcakes should be stored in the fridge in an airtight container for up to 3 days. The frosting might firm up a bit, but it softens again at room temperature.
Freezing: You can freeze the unfrosted cupcakes for up to 3 months. Wrap each one individually in plastic wrap, then place them in a freezer bag. Thaw at room temperature, then frost and decorate. I’ve done this for Halloween parties when I wanted to get ahead, and they taste just as good.
One thing I’ve noticed: the flavors actually get better after a day in the fridge. The orange and chocolate flavors meld together, and the cake becomes even more moist. So if you can, make these a day ahead. Your future self will thank you.
Nutritional Information & Benefits
Let’s be honest — these are cupcakes, not health food. But here’s the nutritional breakdown for one cupcake (based on 12 servings):
| Nutrient | Amount per Cupcake |
|---|---|
| Calories | 380 |
| Total Fat | 18g |
| Saturated Fat | 10g |
| Cholesterol | 65mg |
| Sodium | 320mg |
| Total Carbohydrates | 52g |
| Dietary Fiber | 1g |
| Sugars | 38g |
| Protein | 3g |
On the bright side, the cocoa powder in the cake provides a small amount of antioxidants, and the butter in the frosting gives you a little vitamin A. But really, these are a treat — something to enjoy in moderation, especially around Halloween.
If you’re looking for a slightly lighter option, you can reduce the sugar in the frosting by using less powdered sugar and adding a bit more heavy cream. The frosting won’t be as stiff, but it’ll still taste great.
These cupcakes contain dairy, eggs, and gluten. If you have allergies, check the cake mix label carefully — some brands may contain traces of nuts or other allergens.
Conclusion
These Quick Black Velvet Halloween Cupcakes with Orange Buttercream are everything I want in a Halloween treat — dramatic, delicious, and deceptively easy to make. They’re the kind of recipe that makes you look like you spent hours in the kitchen when really, you just used a box mix and some food coloring. And honestly? That’s perfectly okay.
I love these because they bring me back to that moment in Aunt Clara’s kitchen, but they also let me create new memories with my own family. My kids go crazy for the bright orange frosting, and I love watching their faces light up when they see the finished cupcakes. It’s a small moment of joy in a busy week, and that’s worth more than any fancy from-scratch recipe.
I’d love to hear how yours turn out! Did you try a different variation? Add your own twist? Drop a comment below and let me know. And if you’re looking for another fun Halloween treat, try my Spider Web Dip — it’s another quick one that always gets attention at parties.
Happy Halloween, and happy baking!
Frequently Asked Questions
Can I use a different cake flavor?
Absolutely! A vanilla or white cake mix works too — just add the cocoa powder and black food coloring as directed. The chocolate flavor won’t be as strong, but the color will still be dramatic.
How do I get the frosting so bright orange?
Use gel food coloring and add it drop by drop. Start with 2-3 drops, mix well, then add more until you reach your desired shade. Liquid food coloring won’t give you that vibrant orange — it’ll be more of a pale peach.
Can I make these ahead of time?
Yes! Bake the cupcakes up to 2 days ahead and store them unfrosted in an airtight container. Make the frosting and decorate the day you plan to serve them for the best presentation.
My cupcakes came out dry. What went wrong?
You probably overbaked them. Start checking at 18 minutes, and take them out as soon as a toothpick comes out clean. Also, make sure you’re measuring your oil correctly — too little oil can make the cake dry.
Can I use a different extract in the frosting?
Sure! Peppermint, almond, or even coconut extract would all work. Just start with a small amount and taste as you go. Some extracts are stronger than others.
Pin This Recipe!
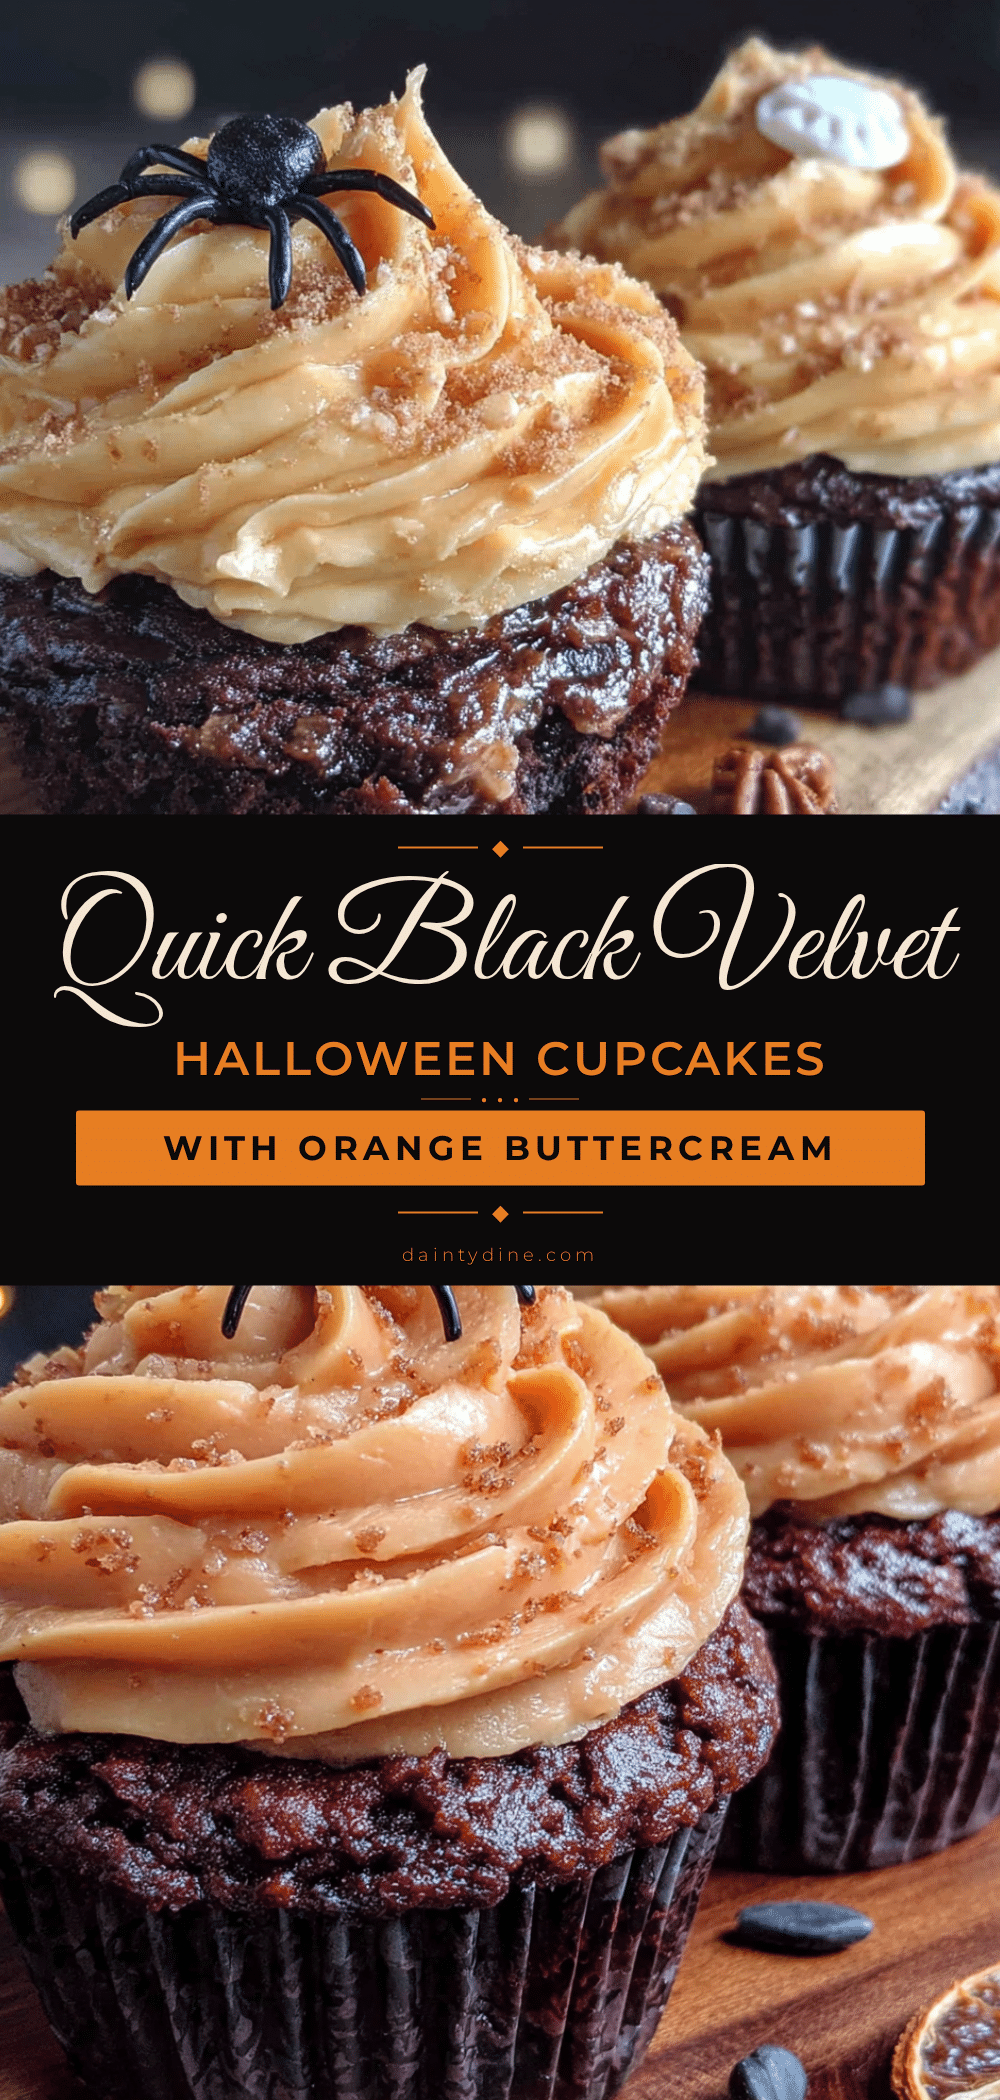
Quick Black Velvet Halloween Cupcakes with Orange Buttercream
These Quick Black Velvet Halloween Cupcakes with Orange Buttercream are a dramatic, delicious, and deceptively easy Halloween treat. Made with a simple cake mix and black gel food coloring, they feature a moist black velvet cake topped with a bright, citrusy orange buttercream.
- Prep Time: 15 minutes
- Cook Time: 20 minutes
- Total Time: 45 minutes
- Yield: 12 servings 1x
- Category: Dessert
- Cuisine: American
Ingredients
- 1 box (15.25 oz) chocolate cake mix
- 1 cup water
- 1/2 cup vegetable oil
- 3 large eggs (room temperature)
- 2 tablespoons unsweetened cocoa powder
- 1 tablespoon black gel food coloring
- 1 teaspoon vanilla extract
- 1 cup (2 sticks) unsalted butter (softened)
- 3–4 cups powdered sugar
- 2–3 tablespoons heavy cream
- 1 teaspoon vanilla extract
- 1–2 teaspoons orange extract
- Orange gel food coloring
- Pinch of salt
- Halloween sprinkles (optional)
- Mini chocolate chips (optional)
- Orange sanding sugar (optional)
Instructions
- Preheat your oven to 350°F (175°C). Line your muffin tin with cupcake liners. Take the butter out for the frosting so it can soften while you work.
- Make the cake batter: In a large bowl, combine the chocolate cake mix, water, vegetable oil, eggs, cocoa powder, black gel food coloring, and vanilla extract. Mix on low speed for about 30 seconds, then increase to medium for 2 minutes. Scrape the sides of the bowl halfway through. The batter should be thick, dark, and velvety. If it looks more gray than black, add another 1/2 teaspoon of food coloring.
- Fill the liners: Divide the batter evenly among the 12 cupcake liners. Fill each liner about 2/3 full.
- Bake: Place the pan in the preheated oven and bake for 18-22 minutes. Start checking at 18 minutes — a toothpick inserted into the center should come out clean or with just a few moist crumbs. Let them cool in the pan for 5 minutes, then transfer to a wire rack to cool completely.
- Make the orange buttercream: While the cupcakes are cooling, beat the softened butter in a medium bowl with an electric mixer until light and fluffy — about 2 minutes. Gradually add the powdered sugar, one cup at a time, mixing on low speed. Add the heavy cream, vanilla extract, orange extract, and a pinch of salt. Beat on medium-high for 3-4 minutes until the frosting is light, fluffy, and spreadable. Add the orange gel food coloring a drop at a time until you reach your desired shade.
- Frost the cupcakes: Once the cupcakes are completely cool, fill your piping bag with the orange buttercream. Pipe a swirl on each cupcake — start from the outside and work your way in, lifting up at the end to create a little peak.
- Add decorations: While the frosting is still soft, sprinkle on your Halloween sprinkles, candy eyeballs, or whatever you’re using. Press them in gently so they stick.
- Serve or store: These are best eaten within 24 hours, but they’ll keep in an airtight container in the fridge for up to 3 days. Let them come to room temperature before serving for the best texture.
Notes
For the black food coloring, gel is non-negotiable. Liquid coloring will give you a sad grayish-brown color. Don’t skip the extra cocoa powder in the cake mix — it helps darken the color and adds a richer chocolate flavor. If you’re dairy-free, substitute the butter with vegan butter and use almond milk instead of heavy cream. The flavors actually get better after a day in the fridge.
Nutrition
- Serving Size: 1 cupcake
- Calories: 380
- Sugar: 38
- Sodium: 320
- Fat: 18
- Saturated Fat: 10
- Carbohydrates: 52
- Fiber: 1
- Protein: 3
Keywords: Halloween cupcakes, black velvet cupcakes, orange buttercream, quick cupcakes, easy Halloween dessert, chocolate cupcakes


