Love this? Save it for later!
Share the inspiration with your friends
The first time I made this, it was a Tuesday. Not a special Tuesday, just a regular one where I was staring into the fridge, trying to figure out how to stretch a single butternut squash into a meal for four. I had some leftover rice, a half-empty bag of spinach, and some cheese that was getting a little too confident in the back of the drawer. I was honestly about to give up and order pizza. But then, I remembered a conversation I had at the farmer’s market a few weeks back. The woman selling squash, her name was Rose, and she had this way of making everything sound simple. She watched me picking up squash after squash, probably looking as confused as I felt. “You’re overthinking it,” she said, not unkindly. “Stuff it. It’s just a bowl nature made for you.” That was it. No formal recipe, no list of exotic spices. Just a permission slip to be resourceful. That night, I made this cozy stuffed butternut squash for the first time, and the kids actually asked for seconds. I mean, that never happens with a vegetable as the main event. Honestly, maybe you’ve been there—standing in your kitchen, looking at a single vegetable and a pantry that feels bare, wondering how to make something that feels like a real meal. This recipe is that answer. It’s the kind of dinner that doesn’t need a fancy name or a long backstory. It just needs a little trust and a hot oven.
Why You’ll Love This Recipe
Let’s be real for a second. Getting a weeknight dinner on the table that doesn’t make you feel like you’ve run a marathon is a win. Getting one that actually uses up odds and ends from the fridge and still gets rave reviews? That’s a home run. This recipe has been tested in my kitchen more times than I can count, and it has never let me down. It’s the kind of dish that makes you look like you spent hours in the kitchen, when really, you just let the oven do the heavy lifting.
- Budget-Friendly: One large squash feeds the whole family. You can use pantry staples for the filling, making this a perfect end-of-the-week meal.
- Family-Approved: The sweet, tender squash pairs perfectly with a savory, cheesy filling. Even picky eaters tend to love it, especially if you let them help stuff the squash boats.
- Perfect for Meal Prep: The filling can be made a day ahead. Just stuff and bake when you’re ready. Leftovers reheat beautifully, which is a non-negotiable in my house.
- Simple Ingredients: No need for a special grocery trip. You likely have the rice, onions, and spices in your pantry right now.
- Unbelievably Satisfying: This isn’t a sad diet dinner. It’s a hearty, warm, and cozy meal that fills you up without weighing you down.
What makes this version different from the rest is the technique of roasting the squash first, just until tender, before stuffing it. This prevents the dreaded mushy squash situation and ensures every bite has a little bit of chew. Plus, the filling is perfectly seasoned—not too spicy, not too bland—making it the ultimate comfort food for a chilly evening.
What Ingredients You Will Need
This recipe uses simple, wholesome ingredients to deliver bold flavor and satisfying texture without the fuss. Most of these are pantry staples or easy-to-find produce, making it a great go-to for busy families. You can mix and match the filling based on what you have on hand.
- For the Squash:
- 2 medium butternut squashes (about 2.5 lbs each), halved and seeded (look for ones with a long, straight neck for easier stuffing)
- 2 tablespoons olive oil (a good quality one makes a difference here)
- Salt and black pepper, to taste
- For the Savory Filling:
- 1 tablespoon olive oil or butter
- 1 medium yellow onion, diced (about 1 cup)
- 2 cloves garlic, minced
- 1 cup cooked rice (brown, white, or even quinoa works great—leftover rice is perfect)
- 1 cup cooked ground turkey, beef, or crumbled sausage (optional, for extra protein; omit for a vegetarian version)
- 3 cups fresh spinach, roughly chopped (it wilts down a lot, so don’t be shy)
- 1/2 cup dried cranberries or chopped dried apples (adds that sweet-tart pop)
- 1 teaspoon dried sage or thyme (I prefer sage for that classic fall flavor)
- 1/2 teaspoon smoked paprika (for a little warmth, not heat)
- 1/2 cup vegetable or chicken broth (keeps the filling moist)
- Salt and pepper, to taste
- For the Topping:
- 1/2 cup shredded sharp cheddar cheese or crumbled feta (cheddar melts beautifully; feta adds a salty tang)
- 1/4 cup toasted pecans or walnuts, chopped (adds a lovely crunch—omit for nut-free)
- Fresh parsley or chives, chopped, for garnish
Ingredient Tips: I recommend using Muir Glen canned tomatoes if you ever need them in a recipe, but for this one, fresh is best. For the rice, any leftover grain works. I’ve used farro and even leftover couscous in a pinch. If you don’t have dried cranberries, golden raisins are a fantastic substitute. They plump up in the broth and add a similar sweetness. For a dairy-free version, just skip the cheese or use a plant-based shred that melts well.
Equipment Needed
You don’t need a lot of fancy gadgets for this recipe, which is part of its charm. Here’s what you’ll need to get the job done:
- Sharp Chef’s Knife: Butternut squash is tough. A sharp knife is non-negotiable for cutting it in half safely. I’ve used a dull knife before, and it was a workout I did not sign up for.
- Cutting Board: A sturdy one that won’t slip.
- Large Baking Sheet or Roasting Pan: Rimmed, to catch any juices from the squash.
- Large Skillet or Sauté Pan: For cooking the filling.
- Medium Mixing Bowl: For combining the filling ingredients.
- Wooden Spoon or Spatula: For stirring the filling.
- Measuring Cups and Spoons: For accuracy, though I often just eyeball the spices.
- Aluminum Foil or Parchment Paper: For easy cleanup.
Budget-Friendly Tip: If you don’t have a large baking sheet, you can use a 9×13-inch casserole dish. It will work just fine. Don’t let a missing tool stop you from making this dinner.
Preparation Method
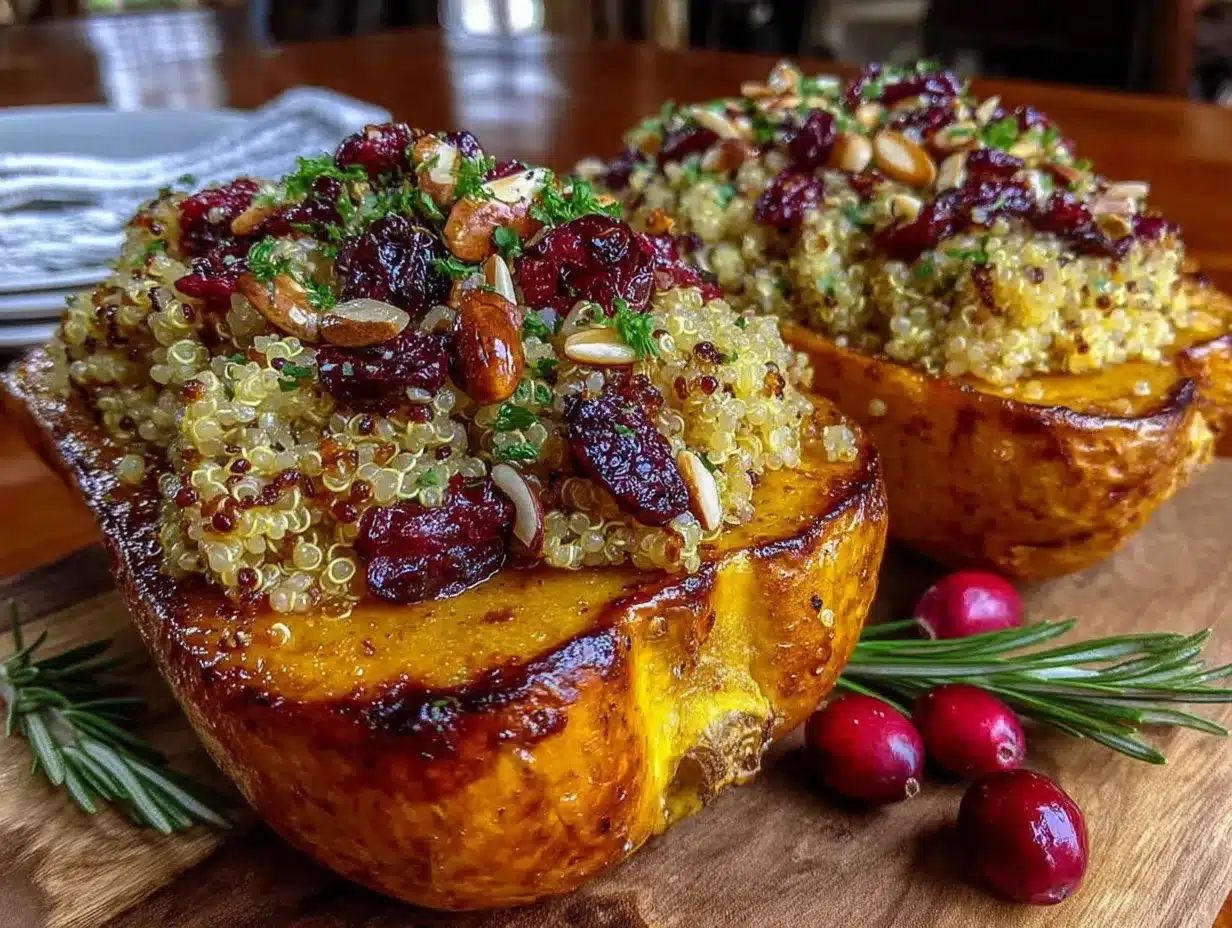
Alright, let’s get cooking. This might look like a lot of steps, but I promise, it’s mostly hands-off oven time. The filling comes together quickly while the squash roasts.
- Preheat and Prep the Squash: Preheat your oven to 400°F (200°C). Carefully cut each butternut squash in half lengthwise. Scoop out the seeds and stringy bits with a spoon. I like to save the seeds to roast later for a snack. Brush the cut sides and the cavity of the squash with the 2 tablespoons of olive oil. Season generously with salt and pepper. Place the squash halves cut-side down on a large, rimmed baking sheet lined with parchment paper for easy cleanup.
- Roast the Squash: Roast the squash for 35-45 minutes, or until the flesh is fork-tender but still holds its shape. You want it to be soft enough to eat but firm enough to act as a sturdy bowl. The timing depends on the size of your squash. While the squash roasts, make the filling.
- Sauté the Aromatics: While the squash is in the oven, heat 1 tablespoon of olive oil or butter in a large skillet over medium heat. Add the diced onion and cook for 5-7 minutes, until it’s soft and translucent. Add the minced garlic and cook for another 30 seconds until fragrant. Your kitchen will start smelling amazing right about now.
- Cook the Protein (If Using): If you are using ground meat or sausage, add it to the skillet now. Break it up with your spoon and cook until browned. Drain off any excess fat if necessary. If you are skipping the meat, just move to the next step.
- Wilt the Spinach: Add the chopped spinach to the skillet. It will look like a mountain, but don’t worry. Stir it around for 2-3 minutes until it wilts down significantly.
- Combine the Filling: Turn the heat down to low. Add the cooked rice, dried cranberries, sage (or thyme), and smoked paprika to the skillet. Stir everything together until it’s well combined. Pour in the 1/2 cup of broth. This is the secret to a moist, not-dry filling. Let it simmer for 2-3 minutes, allowing the liquid to absorb slightly. Taste the filling and adjust salt and pepper as needed. It should be savory with a hint of sweetness from the cranberries.
- Stuff the Squash: Once the squash is done roasting, carefully flip the halves over using a spatula or tongs. Be gentle—they will be hot and tender. Spoon the filling generously into each squash cavity, mounding it up a bit. Don’t be afraid to really pack it in.
- Add the Cheese and Bake Again: Sprinkle the shredded cheese over the top of the stuffed squash. Return the baking sheet to the oven and bake for another 10-15 minutes, until the cheese is melted and bubbly and the filling is heated through.
- Finish and Serve: Remove from the oven. Sprinkle the toasted pecans and fresh parsley over the top. Let the squash rest for 5 minutes before serving. This helps the filling set a little and prevents anyone from burning their mouth on the first bite. Serve each half as a main course. A simple green salad on the side is perfect, but honestly, this is a complete meal on its own.
Cooking Tips & Techniques
I’ve made this recipe about a dozen times, and I’ve learned a few things the hard way so you don’t have to. Here are my best tips for success:
- Microwave the Squash First (The Hack): If you are short on time or struggle to cut through a raw butternut squash, poke it a few times with a fork and microwave the whole squash for 2-3 minutes. This softens the skin just enough to make cutting it in half much easier. It’s a total game-changer.
- Don’t Overcook the Squash in the First Roast: This is the biggest mistake I made early on. You want the squash to be tender but still hold its shape. If you roast it until it’s super soft, it will collapse when you try to stuff it. Aim for fork-tender with a little resistance left.
- Make the Filling Ahead: This is a lifesaver for busy weeknights. You can make the filling up to two days in advance and keep it in the fridge. When you’re ready to eat, just roast the squash and stuff it. Dinner is ready in under an hour.
- Use Leftover Grains: This recipe is perfect for using up leftover rice, quinoa, or even cooked lentils from the night before. It saves time and reduces food waste—a win-win for a budget-conscious kitchen.
- Keep the Filling Moist: Don’t skip the broth in the filling. It seems like a small thing, but it makes a huge difference. Without it, the filling can be dry and crumbly. The broth creates a little steam in the oven that keeps everything luscious.
Variations & Adaptations
One of the best things about this recipe is how flexible it is. You can change it up based on what you have in the fridge or what your family likes. Here are a few of my favorite twists:
- Vegetarian & Vegan: Omit the meat and add a can of drained and rinsed chickpeas or black beans to the filling. Use a dairy-free cheese or a sprinkle of nutritional yeast for a cheesy flavor. The beans add protein and make it just as hearty.
- Southwest Style: Swap the dried cranberries for corn kernels, use cumin and chili powder instead of sage, and top with Monterey Jack cheese. Add a squeeze of lime juice before serving. It’s a totally different vibe but just as cozy.
- Apple & Sausage: Use crumbled breakfast sausage or Italian sausage for the protein. Swap the dried cranberries for diced apple (sauté it with the onion) and use a little fresh thyme. The apple and sausage combination is a classic for a reason.
- Gluten-Free: This recipe is naturally gluten-free as long as you use gluten-free grains like rice or quinoa. Just double-check your broth and spice blends to ensure they are certified gluten-free if that is a concern.
- Picky Eater Adjustment: My youngest is not a fan of spinach. For her, I leave the spinach out of the main filling and serve it on the side. I also sometimes swap the cranberries for a handful of shredded carrots for a little extra sweetness and color.
Serving & Storage Suggestions
This dish is a showstopper right out of the oven, but it’s also incredibly forgiving. Here’s how to serve it and save it.
Serving: Serve the stuffed squash halves hot, straight from the oven. The cheese should be bubbly and the filling steaming. A sprinkle of fresh herbs right at the end adds a pop of color and freshness. I love serving this with a simple side salad dressed with a tangy vinaigrette to cut through the richness. A dollop of plain Greek yogurt or sour cream on the side is also lovely. For a heartier meal, add a bowl of soup like a creamy tomato soup to start.
Storage: Leftovers are a gift. Let the stuffed squash cool completely. Store the leftovers in an airtight container in the refrigerator for up to 4 days. The flavors actually meld together overnight, making it even better the next day.
Reheating: The best way to reheat this is in the oven. Place the leftover squash on a baking sheet and warm it at 350°F (175°C) for 15-20 minutes, until heated through. This keeps the texture of the squash and the filling nice. You can use the microwave in a pinch, but the squash might get a little watery. For a quick lunch, I often just scoop the filling out and reheat it in a skillet with a splash of water.
Freezing: You can freeze the baked, stuffed squash. Wrap each half tightly in plastic wrap and then in foil. Freeze for up to 3 months. Thaw in the refrigerator overnight before reheating in the oven.
Nutritional Information & Benefits
This isn’t just a delicious meal; it’s a nutrient powerhouse that makes you feel good about what you’re feeding your family. Here’s a quick look at what’s going on inside this cozy dish.
Estimated Nutrition (per half squash with filling, using lean ground turkey and cheddar):
- Calories: 450-500
- Protein: 25g
- Fat: 18g
- Carbohydrates: 55g
- Fiber: 12g
- Sugar: 15g (naturally occurring)
Health Highlights: Butternut squash is packed with Vitamin A (great for eye health) and Vitamin C (for immunity). The fiber from the squash and the rice keeps everyone feeling full and satisfied, which is a huge win for a family dinner. The spinach adds iron and calcium, and the nuts provide healthy fats. This is a balanced meal that covers all the bases.
Dietary Considerations: This recipe can easily be made gluten-free, dairy-free, and vegan with simple swaps. It is naturally nut-free if you omit the pecans. Always check your labels if cooking for specific allergies.
Conclusion
This cozy stuffed butternut squash has become a staple in my kitchen for a reason. It’s the perfect example of how a few simple, affordable ingredients can come together to create something that feels truly special. It’s the meal I turn to when I need a win—when I want to feel like a good cook without spending all day in the kitchen. I love that it’s forgiving, flexible, and always, always delicious. It’s a dish that respects your time and your budget, and honestly, that’s the kind of recipe we all need more of. I truly hope you give this a try and make it your own. Maybe you’ll add a little extra spice, or swap the cheese for something new. That’s the beauty of cooking, right? It’s yours. If you make it, I’d love to hear about it. Drop a comment below and let me know how it turned out, or share your own twist on it. Happy cooking, friends!
Frequently Asked Questions
Can I use a different type of squash?
Absolutely! Acorn squash is a fantastic substitute. It has a similar shape and flavor profile. You might need to adjust the roasting time slightly, as acorn squash can cook a little faster. Just check for tenderness with a fork.
How do I prevent the squash from being watery?
The key is not to overcook it in the first roast. Roast it until just tender. Also, make sure your filling isn’t too wet. If you are using frozen spinach, be sure to squeeze out all the excess water before adding it to the skillet.
Can I make this recipe completely vegetarian?
Yes, easily! Simply omit the ground meat and add an extra can of beans (like chickpeas or black beans) or use cooked lentils. You can also add more vegetables like chopped mushrooms or zucchini for extra heartiness.
What can I use instead of rice?
Cooked quinoa, farro, couscous, or even small pasta like orzo work wonderfully. Leftover cooked grains are perfect here. For a low-carb option, try using riced cauliflower, but note that it will have a softer texture.
Can I stuff the squash ahead of time and bake it later?
Yes, this is a great time-saver. You can roast the squash and prepare the filling up to a day in advance. Keep them separate in the fridge. When you are ready to eat, stuff the cold squash with the cold filling, top with cheese, and bake at 375°F (190°C) for 20-25 minutes, until everything is hot and bubbly.
Pin This Recipe!
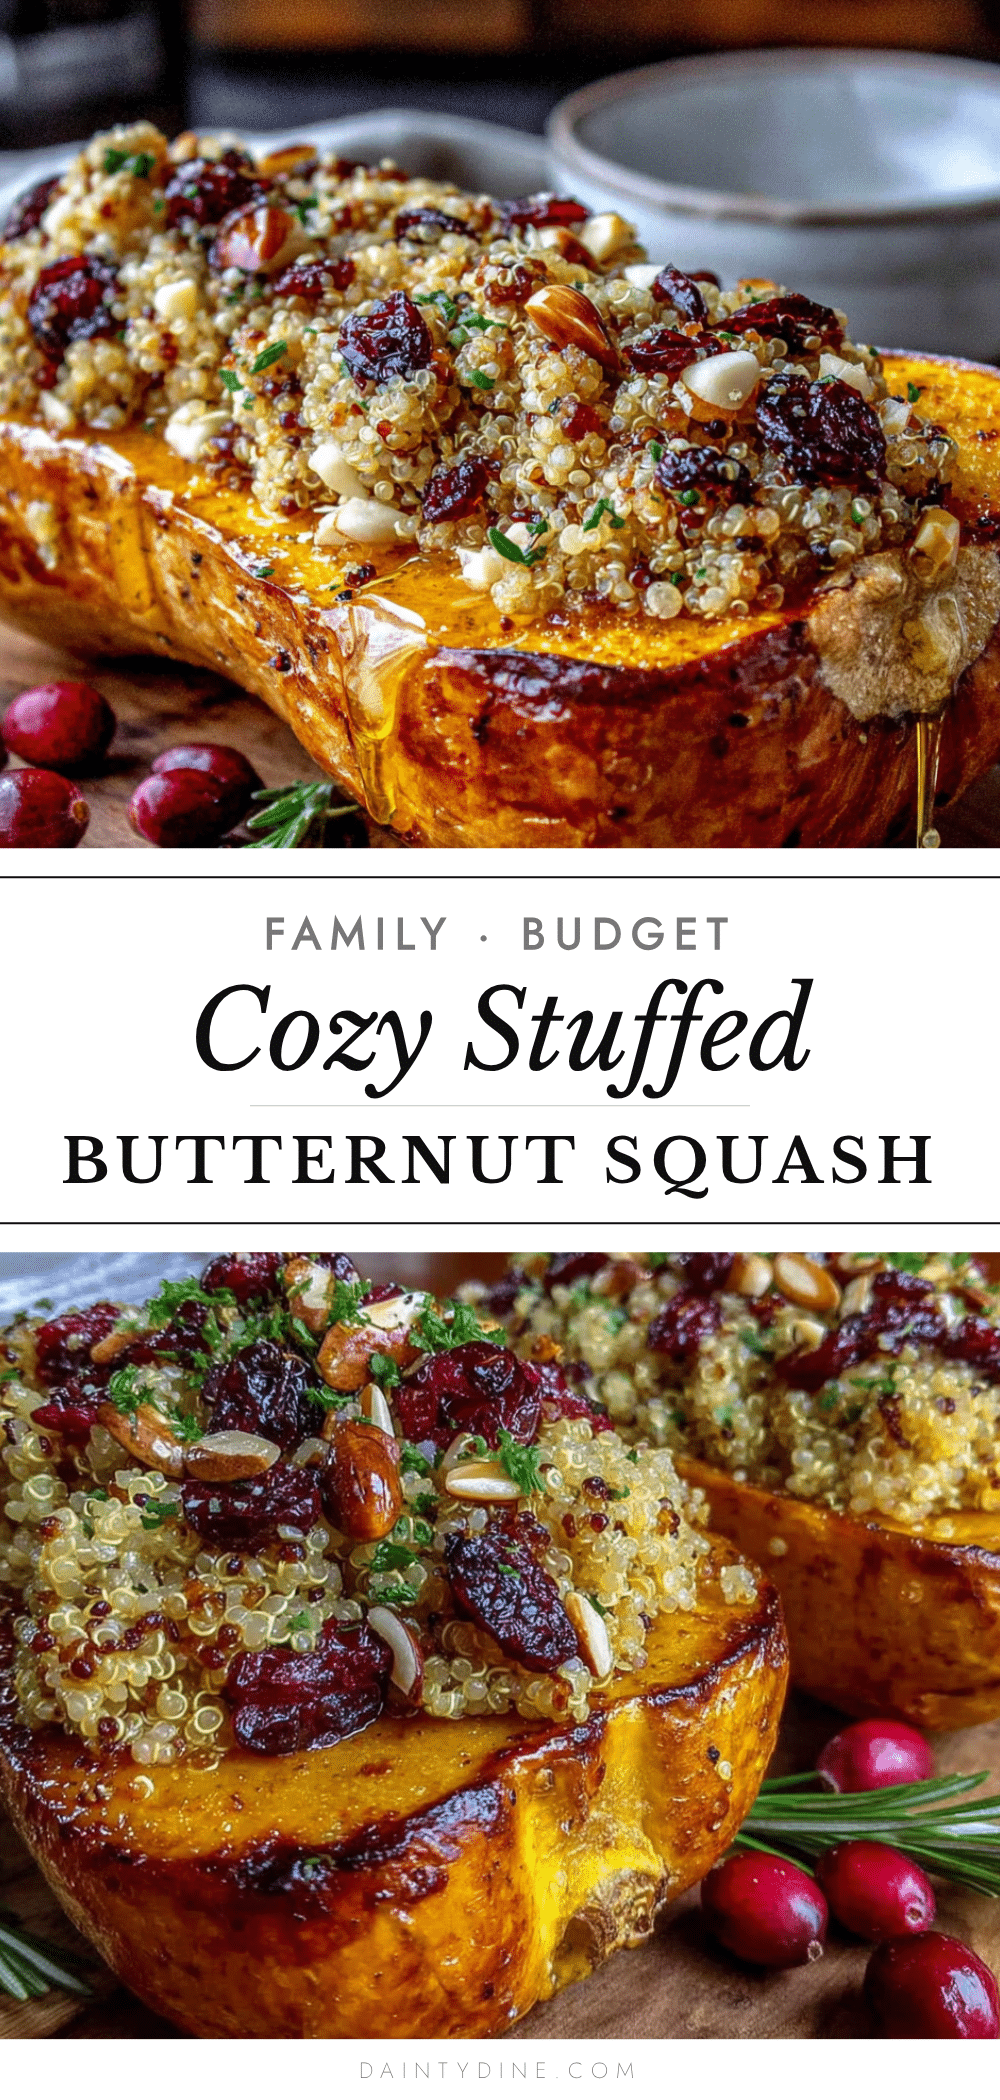
Cozy Stuffed Butternut Squash: Best Easy Budget Dinner

A hearty and budget-friendly weeknight dinner featuring roasted butternut squash stuffed with a savory filling of rice, spinach, cranberries, and cheese. This forgiving recipe is perfect for using up pantry staples and is sure to become a family favorite.
- Prep Time: 20 minutes
- Cook Time: 55 minutes
- Total Time: 1 hour 15 minutes
- Yield: 4 servings 1x
- Category: Main Course
- Cuisine: American
Ingredients
- 2 medium butternut squashes (about 2.5 lbs each), halved and seeded
- 2 tablespoons olive oil
- Salt and black pepper, to taste
- 1 tablespoon olive oil or butter
- 1 medium yellow onion, diced (about 1 cup)
- 2 cloves garlic, minced
- 1 cup cooked rice (brown, white, or quinoa)
- 1 cup cooked ground turkey, beef, or crumbled sausage (optional)
- 3 cups fresh spinach, roughly chopped
- 1/2 cup dried cranberries or chopped dried apples
- 1 teaspoon dried sage or thyme
- 1/2 teaspoon smoked paprika
- 1/2 cup vegetable or chicken broth
- Salt and pepper, to taste
- 1/2 cup shredded sharp cheddar cheese or crumbled feta
- 1/4 cup toasted pecans or walnuts, chopped
- Fresh parsley or chives, chopped, for garnish
Instructions
- Preheat oven to 400°F (200°C). Carefully cut each butternut squash in half lengthwise. Scoop out seeds and stringy bits. Brush cut sides and cavity with 2 tablespoons olive oil. Season generously with salt and pepper. Place squash halves cut-side down on a large, rimmed baking sheet lined with parchment paper.
- Roast squash for 35-45 minutes, until fork-tender but still holds its shape.
- While squash roasts, heat 1 tablespoon olive oil or butter in a large skillet over medium heat. Add diced onion and cook for 5-7 minutes until soft and translucent. Add minced garlic and cook for 30 seconds until fragrant.
- If using ground meat or sausage, add to skillet and cook until browned. Drain excess fat if necessary.
- Add chopped spinach to skillet and stir for 2-3 minutes until wilted.
- Reduce heat to low. Add cooked rice, dried cranberries, sage (or thyme), and smoked paprika. Stir to combine. Pour in broth and let simmer for 2-3 minutes. Season with salt and pepper to taste.
- Once squash is done, carefully flip halves over. Spoon filling generously into each squash cavity, mounding it up.
- Sprinkle shredded cheese over the top. Return to oven and bake for another 10-15 minutes until cheese is melted and bubbly.
- Remove from oven. Sprinkle toasted pecans and fresh parsley over the top. Let rest for 5 minutes before serving.
Notes
Microwave the whole squash for 2-3 minutes to soften the skin for easier cutting. Don’t overcook the squash in the first roast; it should be tender but still hold its shape. The filling can be made up to 2 days in advance. Leftovers can be stored in the refrigerator for up to 4 days or frozen for up to 3 months.
Nutrition
- Serving Size: 1 stuffed squash hal
- Calories: 475
- Sugar: 15
- Sodium: 580
- Fat: 18
- Saturated Fat: 6
- Carbohydrates: 55
- Fiber: 12
- Protein: 25
Keywords: stuffed butternut squash, budget dinner, easy weeknight meal, fall recipe, vegetarian option, gluten-free


