Love this? Save it for later!
Share the inspiration with your friends
Introduction: The Reluctant Convert
My sister-in-law, Jenna, had claimed to hate pumpkin-flavored desserts for a solid decade. Every fall, she’d make a face at my pumpkin bread, politely decline the pumpkin spice lattes, and push the pumpkin pie around her plate at Thanksgiving. “It’s just not my thing,” she’d say with a shrug. Then last October, I made these no-bake pumpkin cheesecake bars for a family potluck, mostly just to have something easy to bring. I set them on the counter and walked away to help my nephew with his costume. When I came back fifteen minutes later, Jenna was standing at the counter, fork in hand, staring at the nearly empty pan with this guilty, surprised look on her face. “I was just going to try a tiny piece,” she mumbled, crumbs on her chin. “And then another tiny piece.” Honestly, I didn’t even say anything. I just smiled, grabbed a fork, and joined her. That moment—catching someone in the act of proving themselves wrong—is exactly why this recipe has become my secret weapon for every fall gathering since.
These bars aren’t trying to be pumpkin pie or traditional cheesecake. They’re something better—a creamy, spiced, no-fuss dessert that comes together in twenty minutes flat. No oven required, no water bath, no worrying about cracks or sinking centers. Just a buttery graham cracker crust, a silky pumpkin cheesecake filling, and a cloud of whipped cream on top. Maybe you’ve been there too, looking for a dessert that looks impressive but doesn’t make you sweat through your shirt before guests arrive. This is that recipe.
I keep coming back to these bars because they solve the real problem of hosting: how to serve something that feels special without spending your whole afternoon in the kitchen. The first time I brought them to a dinner party, three different people asked for the recipe before I’d even finished my wine. That’s the kind of dessert this is—the one that steals the table without any drama.
Why You’ll Love This Recipe
Let me tell you why these no-bake pumpkin cheesecake bars have become my most-requested fall recipe. I’ve tested this version at least eight times, tweaking the ratios, testing different cream cheese brands, and even convincing my picky neighbor to try it. Here’s what makes it special:
- Ready in 20 Minutes: No joke. You can have these assembled and chilling in the fridge before your guests even finish their appetizers. Perfect for last-minute hosting emergencies.
- No Oven Required: This is a game-changer for holiday hosting when your oven is already stuffed with a turkey or ham. Free up that oven space and still serve a stunning dessert.
- Simple Ingredients: You probably have most of these in your pantry right now. No weird specialty items or expensive imports. Just honest, accessible ingredients.
- Perfect for Crowds: This recipe doubles beautifully and feeds a hungry group without breaking a sweat. I’ve made it for potlucks, Friendsgiving, and casual dinner parties with equal success.
- Make-Ahead Magic: These bars actually get better after a day in the fridge. The flavors meld together, the texture firms up perfectly, and you get to enjoy your own party.
- Always Gets Rave Reviews: I’ve served these to pumpkin lovers and pumpkin skeptics alike (looking at you, Jenna), and the pan always comes back empty. The creamy texture and balanced spice blend win everyone over.
What sets this recipe apart from other pumpkin cheesecake bars is the texture. Most no-bake cheesecakes can feel heavy or gelatinous, but this one stays light and silky thanks to a clever trick with the cream cheese and whipped cream. Plus, the spice blend hits that perfect note—warm and aromatic without being overpowering. It’s the kind of dessert that makes people close their eyes after the first bite, and honestly, that never gets old.
What Ingredients You Will Need
This recipe uses simple, everyday ingredients to create something that tastes anything but ordinary. The magic is in the balance—creamy, spiced, sweet, and tangy all at once. Here’s what you’ll need to gather:
For the Crust:
- 2 cups graham cracker crumbs (about 16 full sheets, crushed fine)
- 1/4 cup granulated sugar
- 1/2 cup unsalted butter, melted (I use Kerrygold for its rich flavor)
- Pinch of salt (don’t skip this—it balances the sweetness)
For the Pumpkin Cheesecake Filling:
- 16 ounces cream cheese, softened to room temperature (Philadelphia brand gives the smoothest result)
- 1 cup pumpkin puree (not pumpkin pie filling—make sure it’s 100% pure pumpkin)
- 3/4 cup powdered sugar (adjust to your sweetness preference)
- 1 teaspoon vanilla extract
- 1 teaspoon pumpkin pie spice (or make your own blend—see note below)
- 1/2 teaspoon ground cinnamon
- 1/4 teaspoon ground ginger
- 1 cup heavy whipping cream, cold
- 2 tablespoons granulated sugar (for the whipped cream)
For the Topping (optional but recommended):
- 1 cup heavy whipping cream, cold
- 2 tablespoons powdered sugar
- 1/2 teaspoon vanilla extract
- Pinch of cinnamon for dusting
- Optional: caramel sauce, chopped pecans, or candied ginger for garnish
Ingredient Tips & Substitutions:
- For the cream cheese: It absolutely must be at room temperature. Cold cream cheese will leave you with lumpy filling. Take it out of the fridge at least 30 minutes before starting.
- For the pumpkin puree: Libby’s is my go-to brand for consistent texture and flavor. If you’re using homemade pumpkin puree, drain it through a cheesecloth for an hour first—homemade puree is often too watery.
- For a dairy-free version: Use dairy-free cream cheese (Miyoko’s works well) and coconut cream instead of heavy cream. The texture will be slightly different but still delicious.
- For a gluten-free crust: Substitute gluten-free graham crackers or use crushed gluten-free vanilla cookies. The ratio stays the same.
- Pumpkin pie spice substitute: Mix 1/2 teaspoon cinnamon, 1/4 teaspoon nutmeg, 1/4 teaspoon ginger, and a pinch of cloves. Adjust to taste.
Equipment Needed
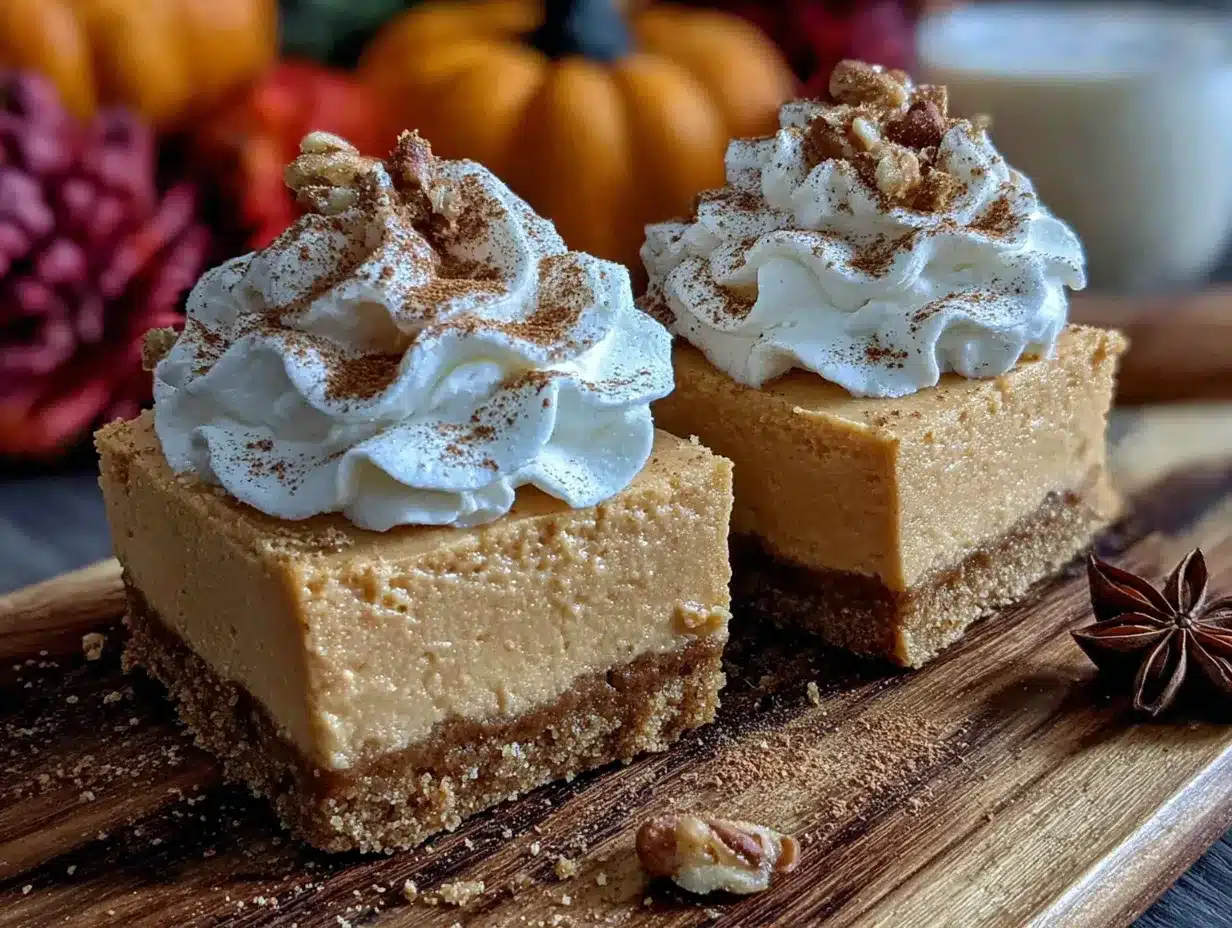
You don’t need a fancy kitchen to pull off these no-bake pumpkin cheesecake bars. Here’s what you’ll actually use:
- 9×13-inch baking dish: This is the sweet spot for feeding a crowd. If you only have an 8×8, the bars will be thicker—just increase the chilling time by an hour.
- Electric hand mixer or stand mixer: You could whisk the filling by hand, but your arm will hate you. A hand mixer makes this recipe truly effortless.
- Mixing bowls: You’ll need at least two medium bowls and one large bowl.
- Food processor or rolling pin: For crushing the graham crackers. I’ve used both methods, and honestly, the rolling pin in a ziplock bag is less cleanup.
- Spatula: For pressing the crust and spreading the filling evenly. A silicone spatula is my favorite tool here.
- Plastic wrap: For pressing down the crust without making a sticky mess.
- Parchment paper: Optional but helpful for lifting the bars out cleanly. Leave an overhang on two sides.
Budget-friendly tip: Don’t have a food processor? Place graham crackers in a sealed ziplock bag and crush them with a rolling pin or even a heavy skillet. It’s oddly satisfying and works perfectly.
Preparation Method
Here’s the step-by-step process for making these crowd-pleasing no-bake pumpkin cheesecake bars. Take your time with each step—rushing is the only way to mess this up.
Step 1: Prepare the Crust (5 minutes)
In a medium bowl, combine the graham cracker crumbs, granulated sugar, and pinch of salt. Pour the melted butter over the mixture and stir with a fork until every crumb is moistened. It should look like wet sand. Press the mixture firmly into the bottom of your 9×13-inch dish. Use the bottom of a measuring cup or a glass to press it down evenly—this is key for a crust that holds together. Place the dish in the refrigerator while you make the filling.
Step 2: Make the Pumpkin Base (5 minutes)
In a large bowl, beat the softened cream cheese with an electric mixer on medium speed until smooth and creamy, about 2 minutes. Scrape down the sides of the bowl. Add the pumpkin puree, powdered sugar, vanilla extract, pumpkin pie spice, cinnamon, and ginger. Beat on medium speed until fully combined and smooth. The mixture should be a beautiful deep orange color and smell like fall in a bowl. Set aside.
Step 3: Whip the Cream (5 minutes)
In a separate chilled bowl, pour the cold heavy whipping cream and add the 2 tablespoons of granulated sugar. Beat on high speed until stiff peaks form. You’ll know it’s ready when you lift the beaters and the cream stands up in firm peaks that don’t droop. Be careful not to overwhip—if it starts looking grainy or curdled, you’ve gone too far. Cold cream and a cold bowl make this step much easier.
Step 4: Fold Everything Together (3 minutes)
Take about one-third of the whipped cream and gently fold it into the pumpkin mixture using a spatula. This lightens the mixture and makes it easier to incorporate the rest. Add the remaining whipped cream and fold gently until no white streaks remain. Be patient here—you want to keep as much air in the mixture as possible for that light, mousse-like texture.
Step 5: Assemble and Chill (2 minutes + 4 hours)
Remove the crust from the refrigerator. Spoon the pumpkin cheesecake filling over the crust and spread it evenly with a spatula. Give the dish a few gentle taps on the counter to release any air bubbles. Cover with plastic wrap and refrigerate for at least 4 hours, but overnight is better. The bars need this time to set properly—don’t rush it.
Step 6: Add the Topping (5 minutes)
Just before serving, make the whipped cream topping. Beat the cold heavy cream, powdered sugar, and vanilla extract until soft peaks form. Spread or pipe over the chilled cheesecake layer. Dust with a light sprinkle of cinnamon. If you’re feeling fancy, drizzle caramel sauce and add chopped pecans.
Step 7: Slice and Serve
Use a sharp knife to cut clean slices. Wipe the knife between cuts for the prettiest presentation. Serve cold directly from the refrigerator.
Cooking Tips & Techniques
After making these no-bake pumpkin cheesecake bars more times than I can count, I’ve collected a few hard-earned tips that make a real difference:
- Room temperature cream cheese is non-negotiable. I learned this the hard way when I tried to rush and ended up with lumpy filling. Set it out 30-40 minutes before you start. If you forget, cut it into small cubes and let it sit for 15 minutes.
- Taste the filling before you add the whipped cream. This is your chance to adjust the sweetness or spice level. I sometimes add an extra pinch of cinnamon if the pumpkin flavor needs a boost.
- Don’t skip the salt in the crust. That tiny pinch makes a huge difference. It balances the sweetness and makes the graham cracker flavor pop.
- Press the crust firmly. A loose crust will crumble when you try to cut the bars. Use the bottom of a measuring cup and really press down hard. I press for a solid minute across the whole surface.
- Chill overnight if you can. Four hours is the minimum, but overnight chilling gives you cleaner slices and a better texture. The flavors also meld together beautifully.
- For clean slices, use a hot knife. Run your knife under hot water, dry it, then slice. Wipe and reheat between each cut. This works like magic for cheesecake bars.
- Keep an eye on your whipped cream. It’s easy to overwhip cream into butter. Stop as soon as you see stiff peaks. If you accidentally overwhip, add a tablespoon of cold cream and fold gently to bring it back.
Variations & Adaptations
One of the best things about this recipe is how flexible it is. Here are some variations I’ve tried and loved:
- Gluten-Free Version: Use gluten-free graham crackers or crushed gluten-free vanilla cookies for the crust. The texture is slightly different but just as delicious. I’ve tested this with Schär brand graham crackers and it worked perfectly.
- Vegan Adaptation: Use dairy-free cream cheese (Miyoko’s is my favorite), coconut cream instead of heavy cream, and a vegan butter substitute. The filling will be a bit softer, so chill it for at least 6 hours. I made this for a vegan friend’s birthday and she said it was better than the original.
- Pumpkin Chocolate Swirl: Melt 1/2 cup of semi-sweet chocolate chips and swirl it into the filling before chilling. The chocolate and pumpkin combination is surprisingly amazing—think pumpkin chocolate chip cookies but in cheesecake form.
- Bourbon Pumpkin Cheesecake Bars: Add 2 tablespoons of bourbon to the filling along with the vanilla. The warmth of the bourbon pairs beautifully with the spices. I tried this for a grown-up dinner party and it was a hit.
- Individual Mini Bars: Use a muffin tin with liners instead of a baking dish. Press the crust into the bottom of each liner, fill with the pumpkin mixture, and chill. These are perfect for parties where people want to grab and go.
- Ginger Snap Crust: Swap the graham crackers for crushed ginger snaps. The extra ginger and molasses flavor takes these bars to another level. I actually prefer this version for fall gatherings.
Serving & Storage Suggestions
These no-bake pumpkin cheesecake bars are best served cold, straight from the refrigerator. The texture is firm but creamy, and the flavors are most vibrant when chilled. Here are my favorite ways to serve them:
- Presentation: Slice into 12 even bars and arrange on a platter. Add a dollop of extra whipped cream on each bar and a light dusting of cinnamon. Drizzle caramel sauce in a zigzag pattern for a professional look.
- What to Serve Alongside: These bars pair beautifully with a cup of hot coffee, spiced apple cider, or a bourbon cocktail. For a full dessert spread, serve alongside apple crisp with oat topping or spiced chai latte for a cozy fall theme.
- Make Ahead for Parties: These bars are the ultimate make-ahead dessert. Prepare them up to 2 days in advance, keep them covered in the refrigerator, and add the whipped cream topping just before serving. This is a lifesaver when you’re hosting a big gathering.
Storage Instructions:
- Refrigerator: Store covered in the refrigerator for up to 5 days. The bars will stay fresh and delicious, though the crust may soften slightly after day 3.
- Freezer: These bars freeze beautifully. Freeze them without the whipped cream topping for up to 3 months. Wrap individual bars in plastic wrap and then foil. Thaw in the refrigerator overnight before serving, then add fresh whipped cream.
- Reheating: These are meant to be served cold, so no reheating needed. If you’ve frozen them, just let them thaw in the fridge.
One thing I love about this recipe is that the flavors actually improve after a day in the fridge. The spices meld into the cream cheese, and the pumpkin flavor becomes more pronounced. So don’t worry if you make them a day ahead—they’ll taste even better.
Nutritional Information & Benefits
While these no-bake pumpkin cheesecake bars are definitely a treat, they do offer some surprising nutritional benefits thanks to the pumpkin. Here’s the estimated breakdown per bar (based on 12 servings):
| Nutrient | Amount Per Bar |
|---|---|
| Calories | 320 |
| Total Fat | 22g |
| Saturated Fat | 13g |
| Cholesterol | 65mg |
| Sodium | 220mg |
| Total Carbohydrates | 28g |
| Dietary Fiber | 2g |
| Sugars | 18g |
| Protein | 4g |
| Vitamin A | 85% DV |
| Calcium | 6% DV |
Pumpkin is packed with vitamin A, which supports eye health and immune function. It’s also a good source of fiber and antioxidants. The cream cheese provides calcium and protein, while the graham cracker crust adds a bit of whole grain goodness. Of course, this is still a dessert, so enjoy it in moderation. I like to think of it as a slightly more nutritious way to satisfy that fall dessert craving.
Dietary Considerations:
- Contains dairy and gluten (see variations for alternatives)
- Can be made gluten-free with GF graham crackers
- Can be made vegan with dairy-free substitutes
- Not suitable for low-carb or keto diets due to the graham cracker crust
Conclusion
These no-bake pumpkin cheesecake bars are the dessert you’ve been looking for—the one that looks like you spent hours in the kitchen but actually came together in twenty minutes flat. They’re creamy, spiced, and utterly satisfying, with a buttery crust and a silky filling that melts in your mouth. Whether you’re hosting a Friendsgiving, bringing a dish to a potluck, or just want something special for a cozy fall evening, these bars deliver every single time.
What I love most about this recipe is how forgiving it is. You can make it ahead, double it for a crowd, or customize it with your favorite toppings. It’s the kind of recipe that becomes a tradition—the one your friends start asking for in September, the one that disappears before anything else on the dessert table. And honestly, that’s the best compliment a recipe can get.
I’d love to hear how these turn out for you! Drop a comment below and let me know if you tried any variations, or share a photo on social media and tag me. Did your pumpkin-skeptic friends become converts? Did you add your own twist? I’m always looking for new ideas. Happy baking—or rather, happy no-baking!
Frequently Asked Questions
Can I use pumpkin pie filling instead of pumpkin puree?
No, I don’t recommend it. Pumpkin pie filling already has sugar and spices added, which will throw off the sweetness and texture of this recipe. Stick with 100% pure pumpkin puree for the best results. If you only have pumpkin pie filling on hand, reduce the sugar in the recipe by half and skip the added spices, but honestly, pure pumpkin puree is the way to go.
How long do these bars need to set in the fridge?
At least 4 hours, but overnight is ideal. The filling needs time to firm up so you can cut clean slices. If you’re in a rush, 4 hours is the absolute minimum. I’ve made the mistake of trying to cut them after 2 hours, and let me tell you, it was a mess. Plan ahead and give them the full overnight chill if you can.
Can I freeze these no-bake pumpkin cheesecake bars?
Absolutely! Freeze them without the whipped cream topping for up to 3 months. Wrap individual bars tightly in plastic wrap and then foil. When you’re ready to serve, thaw them in the refrigerator overnight and add fresh whipped cream. They taste just as good as the day you made them.
Why is my filling lumpy?
Lumpy filling usually means your cream cheese wasn’t soft enough. It needs to be at room temperature—not cold, not melted. If you forgot to take it out ahead of time, cut it into small cubes and let it sit for 15-20 minutes. You can also microwave it in 10-second bursts, but be careful not to melt it. Smooth cream cheese is the secret to a silky filling.
Can I make this recipe in a different size pan?
Yes, you can! For an 8×8 pan, the bars will be thicker and you’ll need to increase the chilling time by about an hour. For a 9×9 pan, the recipe works perfectly as written. If you’re using a round springform pan, the bars will be taller and more cheesecake-like—just make sure to press the crust up the sides a bit. Adjust the chill time based on the depth of the filling.
Pin This Recipe!
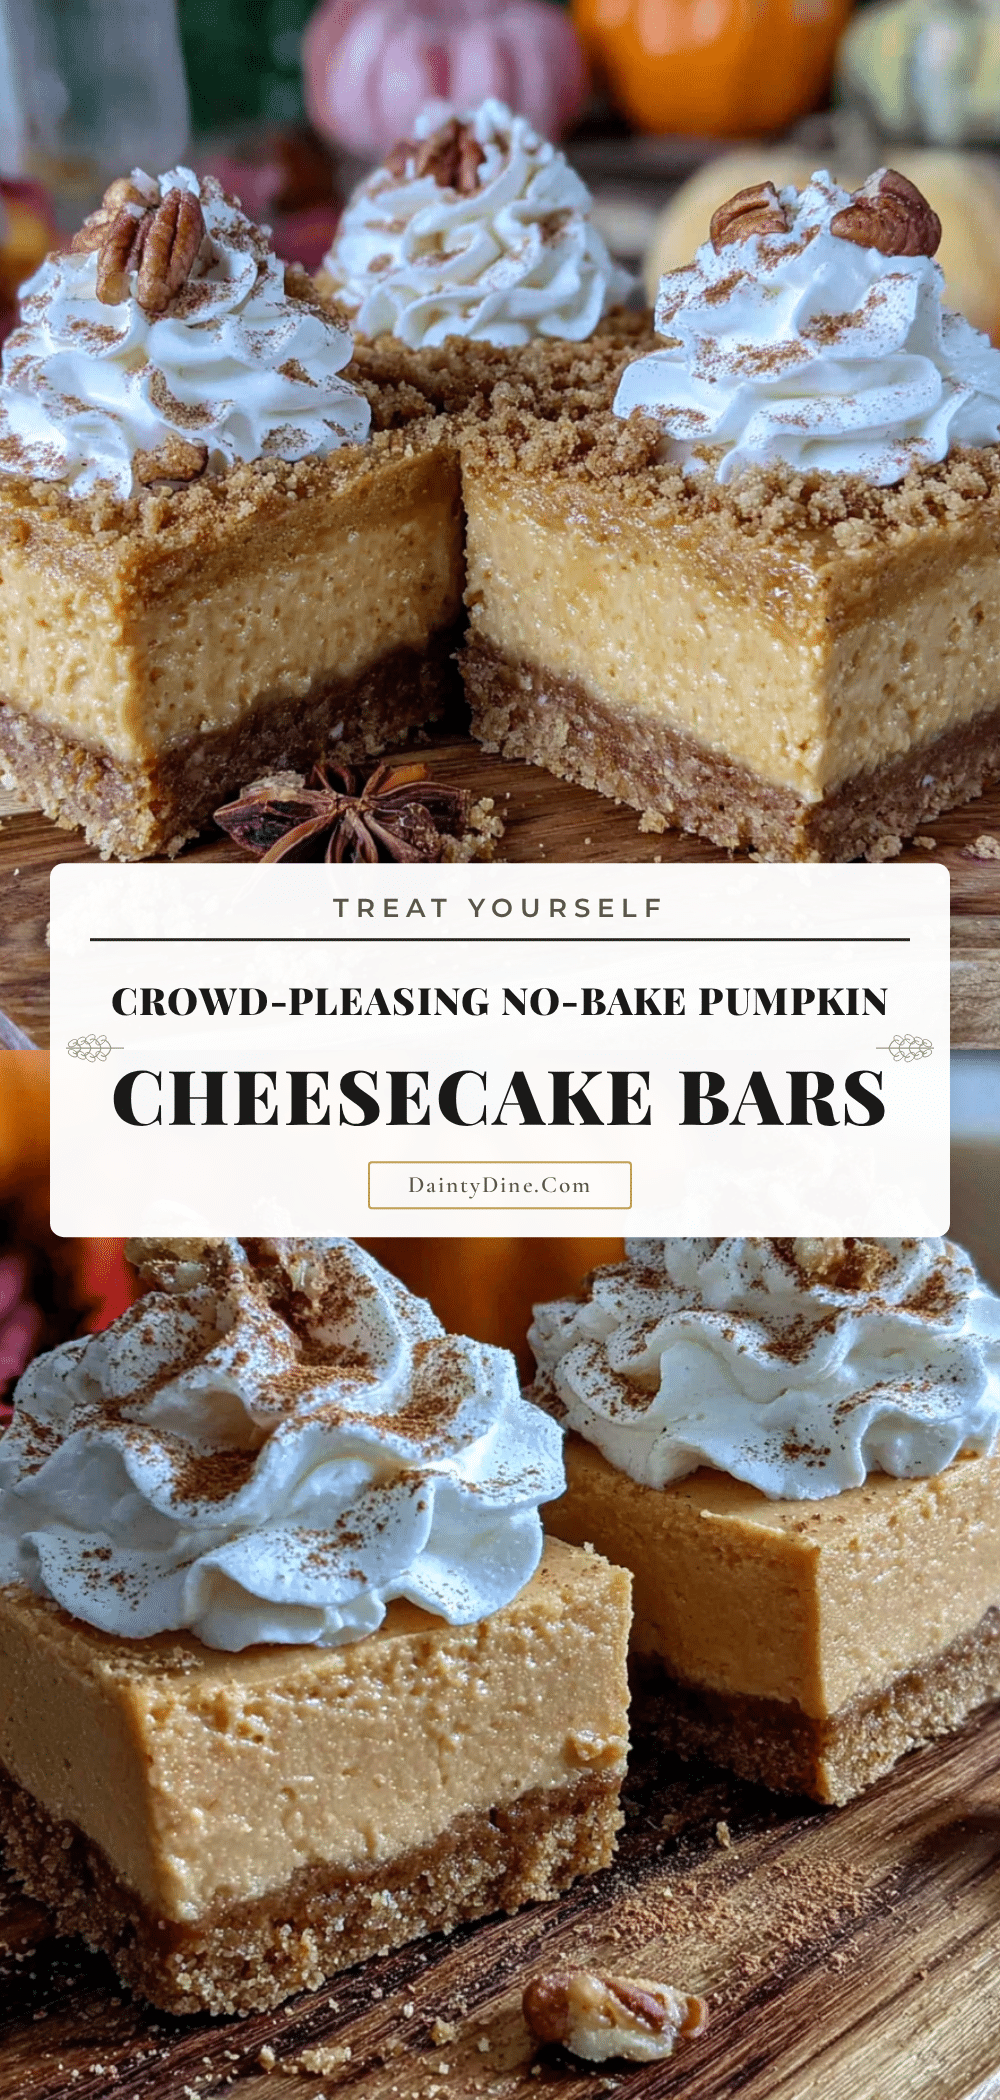
Best No-Bake Pumpkin Cheesecake Bars: Easy 20-Min Recipe
These no-bake pumpkin cheesecake bars are a creamy, spiced, no-fuss dessert that comes together in twenty minutes flat. No oven required, just a buttery graham cracker crust, a silky pumpkin cheesecake filling, and a cloud of whipped cream on top.
- Prep Time: 20 minutes
- Cook Time: 0 minutes
- Total Time: 4 hours 20 minutes (includes chilling)
- Yield: 12 servings 1x
- Category: Dessert
- Cuisine: American
Ingredients
- 2 cups graham cracker crumbs (about 16 full sheets, crushed fine)
- 1/4 cup granulated sugar
- 1/2 cup unsalted butter, melted
- Pinch of salt
- 16 ounces cream cheese, softened to room temperature
- 1 cup pumpkin puree (not pumpkin pie filling)
- 3/4 cup powdered sugar
- 1 teaspoon vanilla extract
- 1 teaspoon pumpkin pie spice
- 1/2 teaspoon ground cinnamon
- 1/4 teaspoon ground ginger
- 1 cup heavy whipping cream, cold
- 2 tablespoons granulated sugar (for the whipped cream)
- 1 cup heavy whipping cream, cold (for topping)
- 2 tablespoons powdered sugar (for topping)
- 1/2 teaspoon vanilla extract (for topping)
- Pinch of cinnamon for dusting
- Optional: caramel sauce, chopped pecans, or candied ginger for garnish
Instructions
- Prepare the Crust: In a medium bowl, combine graham cracker crumbs, granulated sugar, and pinch of salt. Pour melted butter over the mixture and stir with a fork until every crumb is moistened. Press the mixture firmly into the bottom of a 9×13-inch dish. Use the bottom of a measuring cup or a glass to press it down evenly. Place the dish in the refrigerator while you make the filling.
- Make the Pumpkin Base: In a large bowl, beat the softened cream cheese with an electric mixer on medium speed until smooth and creamy, about 2 minutes. Scrape down the sides of the bowl. Add pumpkin puree, powdered sugar, vanilla extract, pumpkin pie spice, cinnamon, and ginger. Beat on medium speed until fully combined and smooth. Set aside.
- Whip the Cream: In a separate chilled bowl, pour the cold heavy whipping cream and add 2 tablespoons of granulated sugar. Beat on high speed until stiff peaks form. Be careful not to overwhip.
- Fold Everything Together: Take about one-third of the whipped cream and gently fold it into the pumpkin mixture using a spatula. Add the remaining whipped cream and fold gently until no white streaks remain.
- Assemble and Chill: Remove the crust from the refrigerator. Spoon the pumpkin cheesecake filling over the crust and spread it evenly with a spatula. Give the dish a few gentle taps on the counter to release any air bubbles. Cover with plastic wrap and refrigerate for at least 4 hours, but overnight is better.
- Add the Topping: Just before serving, make the whipped cream topping. Beat the cold heavy cream, powdered sugar, and vanilla extract until soft peaks form. Spread or pipe over the chilled cheesecake layer. Dust with a light sprinkle of cinnamon. If desired, drizzle caramel sauce and add chopped pecans.
- Slice and Serve: Use a sharp knife to cut clean slices. Wipe the knife between cuts for the prettiest presentation. Serve cold directly from the refrigerator.
Notes
Cream cheese must be at room temperature for a smooth filling. For clean slices, use a hot knife. The bars actually get better after a day in the fridge. For a gluten-free version, use gluten-free graham crackers. For a vegan version, use dairy-free cream cheese and coconut cream.
Nutrition
- Serving Size: 1 bar
- Calories: 320
- Sugar: 18
- Sodium: 220
- Fat: 22
- Saturated Fat: 13
- Carbohydrates: 28
- Fiber: 2
- Protein: 4
Keywords: no-bake pumpkin cheesecake bars, pumpkin cheesecake bars, no-bake dessert, fall dessert, pumpkin dessert, easy cheesecake bars


