Love this? Save it for later!
Share the inspiration with your friends
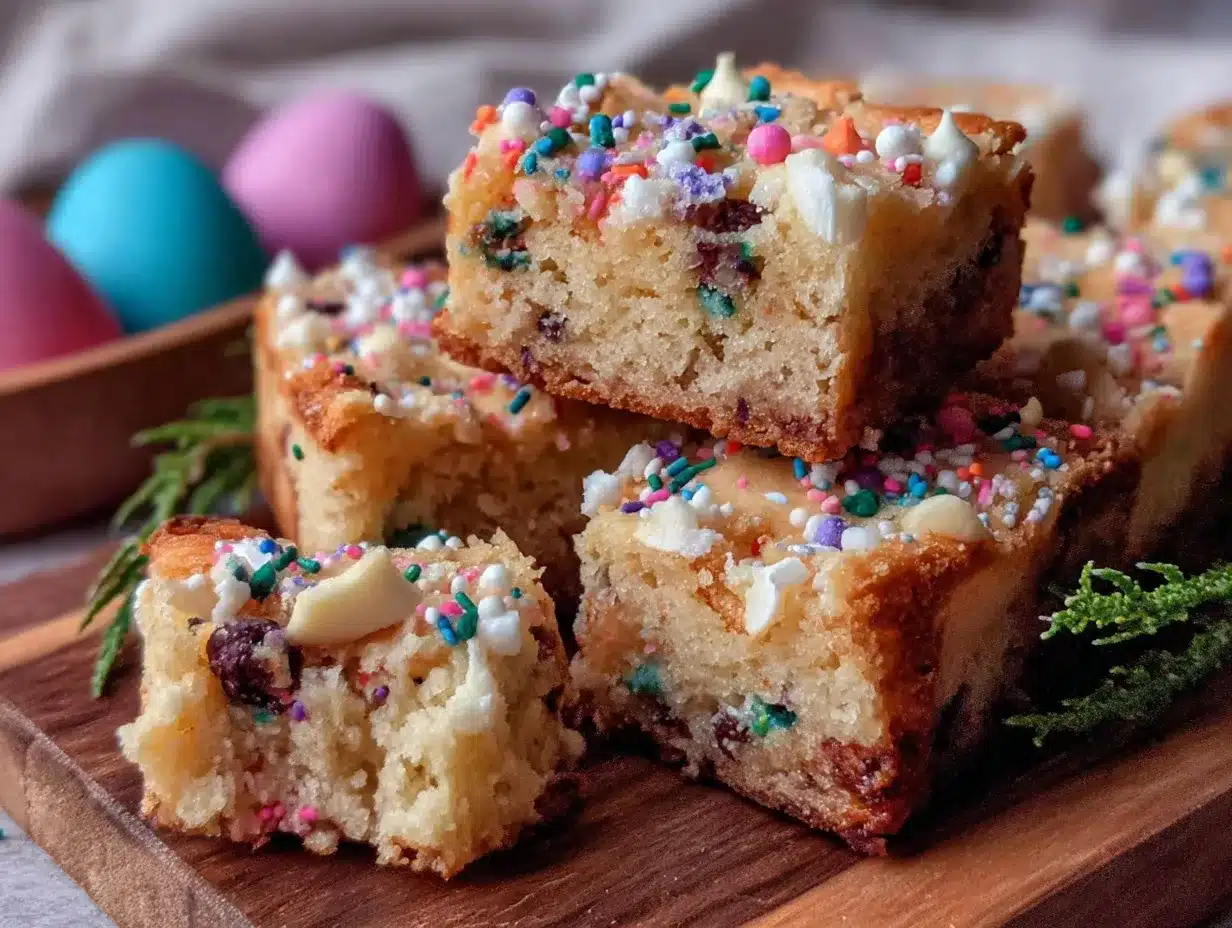
One Easter morning, I found myself scrambling to whip up something sweet for an impromptu family brunch. The pantry was looking bare—no fancy extracts, no elaborate decorations—just a handful of simple ingredients I always keep on hand. So I threw together these 5-Ingredient Easter Cookie Bars, and honestly, they turned out better than I ever expected. Crisp on the edges, chewy in the middle, and lightly sweetened, they became the hit of our holiday table.
What’s wild is how these bars only need five ingredients you probably already have. No complicated steps, no obscure spices. Just straightforward baking that anyone can do, even if your kitchen looks like a tornado hit it (been there). Since then, this recipe has become my go-to for quick treats—not just for Easter, but anytime I want something homemade without fuss. The best part? I make these regularly, and they still feel special every single time.
If you’re into easy, reliable recipes that don’t require a dozen bowls or a trip to the specialty store, stick with me here. I’ll walk you through how to make these simple Easter cookie bars that you’ll want to make on repeat, whether it’s spring, summer, or a random Tuesday.
Why This Recipe Works
This recipe changed my cookie game, and here’s why I keep coming back to it:
- Ridiculously Simple — With just five ingredients, you can have these bars in the oven in under 10 minutes. No need to hunt for weird stuff or spend hours mixing.
- Perfect Texture — Crispy edges meet a chewy, almost fudgy center. I’ve baked these over a dozen times, and the balance is always spot on.
- Kid-Friendly — My niece, who usually turns her nose up at anything “too homemade,” devoured these bars without hesitation. The simplicity means the sweet flavor really shines through.
- Versatile Base — These bars are a blank canvas. I’ve jazzed them up with sprinkles for Easter, but they’re just as good plain or with a drizzle of chocolate.
- Pantry Staples — Flour, sugar, butter, chocolate chips, and an egg. That’s it. No need to stress about running to the store last minute.
Honestly, these bars have become a bit of a kitchen MVP. Whether I’m rushing out the door or entertaining guests, they’re a reliable, delicious treat that feels homemade without the hassle.
Ingredients Breakdown
Before you dive in, here’s a quick rundown of the five ingredients that make this magic happen—and why I love each one:
For the Base:
- All-purpose flour (1 ½ cups / 190g) — This provides the structure. I’ve tried swapping in whole wheat flour, but it changes the texture and flavor noticeably. Stick with all-purpose for the classic soft-chewy result.
- Granulated sugar (¾ cup / 150g) — Sweetens and helps with browning. I tested lowering the sugar, but the bars lose their signature crisp edges and chew. If you want less sweet, try reducing to ½ cup but expect a softer texture.
- Unsalted butter (½ cup / 113g) — Adds rich flavor and moisture. I always use unsalted so I can control the saltiness. Melt it gently and let it cool just a bit before mixing to avoid scrambling the egg.
- Egg (1 large) — Binds everything together and adds moisture. Room temperature is best for smooth mixing—30 minutes on the counter works wonders.
- Chocolate chips (1 cup / 170g) — The star of the show! Semisweet chips are my fave because they balance the sweetness without overpowering. You can swap for mini chips or chunks if you want bigger melty pockets.
That’s it. Five ingredients, no fuss. I love how this keeps the flavor focused and the texture just right. If you’re curious about how to tweak these bars, I’ll share some tested variations later on.
Equipment You’ll Need
You don’t need fancy gadgets for these Easter cookie bars. Here’s what I use:
- 9×9-inch baking pan — I use classic metal because it browns the edges beautifully. Glass works too, but add about 5 extra minutes to baking time.
- Mixing bowl — One big bowl is enough since this comes together quickly.
- Whisk or hand mixer — A whisk works fine, but I prefer a hand mixer to get the sugar and butter perfectly combined.
- Measuring cups and spoons — Accurate measurements make a difference, especially with baking.
- Spatula — For scraping the bowl and spreading batter evenly.
- Optional: Parchment paper — I line my pan to make removing the bars a breeze.
Step-by-Step Instructions
- Preheat and Prep (5 minutes): Preheat your oven to 350°F (175°C). Grease your 9×9-inch pan well, or line it with parchment paper, leaving an overhang for easy lifting later.
- Melt the Butter (3 minutes): Gently melt the butter in a microwave-safe bowl or on the stovetop. Let it cool for a minute or two; you want it warm but not hot enough to cook the egg.
- Mix Butter and Sugar (3 minutes): In your mixing bowl, combine the warm melted butter and granulated sugar. Use a hand mixer or whisk until combined and slightly glossy. This step helps create those crisp edges you want.
- Add Egg (2 minutes): Crack in the egg and mix until fully incorporated. The batter will look smooth and a bit shiny.
- Add Flour (2 minutes): Stir in the all-purpose flour until just combined. Don’t overmix; a few streaks of flour are okay. Overmixing develops gluten and can make the bars tough.
- Fold in Chocolate Chips (1 minute): Gently fold in the chocolate chips with a spatula, distributing them evenly without overworking the batter.
- Spread and Bake (25-30 minutes): Pour the batter into your prepared pan and smooth the top with a spatula. Bake for 25-30 minutes. The edges should be golden brown and the center set but still soft. A toothpick inserted in the center should come out with a few moist crumbs.
- Cool Completely (30 minutes): Let the bars cool in the pan on a wire rack. This helps them firm up for clean slicing.
- Slice and Serve: Lift the bars out using the parchment overhang if you used it. Slice into squares and enjoy!
Expert Tips & Troubleshooting
Here’s what I learned from multiple batches that will save you time and frustration:
- Don’t skip cooling. The bars look soft right out of the oven, but cooling solidifies the texture. Trying to slice them too soon? You’ll get crumbly edges and sticky messes.
- Use room temperature eggs. Cold eggs can make the batter seize or look curdled. If you forget to take them out, run the eggs under warm water for a minute.
- Watch your oven temperature. If the edges brown too fast, tent the pan with foil halfway through baking.
- Measure flour properly. Spoon it into your measuring cup and level it off instead of scooping directly. Too much flour equals dry bars.
- Butter matters. Unsalted, real butter creates the best flavor and texture. Margarine or oil will change the crumb and taste.
- Mix just until combined. Overmixing develops gluten and makes the bars tough instead of tender.
Variations & Substitutions
Once you’ve nailed the basics, try these fun twists to keep things interesting:
- Sprinkle Season: Add pastel sprinkles on top before baking for festive Easter vibes. I like to gently press them into the batter for a neat finish.
- Nuts for Crunch: Fold in ½ cup chopped pecans or walnuts. Toast them first for extra flavor.
- White Chocolate Lover: Swap the semisweet chips for white chocolate chips. It’s a sweeter, creamier alternative that works beautifully.
- Peanut Butter Swirl: Dollop 2 tablespoons of peanut butter on top and swirl with a knife before baking.
- Gluten-Free Option: Replace all-purpose flour with a 1:1 gluten-free baking blend. The texture is a bit softer but still delicious.
- Vegan Adaptation: Use a flax egg (1 tablespoon ground flax + 3 tablespoons water) and vegan butter substitute. I haven’t tested this myself, but readers have reported good results.
Serving & Storage
These cookie bars are perfect on their own, but here’s how I like to enjoy and store them:
Serving Ideas:
- Warm with a scoop of vanilla ice cream for an easy dessert.
- Cut into bite-sized pieces for a sweet snack at brunch.
- Paired with a hot cup of coffee or tea—especially for afternoon treats.
Storage Tips:
- Room Temperature: Store in an airtight container for up to 3 days. They stay soft and chewy—perfect for quick snacking.
- Refrigerator: Lasts up to 1 week when wrapped tightly. Bring to room temp or warm for a few seconds before serving.
- Freezer: Wrap bars individually in plastic wrap and place in a freezer bag for up to 3 months. Thaw at room temperature or microwave for 15 seconds to enjoy.
Fun fact: If these bars start to dry out, I slice them thin and use them as a crunchy topping for ice cream or yogurt. No waste in this kitchen!
Nutrition Information
Here’s the rough nutrition info per bar, assuming you slice the batch into 16 squares:
| Calories | 140 |
|---|---|
| Protein | 2g |
| Total Carbs | 18g |
| Dietary Fiber | 1g |
| Sugars | 12g |
| Total Fat | 7g |
| Saturated Fat | 4g |
| Cholesterol | 25mg |
| Sodium | 65mg |
These bars are a treat, but I appreciate that they’re made with real butter and simple ingredients—no preservatives or weird additives. Plus, the chocolate chips bring a bit of indulgence without overdoing it.
Final Thoughts
So there you have it—5-Ingredient Easter Cookie Bars that are so simple, yet so satisfying. I honestly never thought a recipe with so few ingredients could become a staple in my kitchen, but here we are. Whether you’re celebrating a holiday, need a quick dessert, or want a sweet snack that feels homemade, these bars have you covered.
They’re easy to customize, quick to make, and always a crowd-pleaser. If you’ve been intimidated by baking or short on time, this recipe is your new best friend. I’d love to hear how your batch turns out or what fun variations you try—drop me a comment below anytime!
And hey, if you’re looking for more simple, fresh ideas to round out your brunch or lunch, you might enjoy the fresh smashed cucumber avocado salad or the quick rotisserie chicken Caesar wrap. Both are easy, light, and perfect alongside a sweet treat like these cookie bars.
Happy baking! And if your kitchen smells half as good as mine does right now, you’re in for a treat.
FAQs
Can I make these cookie bars without chocolate chips?
Yes! You can omit the chocolate chips if you prefer plain cookie bars. The texture will be similar, but the bars will be less sweet and rich. You could also swap in chopped nuts or dried fruit for some extra texture and flavor.
Why did my bars come out cakey instead of chewy?
This usually means the batter was overmixed or you added too much flour. Mix just until the flour disappears and use the spoon-and-level method to measure flour. Also, make sure you don’t bake the bars too long—check them at 25 minutes and remove once the center is set but still soft.
Can I double this recipe?
Absolutely! Double all the ingredients and bake in a 9×13-inch pan. The baking time might be 5-10 minutes longer—start checking at 30 minutes. I do this when I want to feed a crowd or have leftovers for the week.
How do I store leftover cookie bars?
Store them in an airtight container at room temperature for up to 3 days, or freeze individually wrapped bars for up to 3 months. Thaw at room temp or microwave briefly before enjoying.
Can I add sprinkles for a festive look?
Yes! Press sprinkles gently onto the top of the batter before baking. It adds a fun pop of color perfect for Easter or any celebration.
Do I have to use unsalted butter?
Using unsalted butter lets you control the salt level precisely, but if all you have is salted, go ahead and use it. Just skip adding any extra salt if the recipe calls for it.
Can I make these bars vegan?
With some tweaks, yes! Swap the egg for a flax egg (1 tablespoon ground flaxseed + 3 tablespoons water) and use vegan butter. I haven’t tested this myself, but readers have had success with these substitutions.
Pin This Recipe!
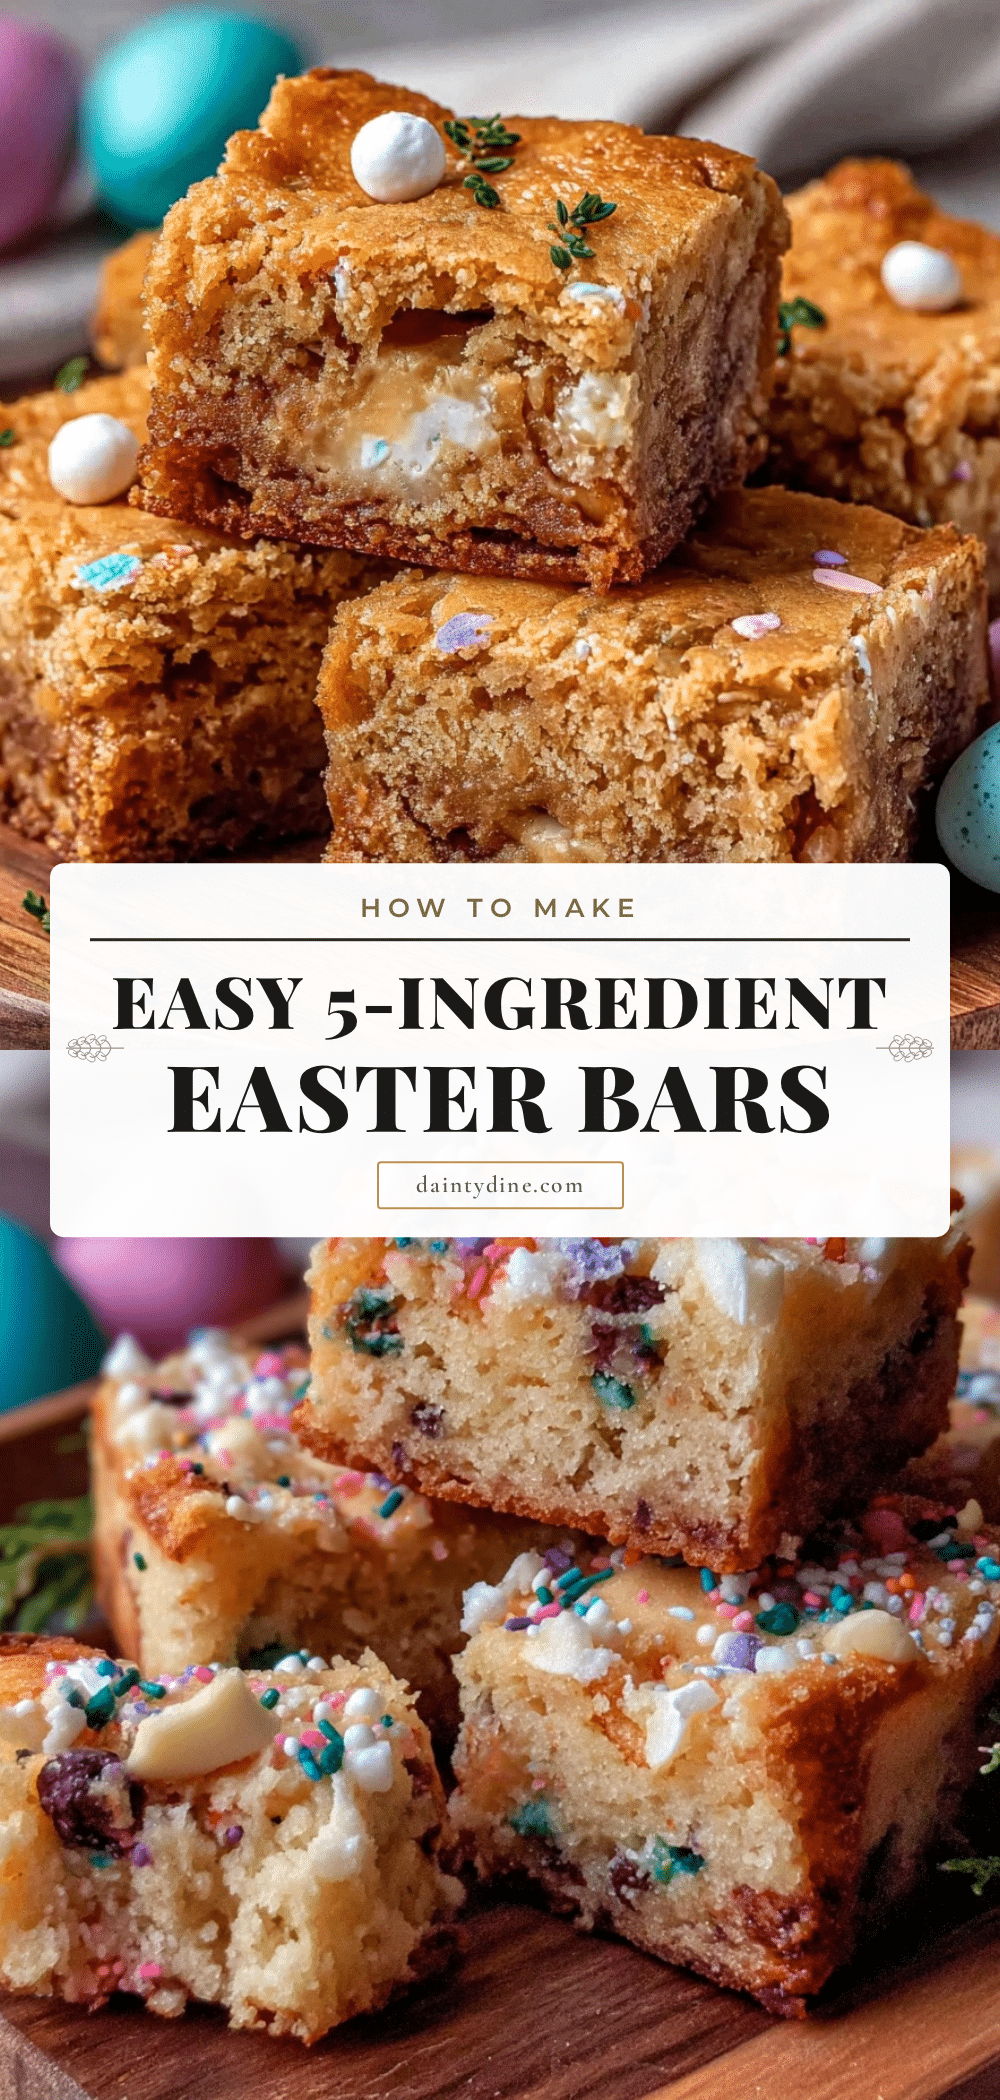
5-Ingredient Easter Cookie Bars

Simple and delicious cookie bars made with just five pantry staples, featuring crispy edges and a chewy center. Perfect for Easter or any time you want an easy homemade treat.
- Prep Time: 10 minutes
- Cook Time: 25-30 minutes
- Total Time: 40 minutes
- Yield: 16 servings 1x
- Category: Dessert
- Cuisine: American
Ingredients
- 1 ½ cups all-purpose flour (190g)
- ¾ cup granulated sugar (150g)
- ½ cup unsalted butter (113g), melted and cooled
- 1 large egg, room temperature
- 1 cup semisweet chocolate chips (170g)
Instructions
- Preheat your oven to 350°F (175°C). Grease a 9×9-inch baking pan or line it with parchment paper, leaving an overhang for easy lifting.
- Gently melt the butter in a microwave-safe bowl or on the stovetop. Let it cool for a minute or two until warm but not hot.
- In a mixing bowl, combine the warm melted butter and granulated sugar. Use a hand mixer or whisk until combined and slightly glossy.
- Crack in the egg and mix until fully incorporated. The batter will look smooth and a bit shiny.
- Stir in the all-purpose flour until just combined. Do not overmix; a few streaks of flour are okay.
- Gently fold in the chocolate chips with a spatula, distributing them evenly without overworking the batter.
- Pour the batter into the prepared pan and smooth the top with a spatula.
- Bake for 25-30 minutes until the edges are golden brown and the center is set but still soft. A toothpick inserted in the center should come out with a few moist crumbs.
- Let the bars cool completely in the pan on a wire rack for about 30 minutes to firm up.
- Lift the bars out using the parchment overhang if used. Slice into squares and serve.
Notes
Use room temperature eggs for smooth mixing. Do not overmix the batter to avoid tough bars. Cool bars completely before slicing to prevent crumbling. For variations, add sprinkles, nuts, or swap chocolate chips for white chocolate or peanut butter swirl. For gluten-free, use a 1:1 gluten-free baking blend. Vegan adaptation possible with flax egg and vegan butter.
Nutrition
- Serving Size: 1 bar (1/16 of recip
- Calories: 140
- Sugar: 12
- Sodium: 65
- Fat: 7
- Saturated Fat: 4
- Carbohydrates: 18
- Fiber: 1
- Protein: 2
Keywords: Easter cookie bars, easy cookie bars, 5-ingredient dessert, chocolate chip bars, homemade treats, simple baking